Stacey’s Stitches
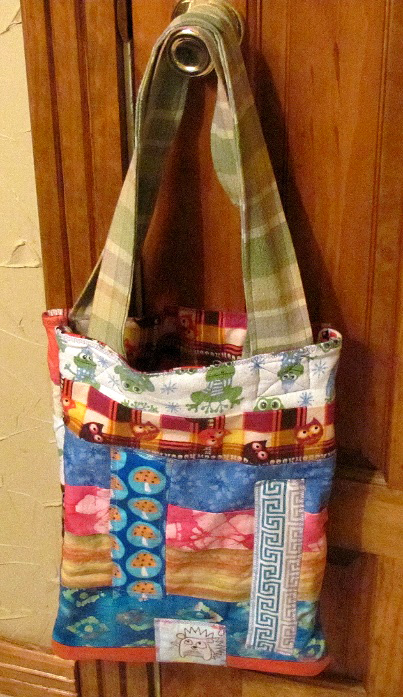
DIY – The Striped Tote
Level: Beginner
Time to Complete: In A Weekend
Machine: Singer Advance
Sewn By Machine – 1/4 in. straight stitch
I’ve suddenly found myself traipsing to multiple appointments on a regular basis. After dropping an important file in the middle of a parking lot on a windy day, I decided I needed one simple tote for carrying any and everything. Thus the Striped Tote was born 🙂
Let your imagination breathe personality into every stitch!
Materials:
- 2 — 19 in. x 15 in. Inside fabric lining
- 2 — 19 in. x 15 in. Cotton Batting
- 14 — 15 in. x 4 in. Misc. horizontal fabric strips (amount is flexible depending on size and position of strips)
- 4 — 3 in. x 6 in. Vertical fabric strips
- 2 — 4in. x 30 in. Handles, preferably strong, durable fabric
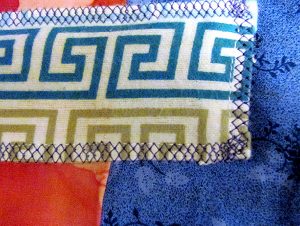
- 2 — Accent pieces, any size or shape

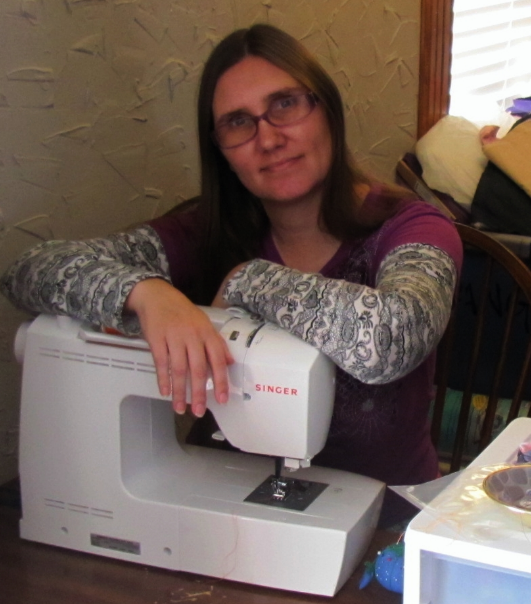
Hi all! I’m Stacey Martinez 🙂 I love to design fun, imaginative custom items for my active, crazy family. Bright colors and beautiful fabrics sing “Stacey, Stitch Me!”
IMPORTANT:
**Wash all fabric prior to sewing to avoid shrinkage of the finished product.
**Ironing recommended before sewing and after each step. Makes fabric easier to sew and adds a professional look to the end product.
- Measure and cut all fabric and batting. I used Warm White batting but thin fusible works just as well.
- Pin and sew (1/4 in. with regular straight stitch) inside lining and batting insides together. Side shouldn’t matter for batting but make sure lining is facing inside. Leave a gap in the top for pulling fabric right side out. Repeat for other side of bag as well. Pull fabric right side out for both sides. Leave top holes open, they will be stitched later.
- **Tip** Cut off the corners before turning right side out. This makes the corners easier to form.
- Pin and sew at 1/4″ all fabric strips together for each side of the bag. Iron all seams.
- Pin and sew with the front side (strip side) and the inside lining together for both sides of the bag. Make sure front sides are right side together. Leave an opening on the top of both sides to pull the material through. Leave top holes open, they will be stitched later.
- Pull the fabric out to right side out on both sides. Iron.
- Fold and sew 1/8 in. around four vertical strips and two accent pieces with regular straight stitch.
- Pin two vertical strips and one accent piece on each side of bag. Sew with any fancy stitch of choice, with any thread color of choice. I used the Honeycomb stitch since it looks intricate and can be used for edging. I used purple as my accent stitch because I wanted the stitching to stand out, not blend in.
Sew accent stripes and other pieces after all side layers have been sewn together and pulled right side out.
- **Tip** Sewing accent stripes and other pieces after all side layers have been sewn together and pulled right side out accomplishes one important feature: This ensures that all 3 layers are stitched together more thoroughly and prevent material slippage during constant use or after a few washes. This simple step helps the tote keep shape and strength much longer.
- Sew the top edge of each bag side with the same accent stitch and thread color.
- Pin the two sides outside facing together. Iron. The material will be much thicker with so many layers coming together. Ironing helps flatten down all the layers for easier sewing. I also switched to a 100/16 denim needle to handle the extra thickness.
- Sew three sides together, leaving the open. Pull right side out.
- Fold tote handles in half, sew right sides together (using straight stitch). Sew only one end. Leave the other end open. Pull the handles right side out using the open end.
- Iron handles and sew around all four sides, sewing the open end closed in the process.
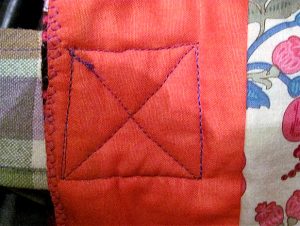
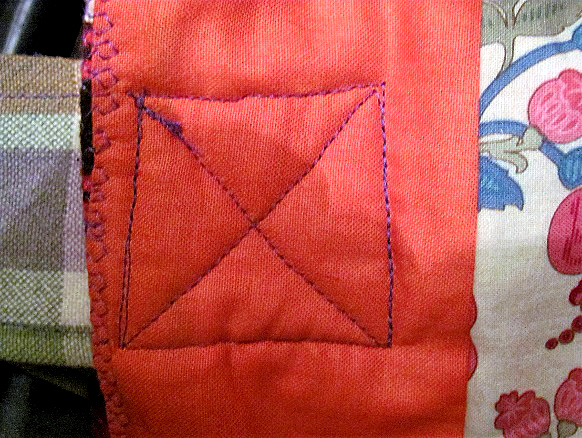
Attach handles to tote, using this X design.
- Attach handles to tote, using this X design. The X design creates a stronger stitch often used so handles on totes and purses easily handle more weight.

Throw what you need in your new tote and take off!