DIY - Keyboard Kozy

DIY – Keyboard Kozy

Ick, dust! I abhor dusty, dirty keyboards at work and at home. Those keyboard sprayers to get in between keys just aren’t enough for me. Time to make a cover to protect the keyboard while adding some flair to the office space!

Keyboard Kozy

Keyboard Kozy

I love projects like this. I can create something useful while adding some personality to my space. I’m adding butterflies from different fabric I picked up here and there. I try to buy a quarter or half yard of the popular designs of the moment. Doing so helps add all sorts of different designs to my collection so I’m more likely to have what I want or need on hand. I have a decent collection of butterflies and have been waiting for the perfect project to showcase them.

Level: Beginner

Time to Complete: 1 hour

Sewn By Machine: 1/4 in. straight stitch

***Washing and ironing materials before sewing is extremely important!! Measurements are based on material already washed. If they aren’t washed before sewing, they may shrink by an inch or more when washed later on, resulting in being too small.

Materials:

  • 1 – 19″ L x 7 1/2″ W Material for top of keyboard
  • 1 – 19 ” L x 7 1/2″ W Underside material
  • 2 – 19″ L x 1 1/2″ W Material for long sides
  • 2 – 19″ L x 1 1/2″ W Underside material
  • 2 – 6 1/2″ L x 1 1/2″ W Material for short sides
  • 2 – 6 1/2″ L x 1 1/2″ W Underside material

Any material to be used as accents on the keyboard cover – I used 3 rectangular butterflies.
I used two layers, the cover and then absorbent material for the underside of the cover. In my house spills are everyday events. I’ve learned to dual layer so spills are soaked up and less likely to damage anything. The keyboard cover can also be made with just one layer leaving off the underside backing. It’s totally up to the needs of your home or office space.

One Step Hem and Attach

One Step Hem and Attach

  1. Wash and iron all material.
  2. Measure and cut material.
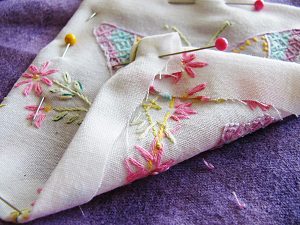
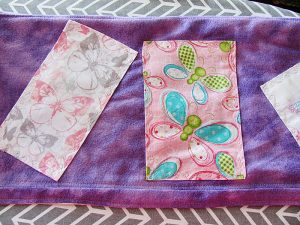
  3. Sew accent pieces on cover top. I did not hem them beforehand. Instead, I hemmed and attached in one step.
  4. One Step Hem and Attach (see image)
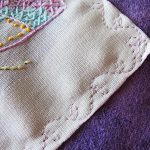
  5. I used a petal decorative stitch when attaching my accents to add a bit of flare.

    Petal Stitch

    Petal Stitch

  6. Petal Stitch (see image)
  7. Sew side pieces together at ends, right sides together. (It is possible to sew each side to the cover top individually, but I found this much quicker and easier.

    Attachment of sides

    Attachment of sides

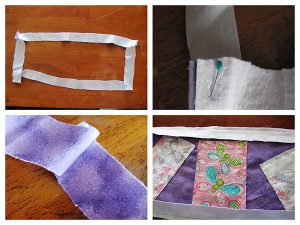
  8. Attachment of sides (see image)
  9. Iron seams open, making attachment to cover easier.
  10. Pin and sew side rectangle to cover.
  11. Turn right side out and iron seams open.
  12. For the inside layer, repeat all above steps.
  13. Pin and sew outside cover and inside layer, right sides together. Make sure to leave a 2″ – 3″ opening to pull material right side out.

    Top Stitching

    Top Stitching

  14. Pull material right side out.
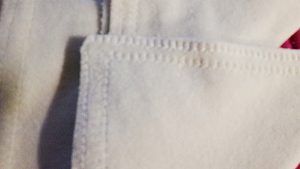
  15. Top stitch around outside of cover top, using 1/8″ edge.

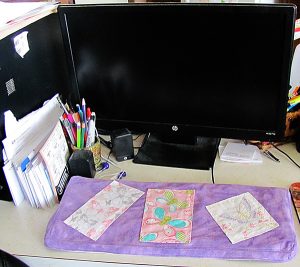
    Finished Keyboard Kozy

    Finished Keyboard Kozy

  16. Top stitch around entire outside of cover, using 1/8″. Make sure to sew closed the opening left to pull material right side out.
  17. Top Stitching (see image)
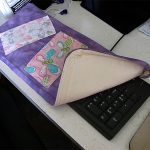
  18. Place on keyboard and enjoy!
  19. Finished Keyboard Kozy (see image)
Stacey's StitchesStacey’s Stitches

Hi all! I’m Stacey Martinez 🙂
I love to design imaginative custom items for my active, crazy family. Bright
colors and beautiful fabrics sing “Stacey, Stitch Me!”
Let your imagination inspire you to breathe personality into every stitch!

**Please feel free to leave comments, questions, suggestions and pictures of your creations. I can’t wait to see what you come up with!

All natural fabric babe

Nature Babe

My first blog here explained my passion for finding fabric and developing an idea to use it. Yes, I am truly crazy about fabric and color. I think about each piece and decide if it is something I want to work on. That being said, I find it is very overwhelming because there are so many different types of textiles, and also so many uses. With each new discovery, I find myself designing projects I can sew with respect to supplying a handmade market online. My inclination at this time is to develop a shop on Etsy.com or similar platform where I can design baby articles. I love baby prints, blankets, snuggles and soft fabric and so soft Minky to adorn the tiny hands and feet of God’s most precious gift. Therefore, the fabric must be of good quality and purity.

Sewing is a process…

With all the buzz about eco-friendly products and natural products for the environment, more and more people are realizing the importance of chemical free goods for their homes and families. It certainly makes sense to me to be very particular about what is used for newborns and children. As far as my focus right now, Bamboo Terry and French Terry as well as Swaddle Gauze is popular for new or soon to be moms because of its pure qualities, minimum stretch and softness of the fabric.

Organic cotton.

Organic cotton.

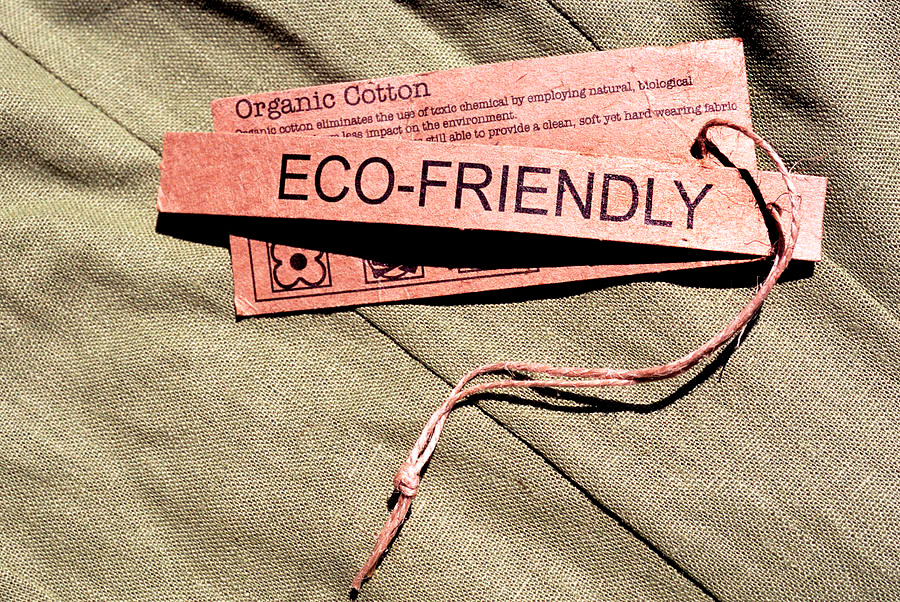
Equally sought after is Organic Cotton.

I know many people have a problem with buying products that are labeled “organic”, partly because they tend to be more expensive. But in the case of the world’s production of cotton, it has been said that cotton crops are one of the most chemical intensive. Among the most toxic chemicals used in farming, as sited by the EPA, they affect our health and have a very negative impact on the environment.

Quality fabricsNot to drift off the subject of sewing and into eco-environmental issues, I am searching for bamboo and organic cotton to design some lightweight blankets and swaddles. Hopefully, I will be able to find good quality “organics” which are non-fading and durable so the they will last more than less expensive cuts. I have also learned that if I am taking the time to design something I want to sell, I will buy the best quality of fabric I can afford. It pays off in the long run.

Recently, I asked for an opinion about a design I made regarding fabric selections. They told me the quality of the fabric, the design of the print, and the quality of the construction are the most important parts of sewing. Sewing is a process, and learning the techniques, practicing different stitches, quilting, serging thread and other things make a finished piece a work of art.

Its time for me to order a walking foot and some ball point needles so I can practice quilting for my new baby goods. By the way, SewingMachinesPlus.com has quilting and Walking Feet especially made for Singer, Baby Lock and Janome among other brands. Check their website and find the one you need.