
Oh no! What a disaster!
Oh no! What a disaster! This whole project is ruined! Sound familiar? We’ve all had at least one project we think we’ve truly mangled. Thankfully, there are ways to save it. The best method to rescue your project depends on where the mistake occurred.
Cutting – Take Two
Did you misfold the fabric and now your cut pieces are all wrong? It may not be the giant disaster you think it is. If the fabric store has more of the fabric you’re using, it’s easy enough to get more and begin again. If not, you may be able to find it online or at another store. If that fails, treat this as an opportunity to find a new perfect fabric for your project (Don’t forget to exercise restraint, as we’ve looked at before).
Seams – Take Two
Did you missew a seam or several seams? If you can use your seam ripper to remove them and sew them again, this isn’t a big deal. However, if you’re not able to do that or did more damage to the fabric trying to pull out the seams, there are other options. If the item is too big, simply sew additional seams to make it smaller. On the other hand, if it’s too small you made need a more drastic solution.
Project – Take One and a Half
If your project is basically complete and you realize it’s too small, don’t worry! You may not have to redo the entire thing. Even if you’re not a tailor, it’s possible to alter your project to the larger size you intended. Best of all – you may not even need to buy more fabric to do it!
Remeasure
Figure out how much fabric your need to add to make the project fit and in which areas. For me, it’s usually the sides and/or bust area need an extra ½ inch or so (I blame patterns meant for smaller breasted women!).
No one, besides you, will ever know that it’s not exactly how it was planned to be.
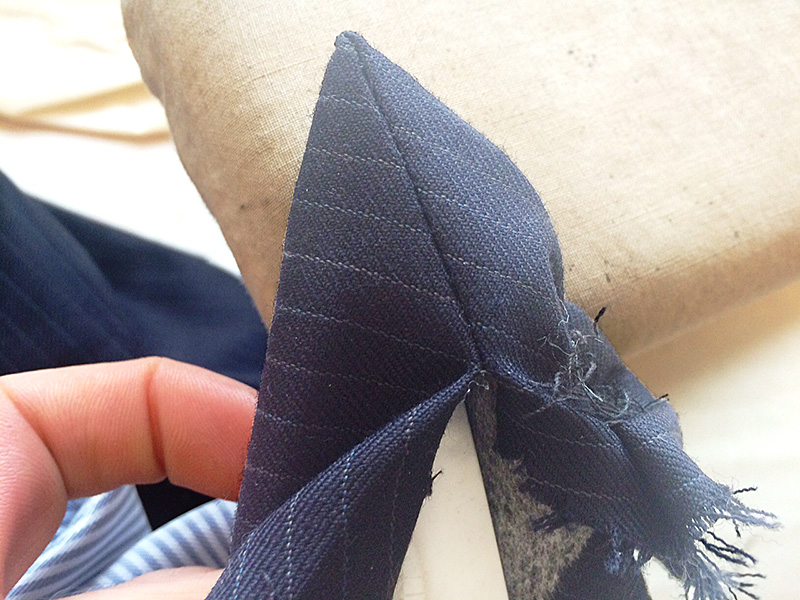
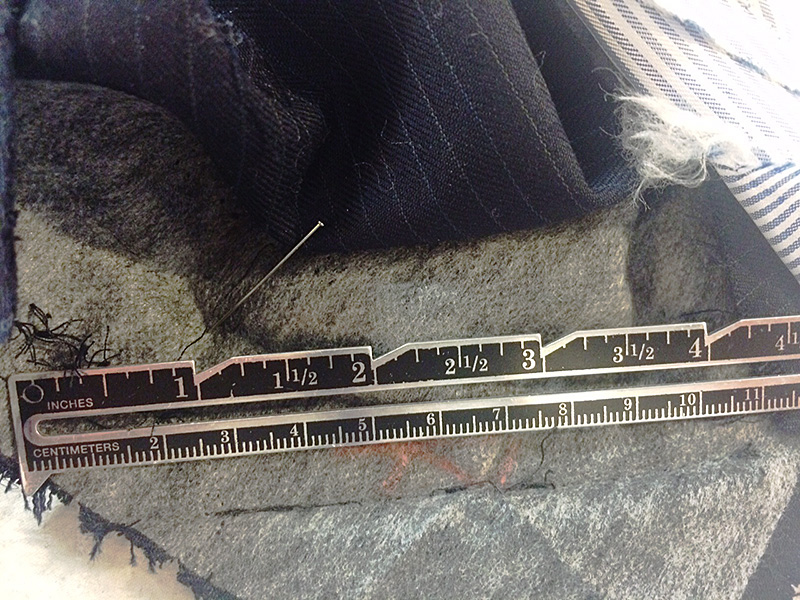
Snip, Snip
Since you’re going to add more fabric, there’s no need to carefully rip out the seams. Instead, take your fabric scissors and carefully cut along the seams you need to alter, say the sides for example.
Add it up
Grab your left over fabric – the stuff that was destined to your stash pile. Making sure that it follows that pattern in your existing project, cut enough to add what you need to make your project fit, plus seam allowance on both sides.
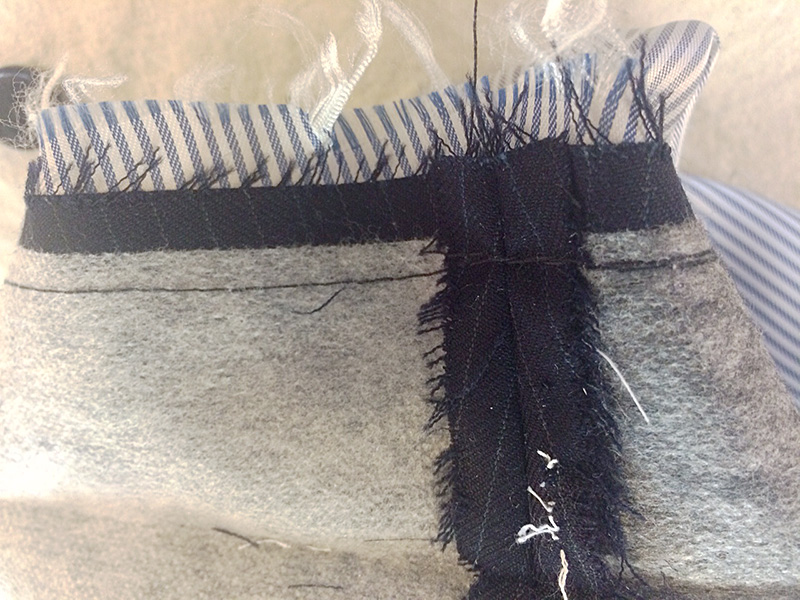
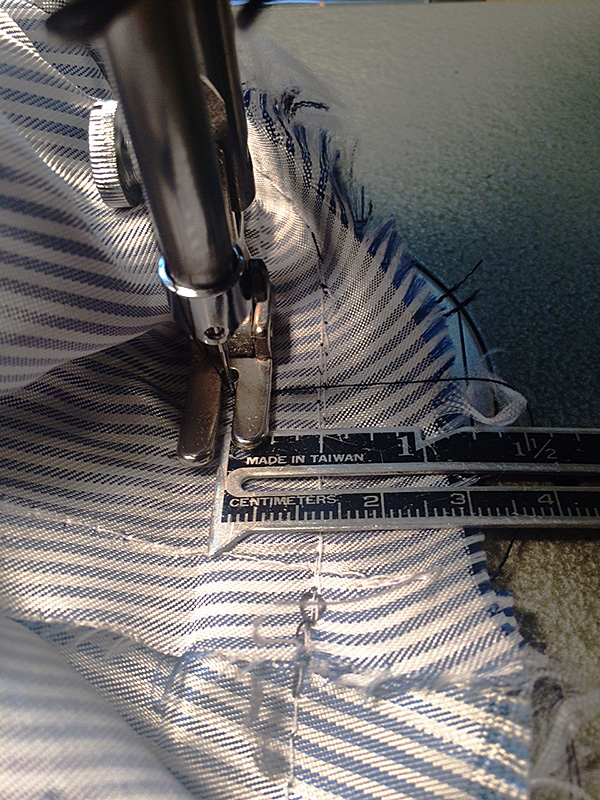
Pinning and Sewing – Take Two
Pin the newly cut fabric additions to your project, right sides together and following the existing curves. If possible, try it on while it’s inside out to be sure it will fit better this time. Head over to your trusty sewing machine one more time and sew in the additional pieces. Viola! You’ve saved a project from the trash. No one, besides you, will ever know that it’s not exactly how it was planned to be. And what they don’t know, you don’t have to tell them, so wear it with pride.