Picking the Perfect Sewing Notions

Picking the Perfect Sewing Notions

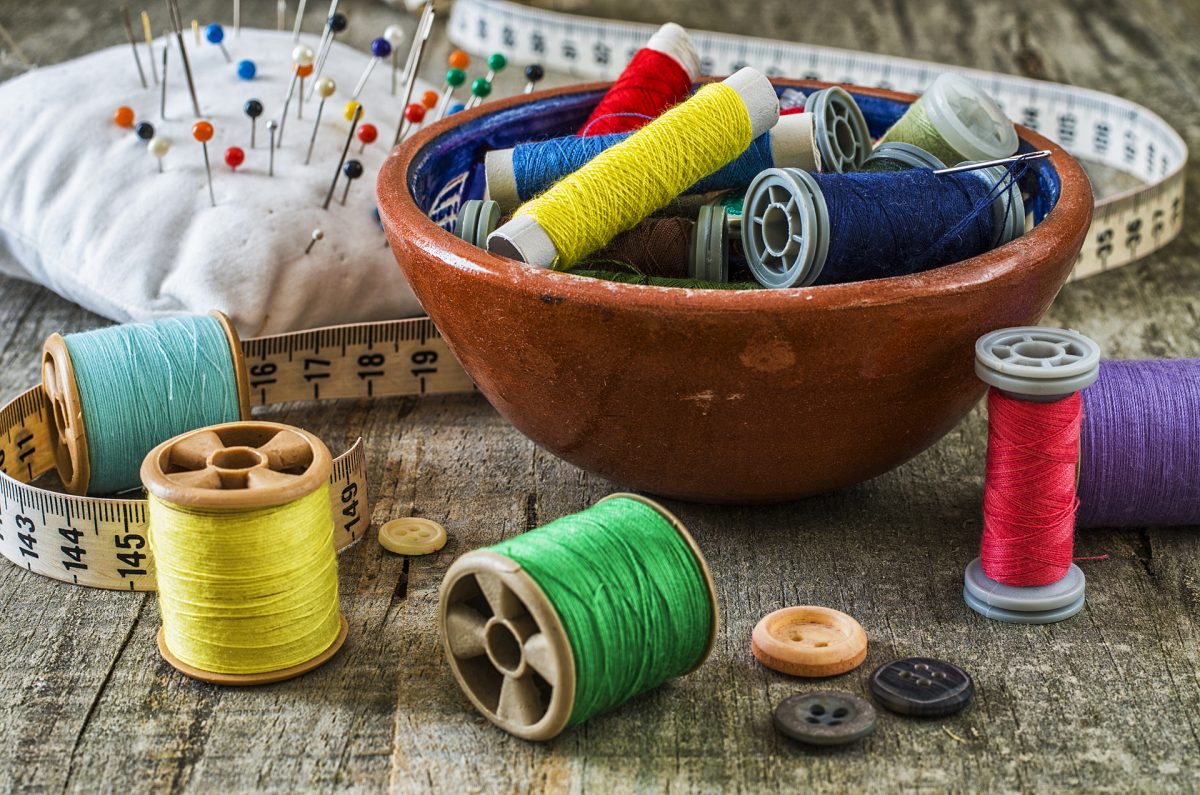
You’ve done it. You’ve got the pattern and the fabric to make a sewing project you’ll love. There’s just one more challenge remaining – picking the notions to compliment it. Whether it’s buttons, zippers, lacey bits or other accent pieces the right notions will give your finished project the final pop it needs to be truly special.

Zippers

It may seem like picking a zipper that matches your material, maybe even an invisible one is the best idea. And in many cases it may be. However, depending on the project and fabric, choosing a zipper that stands out can give your finished project some flair and style. If the fabric has a bright pattern, picking a zipper that matches one of the colors in the pattern can look really great when it’s done.

Buttons

Buttons
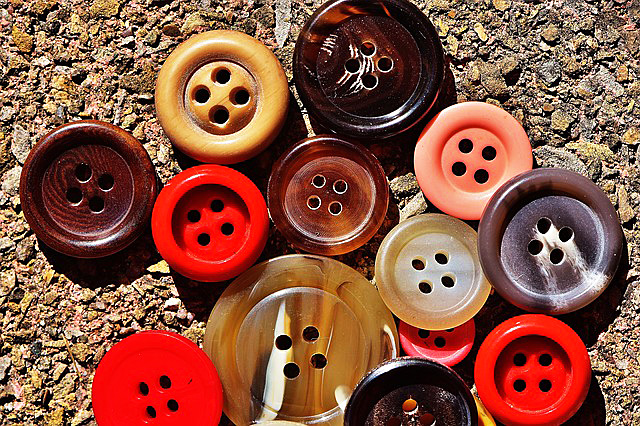
Buttons can seem like just an easy way to close a shirt or jacket, but they also impact the look of your completed project. A fabric with a simple pattern can sometimes benefits from fancy or flashy buttons while a fabric with a busy pattern may look better with simpler buttons.

Button size also matters. Bigger buttons will draw more attention than smaller ones. If you’re trying to bring focus away from something, say a floppy collar, using big buttons can help. On the other hand, if you want people to see your great shirt or jacket, using smaller buttons will ensure their eyes take in the entire piece.

Lacey Bits or Ribbons

Even if the pattern doesn’t call for them, lacey bits or ribbon strips can add interest to your project. Sometimes cutting apart a larger lace work for specific shapes works really well. You can use these smaller pieces to accent the points of a collar, cuffs of sleeves or pants or the hem of a skirt.

Ribbons can be used in short or long strips to add some color and interest. A long ribbon can go around the edge of a collar or cuffs. Longer ribbon strips also look great as an accent belt around waist lines or as accents on short or pant leg cuffs.

Smaller ribbon bits can be tacked on to the body of the project to create a pattern or letter. You can also use ribbons to create cute bows and strategically place them to add charm to your project.

Other Notions Notions (Ideas)

See what I did there? Haha. But seriously, there’s other cool notions ideas too. Beads or sequins strategically placed can add a bit of sparkle and glitz. Embroidery whether hand- or machine-done adds personalization. And, if you happen to also be a yarn worker, combing your knitting or crocheting skills with your sewing skills creates a totally unique piece. Instead of the fabric collar, you could knit or crochet one. Same with cuffs, waists and hems.

What other notion and accent ideas do you love to use on your projects?

A Few of My Favorite Things

A Few of My Favorite Things

I’m a bit of a dorky geek when it comes to sewing and pattern making (I’m actually probably a dorky geek when it comes to a lot of things). Here are a few of my favorite sewing related things.

The Double Needle

Twin needle in machine.

Twin needle in machine.

One of my favorite sewing related things is the Zwillings Nadel – or, if you prefer, the double needle. (Zwillings nadel is German for double needle.) A double needle is the perfect solution to hemming anything knit (or with any amount of stretch) if you don’t happen to own a machine that can do a cover stitch. I use them all the time to hem t-shirts, ribbed knit shirts, sweatshirts, sweaters, even jeans with an excessive amount of spandex.

Zwillings Nadel.

Zwillings Nadel.

Any domestic machine can use a double needle. How they work is with two top threads and one bottom thread. This creates a zig-zag in the bottom thread that allows for stretch. I often use a double needle and a stretch stitch at the same time. I find the stretch stitch produces a result with minimal puckering.

My trick for hemming most anything, but especially things that require a double needle, is to cut after I sew.

First, mark a nice clear line for your hem on the right side of your garment using wax or some kind of marking pen that will disappear when heat is applied. Press the hem along the line you have marked. Do not trim any excess away. Next, using a double needle, stitch up an inch from your pressed line, or whatever is your desired hem depth. Once you have sewn, trim the excess fabric away. Try to trim as close to your zig zag bobbin line as you can. The ziz zag will keep anything from raveling and fraying if that is a concern though many tightly knit fabrics won’t really fray (Sweaters and some loosely woven ribbed t-shirt knit will of course). I press the hem at this point as well to get rid of any puckering. If the hem is still a bit wavy, try spritzing with water and pressing dry with a press cloth.

Zwillings Nadels

come in varying widths, meaning the two needles can be further or closer together. I keep a variety of widths around. They are also sized like regular needles, 12/80, 14/90, etc.

Bias Tape Makers

Bias tape makers are one of the most brilliant inventions in ‘modern’ sewing. If you don’t own any, buy a set now. They are these cool little devices that you feed a strip of fabric into on one end and get a beautifully uniformly pressed bias tape out the other end. They come in varying sizes – ¼” ½” 3/8”, and on. I use bias to bind necklines and armholes. Pretty much every single slip we made on Boardwalk Empire has a bias bond neck and armhole.

Loop Turner

Ever tried to turn a very thin spaghetti strap? It can seem virtually impossible. Unless, you have this really cool thin metal rod with a hook on one end. Insert the loop turner all the way through your strap and hook the little crochet hook into the seam allowance at the very end of your strap. Then pull gently from the other side, turning the strap inside itself. Once you are able to pull the hook through the other end, you can hand turn the remaining part of the strap.

Wooden Dowel

A simple, 1/8” or ¼” round wooden dowel is very useful for pressing belts, straps, and ties that you are bagging out. Put the dowel inside your strap or tie before you have flipped it so you can press open your seam allowances from the wrong side. This will give you much nicer and crisper finished edge when you turn them right side out.

These simple, inexpensive tools will not only help you achieve cleaner more professional looking results, but will also (I think, anyway) make your sewing life a little easier.

Do you have a simple, favorite tool you think others would benefit from knowing about? Write about in the comments section.