Sew It Straight and Square

Sew It Straight and Square

I wanted to take an opportunity to tell you about something I learned very early in my sewing experience. Hopefully, it will help when you have to square off fabric for blocks or other things.

When I resumed by sewing hobby after being away for several years, I found many things have changed. Well, me for one, because I started out thinking I would make a few things, have a sewing machine available for mending, and leave it at that. I wanted to make a shirt or two.

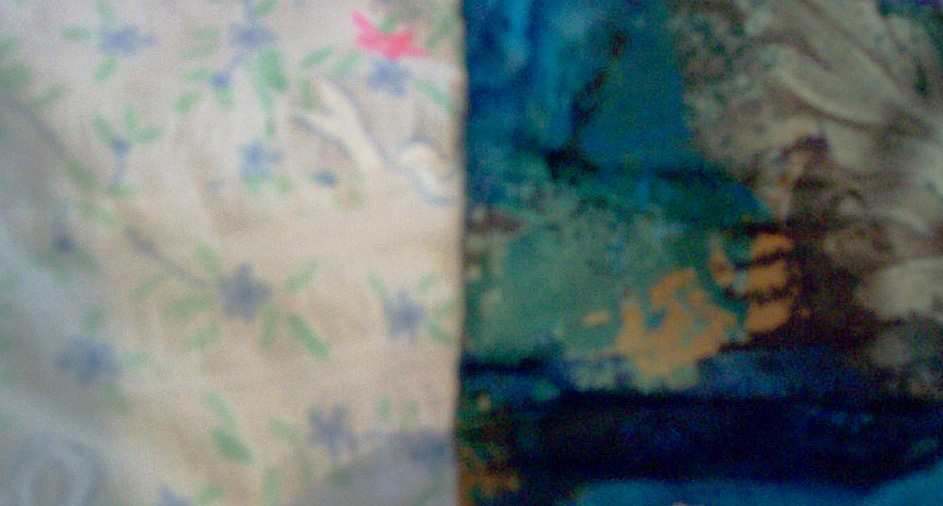
But, never, in my wildest dreams, I thought I would have an interest in quilting. Being able to buy many different fabrics, mix them up, find harmony between them, and create an awesome piece of art was exciting!

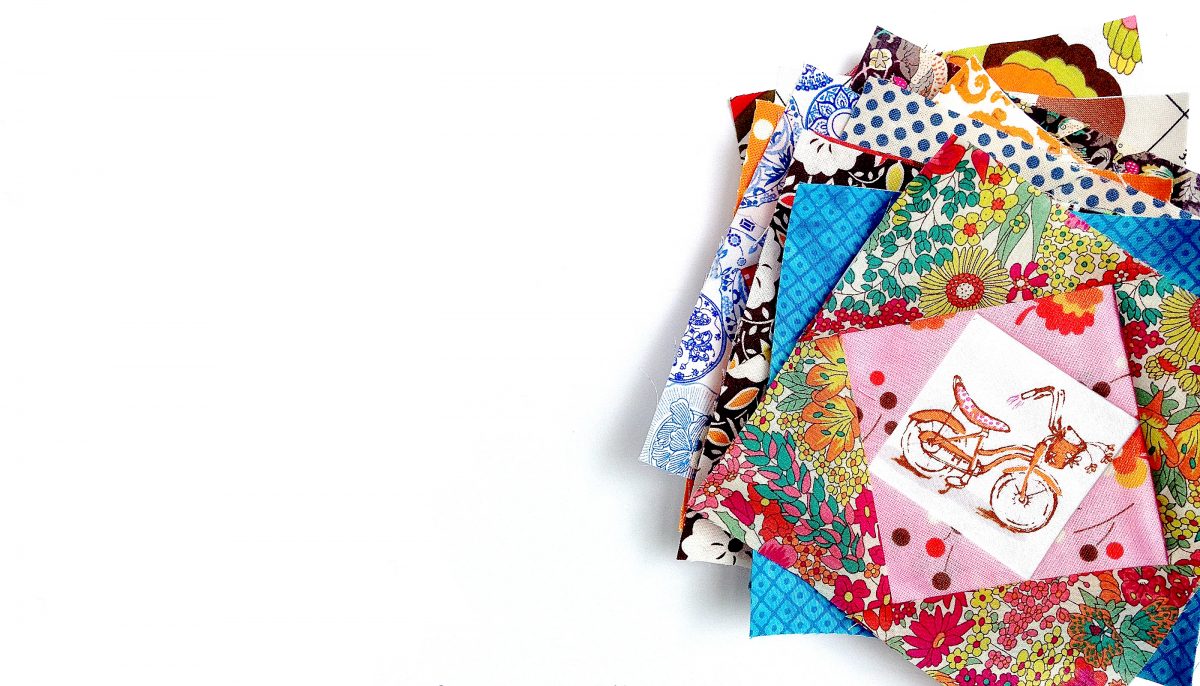
So my first fabric obsession started with “fat quarters”. You know, they are bundles of one designer’s collection, or curated by someone else mostly sold in online fabric stores offering 10, 15, 20 or more pieces that have the same colors or coordinating fabrics! Oh… shopping online!! A whole other obsession!! Sorry. I got distracted!

But, I knew right off, I couldn’t cut them with fabric shears or pinking shears. It would take years off my life.

So, today I want to share how I learned to share how to cut “ fat quarters” for multiple precise pieces all at once.

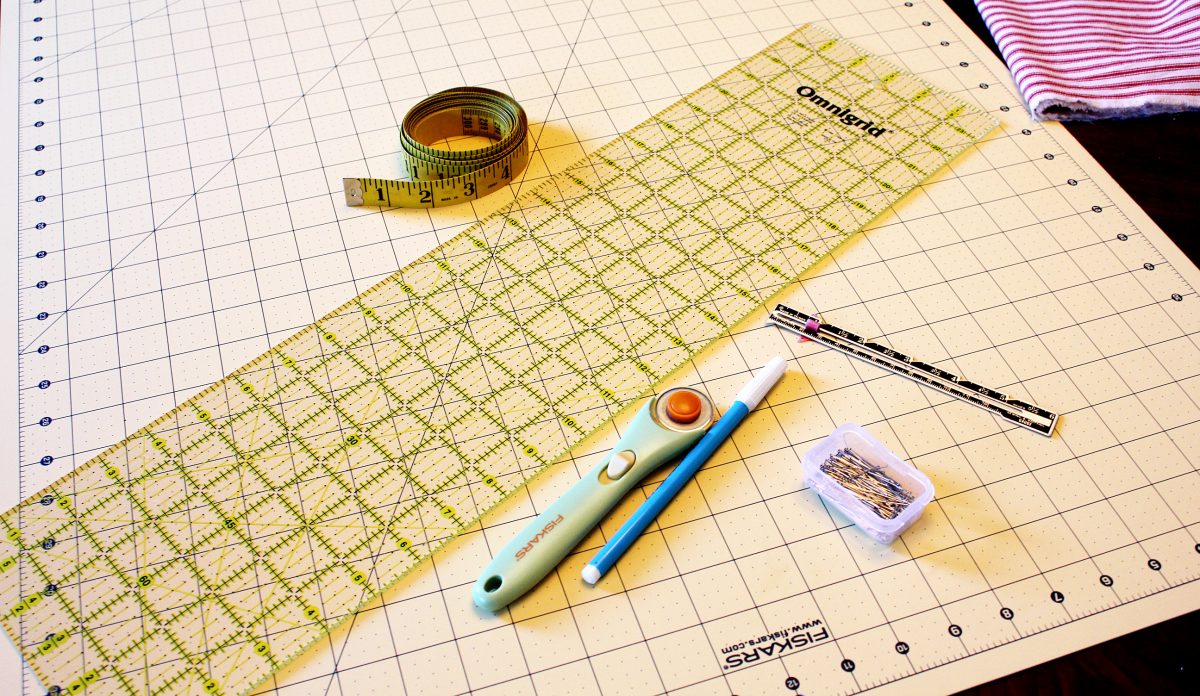
Three tools necessary for straight and square pieces:

  1. Rotary cutter
  2. Acrylic ruler – my favorite 24 x 6 inches, but I also love 14 x 8 inches. Another handy one is 12 x 6 inches. I use them all.
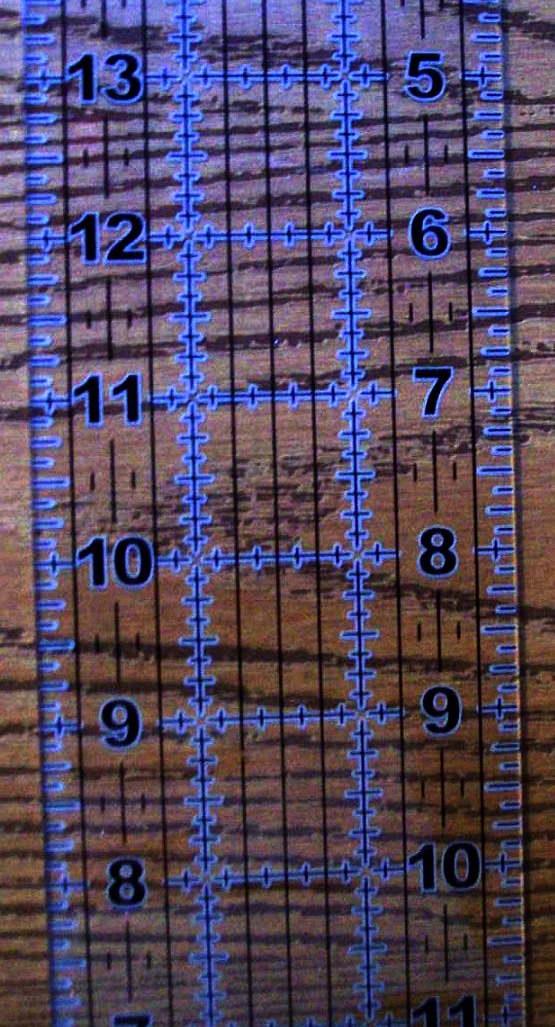
  3. A self-healing cutting mat, measured in centimeters and inches. One with measurements is the KEY here.

Most Important!

RULE #1 – Never Cut Toward Yourself or Sideways with a Rotary Cutter – Always Away from Your Body

RULE #2 – Measure Twice and Cut Once

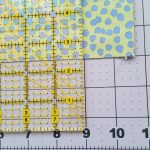
  1. Open 21 x 18 inch piece. Press with iron flattening fold creases. It makes a difference, you will see!
  2. Cut away selvage edge. You will have the longest part on the mat. Do not double the fabric and trim as close to the edge of the selvage as possible.
  3. Refold the length piece in half by taking the left side and match the edges on the right side where the selvage was.
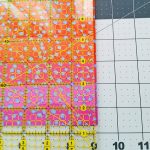
  4. Square right hand edge with ruler and mat. Take off just a little sliver. Then trim the opposite side for threads. Not much to do there if it is square.
    • Now, the left has a fold, the top is folded two times giving you 4 layers of fabric. The top folded pieces have to be shaved too and the left side so you will still have exactly 9 inches on those two sides if you are careful.
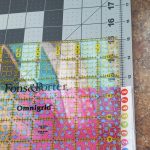
    • Are you still here? Almost done!
  5. Line up the longer piece with the ruler, and trim off the small 2 inch piece to have 4 perfectly squared 9 x 9 pieces. The best part is you only lose about 1 ½” of the fabric by cutting it this way.

However, if you are feeling bold… and you put:

Beautiful 8 x 8 inch napkins ready for your next meal or party.

Beautiful 8 x 8 inch napkins ready for your next meal or party.

Right sides together, sew up the sides at ¼ inch leaving an inch or two (somewhere close to the end but not the corner) to turn them to their right sides, press seams, pin opening closed and top-stitch around all sides.

Then you have:

Beautiful 8 x 8 inch napkins ready for your next meal or party.

I would love to hear your comments or questions. Stop by and see me again soon!

Cheating on the Measurements?

Cheating on the Measurements?

Sometimes, it’s easy to get wrapped up in the latest trends and technologies. That idea can be seen by anyone who rushes out to buy the latest phone, computer, or game system. I’m not saying having the most current examples of those things is bad, but the situation can lead to the mental debate of how much your phone/computer/gaming experience is actually bettered by having the latest in technology.

Believe it or not, this logic can be applied to the world of sewing as well. If you give a bit of thought to the sewing machines your grandma might have used, you could already see carbon dating, so to speak! It was a different world for sewing, and that world continues to change! In fact, not too long ago, I saw a sewing machine for sale that seemed to have digital buttons for the stitch types. Simple change, but kind of weird to me! Were we really that inconvenienced by turning a knob for different stitches?

Convention or Innovation

I’ve been giving this overall notion some serious thought, and I’ve come up with one area where simplicity can get the sewing job done in a world where technology keeps pushing farther. So, forget the glitz and glamour of modern technological advancements for a moment, and walk with me down Simplicity Lane for a block or two! The reason? We’re exploring not-so-technological options for that one area in particular: Measuring!

There are a number of options available for purchase in regard to measuring your material for your sewing projects, and far be it from me to say they’re all ridiculous and not worth the investment. I haven’t tried them all, and I can’t judge an entire category of sewing utensils on the small number of tools I have in my collection.

This fancy see-through ruler can definitely come in handy, but guys, you need one.

This fancy see-through ruler can definitely come in handy, but guys, you need one.

But the truth is that even if those advanced tools are worth the money and are worthy of being in your sewing collection, you still might not have any of them at your disposal next time you sew. This fancy see-through ruler can definitely come in handy, but guys, you need one. There are other (maybe less impressive-looking/sounding options) that can still get your measuring done!

For this reason, I will be exploring three options for measuring your fabrics that might be technologically lacking, but are logically accurate nonetheless. Let’s do this in a reverse good-better-best format as we scale it back farther and farther from the technological best, shall we?

The Steps

Using the flimsy roll of tape that can come with a general sewing kit can serve your fabric-measuring purposes.1) Reverse Equivalent of Good: Old school sewing tape is still an option! Sure, it might look outdated, and it likely won’t wow most people if you bring a roll of it out of your sewing case. But the bottom line is that it works!

I’m not saying more advanced methods of measuring don’t have their benefits, but when pressed, using the flimsy roll of tape that can come with a general sewing kit can serve your fabric-measuring purposes. If you have it and you’re in an economic pinch, you can still make your fabric measuring work!

2) Reverse Equivalent of Better: Honestly, we can take the idea of simplifying that measurement detail even farther, way back into elementary school days to reach for a general ruler that can also be bought here.

In fact, certain rulers come with the added bonus of being potentially more useful than sewing tape for tracing your line, assuming they have a smooth edge. All you have to do is hold the ruler in place and make your mark! Just like kindergarten, but maybe with more straight pins!

3) Reverse Equivalent of Best: Anything that’s geometrically okay works, too! This one though does come with a disclaimer because exact numbers could be a big deal in projects. If you’re working with a pattern, following its given numbers can allow you a polished final product, so this strategy won’t necessarily work out for you in that scenario. But for those of us who make patchwork things, that’s not the case!

Sure, a person might have a preference toward one measurement of block to use, but the fact is that if your blocks are more or less equal, you’re good to go! It doesn’t matter if they’re 10 x 10, 9 x 9 or 8.25 x 7.75. If they match and you make sure the longer sides all go in the same direction, your final product can still be polished. With that in mind, you don’t need an actual ruler. One specific object that’s used for an outline can do just as well — like a box or a frame. As long you can outline it and are more or less consistent with that shape, your blocks will match up in size.Oh, and if you use one certain block of fabric for your general pattern, make sure you mark it so you recognize it among the rest, then don’t forget and sew it into your quilt! Oops!

One more disclaimer though: This technique is not necessarily for the strictest of quilters and such who demand perfectly square blocks! Oh, and if you use one certain block of fabric for your general pattern, make sure you mark it so you recognize it among the rest, then don’t forget and sew it into your quilt! Oops!

So, there you go — moments when technology can be scaled back for measuring purposes, and the careful measurer can still get a finished product! Do you have any cheat strategies for your sewing? Leave a comment, and let me know!