The Safety Pin

The Safety Pin

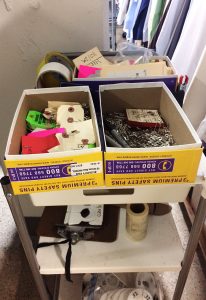
I try to collect them all in one drawer, but they escaping & disburse themselves all about the apartment.

I try to collect them all in one drawer, but they escaping & disburse themselves all about the apartment.

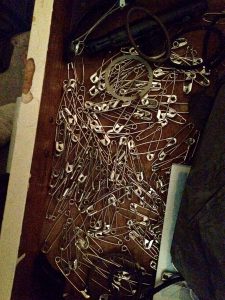
Almost every pocket in every article of clothing I own, there are a couple of safety pins. I can also usually find at least three of four of the little buggers on the bedroom floor. Sometimes they end up outside my apartment door because I reached for my keys and pulled out a fistful of safety pins instead. I try to collect them all together in one drawer but seem intent on escaping and disbursing themselves all about the apartment.

I use safety pins for fitting clothing, for hanging patterns, to attaching notes to things. Of course, there are different sizes and flavors of safety pins.

Size matters
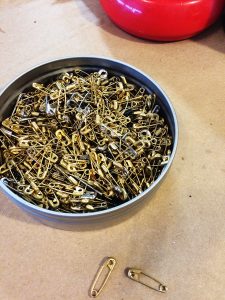
I use the tiny gold ones when I’m fitting something very delicate like silk or gauze so that they don’t make an unsightly pin hole.

I use the tiny gold ones when I’m fitting something very delicate like silk or gauze so that they don’t make an unsightly pin hole.

I use the tiny gold ones when I’m fitting something very delicate like silk or gauze so that they don’t make an unsightly pin hole. For some reason, someone thought that gold pins without the end spiral were good idea. I suspect because sometimes things snag on the little coil but, without that coil, the pin is free to slide about so it’s hard to know exactly where/what the mark is.

I use the big number 3s for the majority of my fitting needs. And the number 2s if I need a thinner pin.

History Hunt

Walter Hunt invented the safety pin in 1849. He was the first one to create a pin with the coiled spring on one end and the clasp or catch on the other end to keep the pointy bit safe from tender fingers. Hunt sold his idea outright for $400.00 so never collected any royalties or anything from it. Legend has it that he needed to pay off a debt and thus invented the safety pin and sold the rights within a few hours.

I use safety pins for fitting clothing, for hanging patterns, to attaching notes to things.

I use safety pins for fitting clothing, for hanging patterns, to attaching notes to things.

Selling his safety pin idea wasn’t Hunt’s only unfortunate business decision though. He was also the first one to invent many of the significant parts of the sewing machine, including a curved needle and a shuttle. Hunt created the first sewing machine prototype in wood, which didn’t work all that well so he ended up selling his idea to Elias Howe and Isaac Singer.

Hunt invented a plethora of other things including a streetcar bell, a knife sharpener, paper collars, and an antipodean walking device – or suction cup shoes!

Alas, Hunt didn’t seem to have much business savvy or any true idea of what his inventions could be worth, and just how wide spread and common place they would become.

A modern twist

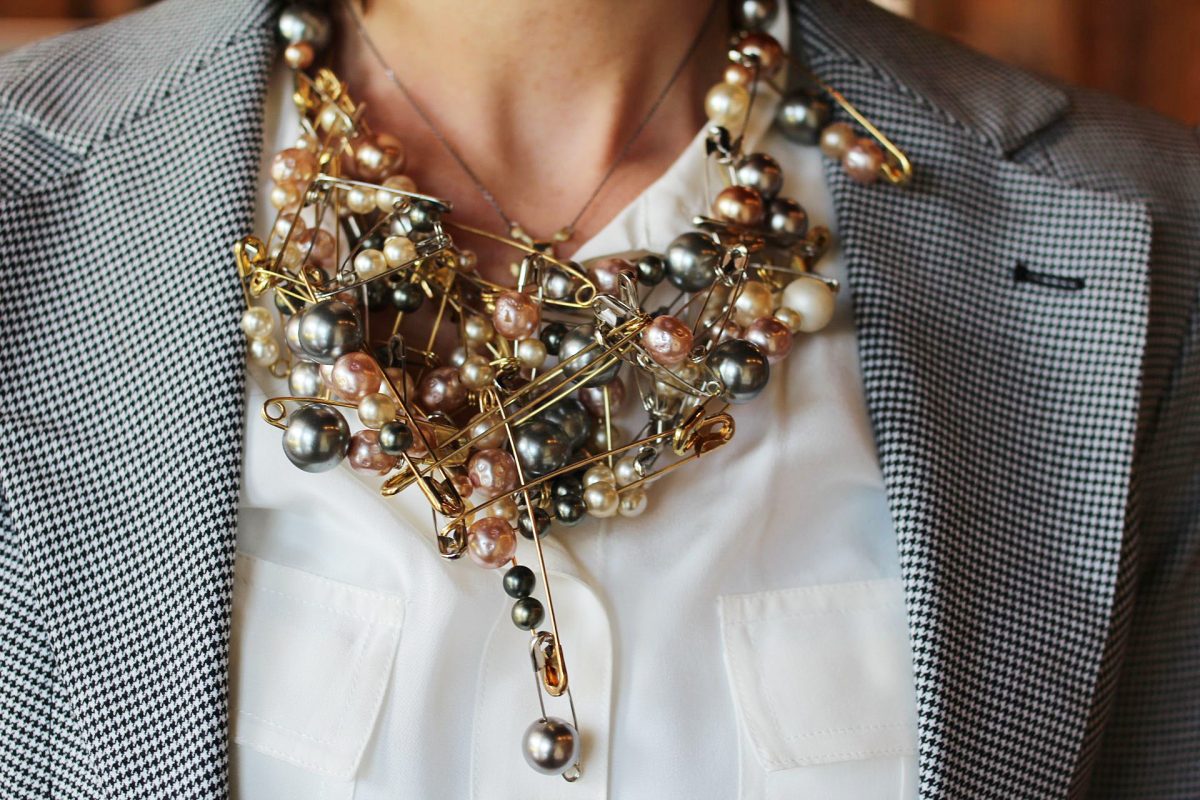
The safety pin has found its way onto the catwalk and into high fashion with decorated, embellished safety pin broaches and large dangling safety pin earrings.

The safety pin returns as punk becomes more relevant than ever – via Independent.

The humble safety pin also has a rich symbolic history and significance. Punk culture has long used the safety pin as an expression of individual freedom and DIY culture. In the wake of the UK’s Brexit and the US presidential election it has come to symbolize tolerance and unity with all people.

Wonder what Walter Hunt would have sold his idea for back in 1849 if he had been able to foresee even a small fraction of what his pin would become.

Pet Sewing Project Roundup

Pet Sewing Project Roundup

Do you have four-legged family members? I’ve got four cats. They’re my kids. My fur babies won’t take well to clothes, but I often imagine how cute they’d look in certain outfits. They’re also not awesome about sleeping in beds I make them, but that doesn’t stop me from trying! If your four-legged family members are better about using or wearing the projects you make them, check out these cool projects.

Dog Boots

Does your dog hate going out in the snow? Make them a set of boots. Their feet won’t get cold and the boots protect their pads from the salt and sand used to keep you from slipping. They’re also adorable and stylish. The grippy bottoms on these boots help your dog keep their balance and the fleece lining dries out quickly.

Each boot takes less than 10 minutes to make and fit on any of their four feet. The quick and easy nature of these boots means you don’t have to worry about making new ones when they inevitably wear out. If you’ve got a small dog, you might be able to make these dog boots with your scrap stash.

Pet Beds

Does your pet destroy blankets trying to make themselves a bed? Or maybe, like my cats, they take up more space on the bed than they give you? Show them you love them and save yourself money on new blankets or a bigger bed with these cute pet beds. They come in three sizes and styles suitable for any pet. Each one has a contrasting inner pillow for added comfort. Give your pet a comfortable place to sleep and choose easy care fabrics so you can wash it any time you need!

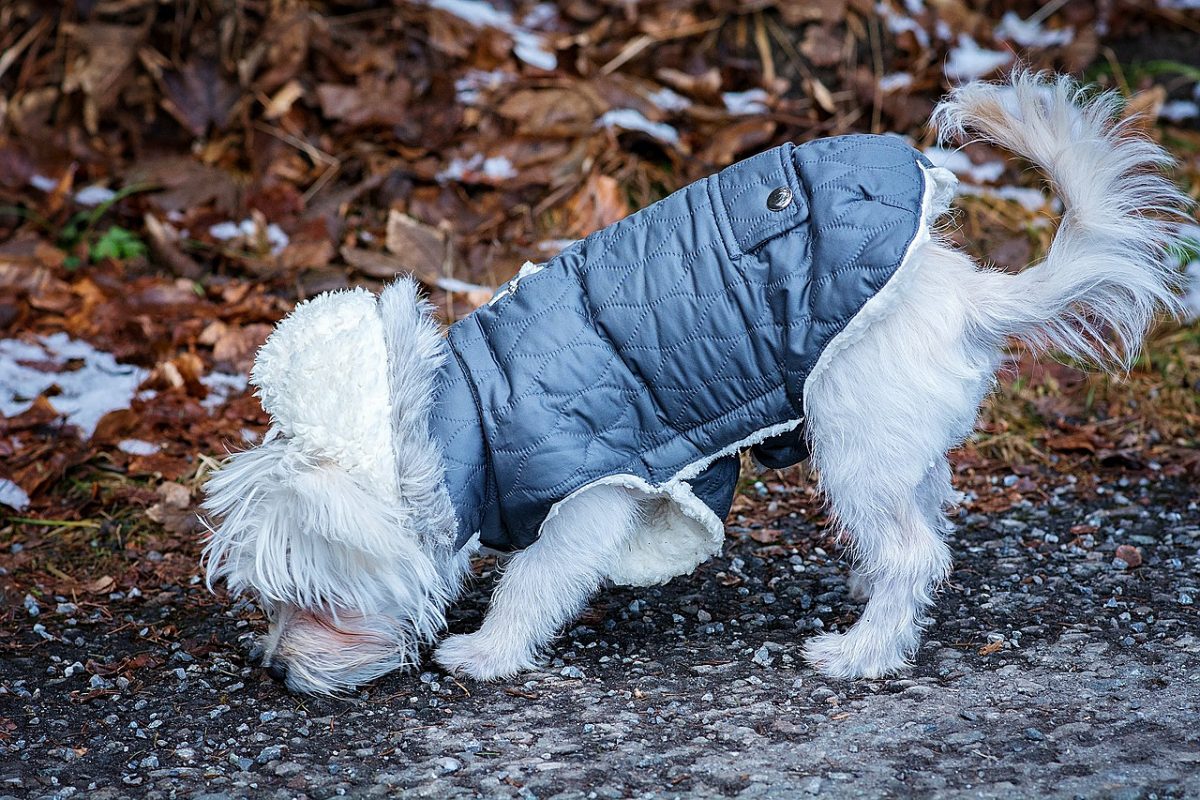
Dog Coat

Pet Sewing Project Roundup

Dogs who get shaved regularly as part of their grooming regimen feel the cold more deeply than those who keep their full body of fur. Help your dog withstand cold weather by making them a dog coat (Note: this can also be adapted to make a coat for hairless cat breeds). Depending on your dog’s tolerance, you can add additional lining for more insulation or use snaps or buttons instead of Velcro if your dog is skittish with noises.


Dog Pullovers

Does your dog already have a coat, but still looks cold? Maybe they need a hood! Or maybe they’ll just look adorable with a hood pulled up and their nose peeking out. Either way, try this cute pullover pattern. It comes in four sizes, so you’ll be sure to find one that fits your pup – big or small.

What items have you sewed for your pet? Take some pics and share!

Pressing Accessories: Essentials To Buy and DIY

Pressing Accessories: Essentials To Buy and DIY

Last week, Charlotte Kaufman showed us her precious pressing station she made for her sewing room. Vanessa Nirode wrote about irons a while ago. But we haven’t discussed pressing accessories on this blog yet. We need to, because there are a few things that you really must have near your iron to get things done well.

While I am on the subject, I want to explain the important difference between pressing and ironing, because they are not the same thing. Ironing is when you move the iron back and forth across a fabric or garment, smoothing wrinkles out. In pressing, you don’t move the iron back and forth in the same manner, but rather press down with the iron, moving it slowly or not at all. You can iron clothes or fabric, but usually use pressing in sewing. Press seams open or to one side. Press to shape garments during construction. And press to affix fusible web and other heat treated adhesives to fabric.

Proper pressing technique makes the difference between a perfect finished product and a mess. Quilters who press every seam know that it’s key to success. Other things that can make a difference to your finished products are pressing cloths, a seam roll, pressing ham, and spray starch- or something better than starch. Useful but not as essential are a clapper, seam board, and pressing mitt. If you are lacking these things, you fix that with DIY; here is a link to a detailed page with instructions for making them: Make your own pressing equipment

Let’s take a closer look at the pressing accessories that are essential, so that you can understand why these items are must haves.

Pressing Accessories: Essentials

Don’t be without these:

Pressing Cloth

These serve more than one purpose. They can protect delicate fabrics from too much direct heat, and protect your iron from gunk and goo when you are affixing glue. A pressing cloth is essential for fabrics like linen and rayon, which develop a sheen if pressed without one. For most projects, I prefer to use a large square of T-shirt knit that I cut for this purpose. However, a see-thru pressing cloth is essential as well, to see what you are doing when working with small pieces and applique.

Seam Roll

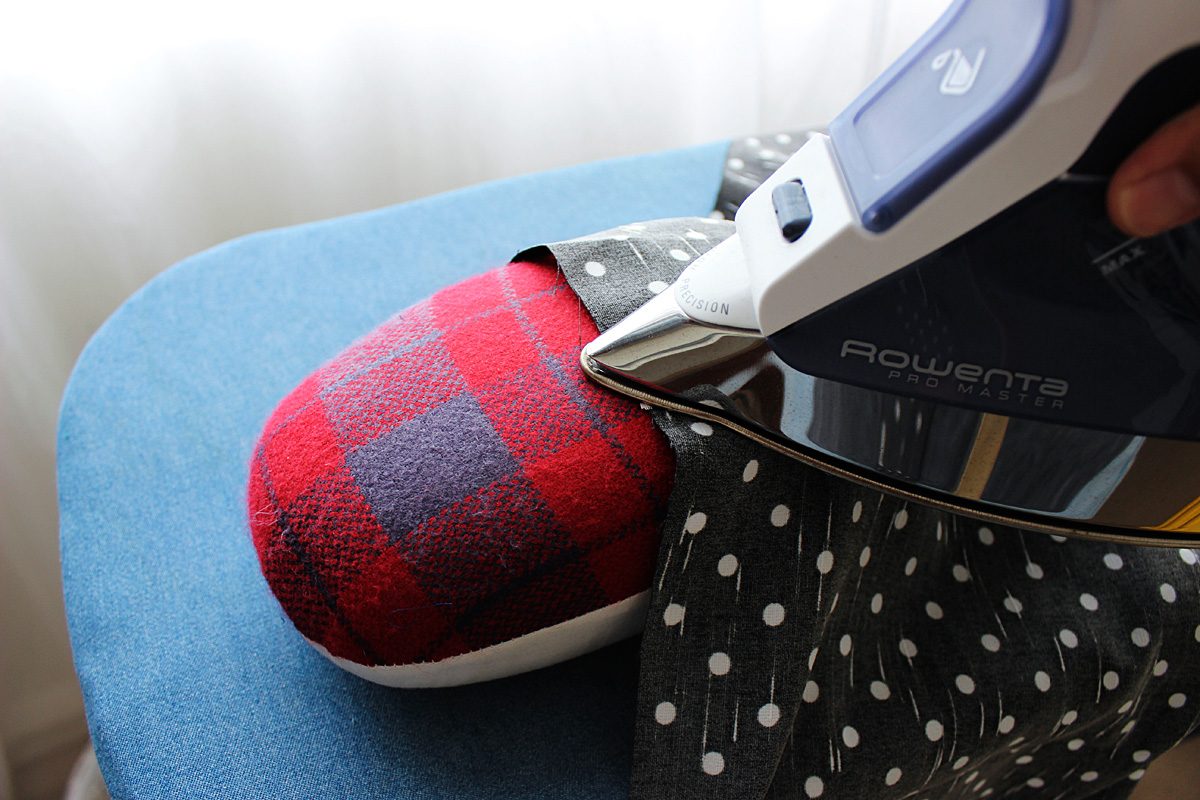
A seam roll is helpful to have for pressing small curved seams and darts.

A seam roll is helpful to have for pressing small curved seams and darts.

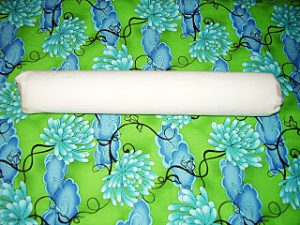
A seam roll is helpful to have for pressing small curved seams and darts. It also prevents seam allowances from impressing through to the front of the fabric when you iron garment seams open. The way to do it is to place the spread open seam down over the roll, then press the right side of the fabric instead of the seam itself. I made a seam roll following the directions linked above, except I made one variation. I started with a couple of magazines, rolled tightly together as the base. Then I covered these completely by wrapping electrical tape tightly around. I added the extra layer of a felted wool sweater sleeve, and then wrapped the whole thing with another piece of cotton canvas and hand sewed it closed.

Tailor’s Ham

It's called a ham because it looks just like one. It's a stuffed and curved helper.

It’s called a ham because it looks just like one. It’s a stuffed and curved helper.

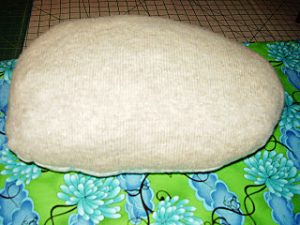
It’s called a ham because it looks just like one. It’s a stuffed and curved helper. You can use a tailor’s ham for many purposes, most importantly and often to shape garments and curved seams. You’ll use it on collars, sleeves, sleeve caps, cuffs, bustlines and darts, waistlines, hip seams, and more. You want a ham made from two fabrics: wool on one side for pressing wool, synthetics, and other fabrics that need low or medium heat; cotton on the other side for high heat tolerant fabrics like cotton and linen.

Here’s the one that I made, instructions are linked at the top of this page. Or you could save time and stuffing and just order one from our store.

Best-Press

I’m not a big fan of starch. It can be messy and it smells, polluting my room. Anyway, aerosol cans are environmental bad guys and I try to be environmentally conscious. Treating fabrics is essential,though, so I use Mary Ellen’s Best Press instead. I love this stuff and go through it quickly, because I never use my iron without it. As opposed to starch, it smells really nice. It doesn’t flake or leave any residue, which starch sometimes does. It provides a crisp finish and makes fabrics soil-resistant. I really recommend ditching the starch and switching to Best-Press instead; you’ll be glad that you did. Order some right now. In fact, do yourself a favor and get two bottles, because you will love this stuff and not want to be without it.

Be sure that your sewing room has all of these items so you can conquer any pressing job.