Do you have a child in your life that wants to learn how to sew? If so, encourage that curiosity and allow them to learn this amazing skill. While the process of learning to sew is technically the same for children and adults, there are a few things more to consider when teaching young children how to sew.
Do you have a child in your life that wants to learn how to sew?
What is the right age?
Can your child read? Can they follow simple instructions? Many of my friends begin teaching their children around age 7-8, however children as young as 5 or 6 can sew if they have the right maturity level and fine and gross motor skills to use a sewing machine. If they have the ability to hand sew, they can probably learn how to use a machine.
Adjust things to child size
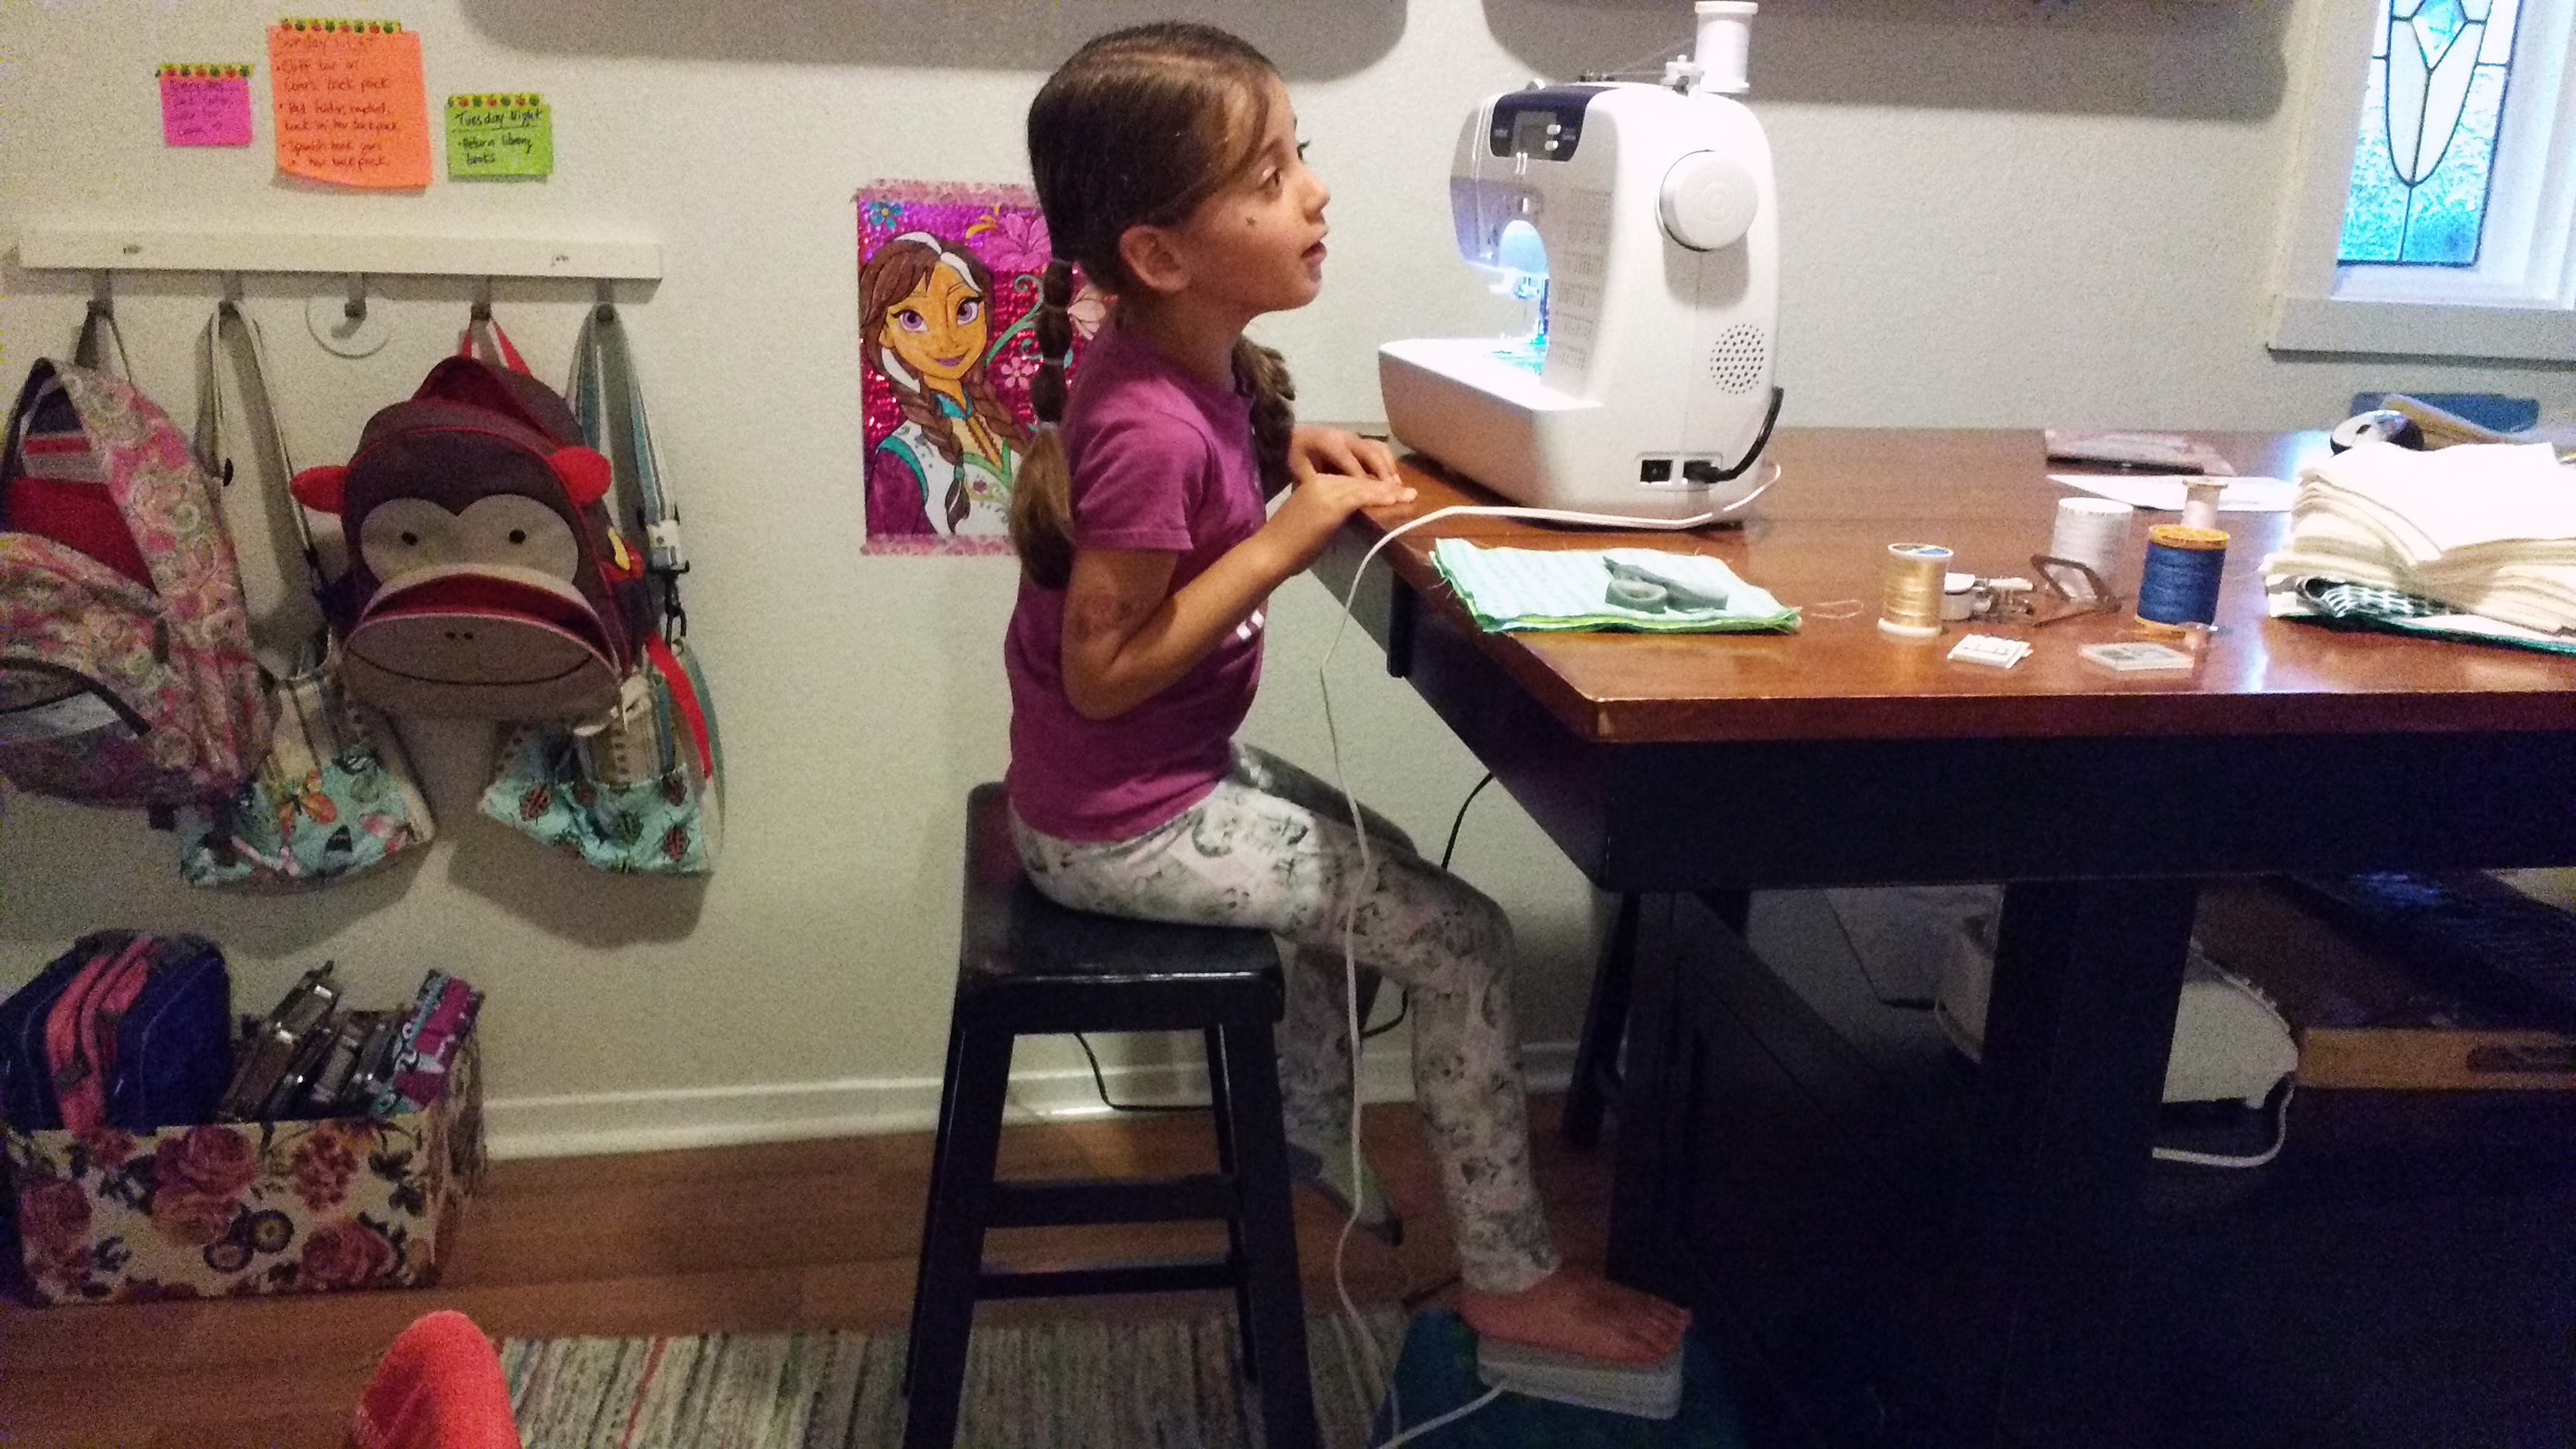
When my 6 year old daughter sews with me, I place the foot pedal on a bathroom stool so that she can reach it while she sews.
When my 6 year old daughter sews with me, I place the foot pedal on a bathroom stool so that she can reach it while she sews. Consider what chair you have them sit in and make sure they can reach all the pertinent parts of the machine, like the presser foot lever and the wheel.
Go over the dangers
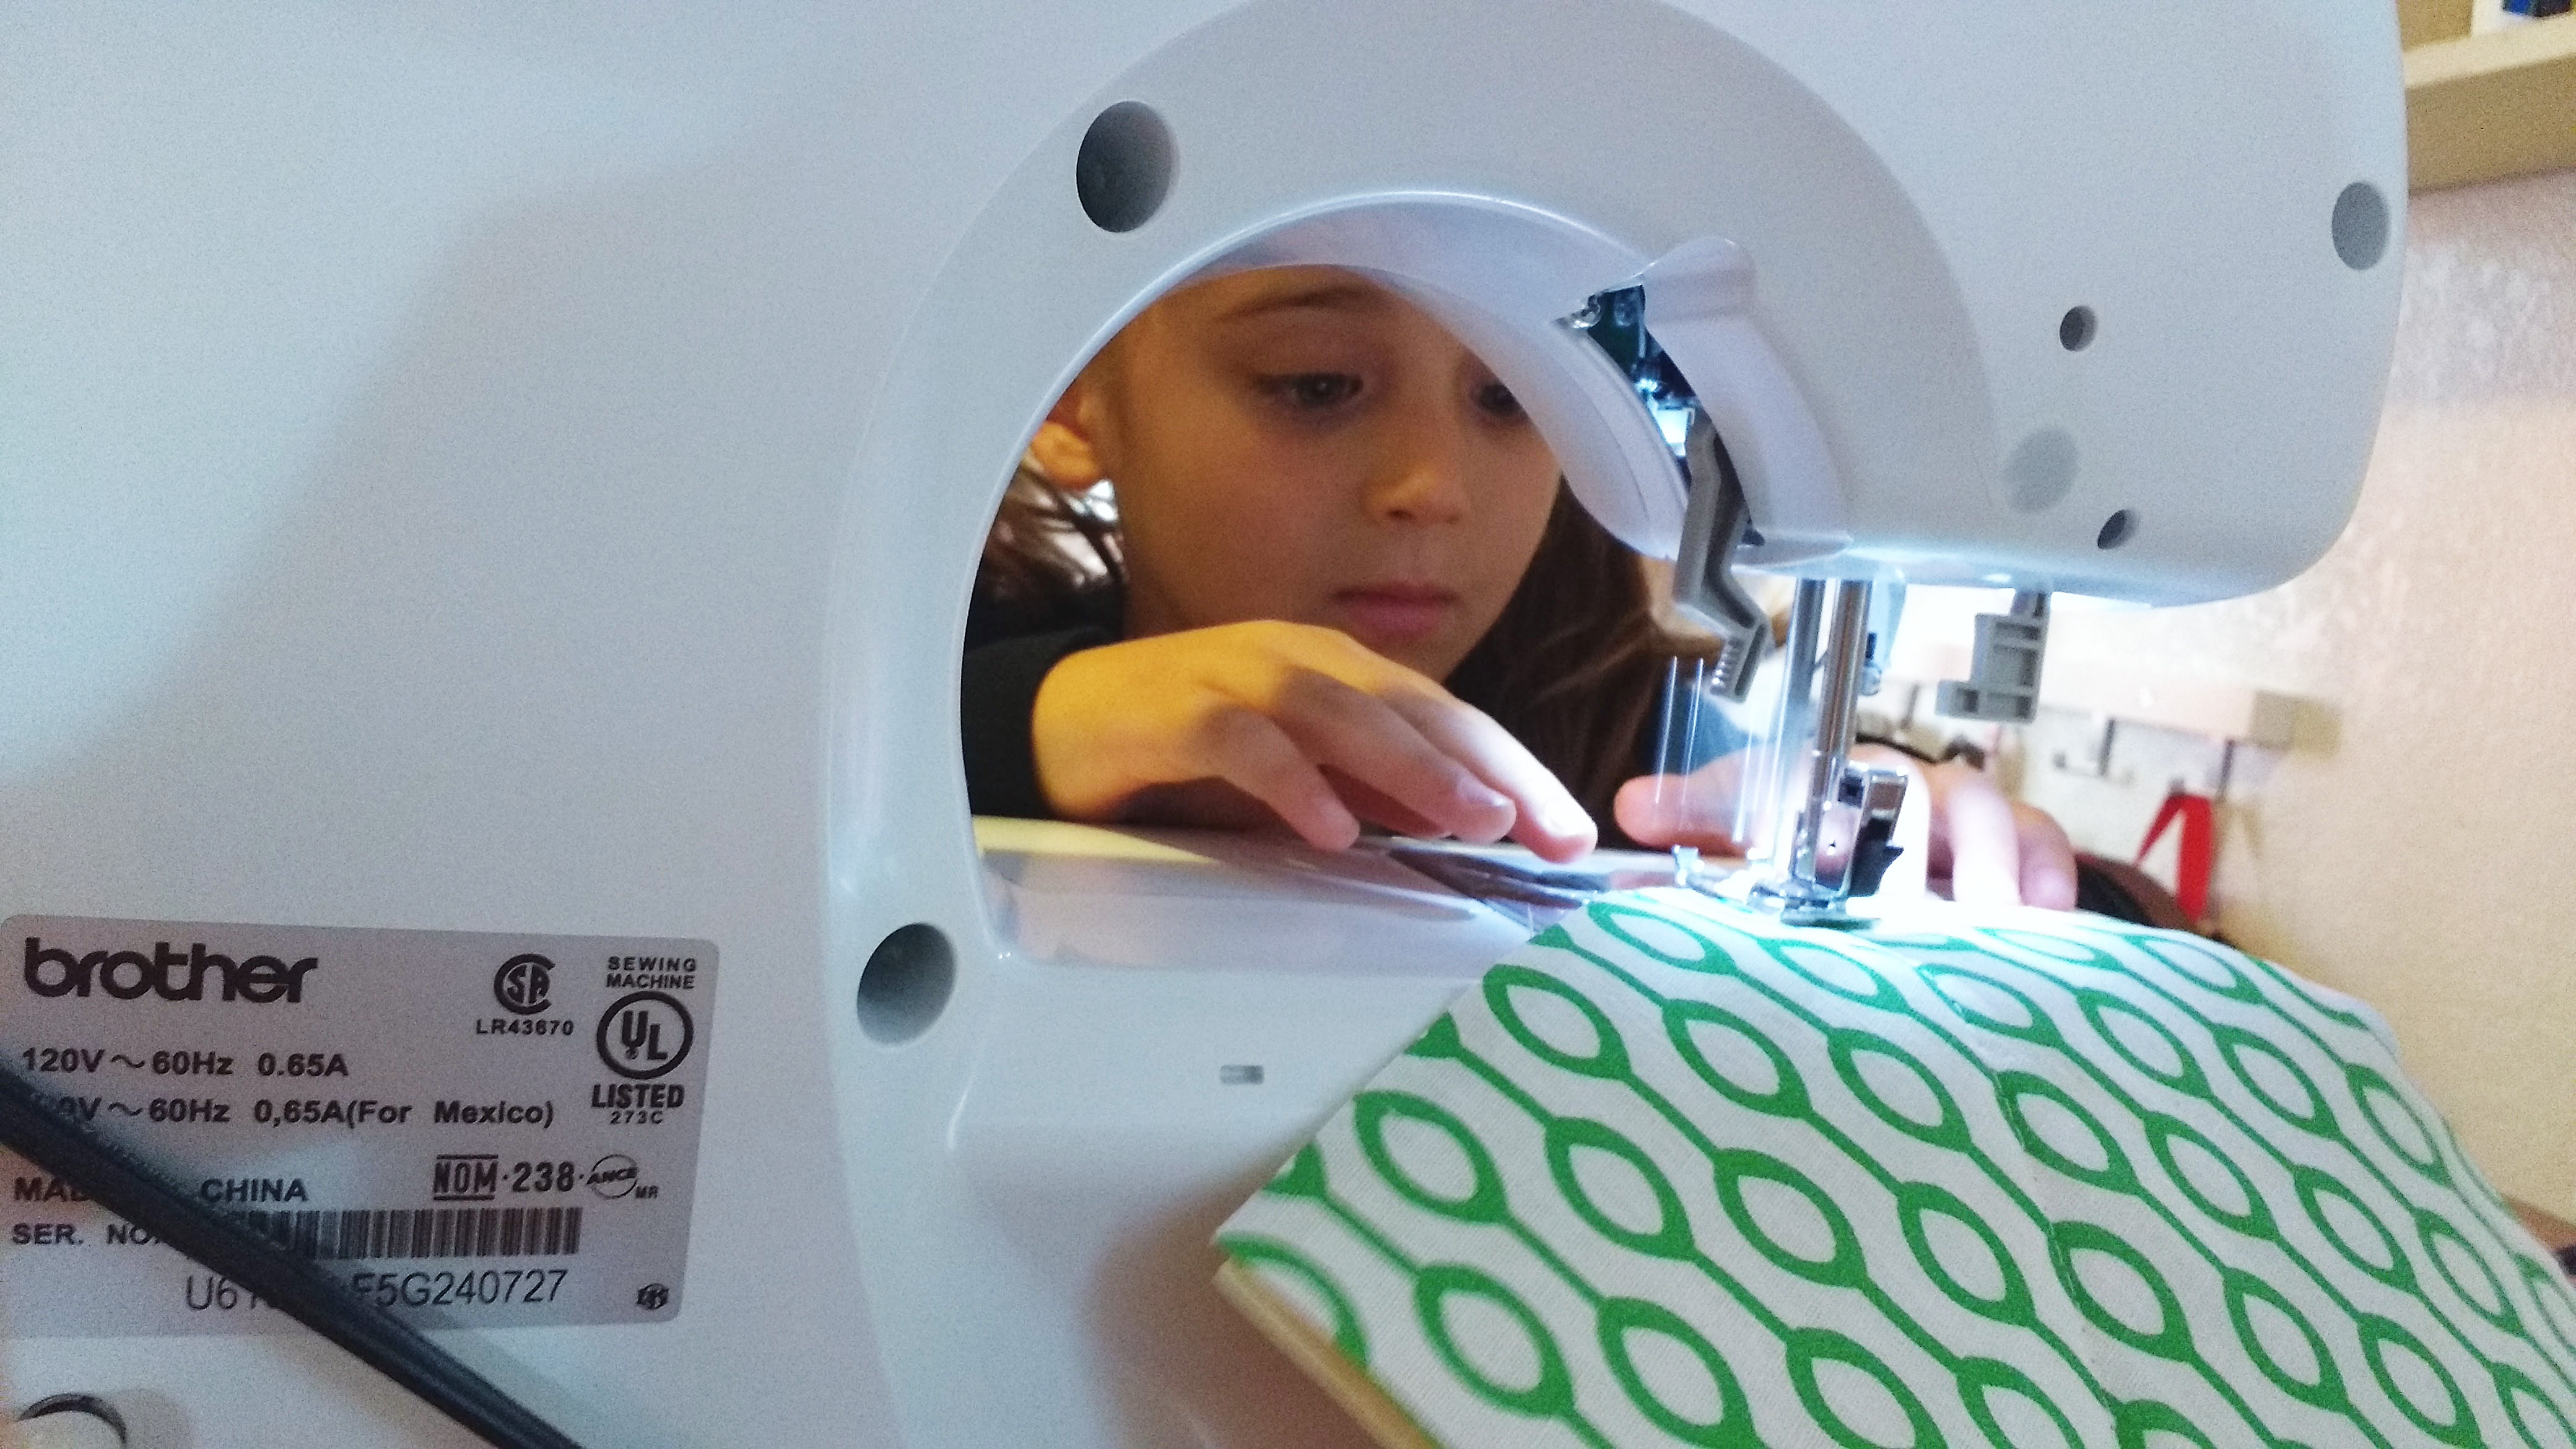
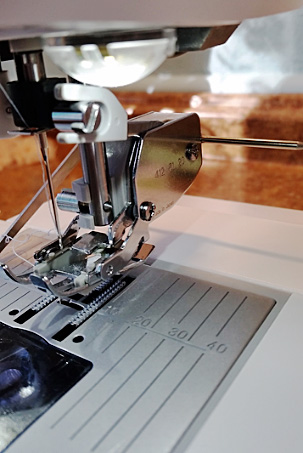
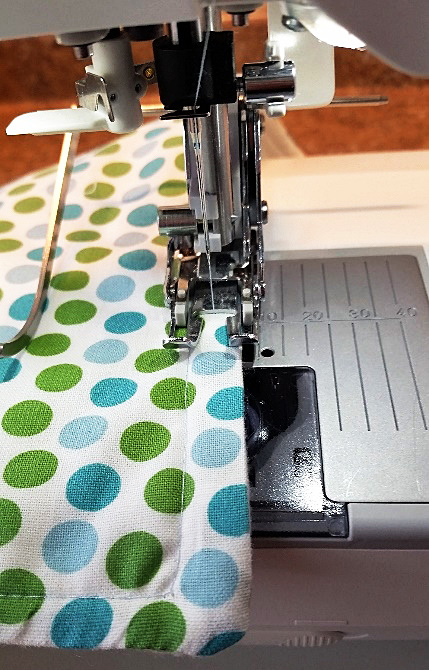
Spend some time demonstrating how fabric goes through the machine and how the needle is in constant motion when the foot pedal engaged.
The biggest danger is the needle of the sewing machine. Spend some time demonstrating how fabric goes through the machine and how the needle is in constant motion when the foot pedal engaged. Describe the few inches in front of the needle as a ‘no-go zone’ and consider putting washi tape in a small rectangle forward of the needle to remind them not to get their fingers near the needle. Also explain how the foot pedal and needle work together. If they play with the foot pedal without paying attention, they could catch their fingers (or yours) if you are in the middle of demonstrating something to them.
Practice on paper!
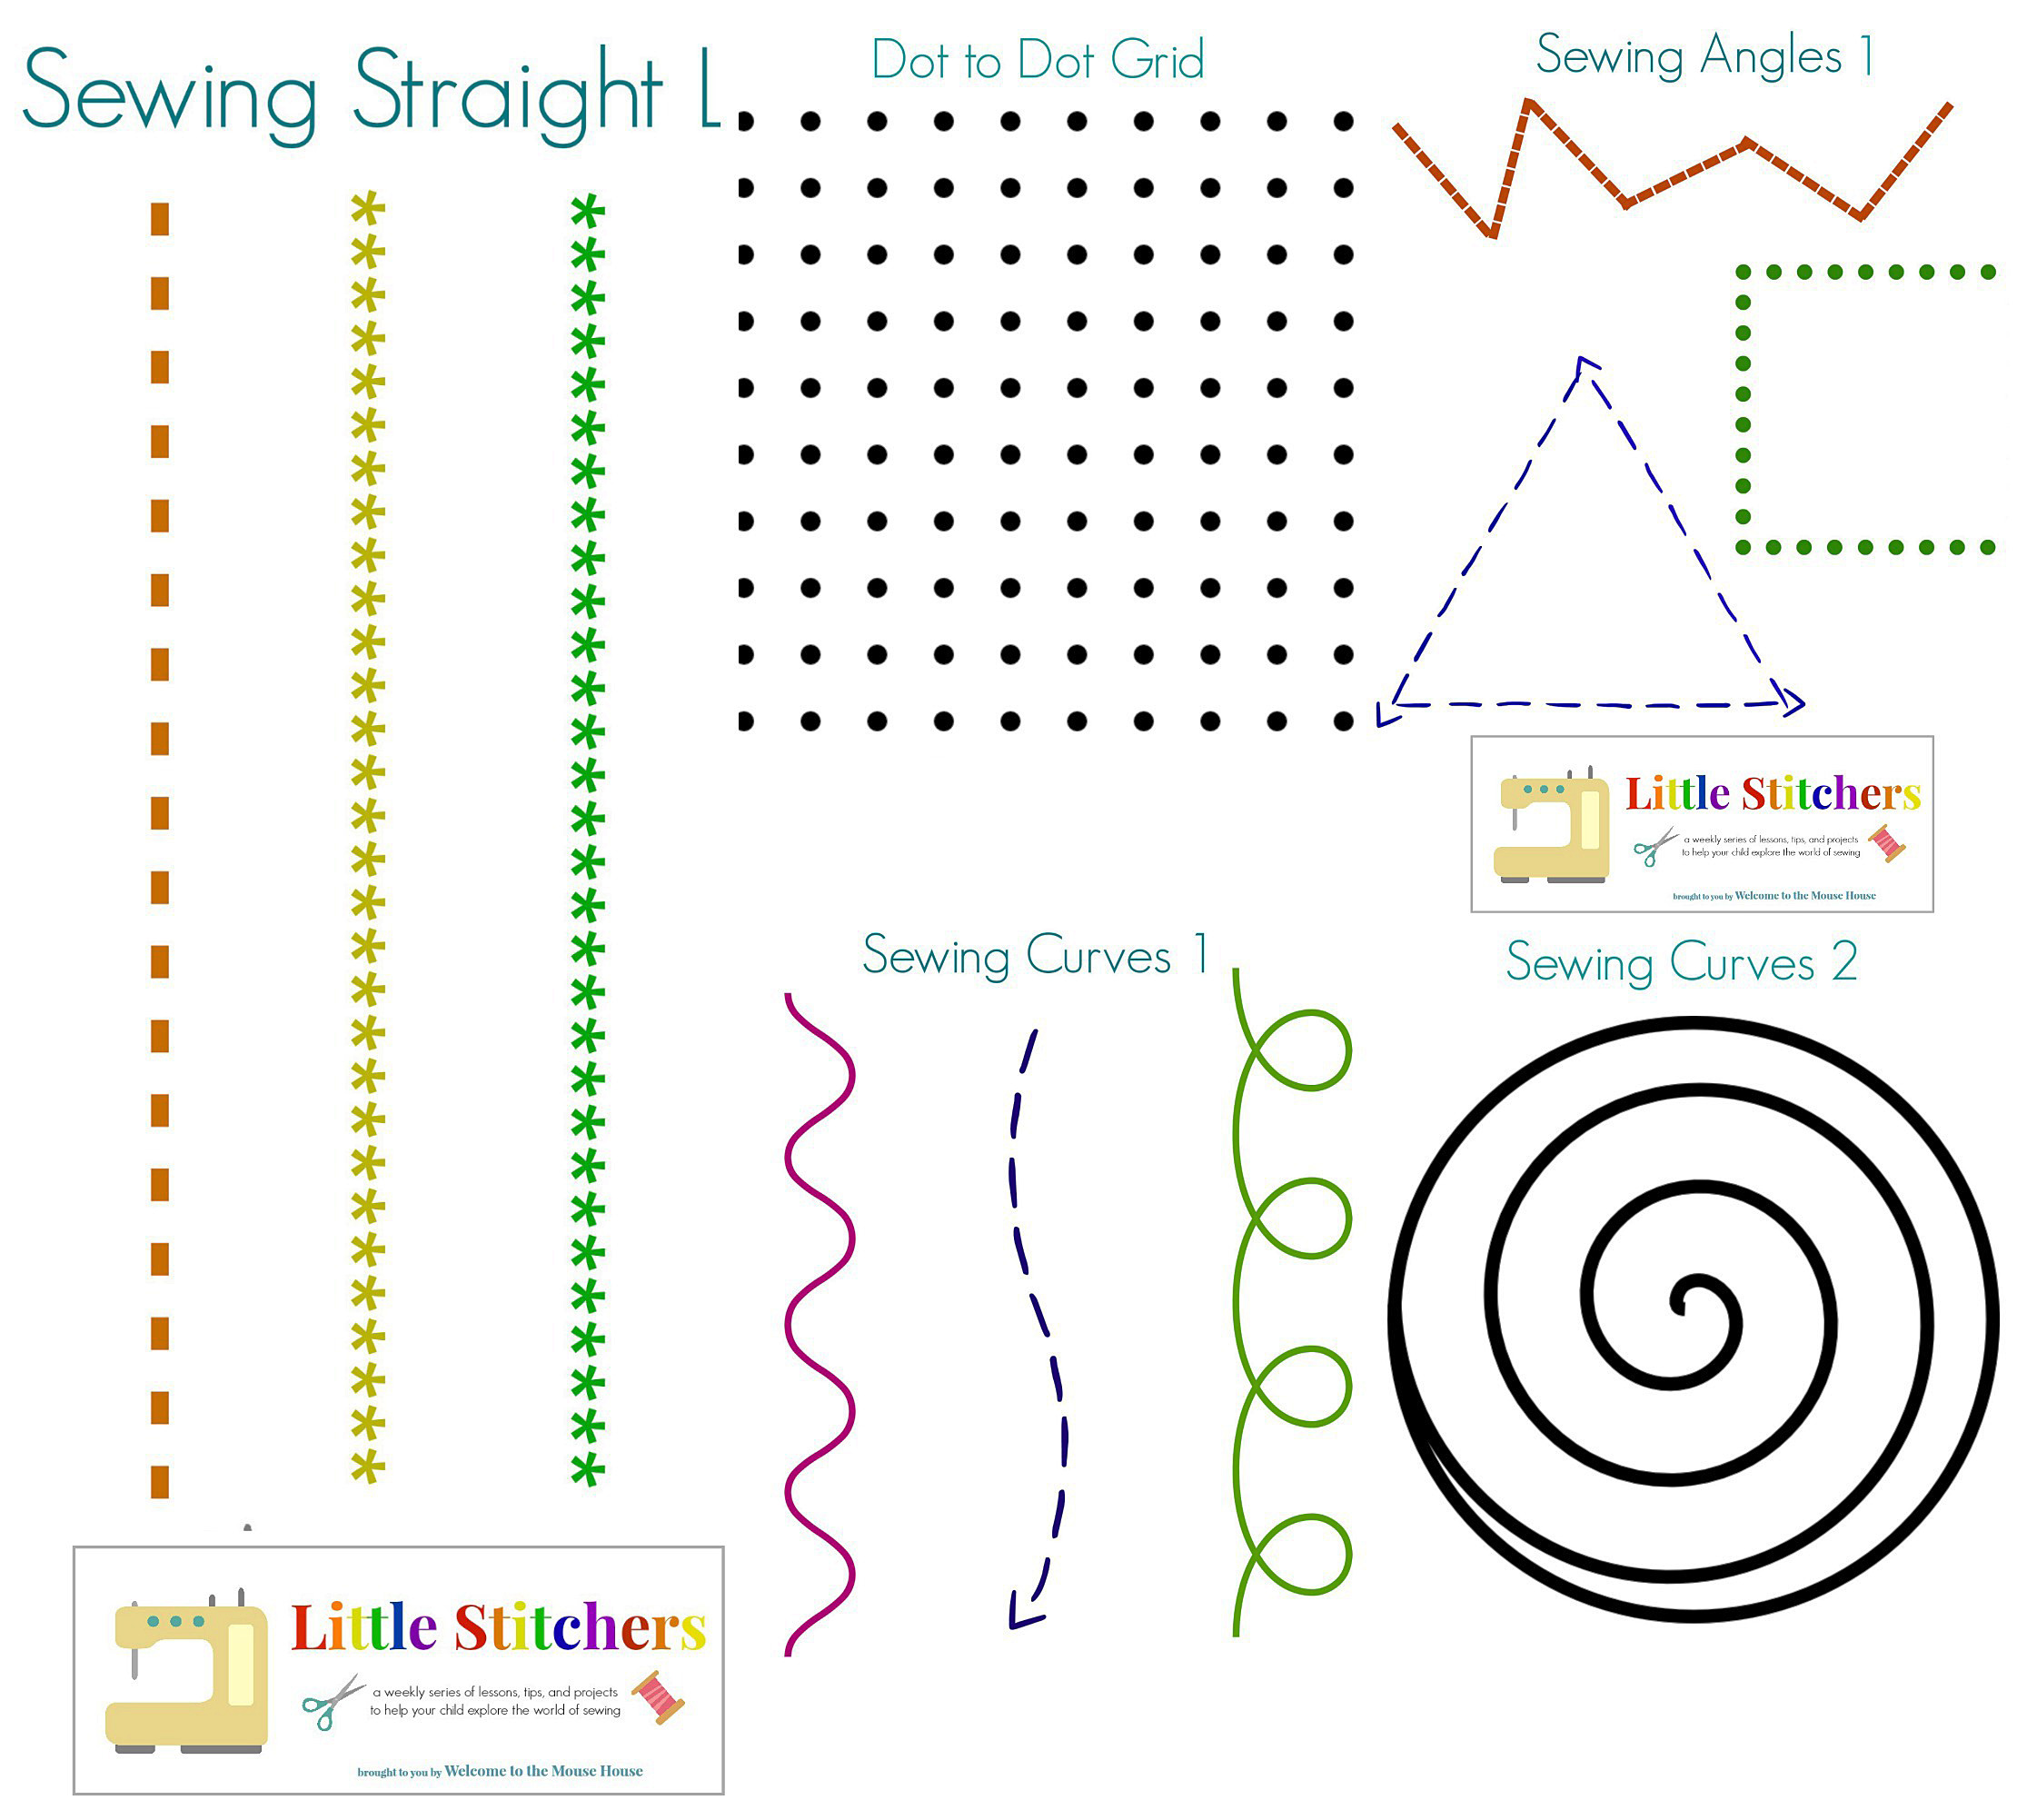
There are many printables available online that allow children to practice “sewing” by having the children sew patterns on paper.
An example of a paper sewing guide for children from www.welcometothemousehouse.com.
That’s right. There are many printables available online that allow children to practice “sewing” by having the children sew patterns on paper. This technique is convenient because the needle’s puncture holes are visible and the children can easily see where they are not staying in the lines. It’s also wonderful for helping them master sewing curves.
Engage your learner
If your child has expressed interest in sewing, try to let them start on a project they actually want to make. This ensures they’ll be invested in the learning process and will make them that much prouder of their final product.
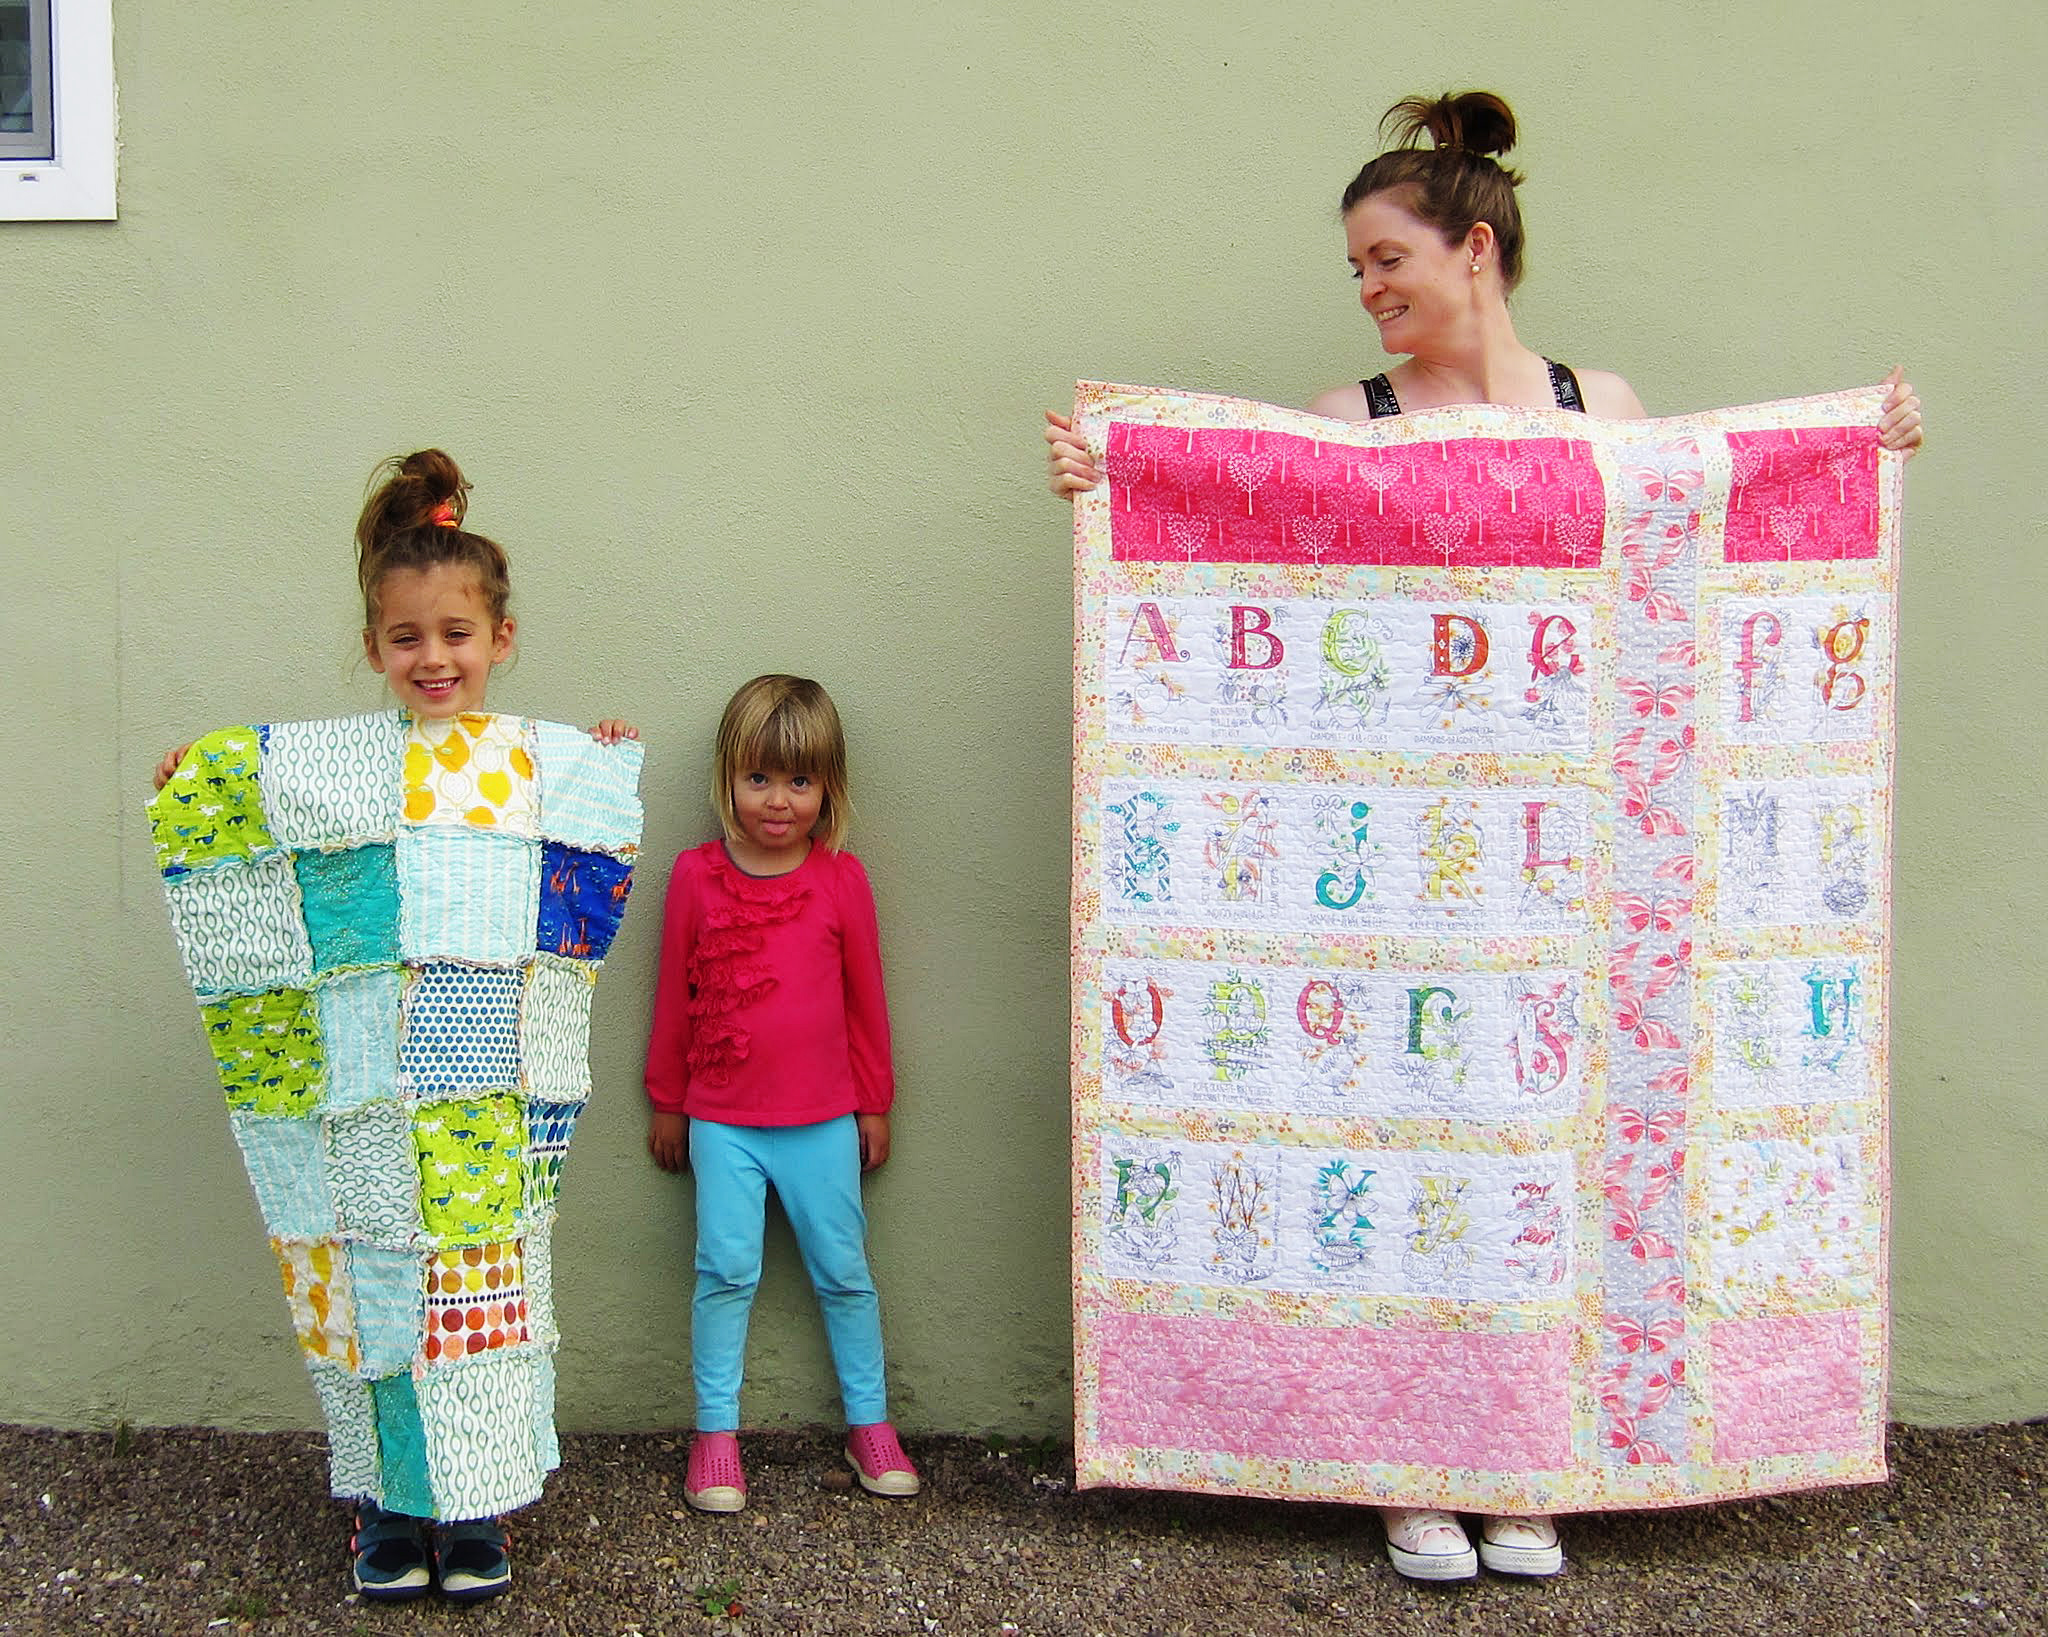
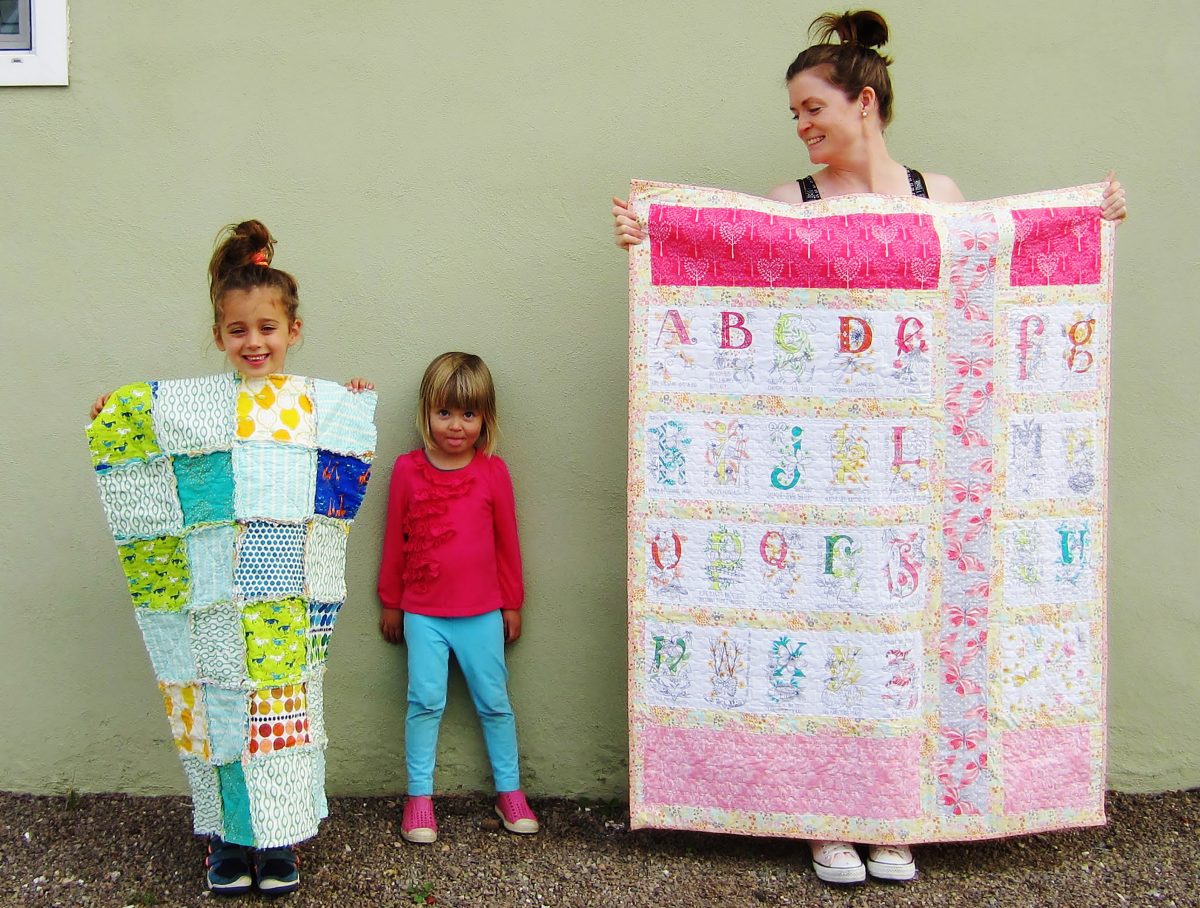
Here is my then five year old daughter showing off the rag quilt she helped to sew.
Here is my then five year old daughter showing off the rag quilt she helped to sew. She made this as a gift for a teacher at her school who was expecting a baby.
Have fun!
Don’t make this something that is stressful. If you, or the child, are starting to get frustrated, take a breather. Sewing is a wonderful skill. Don’t let their first memories of it be of anger or frustration.