In English, the word quilt is both a noun and a verb. You can make a quilt, and you can quilt one. When I was first learning about quilting, several times I tried the search phrase ‘how to quilt a quilt’ but I rarely got the information I was looking for. I’m hoping this post will find its way to others who were looking for the information I couldn’t find as a new quilter.
It took me awhile to discover all the methods of quilting and I’m still learning more to this day. If there is another technique you are aware of that isn’t in this article, please share in the comments!
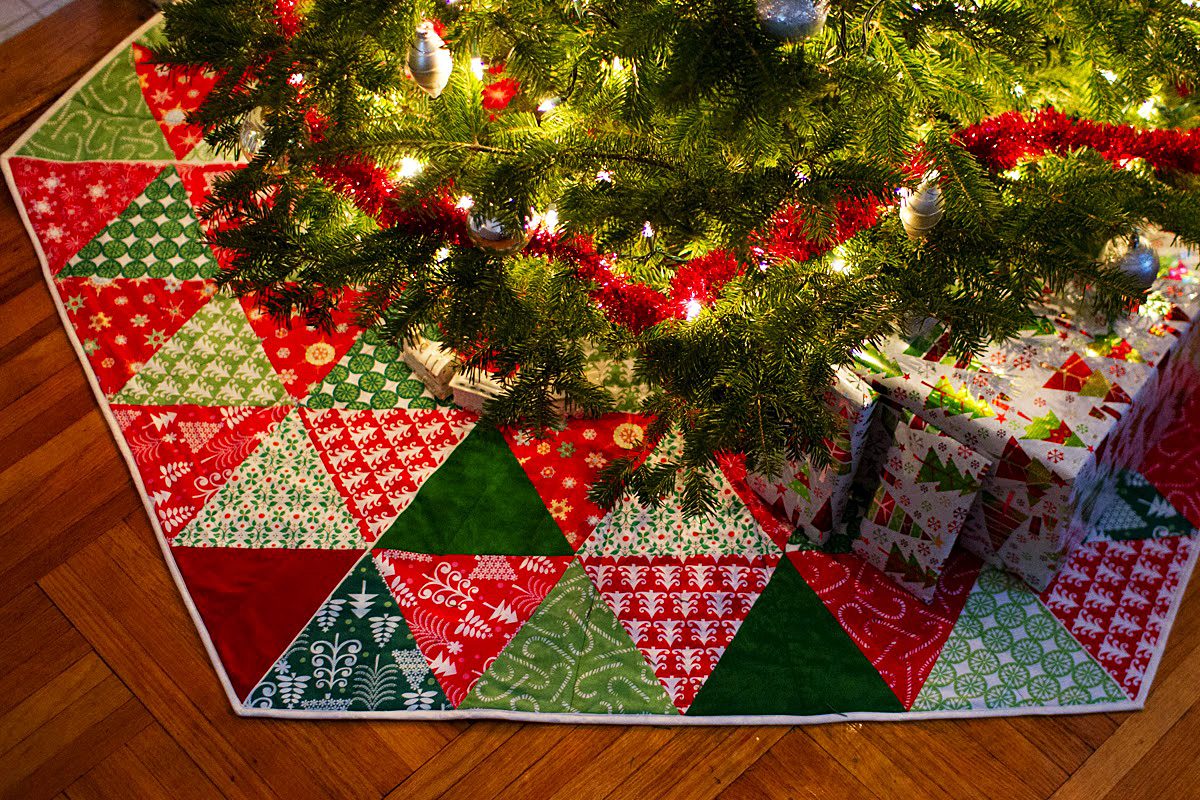
Quilting by hand
The two methods of finishing a quilt sandwich (the term for the classic three layers of a quilt: top, batting, bottom) by hand are hand tying and hand stitching. Quilts have been around since the dawn of time but for a large portion of our recorded history they were highly functional, as opposed to decorative, or a form of art or hobby. Hand tying and hand stitching were quick and effective ways of completing a quilt sandwich.
Hand tying

Images via Quilting in the Rain, WikiHow, Selvage Blog, Craftsy.
Hand tying or tufting a quilt is a method of spacing out knots every 4” to 8”across a quilt’s surface. While a square knot is the most common method of tying, quilters can get as creative as they like, using a Sheath stitch, for example, or other forms of embroidery knots.
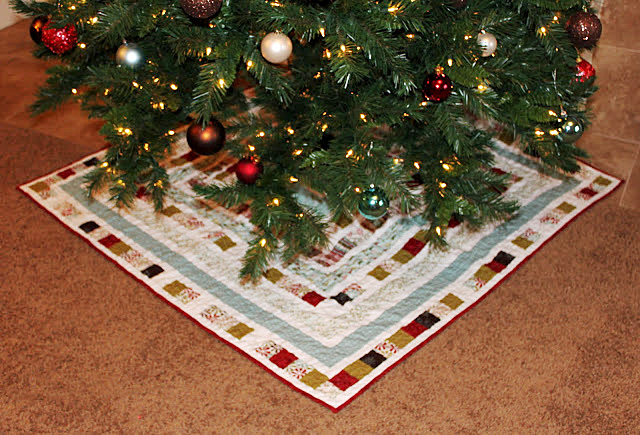
Hand stitching
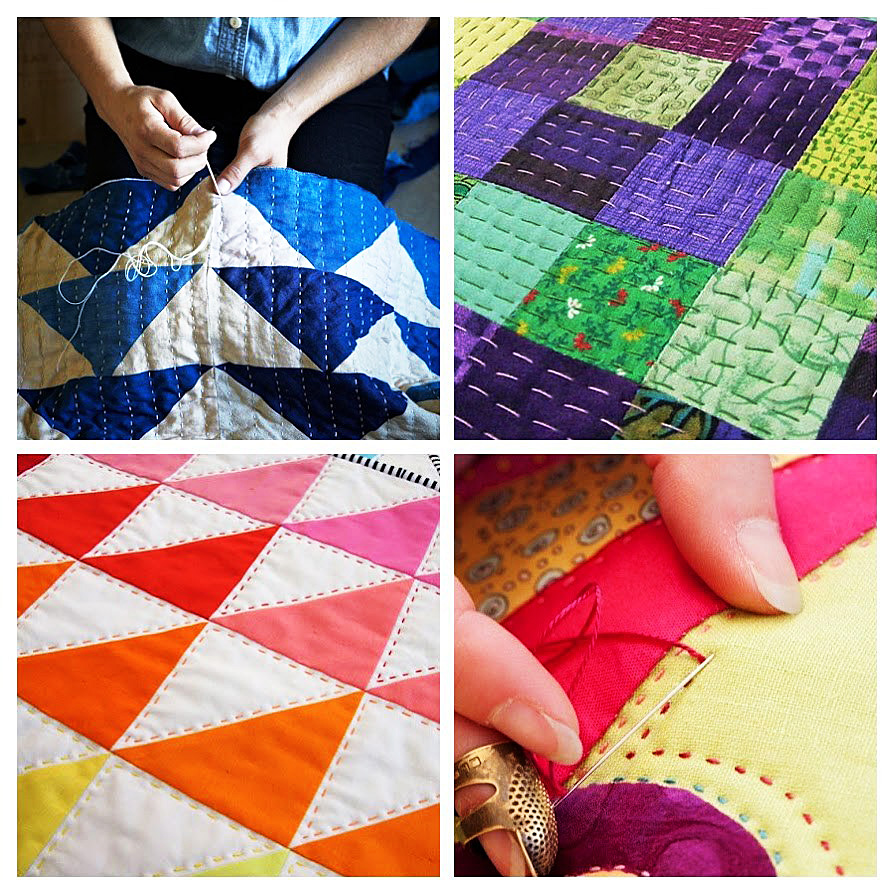
Images via Jennifer Causey, Shiny Happy World, Tied With a Ribbon, and The Sewing Directory.
Even after sewing machines began to be used for creating quilts, hand stitching remained the preferred method for finishing a quilt for a long time. Today even modern quilters love this method and value the hand crafted look it gives finished quilts.
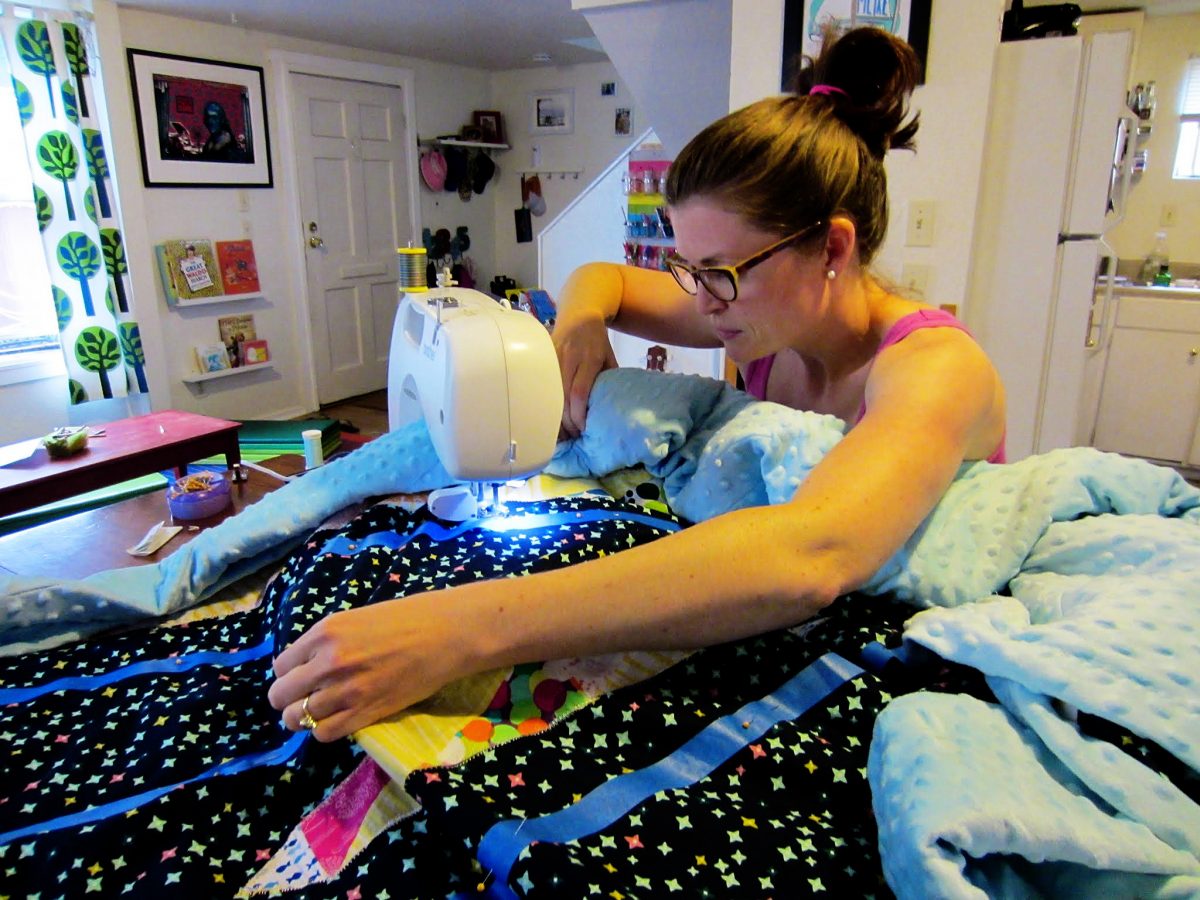
Machine quilting

Machine quilting with a walking foot. Image via charlottekaufman.com.
Machine quilting generally comes in three forms, quilting done with a walking foot, free motion quilting (FMQ), and long arm quilting (a variation of FMQ).
Walking foot
Images via charlottekaufman.com.
While a regular foot can be used to finish a quilt, walking feet are preferred because of their method of allowing all three layers of the quilt sandwich to travel evenly under the needle at the same time. The only limitation to quilting with a walking foot is that the needle always moves forward so you must move the quilt on your own and unless you have a machine with a long neck, and this can be cumbersome. I’ve been eyeing this Janome at Sewing Machines Plus because of how much neck room it gives. Oh to quilt with such a lovely machine!
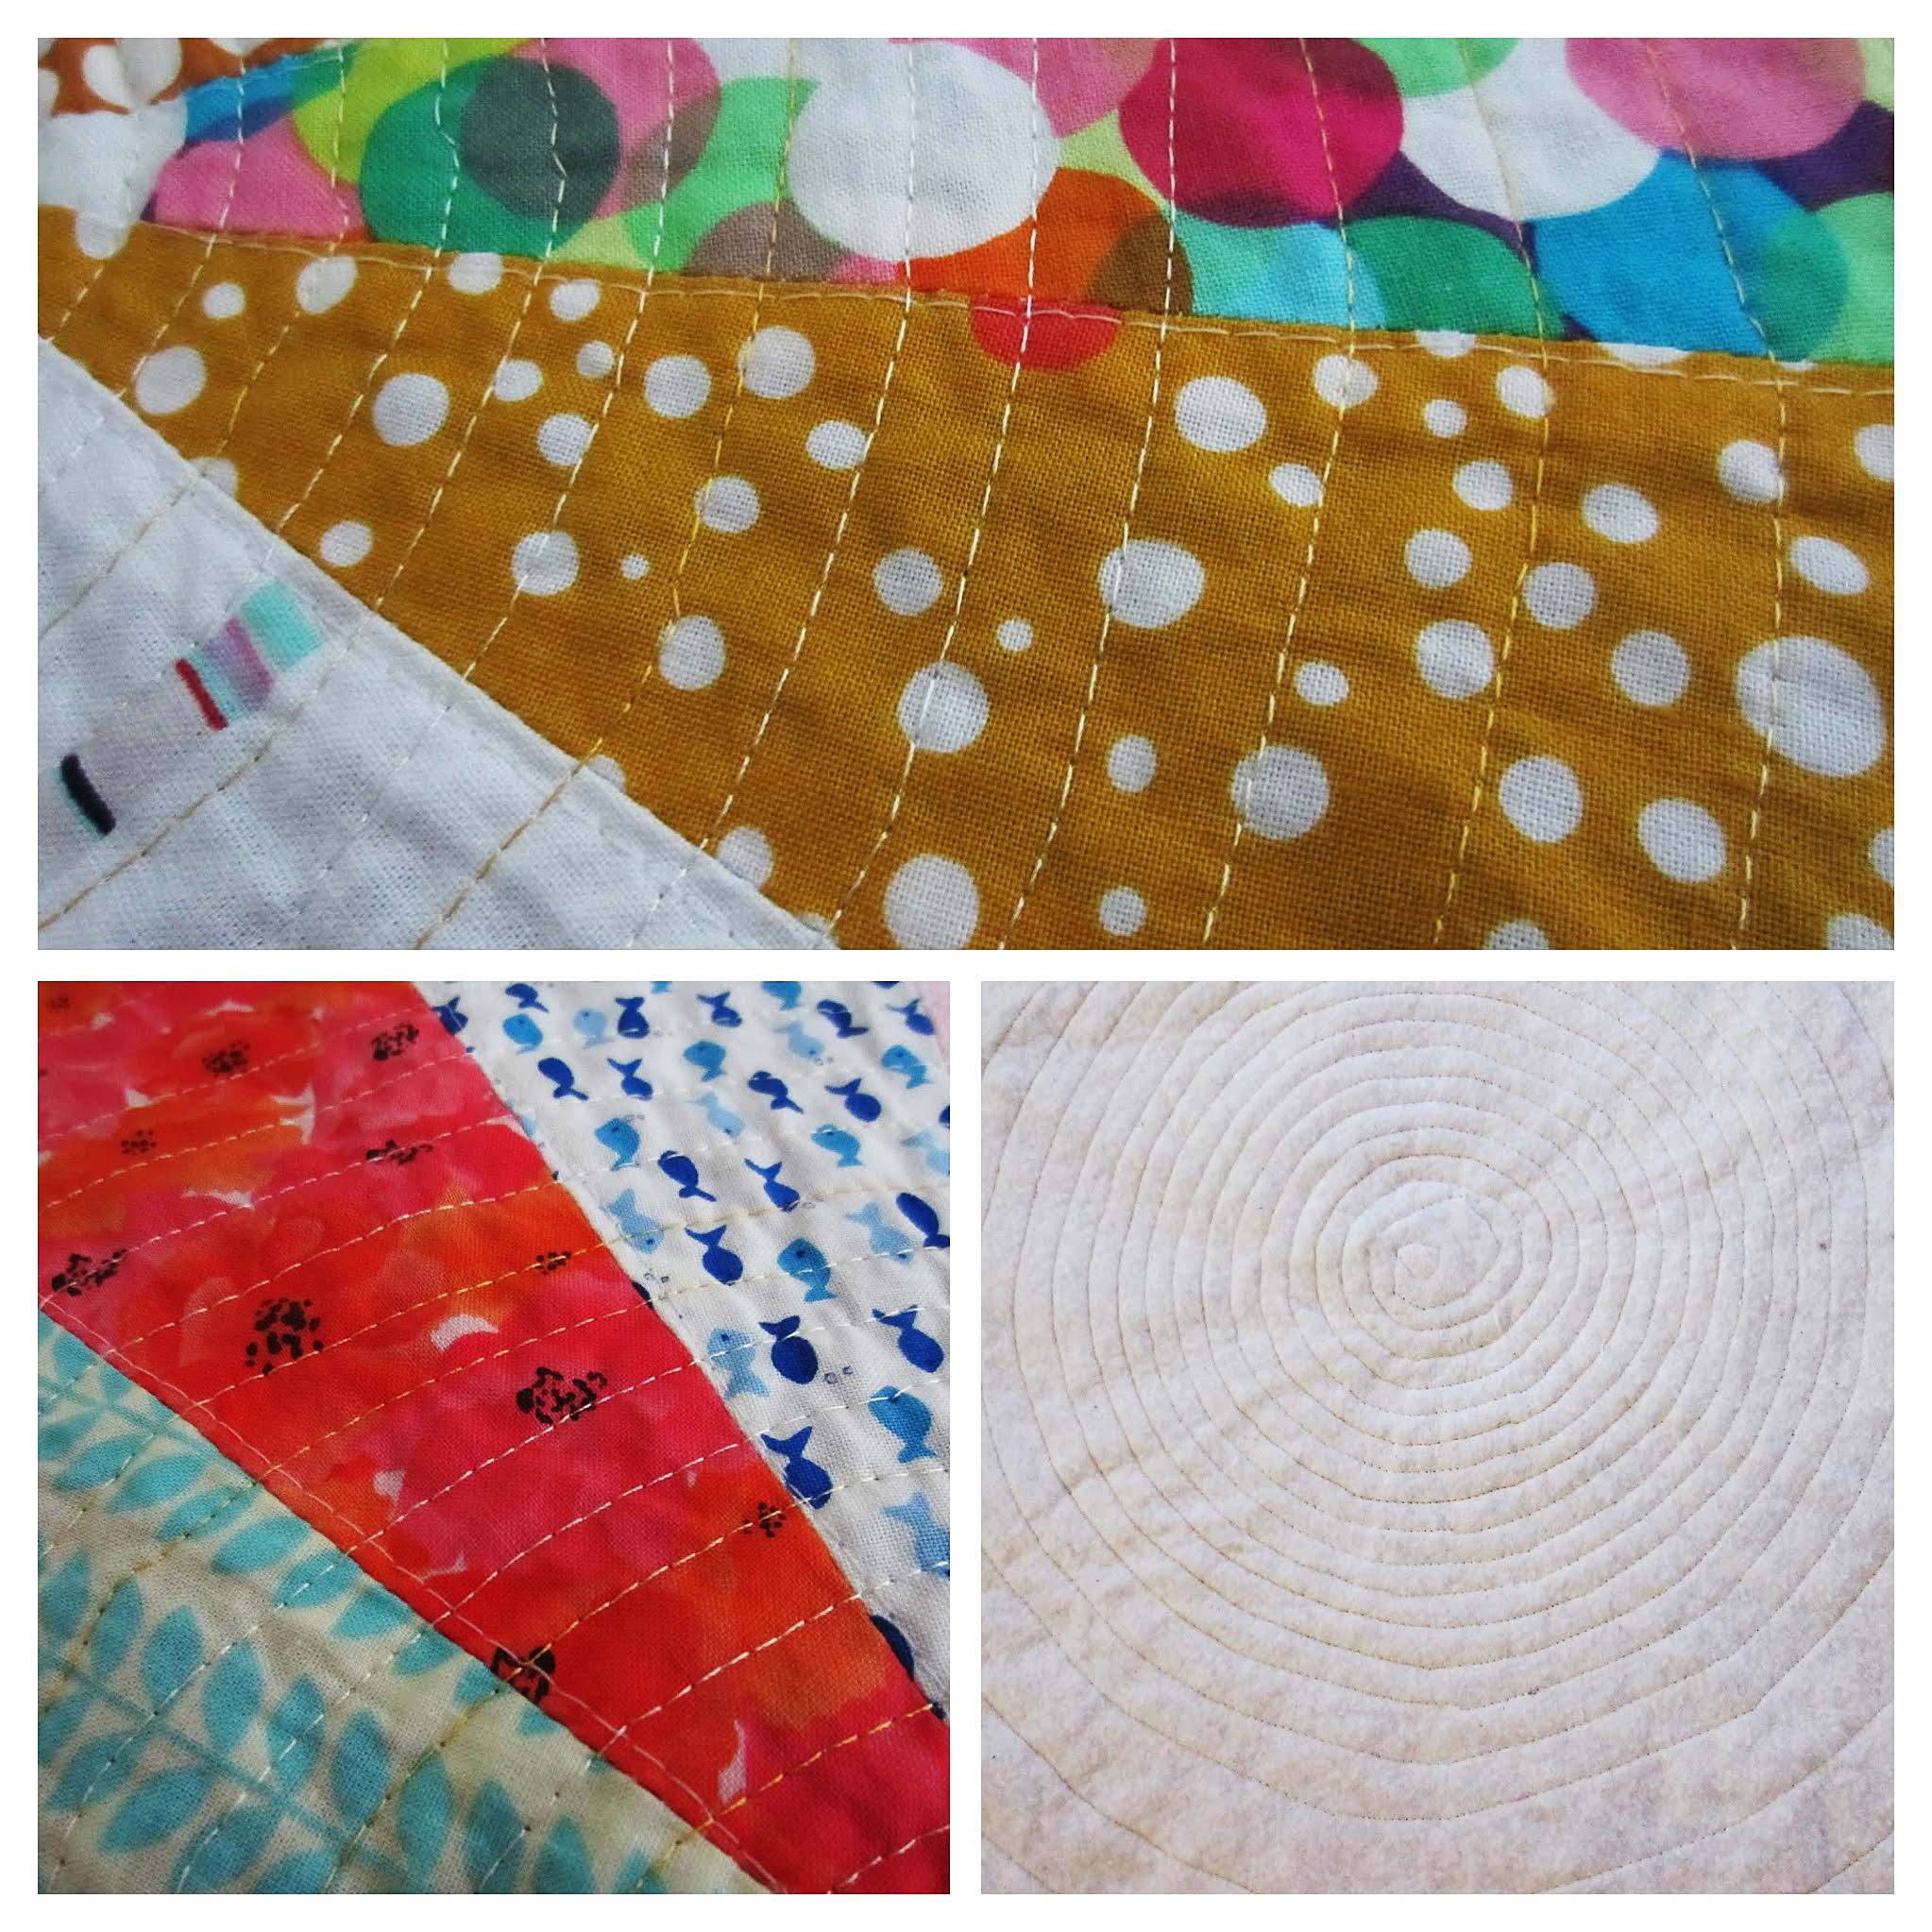
Free Motion Quilting (FMQ)
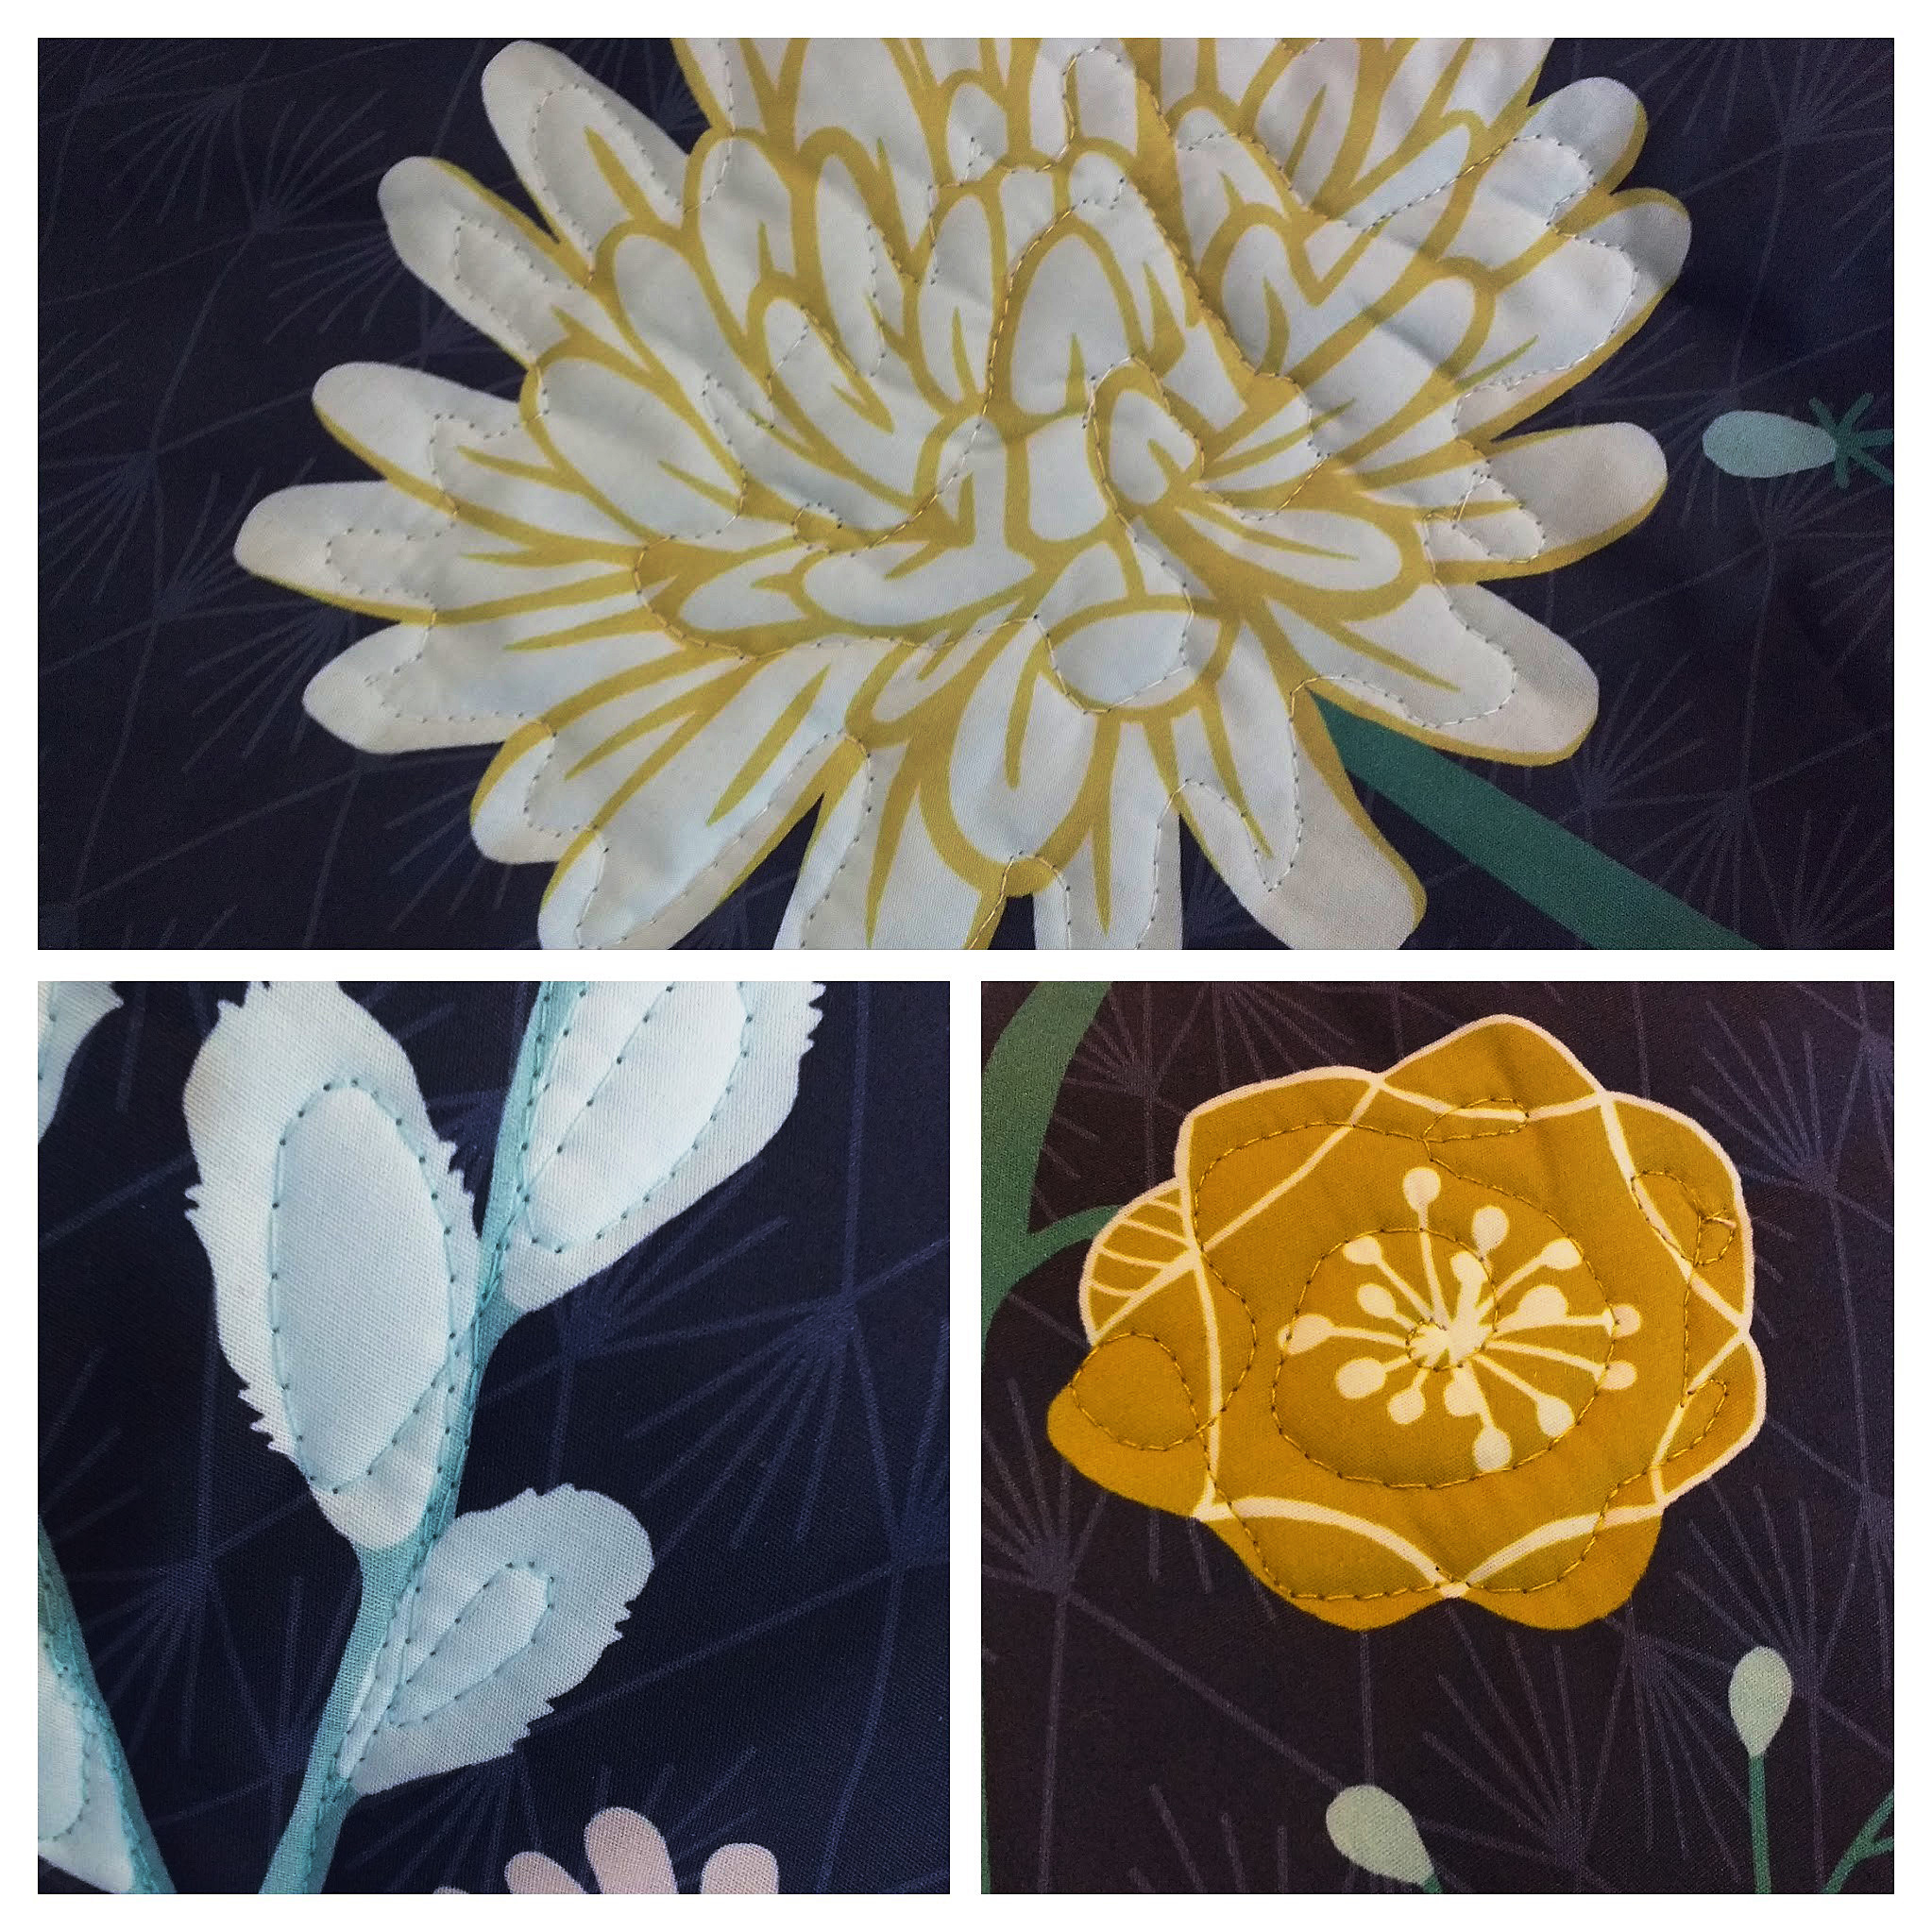
Images via Charlotte Kaufman of SewSewSewYourBoat.com.
Free motion quilting (FMQ) is a ton of fun. In this style of quilting you can move the fabric in any direction you’d like as you sew. This allows for beautiful curves and detailed designs that a walking foot just can’t give you. A special foot is connected to the presser foot and you must lower the feed dogs of your machine in order for FMQ to work. Here are some examples of my own FMQ. You would be very hard pressed to do this kind of work with a walking foot.
Long Arm Quilting
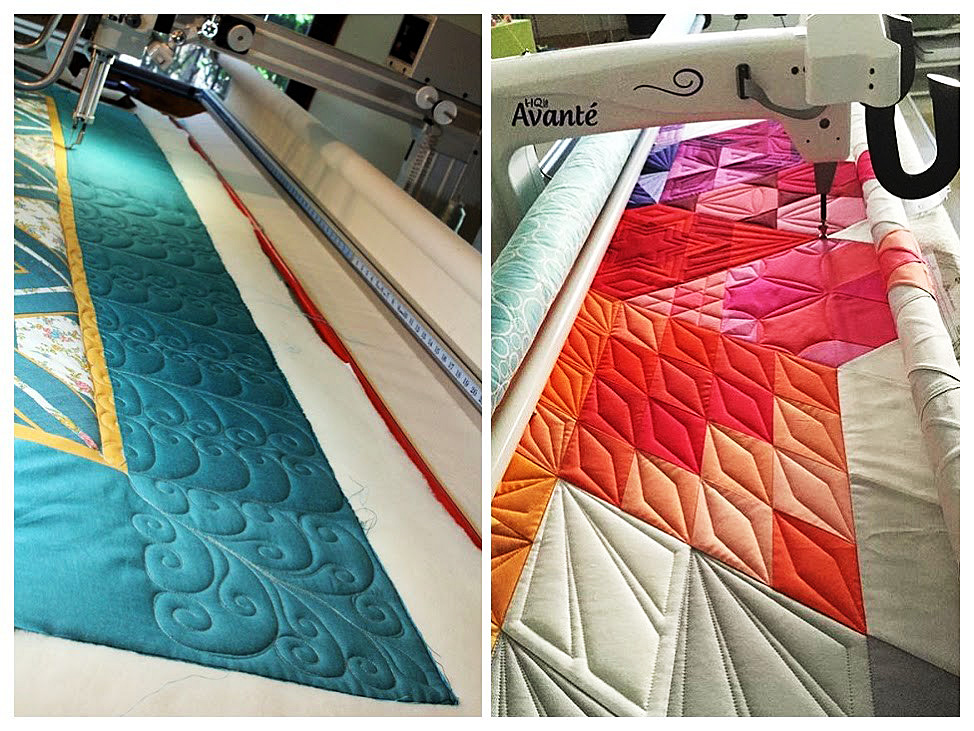
Images via Free Range Quilter and Schnigschnag Quilts and More.
Long arm quilting is when a sewing machine can do FMQ on a large scale. In long arm quilting quilts are put on a frame and the quilter than moves the neck of the machine over sections of fabric at a time to create gorgeous and intricate designs. These machines can be prohibitively expensive for some but many long arm quilters find that by offering their services to other quilters they quickly pay off the cost of the machine. Sewing Machines Plus offers monthly payment plans and financing if you are thinking of getting one of these gorgeous machines. I’ve looked longingly at this King Quilter and this Juki Long Arm.