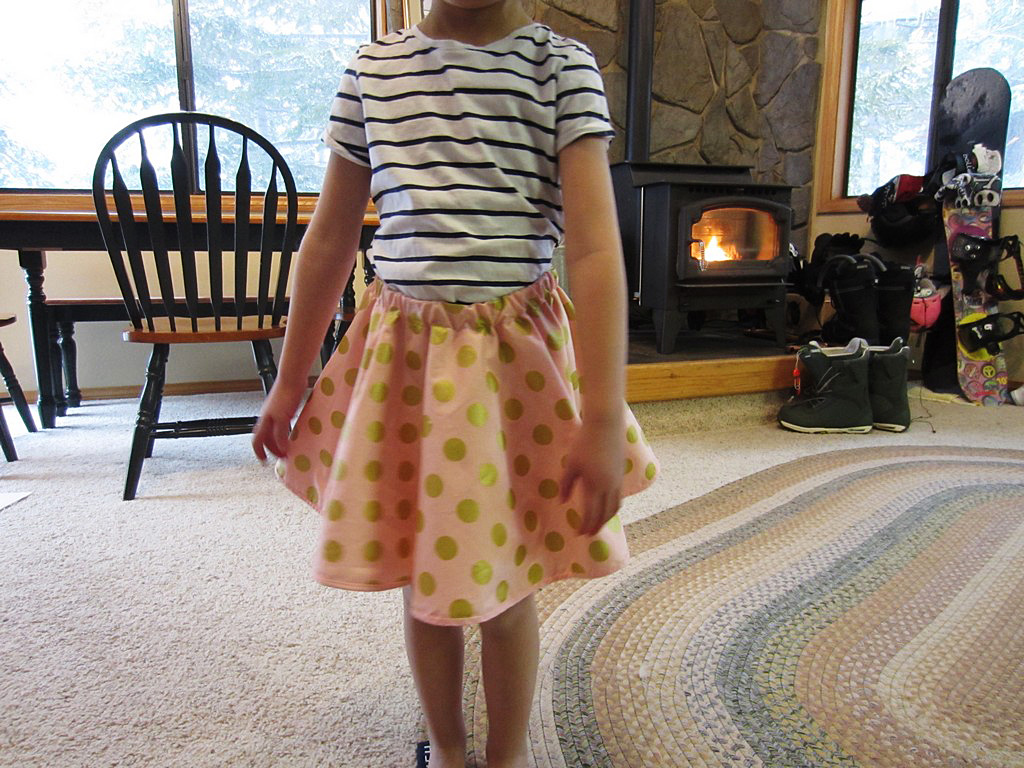
My littlest loves in skirts.
My littlest loves in skirts. In cold weather she puts them over pants and sometimes she even wears them over her pajamas. While I normally am not drawn to making clothes, I knew when her passion for skirts didn’t fade I’d want to start making some for her.
This skirt is reversible, so two skirts in one, though I think she is so in love with the top fabric that she’ll never switch it to the one underneath.
I think she is so in love with the top fabric that she’ll never switch it to the one underneath.
To begin making a DIY reversible circle skirt (or a non-reversible one for that matter), you’ll need to do some math. I take the width of the waist + 2. For her it was 19″ + 2 = 21″. Then I divide by 6.28 (or twice pi.) That gives me the radius of the circle for the waist, 3.34″.
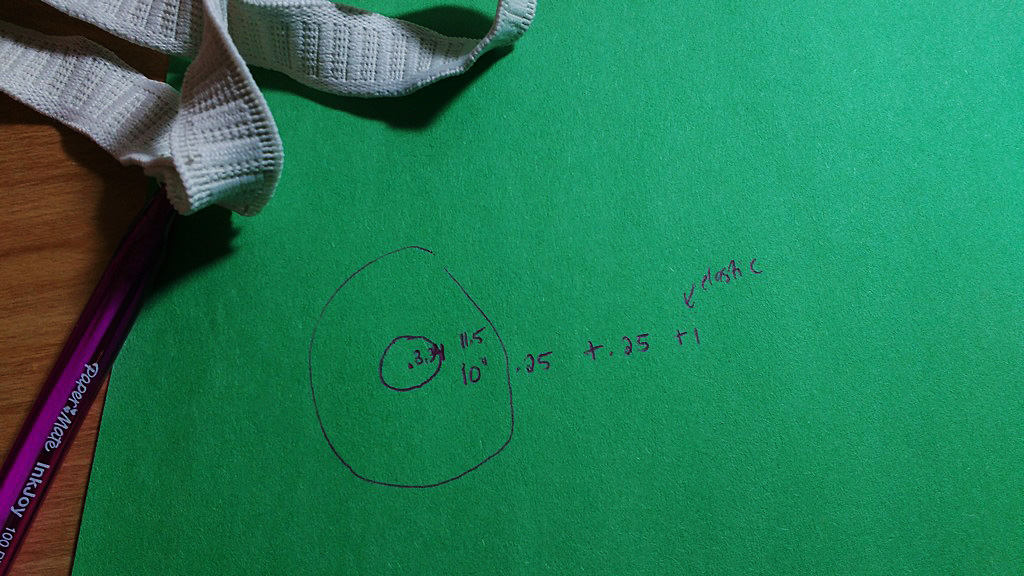
Then I divide by 6.28 (or twice pi.) That gives me the radius of the circle for the waist, 3.34″.
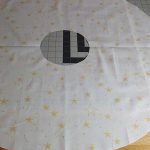
Next measure from the waist to the length you want. I went just above the knee, which was 10″. Cut your fabric into a square and then fold into quarters. From the bottom left corner, start drawing first your waist circle, and then the outer, skirt circle (this is the same process I showed you for the DIY tree skirt in one of my December posts).
Cut your fabric into a square and then fold into quarters.
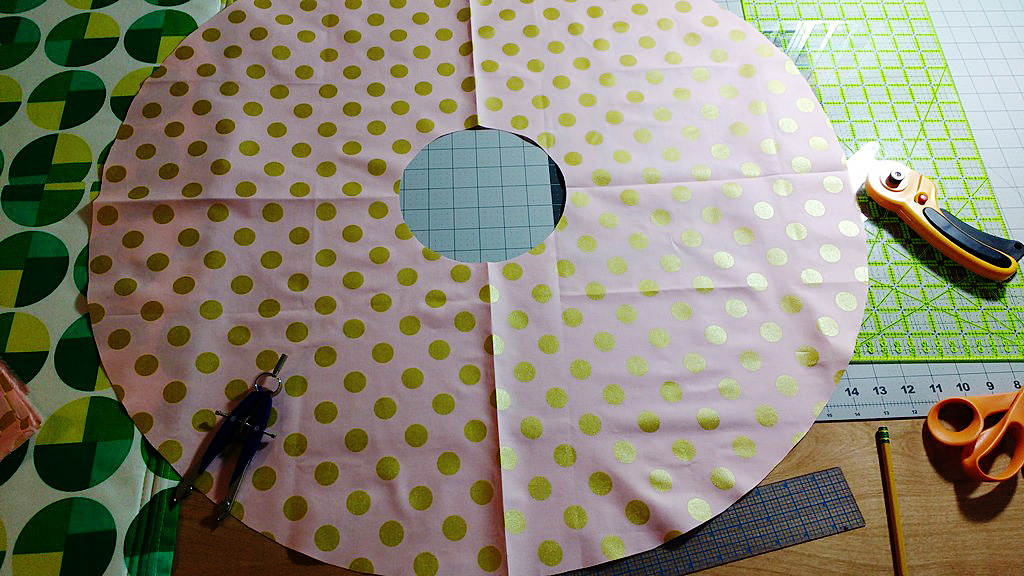
From the bottom left corner, start drawing first your waist circle, and then the outer, skirt circle.
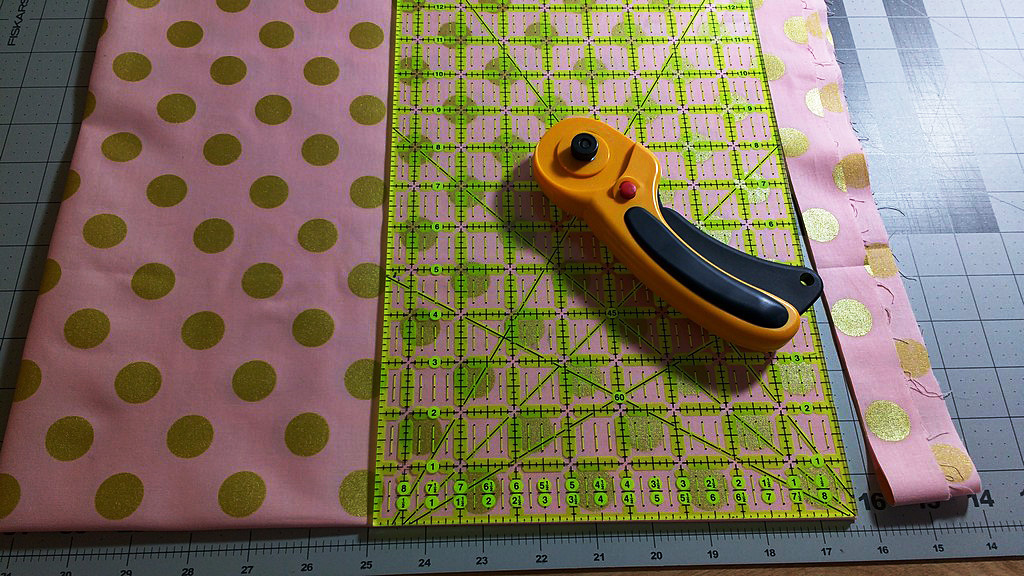
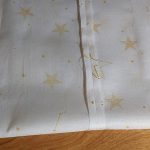
If you are making this reversible (and you don’t have to, one sided is great too), do the same for the other side of fabric. In my case, I had to join two pieces together to make a square big enough for the circles.
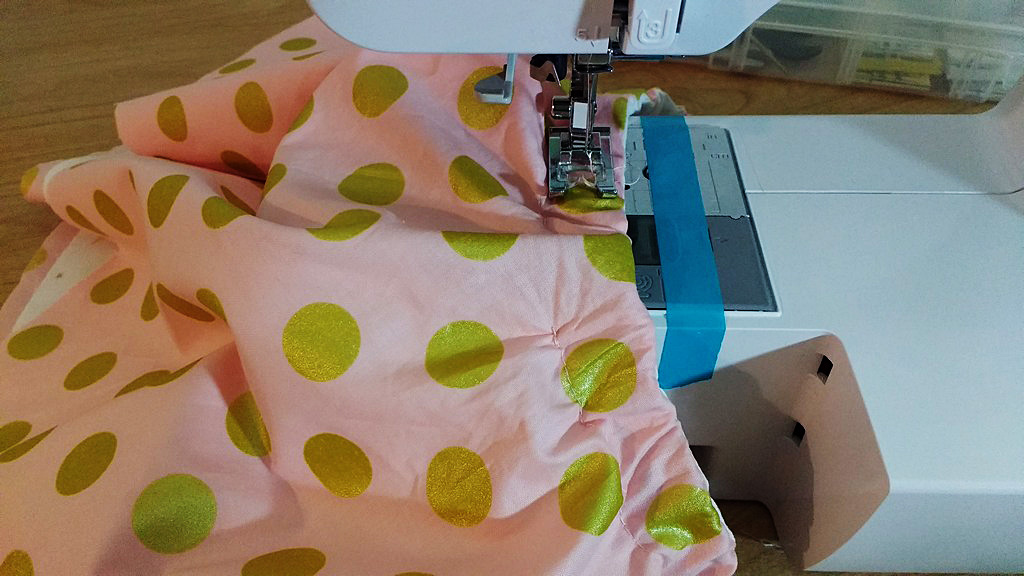
Pin the circles right sides together and sew around the waist circle. Once sewn, make tiny cuts all around the fabric, taking care not to cut into your sewing. This will help the fabric turn smoother. Flip the skirts so they are wrong sides together and go iron the seam. Ironing is everything in sewing. Don’t skip this step.
Once you’ve ironed, sew a casing big enough to fit the width of elastic you’ll be using for the waist. My elastic was .75″ so I sewed a 1″ casing. Leave about 1.5″ for inserting the elastic.
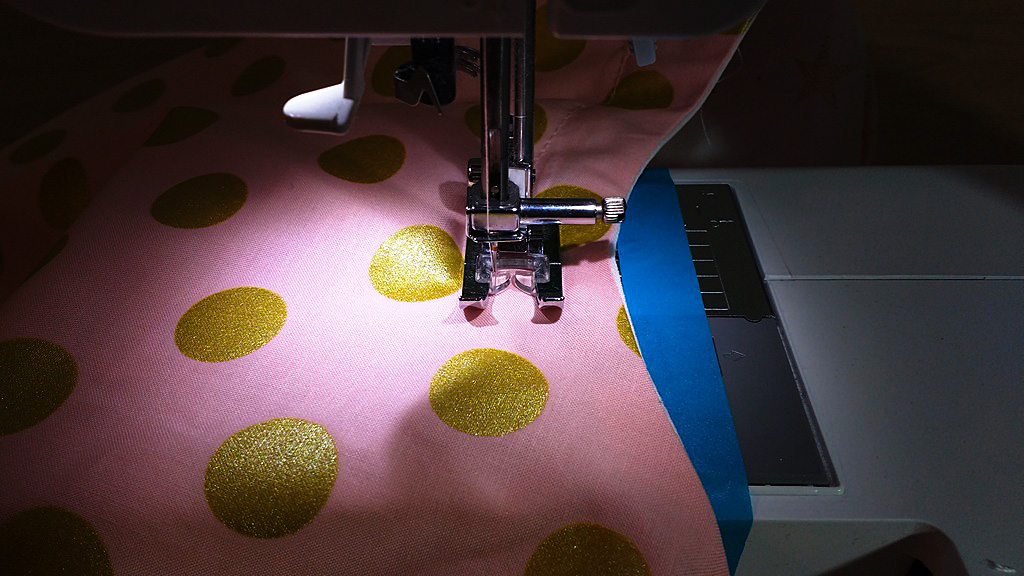
Once you’ve ironed, sew a casing big enough to fit the width of elastic you’ll be using for the waist.
Put a safety pin through one end of the elastic and feed it through the casing (you’ll find the entrance for the casing hole between the two layers of skirts). Sew the two ends of elastic together and then sew each tail end flat so there is no bulk from the elastic’s sewn seam. Then sew the casing shut, completing the waistband of the skirt.
Sew the casing shut, completing the waistband of the skirt.
To finish the skirt, you could use a serger and serge the two layers together, and then press them to one side and sew a hem. I chose to add bias tape.
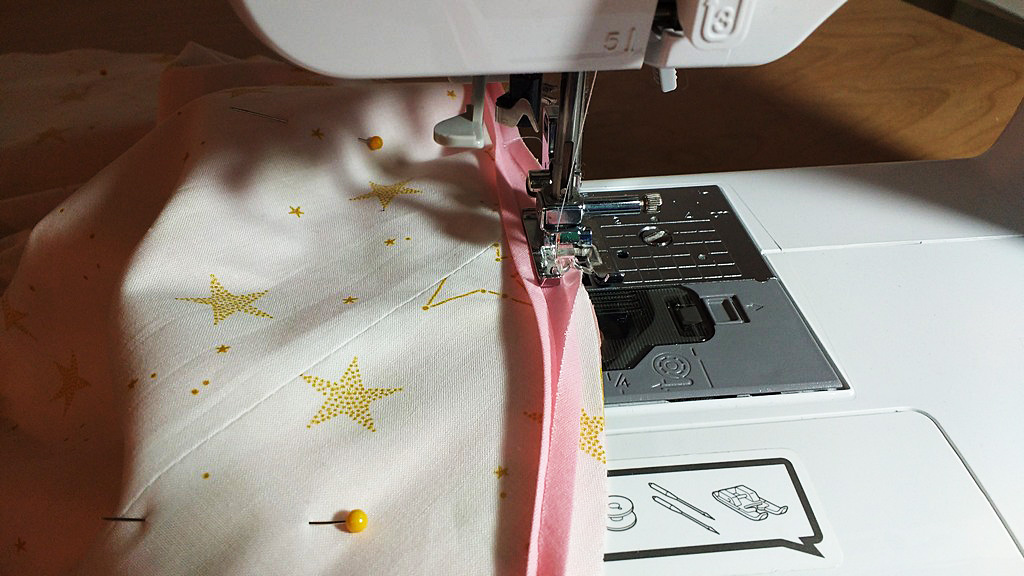
I chose to add bias tape.
I used a decorative stitch to complete the look.


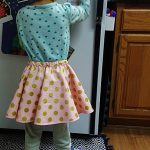
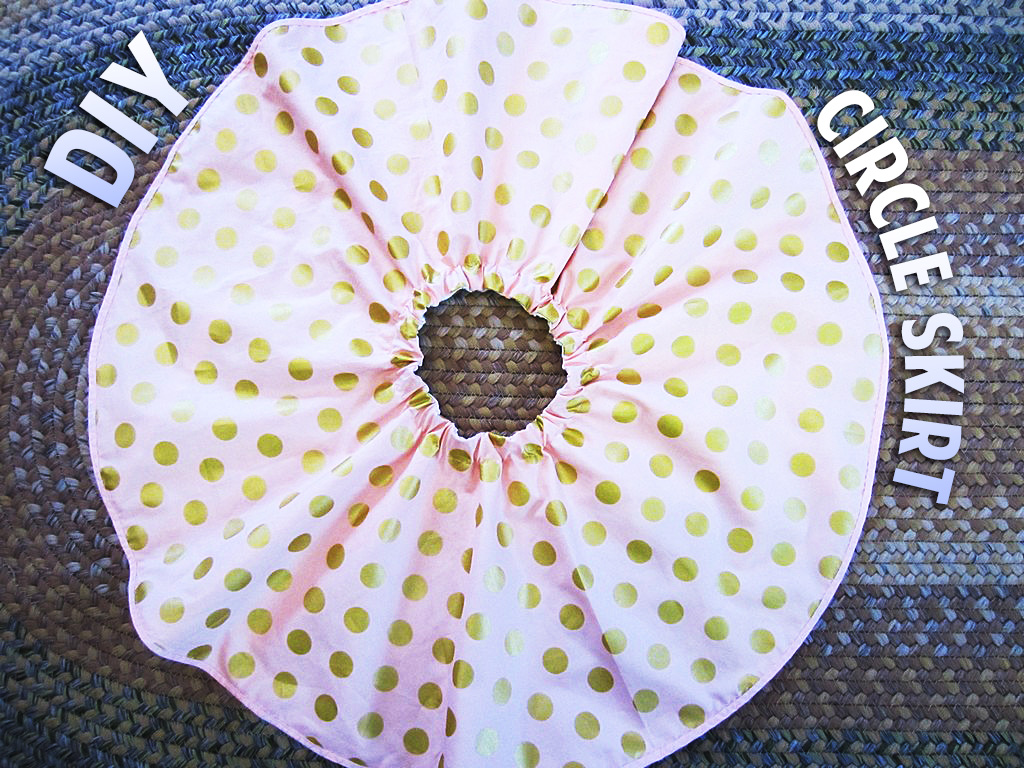
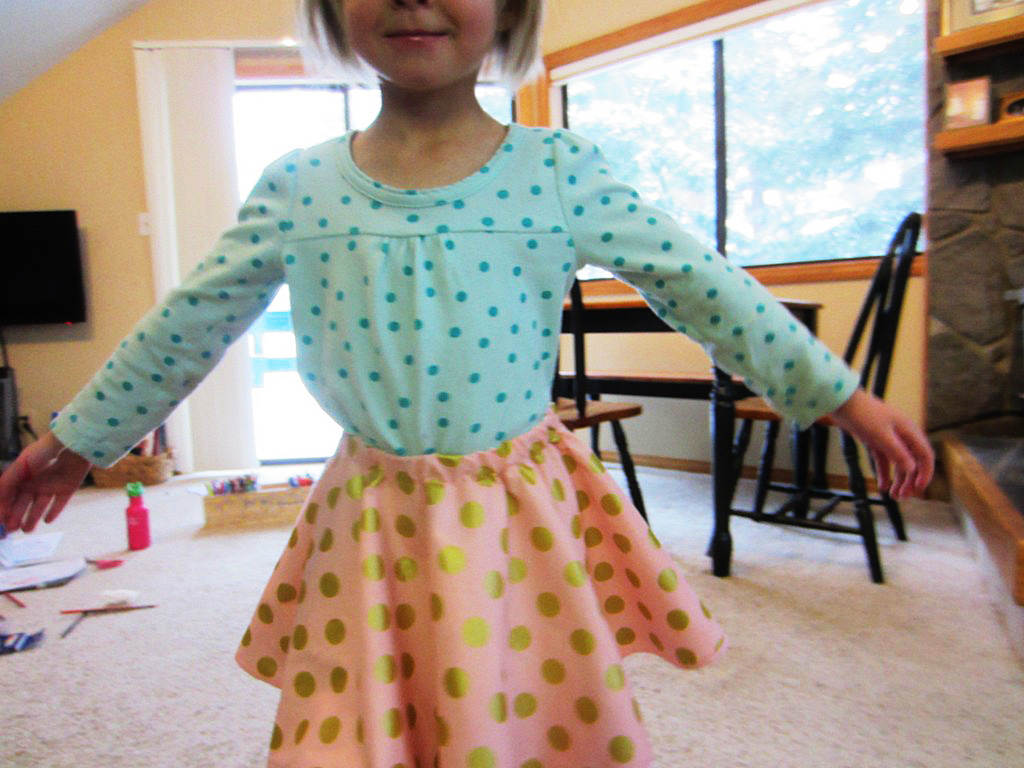
Boom! A darling, reversible circle skirt.
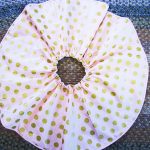
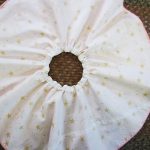
And a very happy three year old.