
Last week, I waxed on about all the endearing qualities of my Industrial Juki straight stitch machine and I promised that, next, I’d write a little bit about my other favorite sewing machine, a vintage tan and white Singer 401K.
But then, this week at work, I spent a couple days making women’s button front cotton shirts for the character of Zapata on Blindspot. I’ve made her quite a few shirts over the course of this season. I created the pattern from her measurements and referencing how she liked the fit of a few off the rack shirts. She doesn’t fit into any brand without altering (she has a very small waist but is still curvy) so the costume designer and I decided we might as well make custom shirts for her.
So far it seems to be turning out quite well:
http://www.imdb.com/title/tt4474344/mediaviewer/rm2804286976
http://www.imdb.com/title/tt4474344/mediaviewer/rm3758241792
Shirt making
I am not, by any means, a master shirt-maker (those do exist like the man who wrote Shirtmaking, developing skills for fine sewing). His name is David Page Coffin and he is definitely a shirt-making master. His book is filled with many helpful tips and suggestions. I reference it now mainly for the sleeve placket instructions and pattern. For some reason, no matter how many times I make a shirt, I always need a little reminder as to which way to begin a proper sleeve placket attachment.
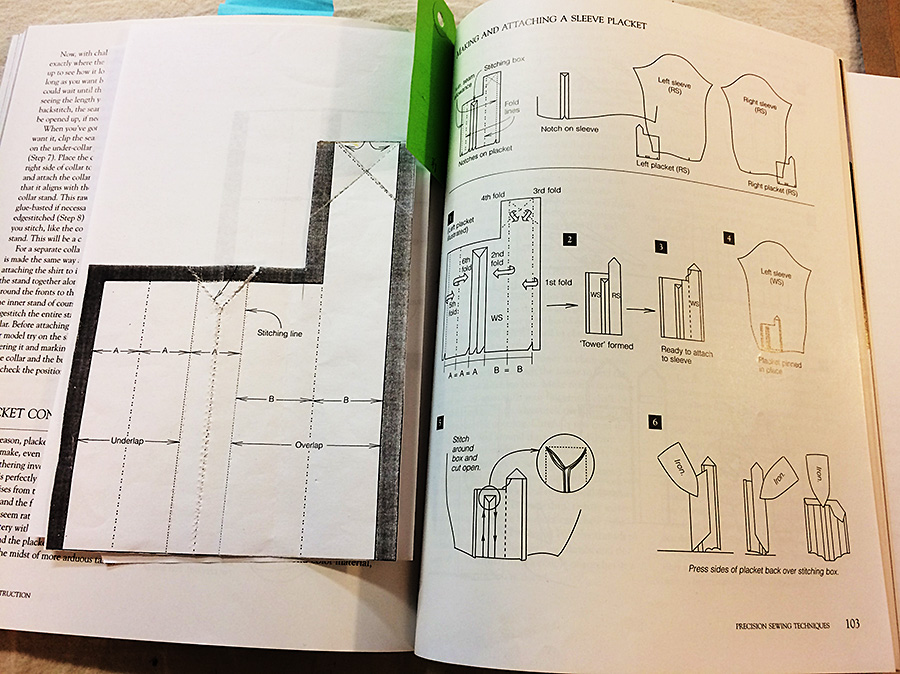
Sleeve placket instructions from David Page Coffin’s book.
Never feel bad if you need to look something up, especially if it’s a technique you don’t do on a regular basis. There are always new things to learn (or remember).
Concealed buttonhole placket
Another element of shirt making that took me awhile to be able to do without looking up a reference picture was making a concealed buttonhole placket. I’ve finally got it etched in my brain though – at least I think so.
The first step is to decide how wide you want to finished placket to be. I use an inch (1″) for ladies’ shirts but some people do an inch and ¼ (1 ¼”) or an inch and ½ (1 ½”).
Next mark out your fold lines on your pattern or fabric. You’ll need an extra four to six inches past the center fold/finish line.
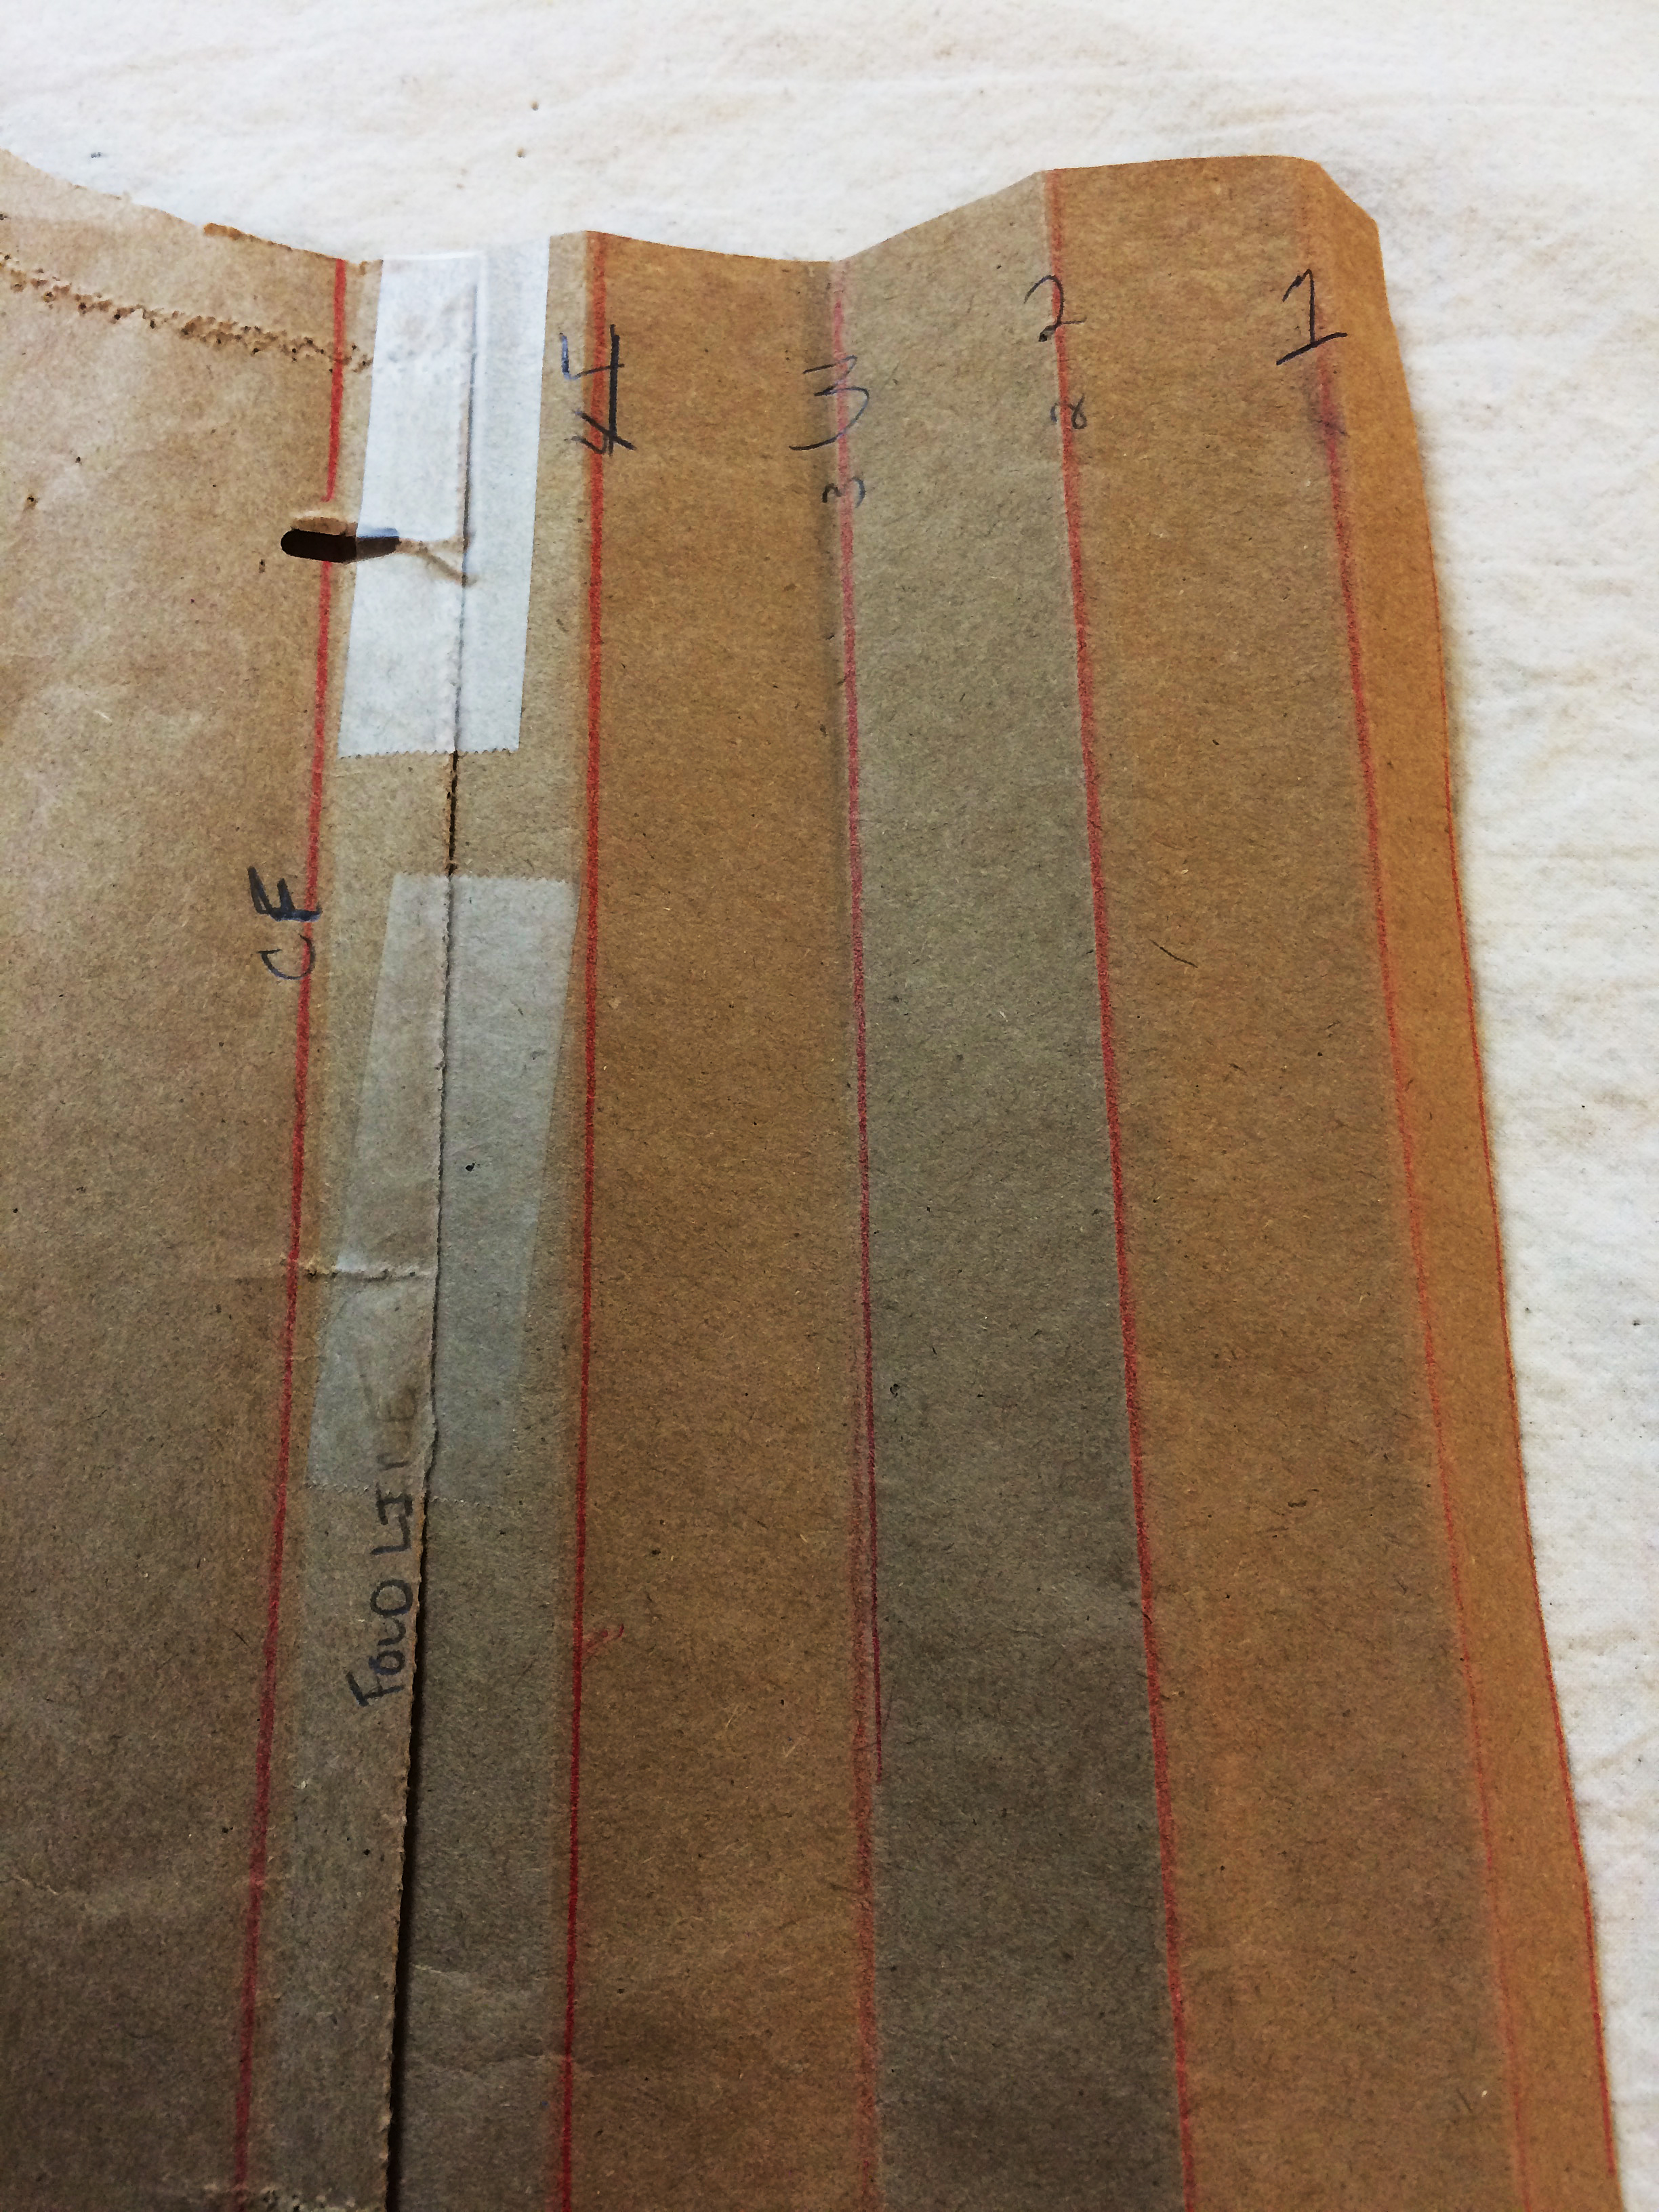
Fold lines marked a numbered on pattern piece.
Starting out from the center fold line, measure out ½” and draw a parallel line. This is the seam allowance line. Many commercial patterns use 5/8″ as a standard seam allowance so if you’re adding a hidden placket to a store bought pattern, check to see what they’ve used and do the same.
Then draw three more lines, each 1″ apart. Finally, mark your cutting line ½” from the last line (or whatever seam allowance you’re using).
To help explain and keep track of your folds, number your lines starting with the outermost one: 1, 2, 3 and 4.
Press lines 1 and 2, wrong sides together. This is the part that will get the buttonholes. You can mark and do them now or, as I usually do, you can wait until you’ve got everything pressed and secured. I also press the 1/2″ outer seam allowance but do not leave it folded under – it’ll get caught inside the seam once you’re done.
Almost there
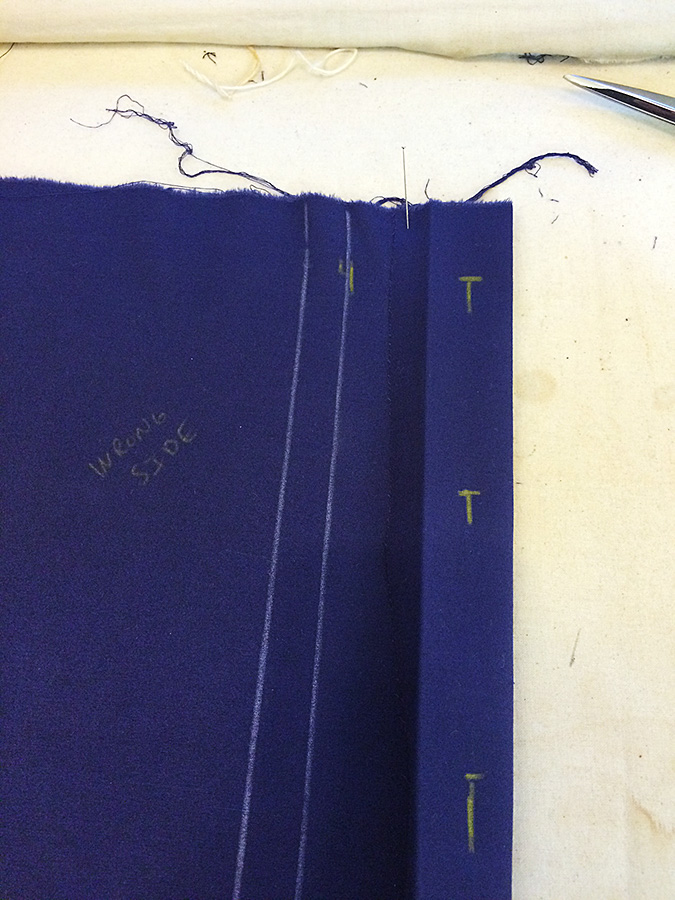
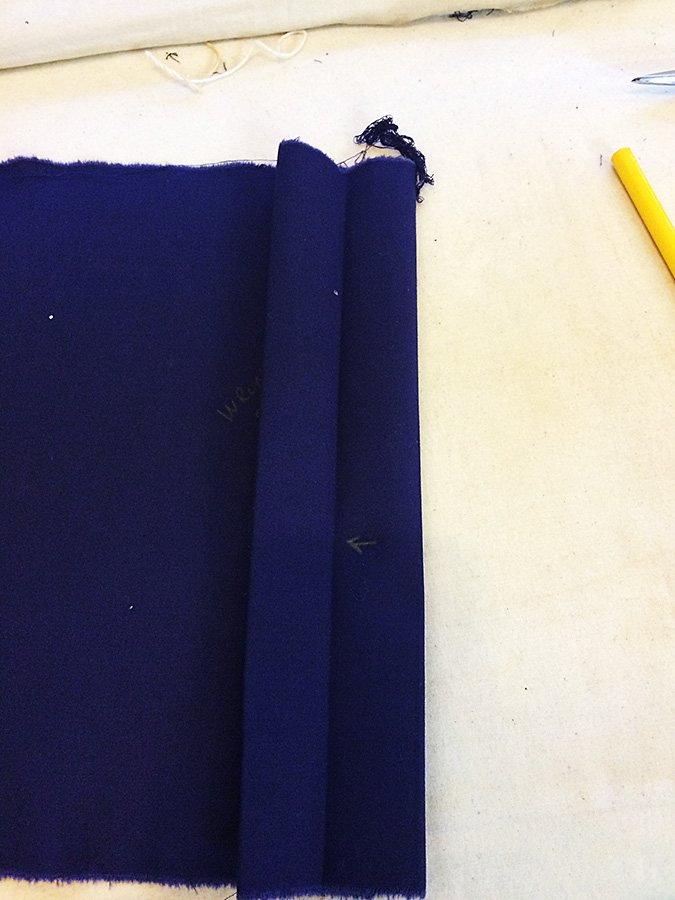
Fold along lines 1 and 2.
Next, accordion fold the remaining fabric. Fold along line 3, right sides together, then line 4, wrong sides together. Press.
Once you’ve done this, open the placket up so that its double wide with the seam allowance toward the front edge of the shirt. Topstitch along line 3 (which will be 1″ or however wide your placket is from the fold center fold line).
Open the placket up to topstitch.
Once you’ve done your button holes, you’ll need to sew small hand tacks in between each hole to keep the placket from opening up (and essentially defeating its purpose of being hidden).
Voila!
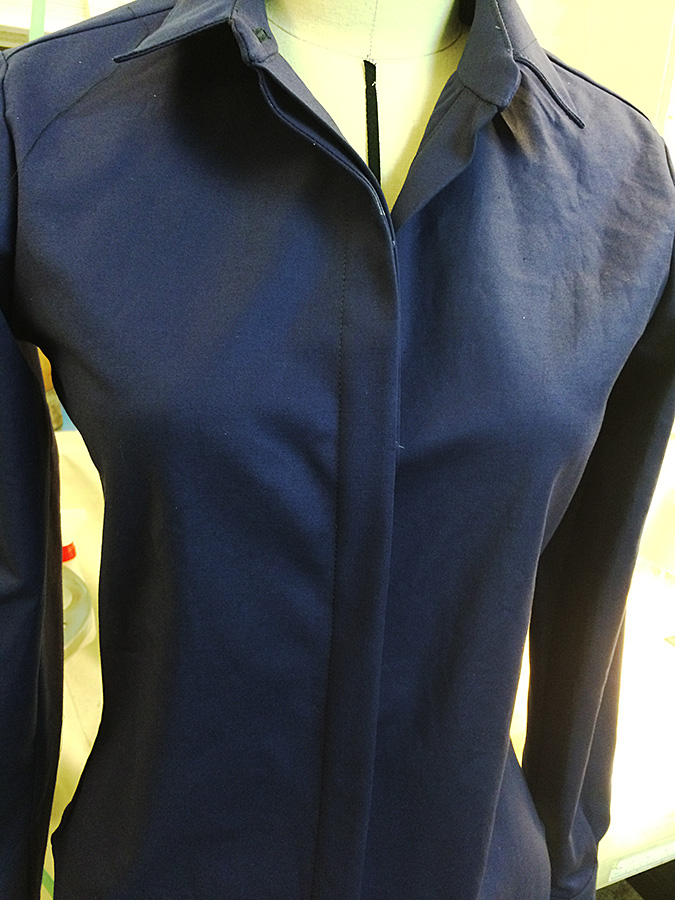
Shirt almost finished in dress form.
And next week, unless something more interesting comes up, I’ll continue on with my favorite sewing machine ruminations.