While conceptually the idea of sewing a square pillow case sounds easy, there are several things to consider when you undertake this task.
Go smaller
The cardinal rule of making your own pillow cases is to make them approximately an inch smaller than the pillow form you want them to cover. If you have a 22” x 22” pillow, you need to make the case 21” x 21”. Of course, don’t forget your seam allowances. If you use ¼” seam allowances, than you would cut a piece of fabric that is 21.5” x 21.5”.
The cardinal rule of making your own pillow cases is to make them approximately an inch smaller than the pillow form you want them to cover.
Fussy cut
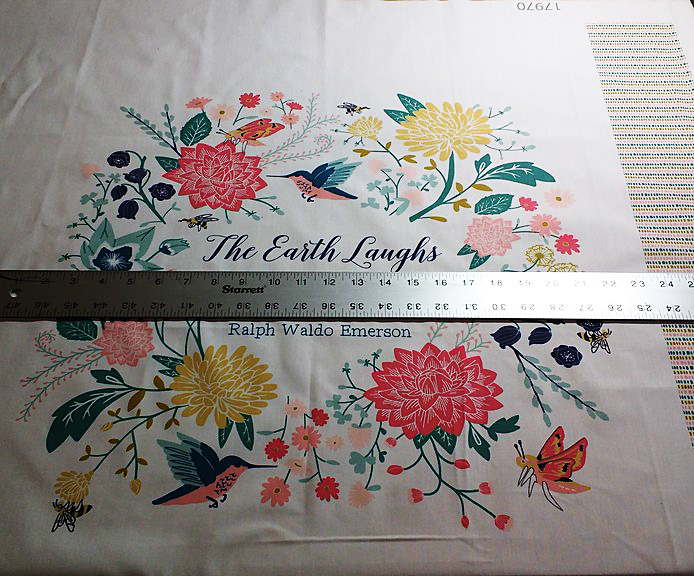
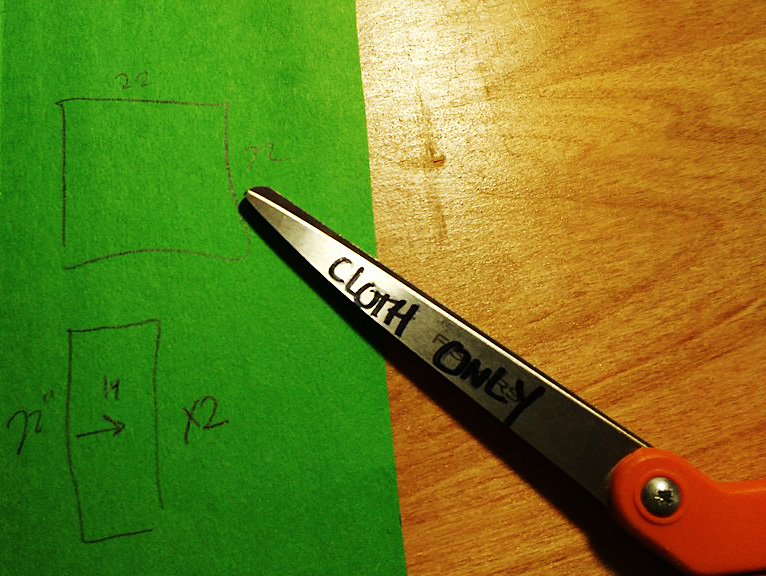
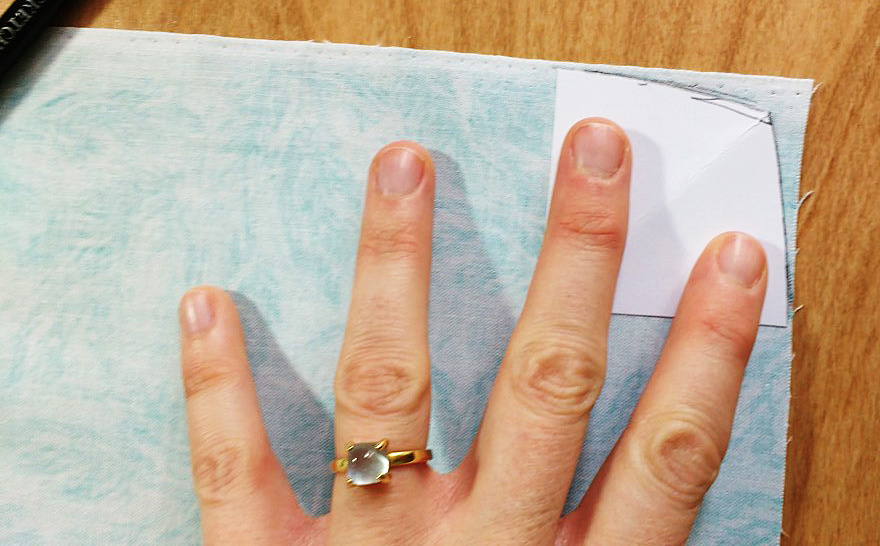
I normally wouldn’t advocate for drawing your lines on the front of your fabric, but this fabric by Hawthorne Threads needs to be cut to the size of the panel you want for your pillow case. When fussy cutting, sometimes drawing on the front of the fabric is necessary to ensure correct sizing. Haven’t heard of the term ‘to fussy cut?” It means to carefully cut out a piece of fabric for a specific purpose.
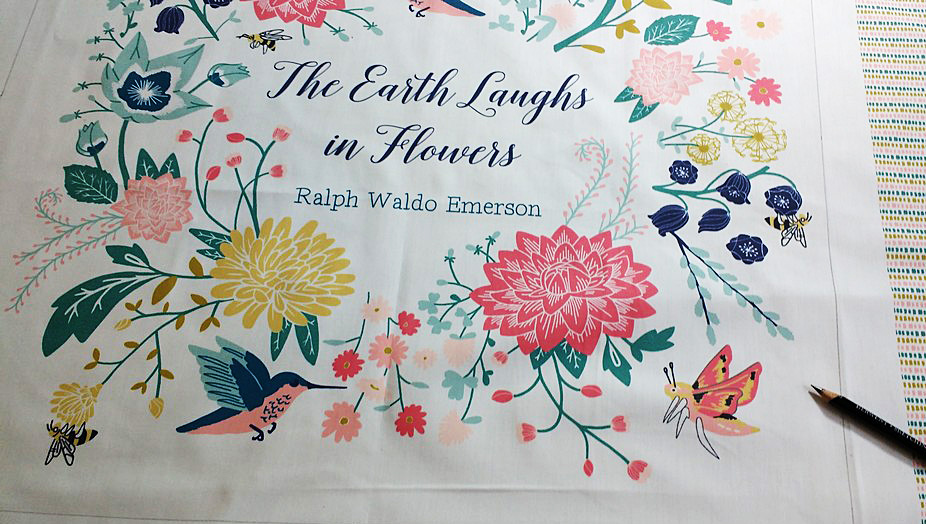
It means to carefully cut out a piece of fabric for a specific purpose.
See the center pieces of these quilt blocks by Amy Gibson of The Cookbook Quilt Along? These are prime example of taking the time to fussy cut your fabric.
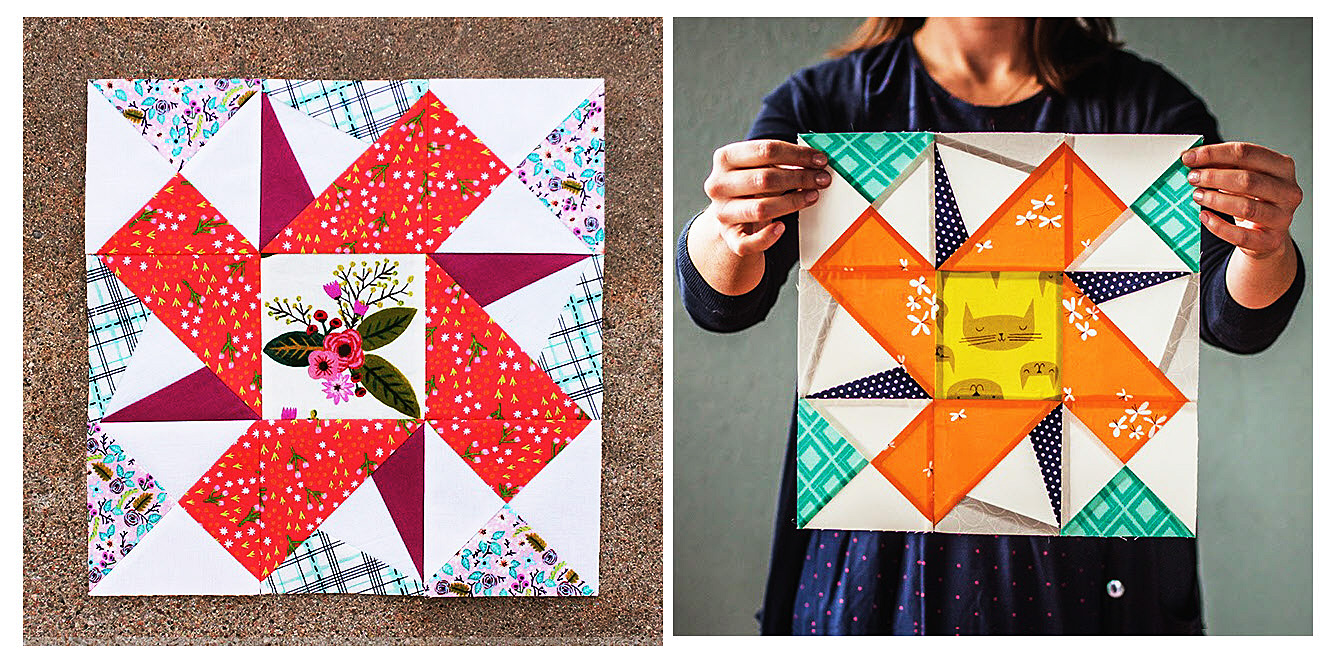
These are prime example of taking the time to fussy cut your fabric.
Choose your pillow back
Once you’ve cut your front panel, you’ll need to cut your back. You can finish pillows many ways. Check out my post from last fall on different options for pillows. I chose to do an envelope close, so I made cut two panels the same height as my pillow, but each was 13.5” wide. That allows for a folded, sewn hem on each of the ‘opening’ portions of the back panel.
That allows for a folded, sewn hem on each of the ‘opening’ portions of the back panel.
Consider interfacing
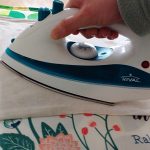
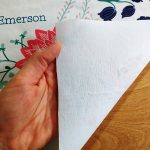
For added pop, I fuse lightweight interfacing to the front panel fabric. It has such a gorgeous design that I want it to stay crisp and firm while it sits on my bed looking fabulous.
Curve your corners
This step is so important!! I have a small piece of cardstock that I’ve cut to help me round the corners of my square. Why would I do this, you ask? Because pillows are 2-3. They are big and fluffy and when you attempt to sew straight sides of a square you often end up with starfish points instead of nice, square corners.
I have a small piece of cardstock that I’ve cut to help me round the corners of my square.
This is an example of a pillow cover that didn’t have rounded corners before it was sewn. Trust me on this, it makes all the difference!
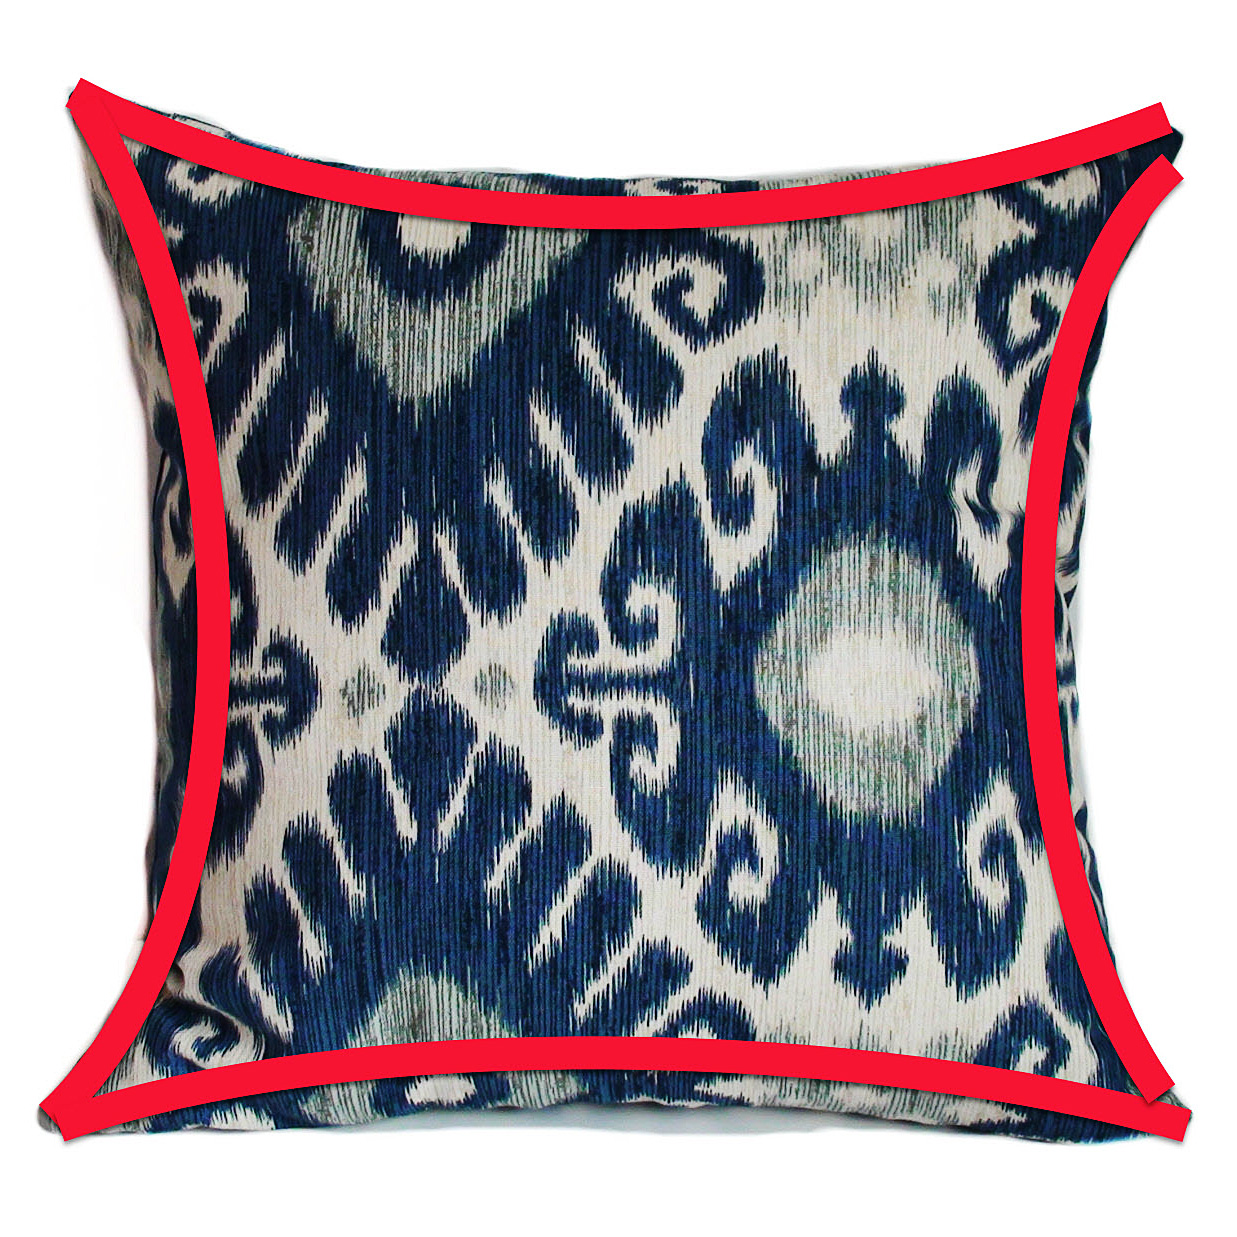
This is an example of a pillow cover that didn’t have rounded corners before it was sewn.
To pipe or not to pipe?
That is indeed the question. I love the contrast that piping gives pillows. If your machine has a piping foot, now is the time to install it.
If you are new to this step, consider pinning the piping in place. This is not my first rodeo, so I just sew and go.
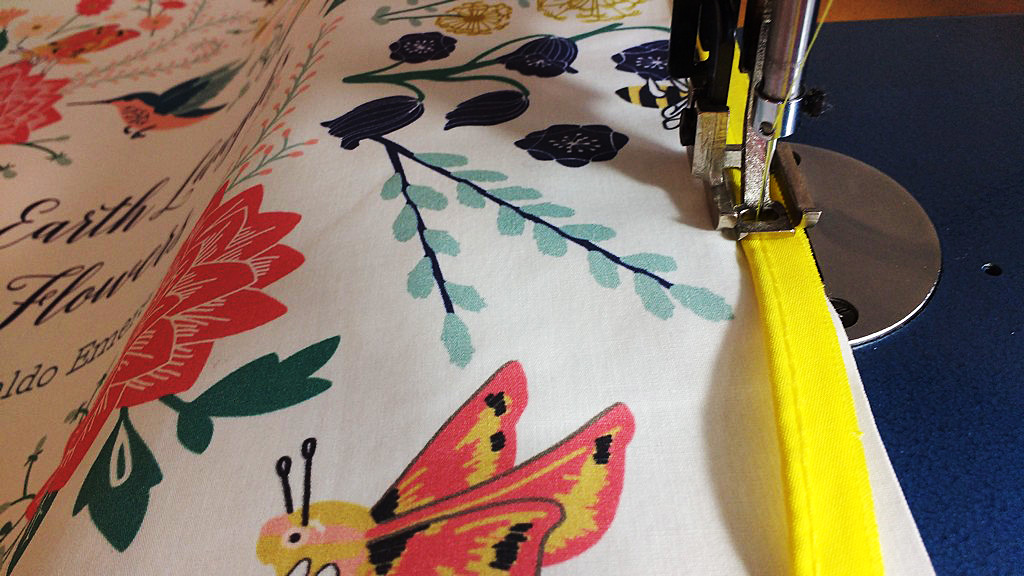
Consider pinning the piping in place.
Make sure your piping follows those slightly rounded corners. Don’t forget to snip the piping edge just up to the seam so that if folds nicely around each corner.
Don’t forget to snip the piping edge just up to the seam so that if folds nicely around each corner.
Now place your two backing pieces on top of the front panel, right sides together. Pin, and sew.
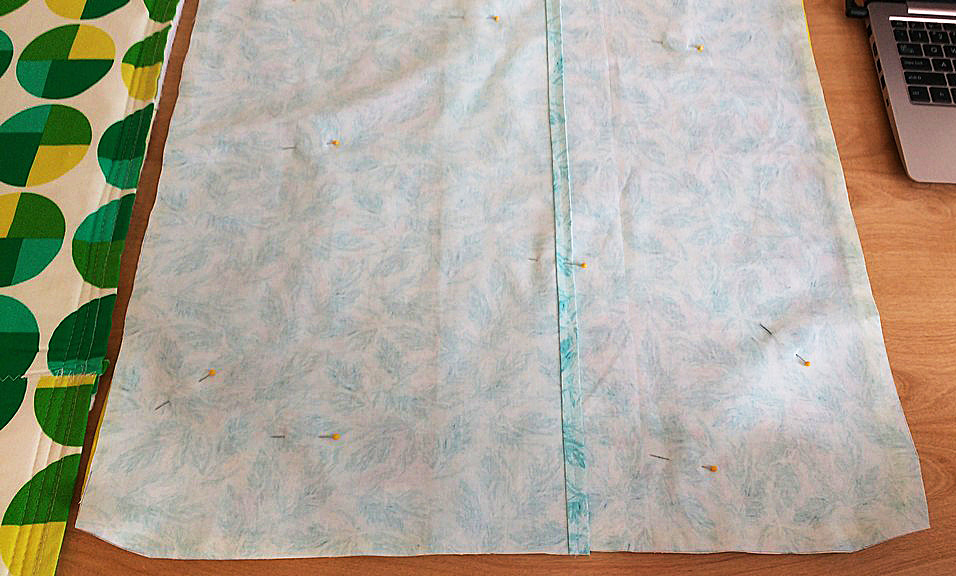
Now place your two backing pieces on top of the front panel, right sides together.
Not so fast
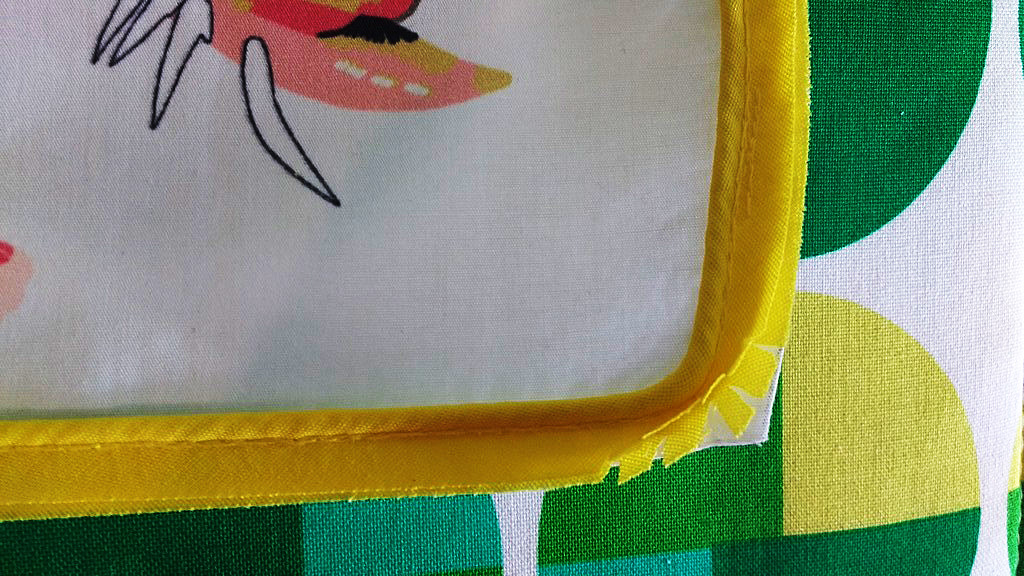
Once you’re done, YOU ARE NOT ACTUALLY DONE. No. Unpin everything and flip the cover right sides out. Carefully inspect all along the seams and make sure no thread is showing from the piping like you see here. If you find anything that needs to be tightened up, flip the pillowcase inside out again and resew the hem, making sure to sew just to the edge of the piping for a nice clean finish.
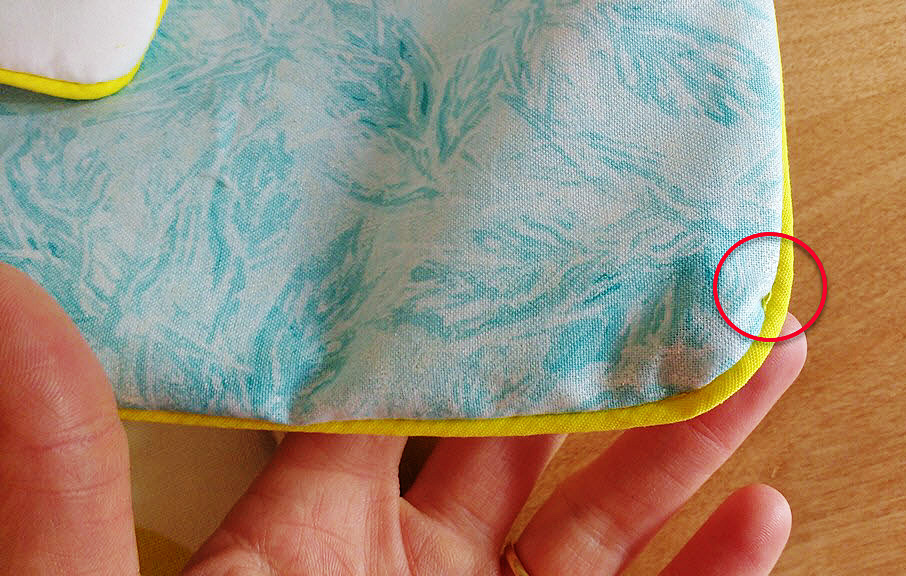
Carefully inspect all along the seams and make sure no thread is showing from the piping like you see here.
Flip the pillow right sides out and again carefully inspect it. If all looks good, turn it inside out AGAIN and then then trim the edges, especially around the corners so that the corners will fully turn out when you flip the pillow cover to the front again.
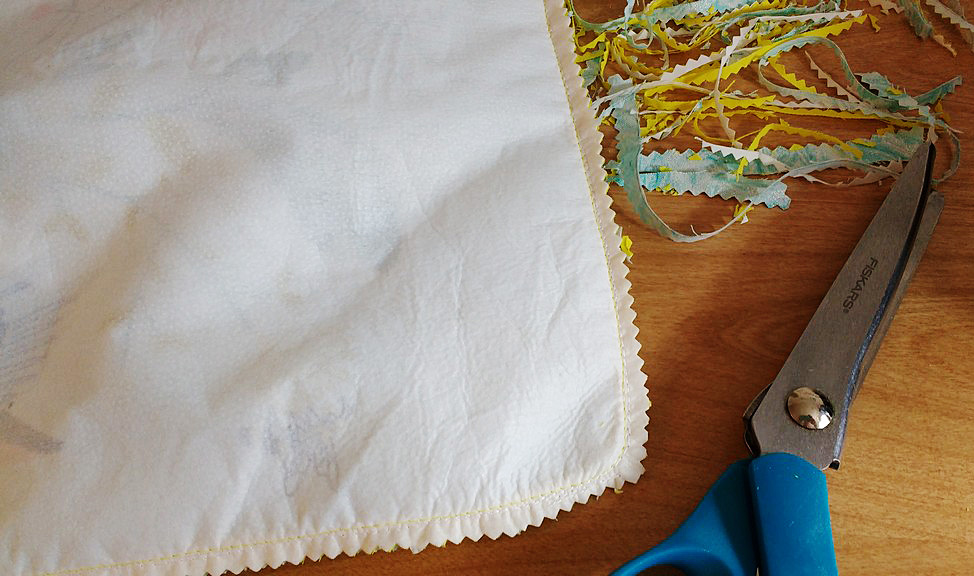
If all looks good, turn it inside out AGAIN and then then trim the edges.
Finishing touches
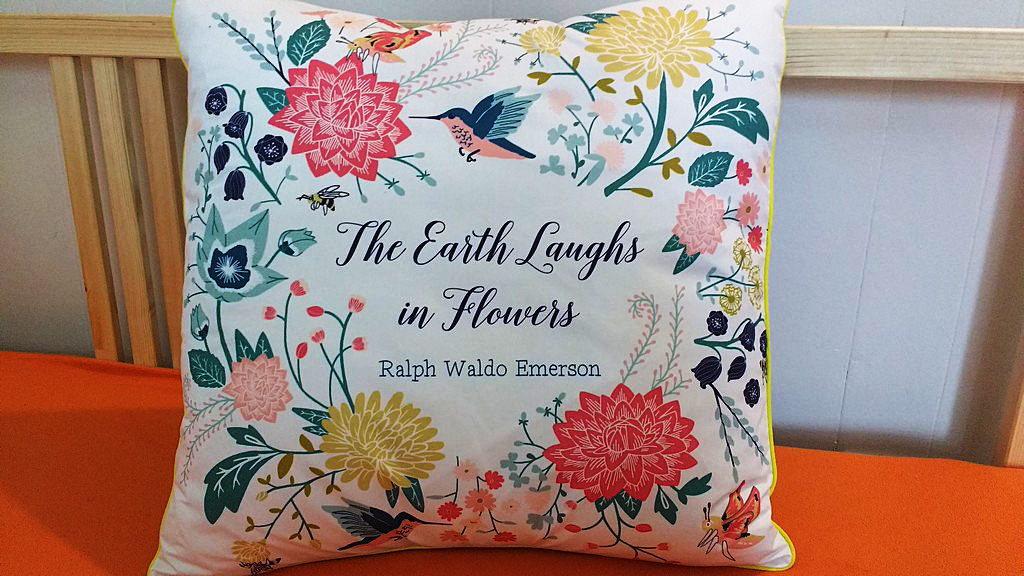
Once you’ve turned your pillow case right sides out, run your fingers along the inside of the seams and fully push out the piping and corners, then iron to get out any wrinkles from the sewing process. Slip it onto your pillow form and voilà, you’ll have a wonderfully plush and SQUARE pillow case.
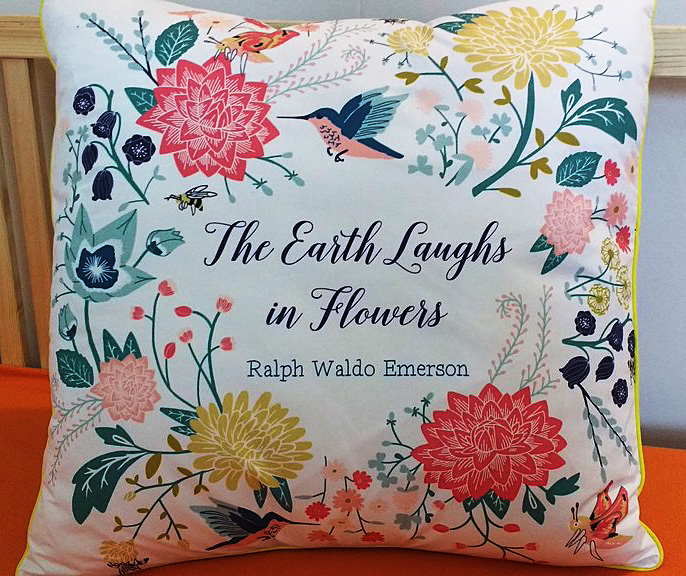
See the difference rounding those corners made?
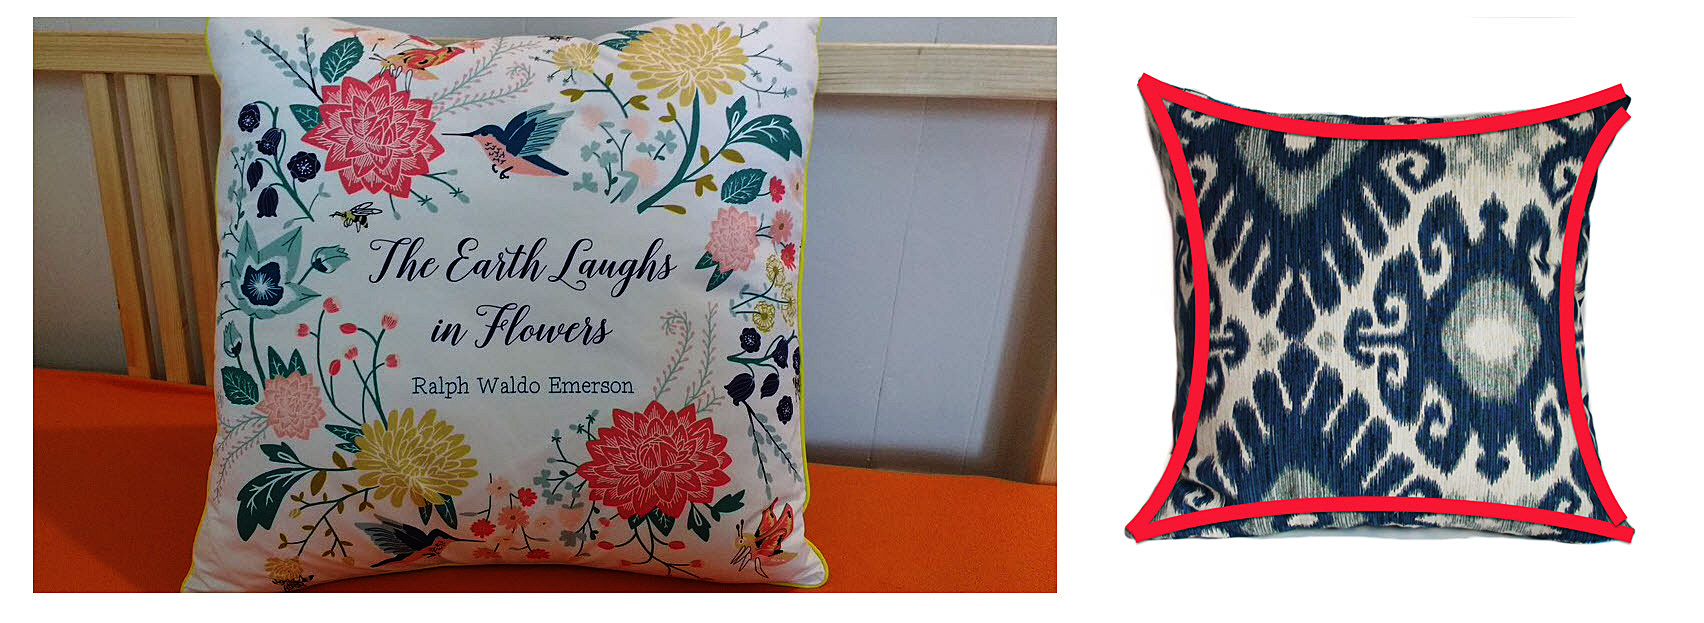
See the difference rounding those corners made?
Do you have any secrets for making the perfect pillowcase? If so, share them in comments!