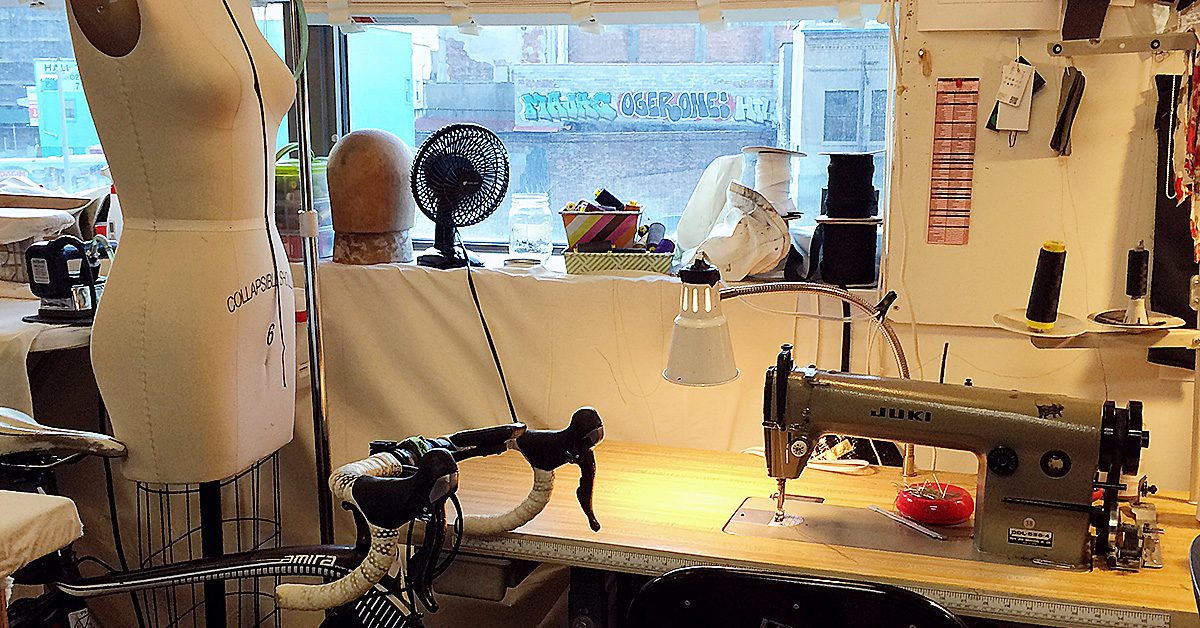
Unless I’m sewing in my lovely big-windowed space at Blindspot, I find that I’m constantly searching for more lamps.
The older I get, the more light I need to sew – or so it seems. Perhaps the many years of sewing in dimly lit church basements and cramped corners surrounded by double racks of clothing and piles of waxed cardboard ‘chicken’ boxes has finally taken its toll.
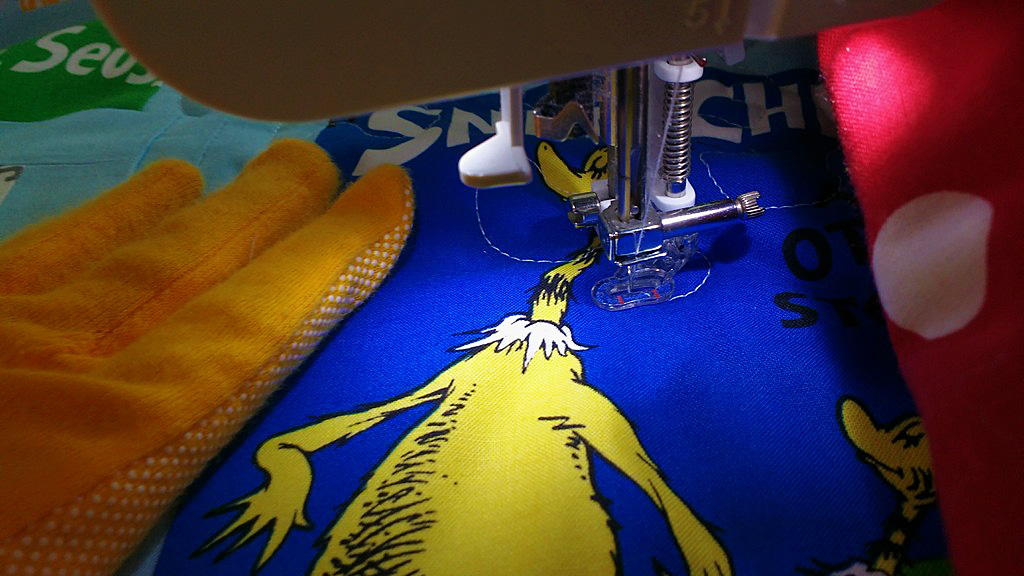
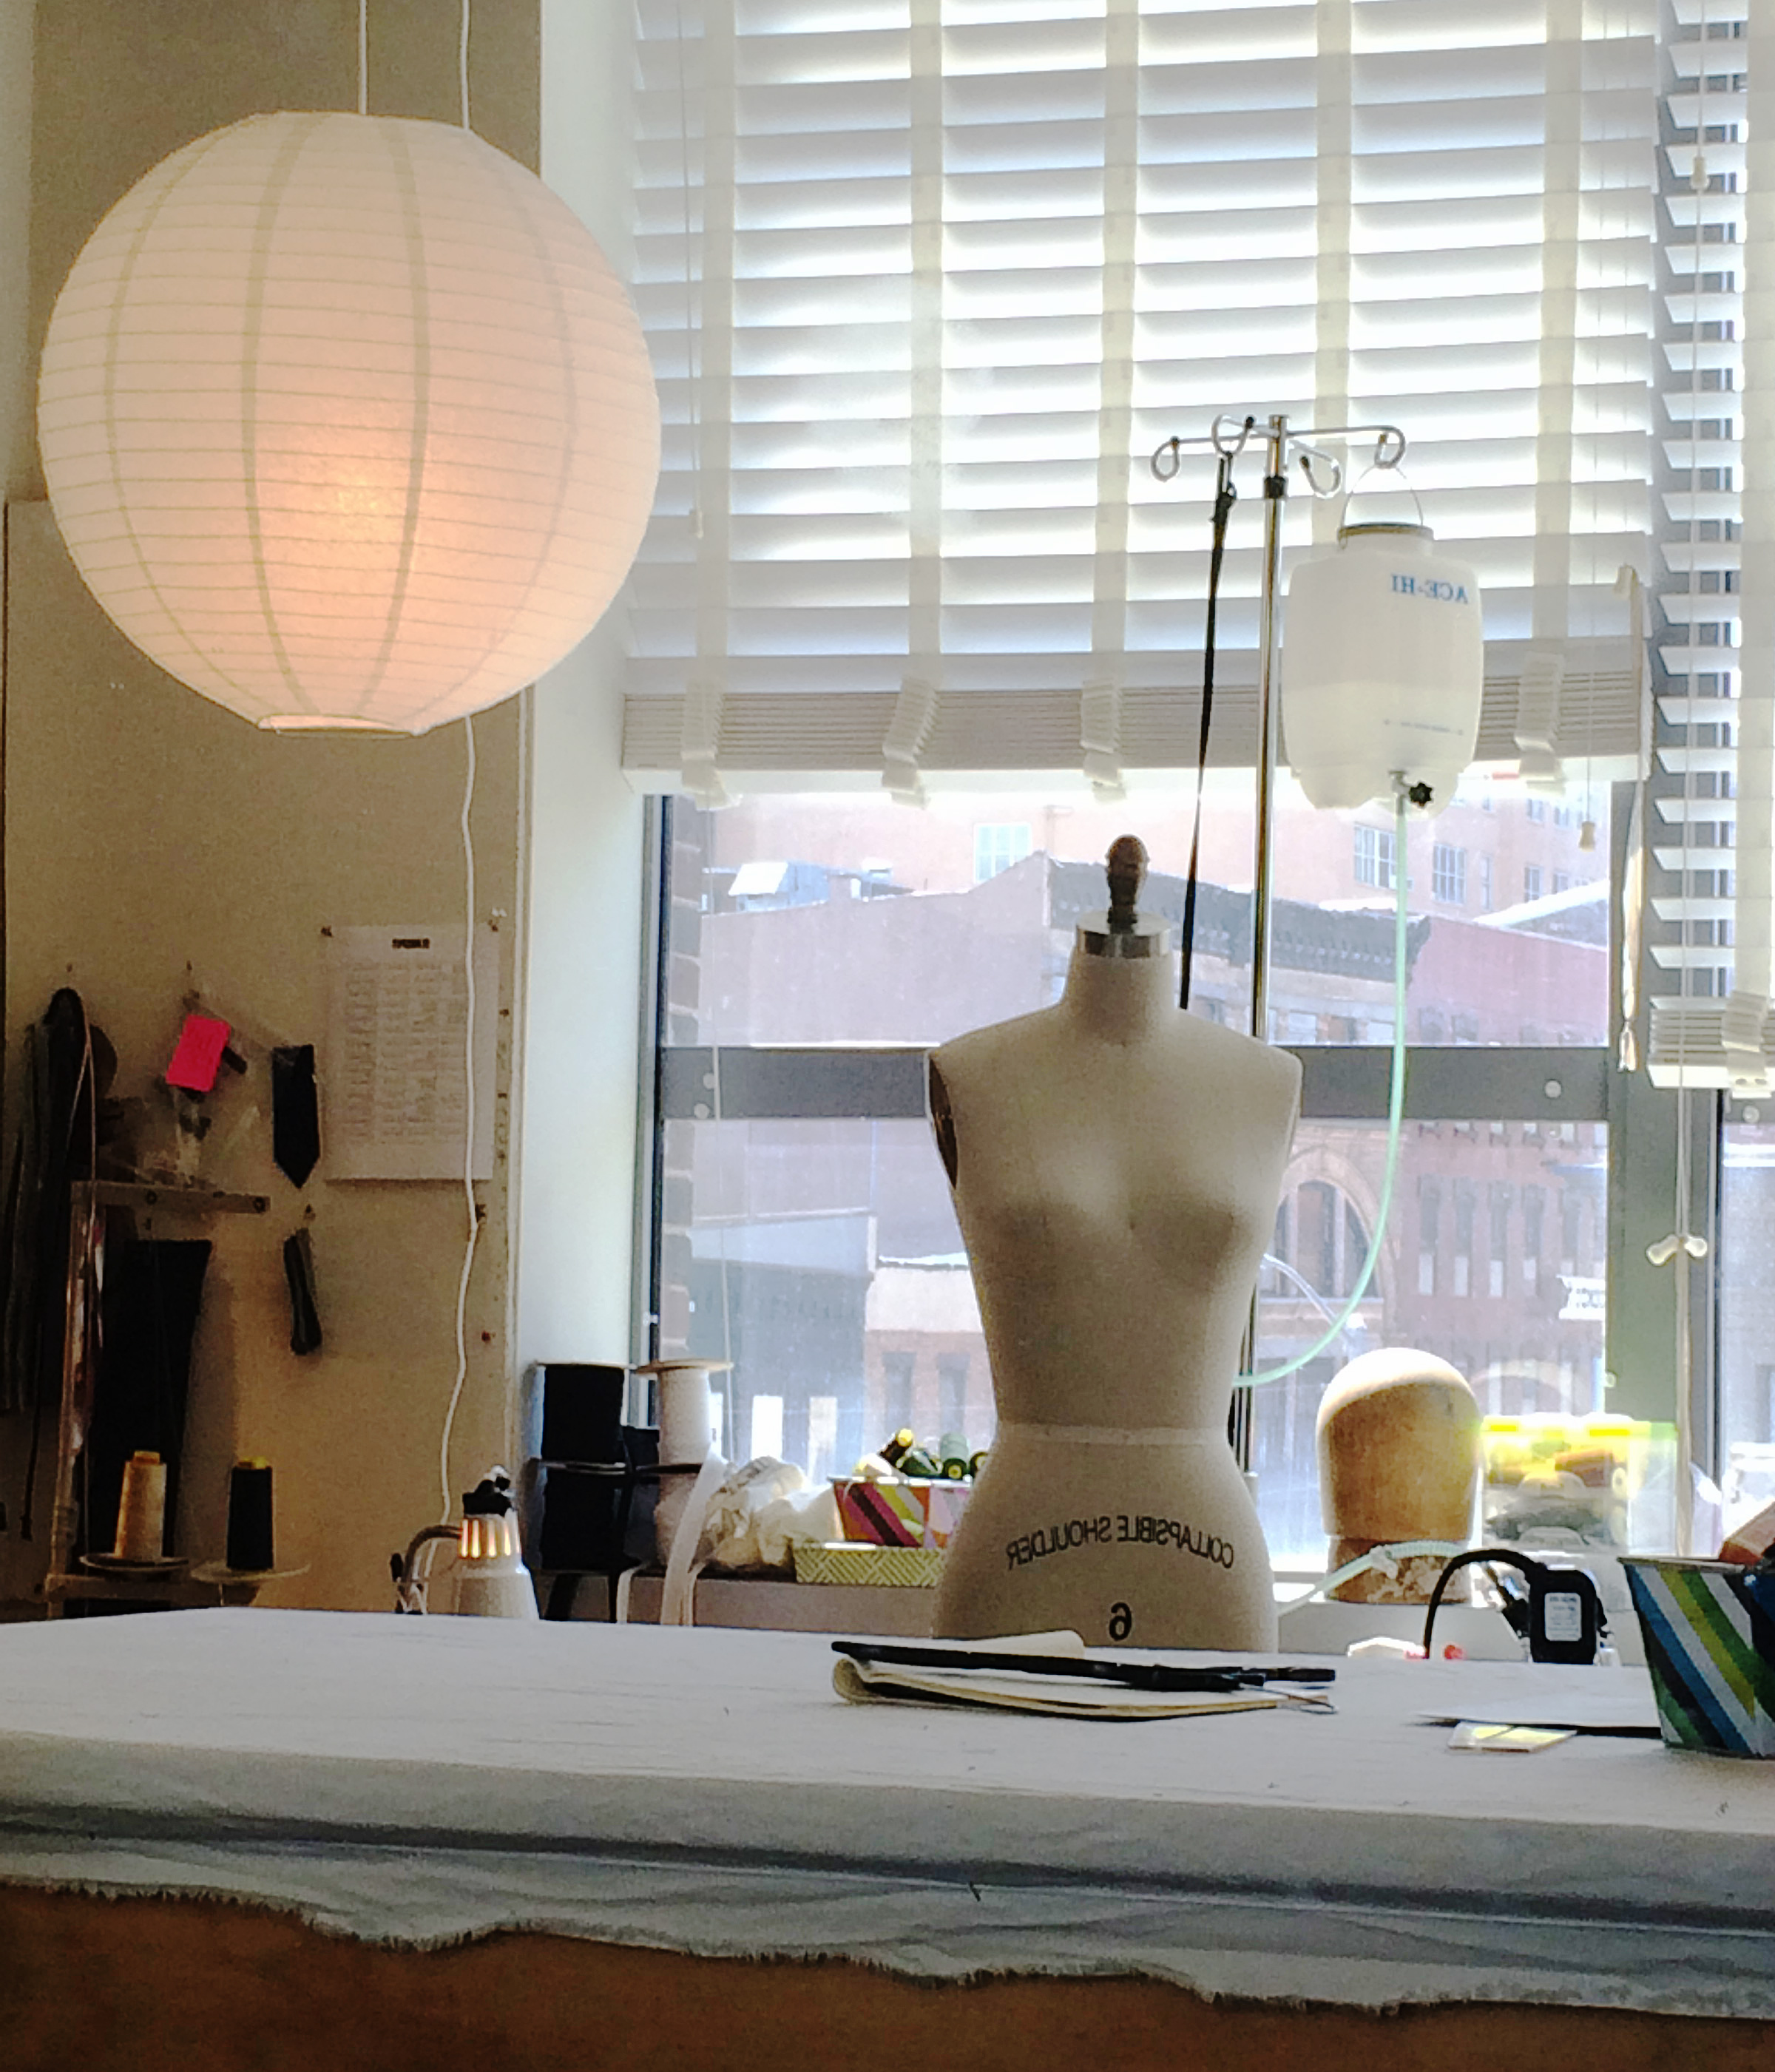
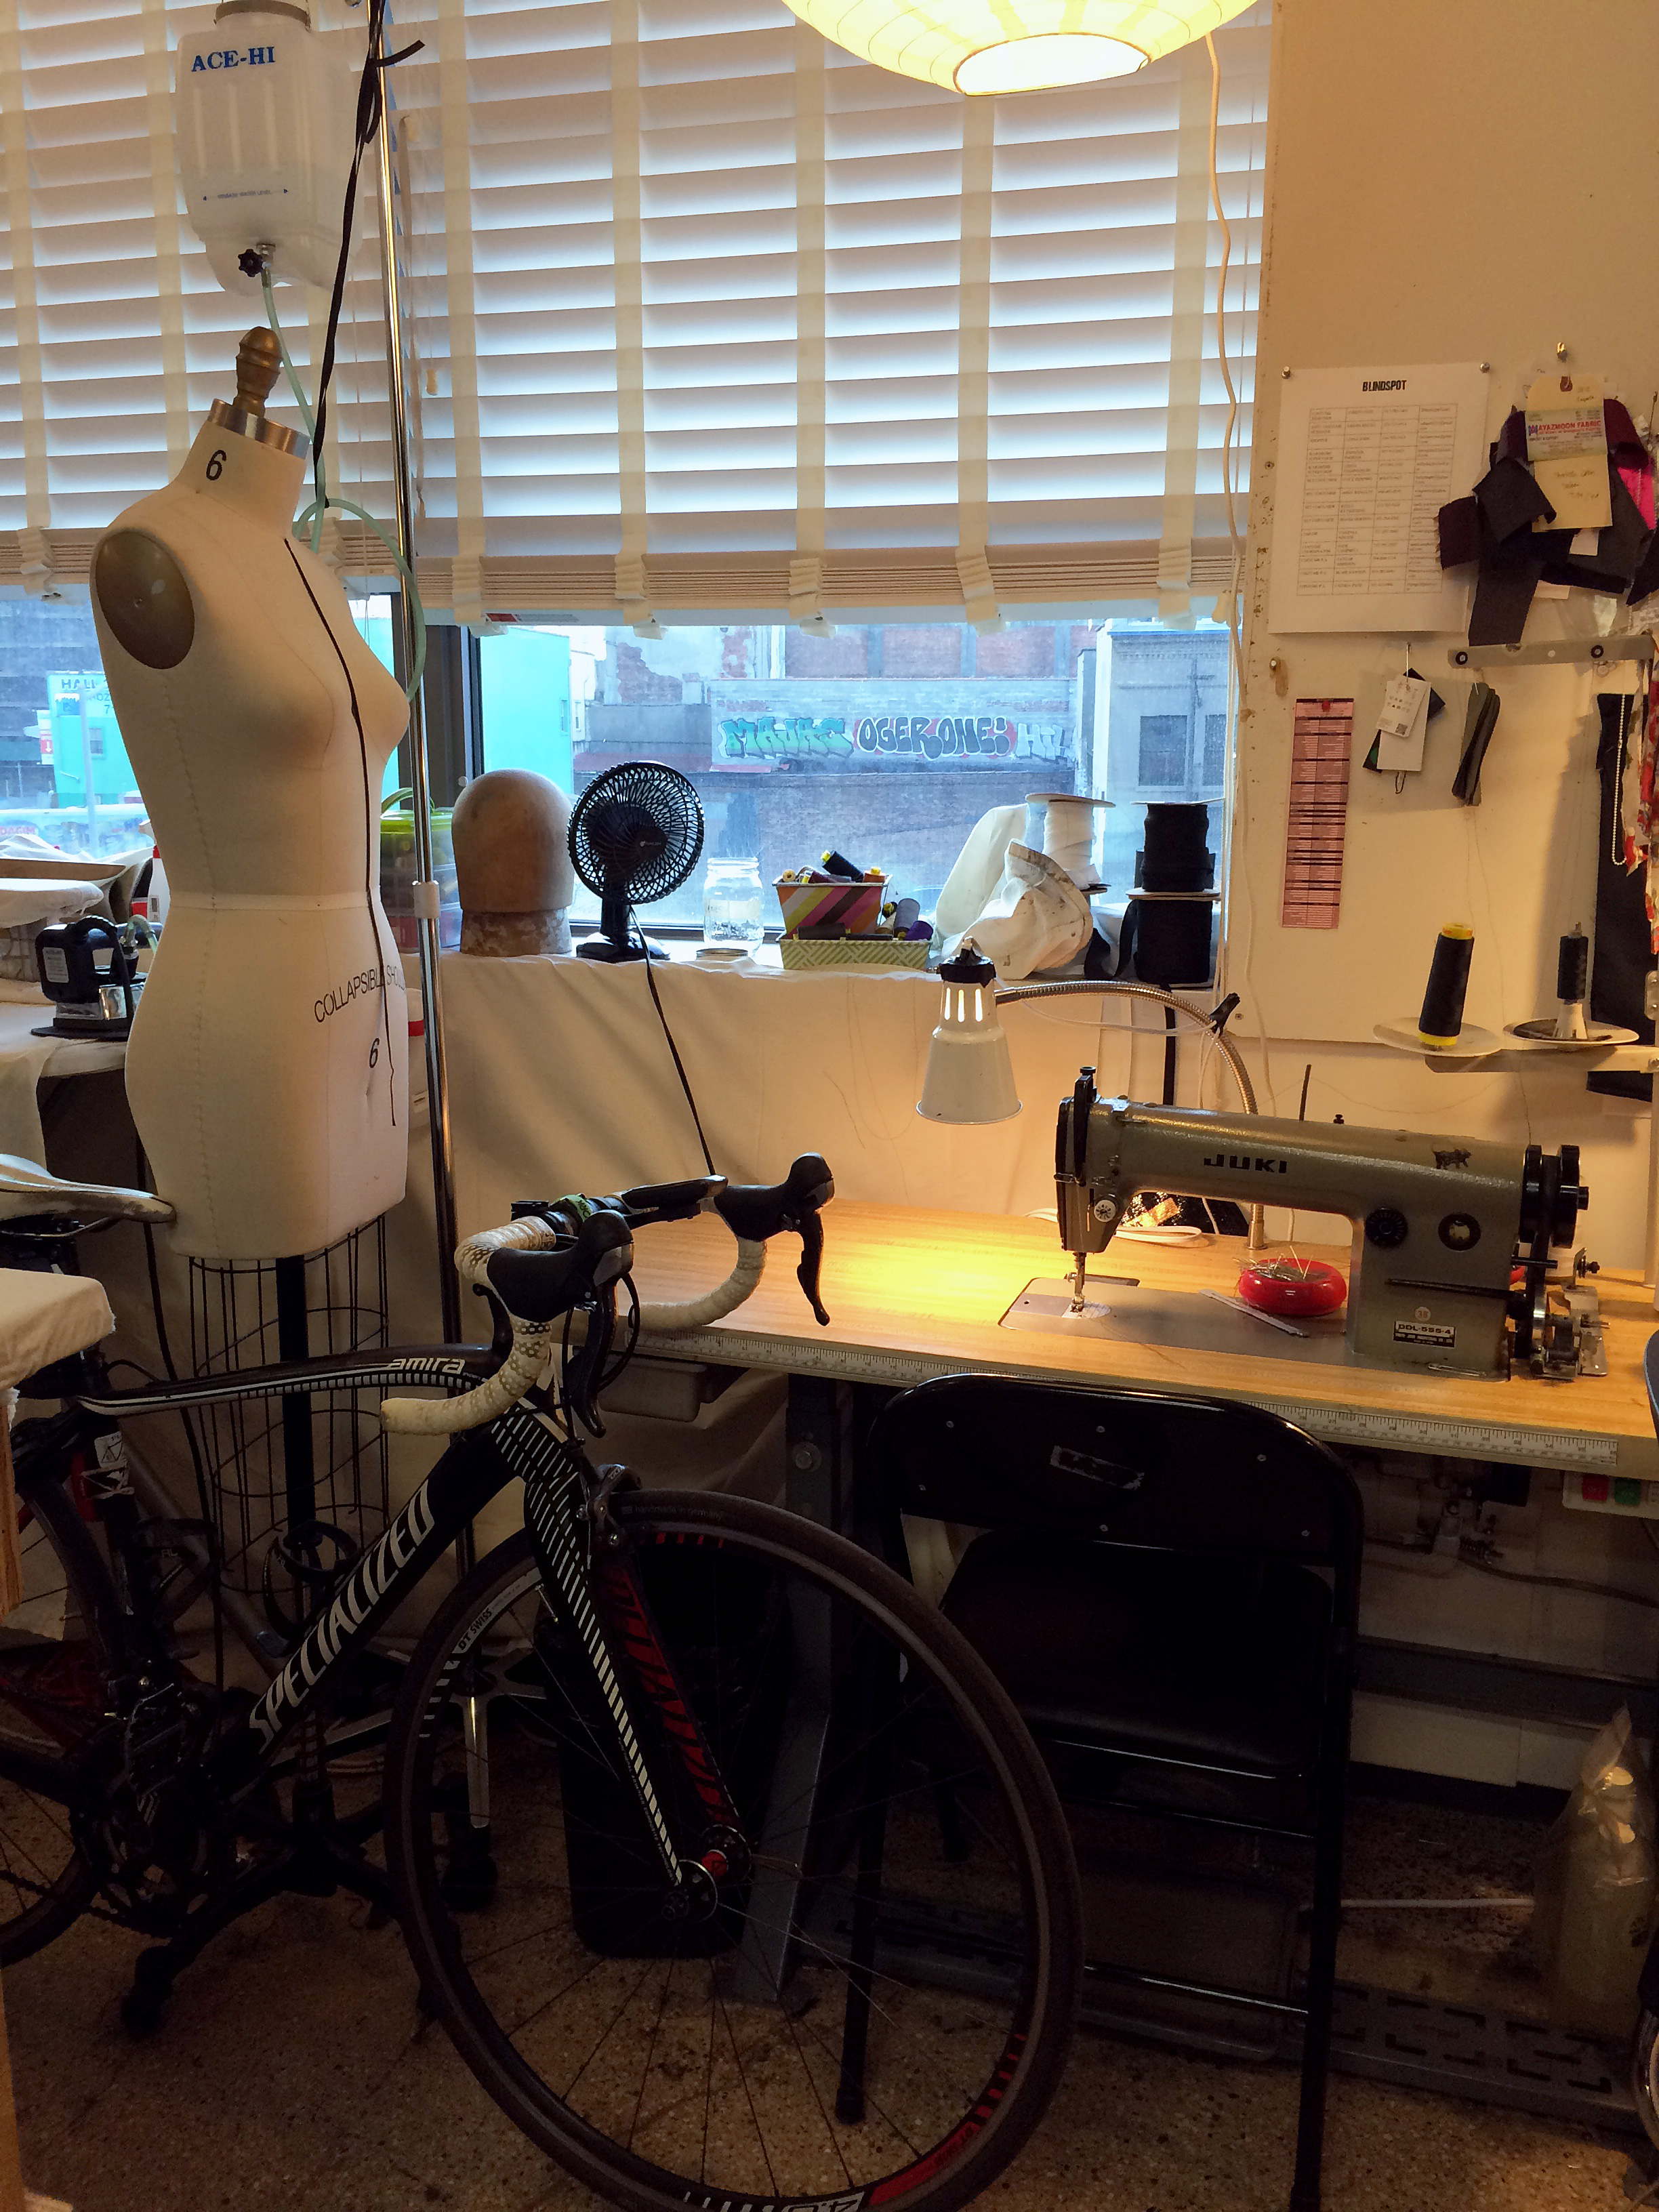
Unless I’m sewing in my lovely big-windowed space at Blindspot, I find that I’m constantly searching for more lamps. Even with the almost entire wall of windows in my shop I still have a couple white paper Chinese lanterns hanging from the ceiling, two floor lamps, and small gooseneck table lights next to the machines. The little lights in the domestic machines never seem to be quite enough. I’ve even been known to prop up my cell phone with the flashlight on under the top arm of machines, leaning it against the solid part with the controls and wheel.
Industrial machines come with moveable, bendable gooseneck lamps attached. I position mine low to the left of the machine, almost touching. I never have a problem seeing when sewing with the industrial.
There are countless types of table lamps out there but, for sewing purposes – and especially if you want to be able to angle the light beam under a sewing machine – a clamp-on style or one with a small base is the best. If the base is too big it’ll just get in your way when you’re trying to sew (especially with a machine). You also need one with a long, moveable goose neck or adjustable arm so you can point it where you need it.
Daylight Slimline LED table lamp
The Daylight Slimline LED table lamp is a great choice. It’s extremely narrow and clamps to a table edge. I like that it doesn’t take up excess space; it just does its intended job without being obtrusive and overbearing (and yes, I know I’m anthropomorphizing).
Daylight or full spectrum light sources are said to improve color perception and visual clarity, as well as, mood, productivity, and mental awareness. How valid these claims are depends on whom you’re talking to but, it is pretty well accepted that they do improve color perception. Here’s one study conducted by the Lighting Research Center at the Rensselaer Polytechnic Institute if you’re interested in that sort of thing.
Daylight Slimline floor lamp
The Daylight Slimline light also comes in a floor lamp version, which is also very useful as you can bend the arm over a chair or your shoulder to work.
Ottlight Creative HD
A really nice, easily portable light is the Ottlight Creative HD high definition natural light.
The Ottlight is named after the inventor of full spectrum lighting, Dr. John Ott.
Doc Ott
All living organisms needed the full spectrum of light provided by the sun.
Dr. Ott was a banker who loved horticulture and time-lapse photography. This led him into a pioneering career in photobiology; the study of light on living cells.
Dr. Ott ended up working as a consultant for the Walt Disney “Secrets of Life” film series where he found that he couldn’t successfully grow plants indoors under normal everyday artificial lighting. His research showed that, in order to thrive, all living organisms needed the full spectrum of light provided by the sun. It was also during the making of this film that Dr. Ott pioneered the use of time lapse for film and television.
Moving through the spectrum
As his career progressed, Dr. Ott began monitoring the beneficial effects of full spectrum lighting on certain human physiological conditions. He discovered that light color temperatures affected mental health, with balanced light reducing hyperactivity in classrooms and negative behavior in prisons.
One of his biggest discoveries was that proper reproduction of individual cells (plant and animal) is affected by lighting variances. He also realized that the light entering our bodies through our eyes controls and regulates our brain chemistry.
Dr. Ott wrote tons of research as well as three books. He published a series of seven articles in the International Journal of Biosocial Research, titled Color and Light: Their Effects on Plants, Animals, and People. These articles summed up Dr. Ott’s decades of independent research, which, at the time, was contrary to the established wisdom of pharmaceutical companies who were intent on toting the negative effects of natural sunlight.
The Silent Epidemic
It’s a sunny morning here in Harlem, so I’m about to grab my bike & go spend some time out in the sun.
At first, Dr. Ott’s research was most often met with polite indifference from the scientific community. Soon, though, clinicians and medical professionals emerged who recognized and aligned with his theory of Mal-illumination or “the silent epidemic”.
Mal-illumination refers to the human trend of becoming ‘contemporary cave dwellers’ and spending the majority of their time indoors and away from natural light sources. Doesn’t sound good, does it?
So, in closing, don’t forget to go outside (outside and sunlight are still free after all!), open the shades, and consider buying yourself a full spectrum lamp if you don’t have one already.
It’s a sunny morning here in Harlem and I’m about to grab my bike and go spend some time out in the sun.