My Little Pony Blankets and Pillows

My Little Pony Blankets and Pillows

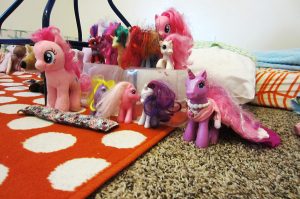
These are my daughters’ favorite toys.

These are my daughters’ favorite toys.

These are my daughters’ favorite toys. These ladies and gents can be found all around our house, in all manner of adventures. Sometimes, they even go to sleep. The problem with this was that my youngest was using tissues to make blankets and pillows for them. All of them. Every day. That’s a lot of tissues.

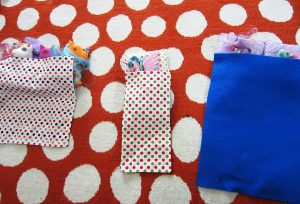
Enter my layer cake stash. ‘Layer cake’ means a precut stack of fabric cut in 10” x 10” squares. I asked my daughter to look and find a selection of fabrics she liked and I turned them into blankets and pillows for her My Little Pony and tiny doll friends.

Enter my layer cake stash.

Enter my layer cake stash.

Downton Abbey

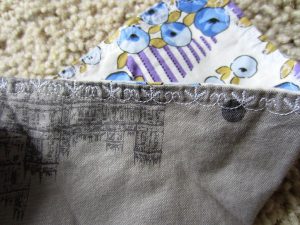
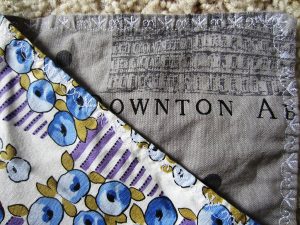
She picked several pieces from my Downton Abbey collection (yes, they have Downton Abbey-themed fabric and yes, I bought some!) I made her eight reversible blankets. This was a fun chance to use the variety of decorative stitches on my machine. The decorative stitches available on modern sewing machines is incredible. SewingMachinesPlus.com has a wide assortment you can view here: https://www.sewingmachinesplus.com/computerized-sewing-machines.php

She picked several pieces from my Downton Abbey collection.

She picked several pieces from my Downton Abbey collection.

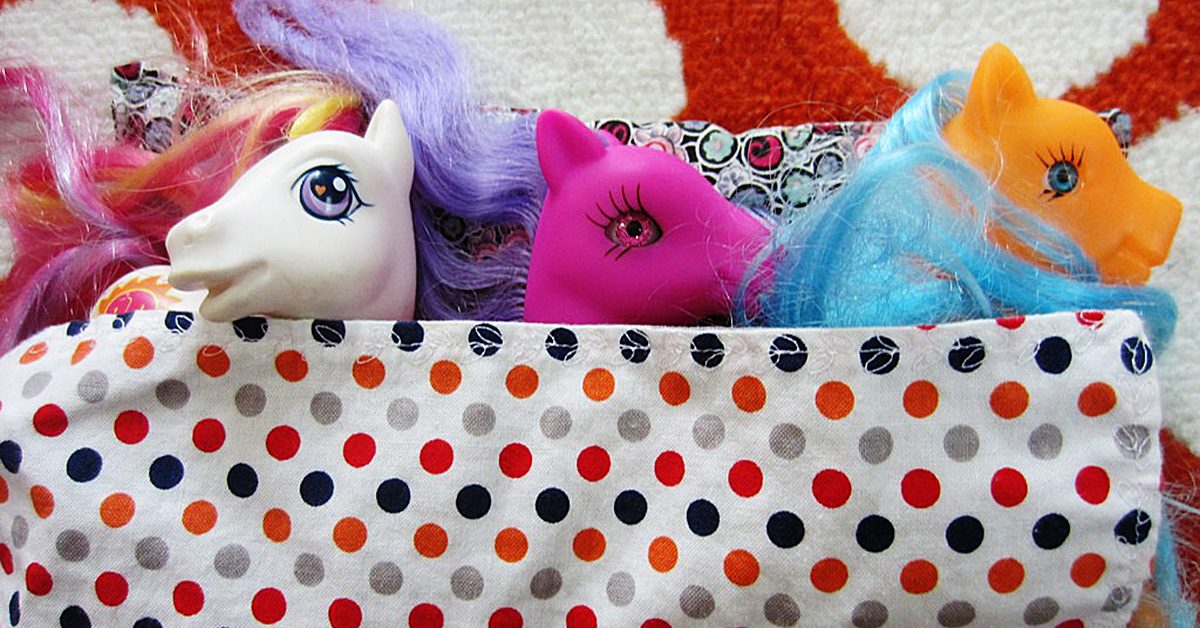
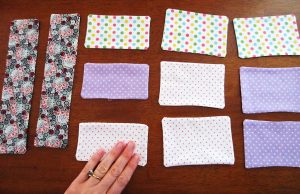
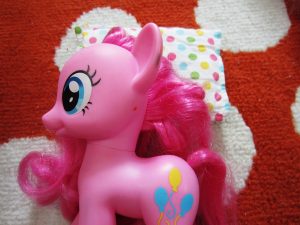
Next I made small and large-sized pillows. She had asked for ‘big’ pillows so some of her ponies could go to sleep together. So sweet!

Nap time

Next I made small & large-sized pillows.

Next I made small & large-sized pillows.

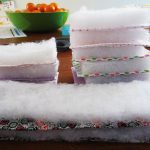
I left an opening in each piece to stuff them and cut the batting to size.


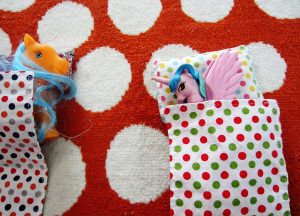
Here you see how they got put into action. My youngest, especially, was thrilled.

Here you see how they got put into action.

Here you see how they got put into action.

The big pillows and the little pillows are used equally. So are some squares of felt I keep on hand for crafting.

The big pillows & the little pillows are used equally.

The big pillows & the little pillows are used equally.

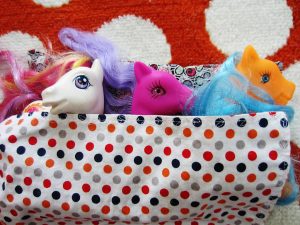
Even ponies need their beauty rest.

Even ponies need their beauty rest.

Even ponies need their beauty rest.

These handmade blankets and pillows have been used for all kinds of imaginative play, including as rivers and lakes in Lego houses they’ve built.

These handmade blankets & pillows have been used for all kinds of imaginative play.

These handmade blankets & pillows have been used for all kinds of imaginative play.

What kind of handmade items have you sewn to supplement your children’s or grandchildren’s toy supply? Let us know in comments!

What kind of handmade items have you sewn to supplement your children’s or grandchildren’s toy supply?

What kind of handmade items have you sewn to supplement your children’s or grandchildren’s toy supply?

———————————————————————————–
Charlotte Kaufman is a writer and sewist in Mammoth Lakes, California. She specializes in marine and home interiors and continues to fall more and more in love with quilting. You can follow her at charlottekaufman.com.
Tell-Tale Traits of a Primitive Quilt

Tell-Tale Traits of a Primitive Quilt

As I step further into the world of sewing, I find that there’s plenty of information out there that I didn’t even know to look for. My primary focus in sewing has been patchwork designs, and I definitely continue to hold a passion in regard to that style of work. I’d love to have a patchwork purse, patchwork clothing, patchwork pillows…

My primary focus in sewing has been patchwork designs, & I definitely continue to hold a passion in regard to that style of work.

My primary focus in sewing has been patchwork designs, & I definitely continue to hold a passion in regard to that style of work.

But I’m not sure I fully realized how many other avenues there are to plan out a quilt before I started looking, and those are details that can be interesting finds! Some of them, though, require a bit of an explanation to truly understand what a quilt of that nature is, and this post will explore one of those types in particular.

Once upon a time

I was in a social media marketing program where, for two of the classes, I had to keep a blog for a business. For one course, I used my author career as the business. For the other, I created a could-someday-be-real quilt company. It was fine, by the way, for the company to not actually be real in the current world!

The idea was that we were to explore marketing concepts through the blog and end up with a marketing plan — at least generally — by the end of the semester. During that quilt-company semester, I came across the idea of a primitive quilt, which was a fairly new phrase to me. At the time, I focused mostly on the social media presence of one particular company, but I find myself now thinking on what exactly a primitive quilt is.

During that quilt-company semester, I came across the idea of a primitive quilt, which was a fairly new phrase to me.

During that quilt-company semester, I came across the idea of a primitive quilt, which was a fairly new phrase to me.

If I claim to be quilter, after all, it might help to know the basic terminology!

After research and consideration of a number of quilts with the label of “primitive,” I offer you a number of details that help to make a primitive quilt… Well, primitive! Note: These are commonalities — not necessarily requirements through and through!

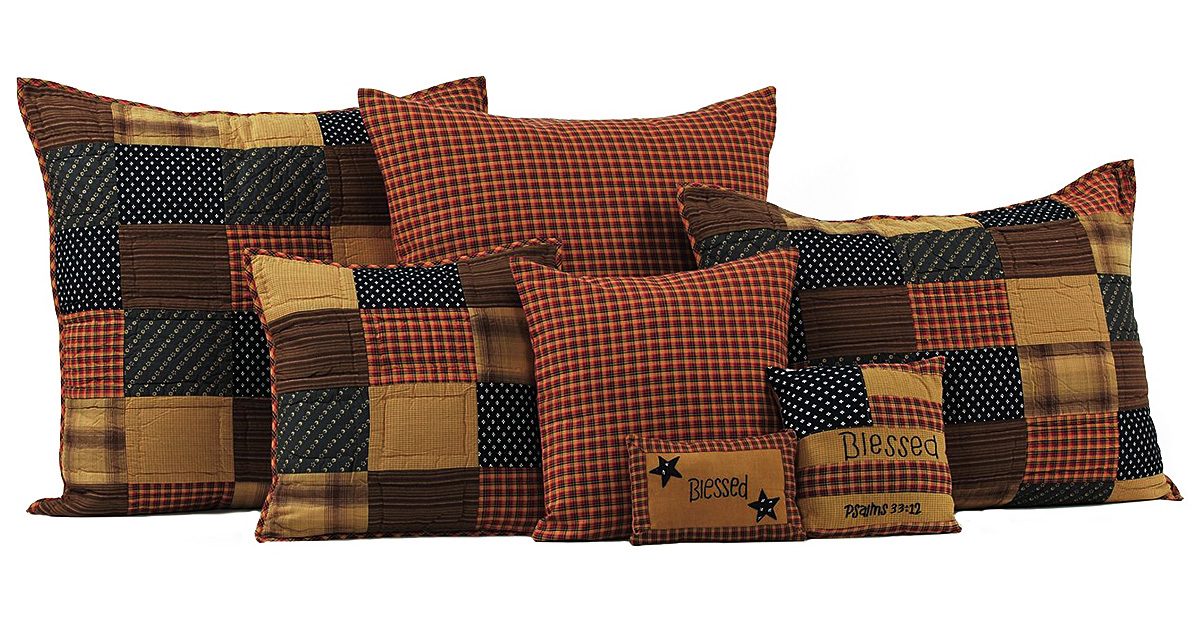
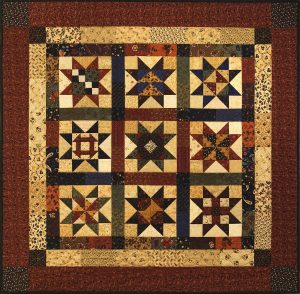
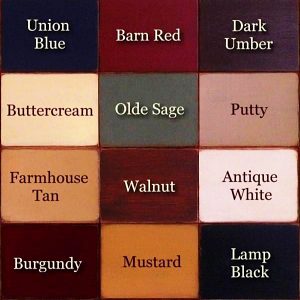
A primitive quilt will make use of neutral colors, though things like dark red & dark blue can make appearances.

A primitive quilt will make use of neutral colors, though things like dark red & dark blue can make appearances.

Basic Coloring

By this, I don’t mean a color-equivalent to no-artificial-flavoring! I mean that the colors are typically more straightforward than neon oranges and vivid pinks. Instead, a primitive quilt will make use of neutral colors, though things like dark red and dark blue can make appearances. These quilts often employ the colors that you might think of when words like “rustic” come to mind — which rationalizes why red and blue are used in regard to red barns and blue skies. In the end, if you plan on making a primitive quilt, you might want to keep the lime green fabric stored away for another project!

Simple Fabric Patterns

Like the coloring, the fabrics, too, are less elaborate than what might be common for a more vividly styled work. Typically, patterns — rather than fabrics — steal the focus in primitive quilts, so no fabric should be so busy or stand-out that it takes attention above and beyond the level of the quilt pattern as a whole. For this, solid colors or very simple patterns on your fabric are your best bet for forming your primitive quilt.

Basic Shapes

Don’t fancy it up!

Don’t fancy it up!

While the overall quilt might have a remarkably interesting visual in regard to its structure, the pieces of fabric that make up that visual are often based on the simplest of designs, like triangles, squares, and rectangles. This doesn’t mean that only geometric shapes can be used for your quilt though! Other shapes can come into play, but make sure to keep them simple to provide that outdated appearance that’s so synonymous with the rustic, primitive design. Think to yourself what the simplest method of delivering an object or shape is — don’t fancy it up!—and you could have the right look!

Empty space

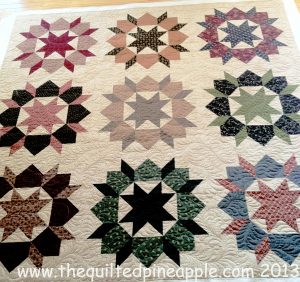
The patterns for primitive quilts are structured, but those empty spaces between the distinct pattern formations can be just as organized. Now, this isn’t necessarily the case for every quilt! It’s not unheard of though for darker, geometric patterns of multiple fabrics to be separated by pieces of lighter fabric that are larger than any individual dark piece. It creates an overall repetition to the quilt, and the result is an almost soothing effect in that the contrast softens the appearance to something calming and steady. As I said, this tactic might be more pronounced in some primitive quilts than others, but don’t be shocked if you notice it fairly often for quilts of this style.

Geometric patterns of multiple fabrics to be separated by pieces of lighter fabric that are larger than any individual dark piece.

Geometric patterns of multiple fabrics to be separated by pieces of lighter fabric that are larger than any individual dark piece.

If you keep these things in mind, you’re on your way to planning a primitive quilt!


References:
Alcorn, J. (2014, September 10). What Is Primitive Home Decor? Retrieved from: https://www.primitivestarquiltshop.com/blogs/quilt-shop-gathering-place/24406593-what-is-primitive-home-decor
Craftsy. (2017, April 24). Can You Spot a Primitive Quilt? Retrieved from https://www.craftsy.com/blog/2017/04/primitive-fabric/
How to Sew Easy Shorts in Just 10 Minutes

How to Sew Easy Shorts in Just 10 Minutes

You really can sew easy shorts in ten minutes. I made pairs for two of my boys and a pair for myself in half an hour, and this included stops for elastic fitting and rewinding a bobbin.
Sew Easy Shorts

For kids, sew easy shorts in 10 minutes using bandanas

Easy bandana shorts are a super quick and simple way to make cute shorts for kids.

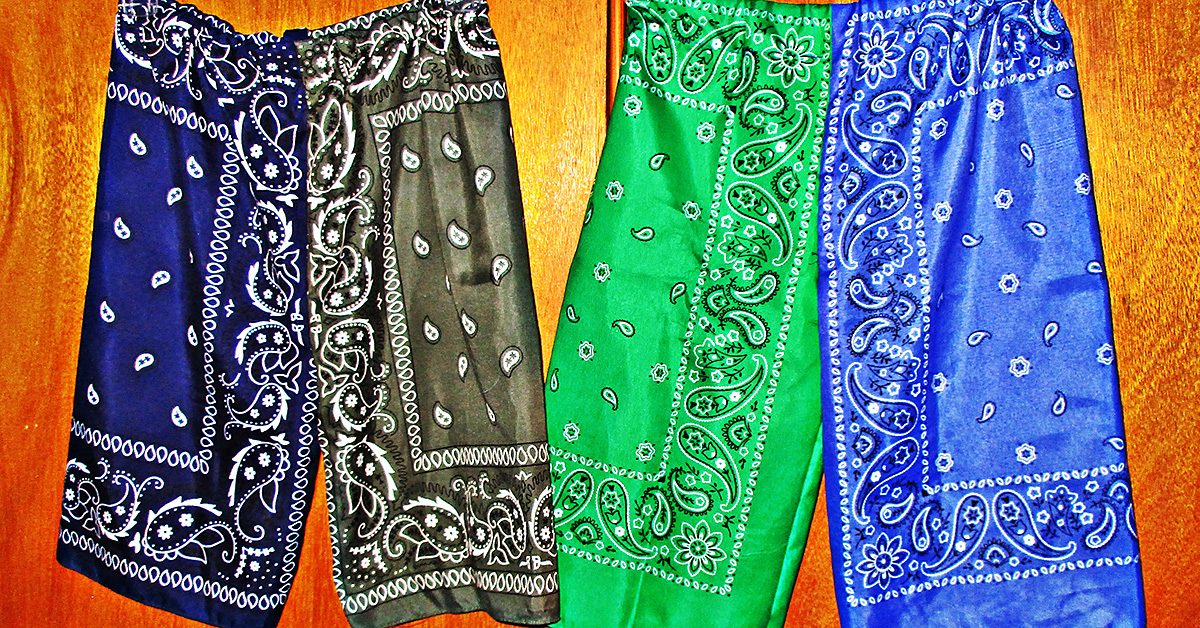
I made these with polyester, rather than cotton, bandanas. I am collecting cotton bandanas for another project and I accidentally bought a couple that turned out to be poly.

It occurred to me that these will dry quickly and so make perfect yard shorts for my boys who are in and out of the garden sprinkler this time of year.

I’ve made these from cotton bandanas before and they have been summer favorites for all my children. They wear them so much that the cotton ones don’t last through too many seasons. So it was time for me to whip up a couple more.

You can use bandanas to make shorts to fit most any size child. Or you can make bandana pants for a baby or toddler. Here’s how to make them:

Supplies:

  • Two bandanas
  • Elastic for waist
  • Sewing machine
  • Thread
  • Scissors

Step one to sew easy shorts: measure

The key measurements you need are the child’s waist and rise. To measure rise, run the measuring tape from the waist, between the legs, to the back waist.

I like to make bandana shorts like jams using the full bandana and not measure inseam or length. If you’d like to hem your child’s pants to a specific length, you are welcome to take the leg measurements. Then you could trim the bandana from the top rather than hemming the legs. That’s what I’d do if I wanted to shorten these.

Sew easy shorts step two: cut

Fold the bandanas in half with the fold running vertically. You are going to cut out a J shaped piece from the top edges. Determine how deep and wide to cut this J shape based on your measurements.

You will want to divide the child’s rise measurement by half and add 1 inch — or up to 2 inches, if you’d like to add more room to grow.

Mark that far down from the top corner edge of the folded bandana. Then mark an inch and half to two inches in from the outside edge. Cut in a J shape between these two points, leaving a J shaped cut-out on the edges of your folded bandanas.
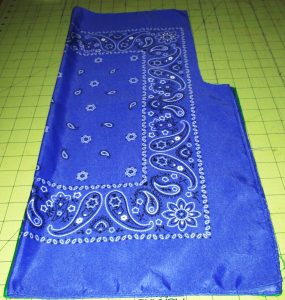
Fold the bandanas in half with the fold running vertically.

Fold the bandanas in half with the fold running vertically.

If I wanted to shorten the legs from the bandana lengths, I would cut that many inches off the top, before I measured and cut the J.

Step three: sew legs

Each bandana will make one leg. Fold them right sides together, and sew down the inseams, which are the edges of the bandana beneath the J crotch seam you cut out.

After you sew each leg, turn them right sides out.

Step four: sew crotch seam

With the legs right sides out, align the crotch seams of each leg piece. Make sure the leg seams you already sewed are aligned, as well as the top edges.

Sew this crotch seam with a stretch stitch, for maximum strength.
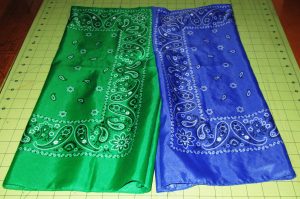
Now they look like shorts.

Now they look like shorts.

Step five: sew the waist

Now fold over about an inch at the top of the shorts, toward the inside, and press.

Sew around this seam, leaving a couple inches open, to allow for elastic insertion.

Cut elastic to the child’s waist measurement, attach a large pin to the end of the waist elastic, and thread it through the waist channel.

Then, sew the elastic ends together and top-stitch the waist closed.

Of course, you can hem them if you like, and if you did not shorten them from the top at the beginning.

Personally, I like to let little boys wear them long. The green and blue pair are longer than knee length on my youngest and look cute to me.
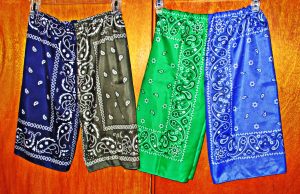
Voila! Ten-minute kid shorts.

Voila! Ten-minute kid shorts.

Sew easy shorts: ten minute adult yoga shorts

I used the same technique to make myself a ten minute pair of shorts, too, refashioned from a t-shirt. I made legs from the front and back panel of one of my dear’s favorite t-shirts, which he has outgrown.

Sew all the seams on these with a stretch stitch.

For mine, I cut the rise a bit short, and then added a waist section from another shirt.

This did not work out perfectly as a ten minute design, so I won’t go into detail about the waist section. Other than to say that I sewed it right sides together to the top of the shorts, and then folded it over and sewed it down on the inside atop the previous seam.

My mistaken way to do this had to add elastic for the top of this section. I want to make these and yoga pants with a crosswise knit cut short enough that it will not need elastic; the ones I just made have too much bulkiness around my already too bulky middle! I’ll hope to show how to make a yoga pants pattern here soon if I can.

But these worked well enough to wear and to love. My husband particularly loves these shorts; he’s been complimenting me on them all day. He doesn’t mind all the bulkiness around my middle, because he is responsible for it. This is what has come from having “cook dinner” on my don’t do list. He cooks things like rich stews, fried chicken, pizzas, and fat burritos and burgers every week! I’m going to have to take dinner off of my don’t-do list soon, or else I’ll have to make myself a whole new wardrobe!
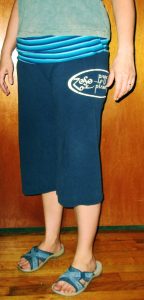
I think they will be a comfy favorite, & I made them in just ten minutes for $0.

I think they will be a comfy favorite, & I made them in just ten minutes for $0.

Ten minute adult legging shorts

I made another kind of shorts for me in ten minutes, too.
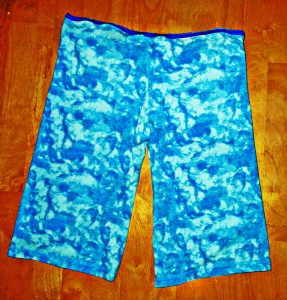
I made another kind of shorts for me in ten minutes, too.

I made another kind of shorts for me in ten minutes, too.

I think of these knee length leggings as undershorts and wear them under casual short dresses.

Make these the same way as the other shorts, using stretchy knit and cutting them smaller for a closer fit.

Rather than adding bulkiness with a waistband channel, stretch a narrow elastic waistband and top stitch it down using a stretch stitch.

The elastic I had is fairly decorative,so I sewed it on the outside in this case. You can use a thicker elastic for the waistband, and sew it on the inside instead, if you prefer.

Make your own shorts

You don’t have to start with bandanas or T-shirts to make shorts.

Make elastic waist shorts to fit anyone by measuring desired length, inseam length, waist and leg circumferences (plus ease) and rise. It is easy to cut shorts to fit anyone’s measurements in just a few short minutes. No pun intended!

I encourage you to both sew easy shorts and to play with bandanas, refashion T-shirts, and have fun with fast fashion ideas like this. Happy sewing!