How to Hang a Quilt

How to Hang a Quilt

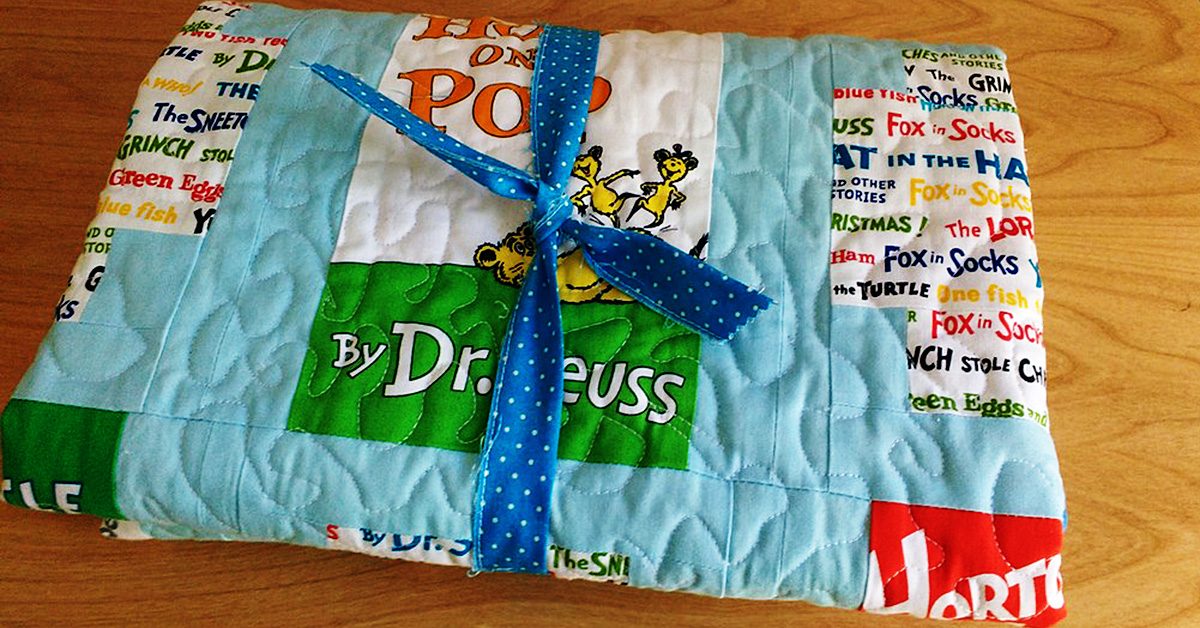
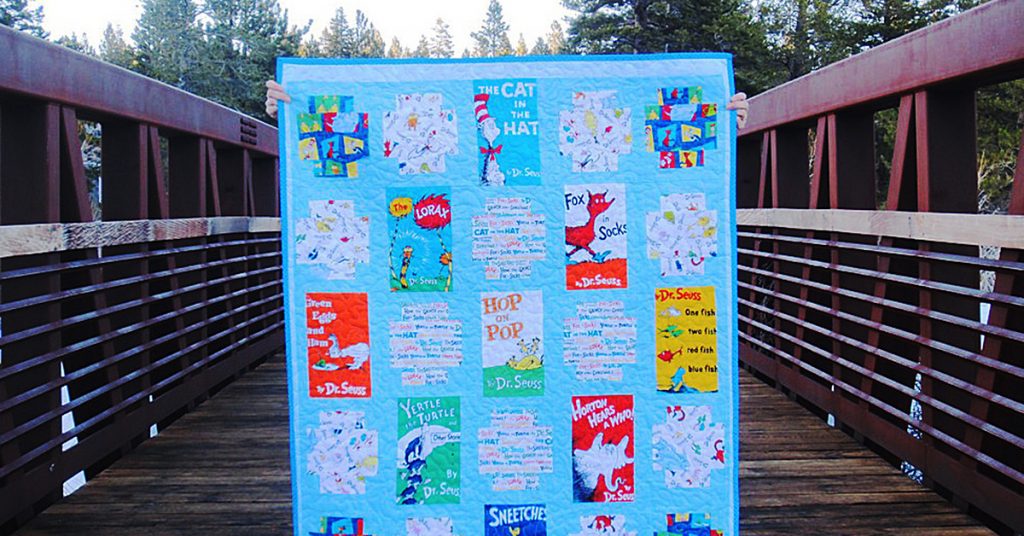
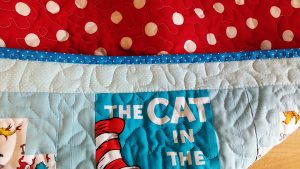
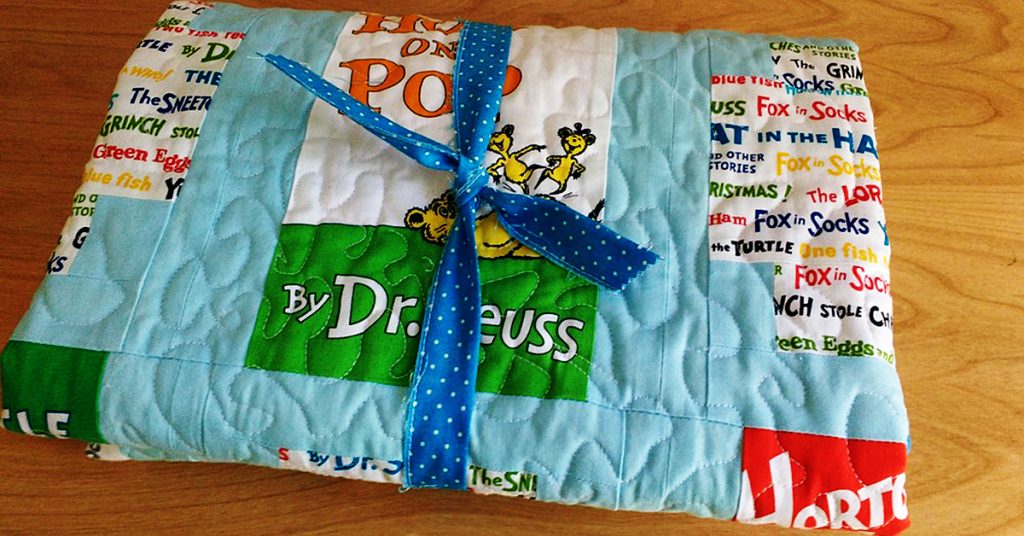
I recently wrote about this Dr. Seuss Quilt I made to donate to our local elementary school’s annual gala. Most of my donations have been made online so I hadn’t thought in advance about hanging or displaying the quilt at an event.


Dr. Seuss Quilt

Dr. Seuss Quilt

I poked around the internet and looked at the best way to consider hanging a quilt after it had been made. Many showed how to sew triangle pouches or hanging sheaths during the process of adding on the back of the quilt but not many talked about what to do after the fact. Here is what I decided on.

Let’s get started

There were still a few strips of my binding fabric on hand because I always tend to make too much.

There were still a few strips of my binding fabric on hand because I always tend to make too much.

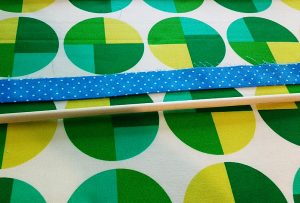
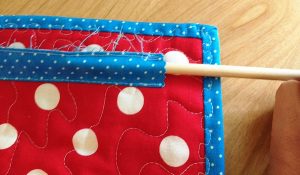
I headed to our local hardware store and bought a small dowel. I was pretty sure that if I doubled over the binding strip, the dowel would slip in perfectly to the tube I created.

I was pretty sure that if I doubled over the binding strip, the dowel would slip in perfectly to the tube I created.

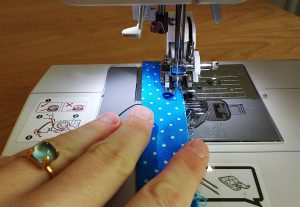
I sewed the top of the tube in advance of sewing it onto the quilt.

I sewed the top of the tube in advance of sewing it onto the quilt.

OK, easy part is over…

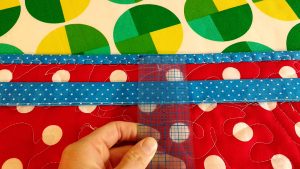
This part was the trickiest. I really didn’t want a super visible stitch on the quilt’s front so I measured front and back to align the fabric tube as perfectly as I could with a main seam on the front.

This part was the trickiest.

This part was the trickiest.

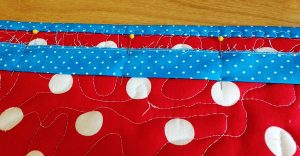
I pinned it and double checked on the front to see if I had gotten it right.

I pinned it and double checked on the front to see if I had gotten it right.

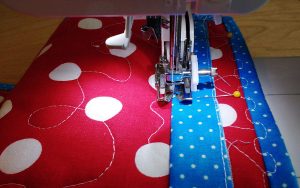
Then I used a basting stitch and sewed the bottom of the tube to the back of the quilt.

Then I used a basting stitch & sewed the bottom of the tube to the back of the quilt.

Nicely done

Moment of truth! And I nailed it almost perfectly. The seam is pretty invisible on the front.

The seam is pretty invisible on the front.

The seam is pretty invisible on the front.

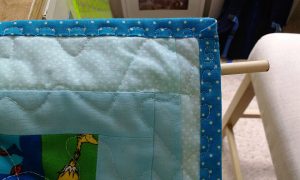
Next up I slid the dowel into the fabric tube and voilà, it fit in just right.

Next up I slid the dowel into the fabric tube & voilà, it fit in just right.

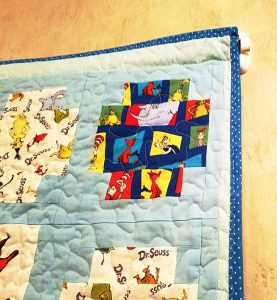
Here’s how it looked from the front.

Here’s how it looked from the front.

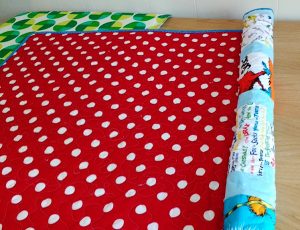
With the dowel in place, I could roll the quilt for easy transportation.

With the dowel in place, I could roll the quilt for easy transportation.

Showtime

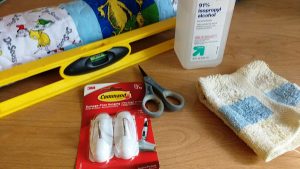
I contacted the hotel where the event would be happening and went in advance to see where exactly I could hang the quilt. The management let me know I could use Command Hooks on the wall so I brought the hooks, some rubbing alcohol and a cloth wipe (to clean where I’d be placing the hooks), a level to make sure I hung them evenly, the quilt, and some scissors to trim any stray threads.

I contacted the hotel where the event would be happening & went in advance to see where exactly I could hang the quilt.

The hooks needed an hour after being hung to attain their full strength so I brought the quilt back home until the actual event.

The hooks needed an hour after being hung to attain their full strength so I brought the quilt back home until the actual event.

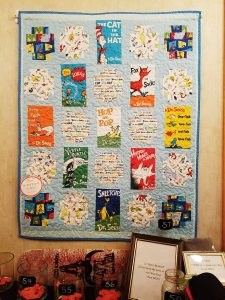
And here is the finished product hanging at the gala that night. Lovely, no?

Here is the finished product hanging at the gala that night.

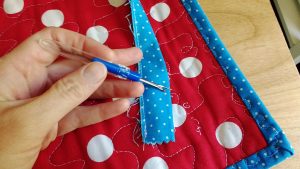
After the gala I brought the quilt back home to remove the fabric tube on the back. The basting stitch I had used made it quick work to take off.

The basting stitch I had used made it quick work to take off.

I then recycled the tube of fabric and used to wrap up the quilt for gifting.

How to Hang a Quilt

Have you ever donated something you’ve sewn to benefit an organization you cared about? Let us know in comments!

———————————————————————————–
Charlotte Kaufman is a writer and sewist in Mammoth Lakes, California. She specializes in marine and home interiors and continues to fall more and more in love with quilting. You can follow her at charlottekaufman.com.
Beach Towels for Sewing Projects

Beach Towels for Sewing Projects

Much like the aforementioned buttons on a previous Pete the Cat related post, trends can show up for a while and eventually become memories. As they’re in the mainstream of their field though, it can be fun to jump on board and partake in them! These trends can bring brand new concepts, images, and characters to life, or they can just offer a new twist on something that’s familiar and ordinary. Those familiar and ordinary details are the case for the trend that will be explored in this post: Beach Towel Sewing Projects.

When I first saw that this was actually a thing, I was perhaps a little interested, but maybe just as uncertain. I’m not even sure what would lead to this trend beyond a creative eye that’s often looking for new possibilities. Whatever the reason for the trend’s existence, you can find a number of projects that are beach-towel based through some online browsing time or the links given in this post.

I think this beach towel concept is such a unique option for sewing projects, and I guess that’s for two reasons. One, using extra beach towels for projects could be a wonderful way to get your creative mind going while clearing out your closet space. Two, the end results to these possible products are so fluffy that they draw my attention like a child going after a stuffed animal! Maybe you share that appreciation, and maybe you don’t! Still, these are good options for how to put no-longer-used (or brand new) towels to use for your sewing hobbies!

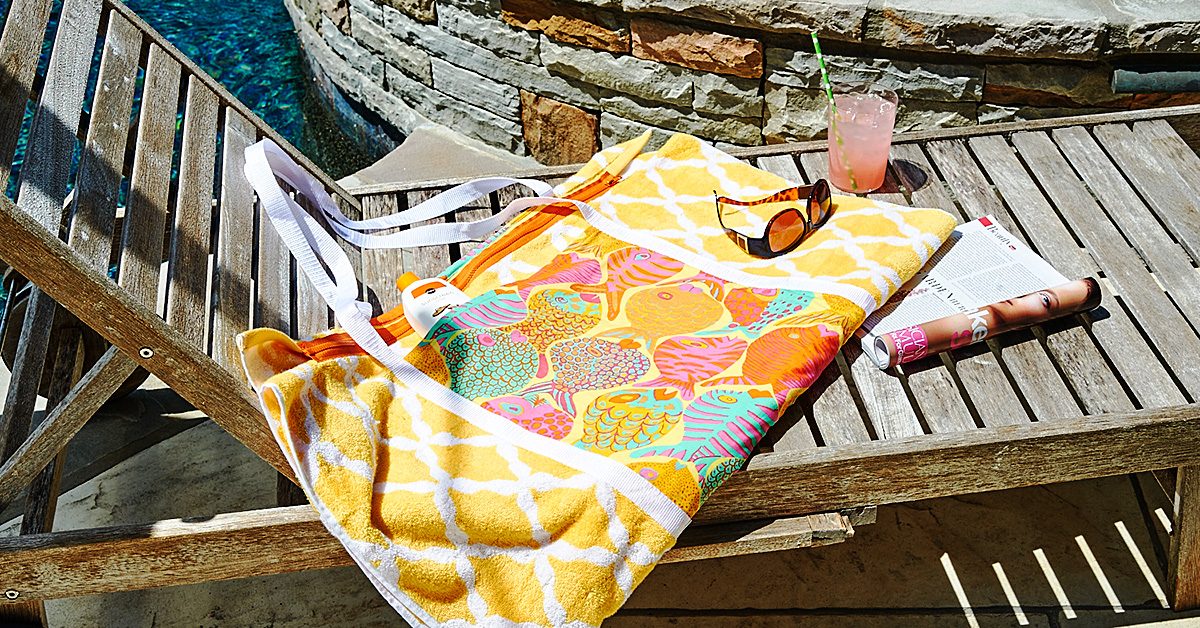
This quirky accessory could stand out on your next beach adventure.

This quirky accessory could stand out on your next beach adventure.

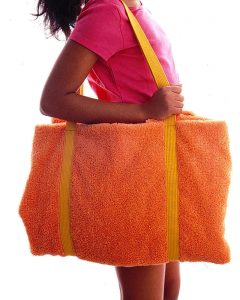
First on the list, how about a beach towel tote? This quirky accessory could stand out on your next beach adventure, and it would be large enough to hold your sunscreen, your Frisbee, your sunglasses, and whatever else you could fit into this decently-sized bag! You can use something plain-colored like what’s shown in the image, or you can choose a more dynamic print on the beach towel to increase its stand-out quality! The needed supplies are few, and the unique look of it could be worth your sewing time! Why not give it a try?

While they lack the larger size of a tote, these can still be spaces to hold some of your beach bring-alongs.

While they lack the larger size of a tote, these can still be spaces to hold some of your beach bring-alongs.

But, then, maybe you’re more of a backpack person? If so, no worries! You can make one of those using a beach towel as well! While they lack the larger size of the tote, these can still be spaces to hold some of your beach bring-alongs, like sunscreen and a book to read in the sun. And, obviously, the use of these products wouldn’t need to be limited to the beach. Anywhere that you might think to bring a purse, these could be options if it’s a setting you’re comfortable using it in. Considering the site says this project can be finished in less than 24 hours, it might be worth your time to give it a shot!

If you’re looking for an option that deals a bit less with the carry-stuff-along-with-me aspect, there are possibilities to explore in other categories as well—like stuffed animals! These toys are a wonderful fit for this beach towel option because of that fluffy quality I mentioned earlier. If you’re going to make a stuffed animal toy—maybe a dog—it makes sense that the dog has fur, right? I personally like this elephant idea, but it’s very possible that I never got over the spotted elephant on Rudolph! If you prefer a different animal to make into a toy, browse through your options and find the right colored beach towel to match the standard coloring of that animal—unless you really do want a spotted elephant or something as out of the ordinary!

An intriguing option for creative towels use.

An intriguing option for creative towels use.

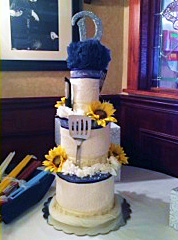
There’s also the option of creating something from a beach towel for the sake of gift-giving, if towels are a part of a gift you have planned for someone. One such option that stuck out to me was a bridal shower cake. True, this might require something less bulky than a beach towel and wouldn’t necessarily help to clean out your closet, but it’s still an intriguing option for using towels in general for creative endeavors. This cake is a method of giving very typical housewarming gifts, like towels and other items, in a lovely and out-of-the-box manner. It’s unique and striking, and a way to show the gift recipient that you cared enough to craft something artistic with your gift just for the sake of presentation. A towel cake, after all, is more memorable than some towels and utensils waiting in a box or a gift bag!

This cake is a unique twist on giving very typical housewarming gifts.

This cake is a unique twist on giving very typical housewarming gifts.

For a beach trip, a random toy, or a bridal shower, there are interesting projects that can make use of towels! These are just a handful of them, but maybe they’ll get the ideas rolling in your head enough to spark your interest!

Sew a Rice Pack Whole Body Heating Pad

How to Sew a Rice Pack Whole Body Heating Pad

How to Sew a Rice Pack Whole Body Heating Pad

You can sew a rice pack heating pad to any size at all.

The first one I ever made was a rectangle maybe about four by six inches. Okay, maybe it was a little bigger than that, but in use, it turned out to be silly small and I wanted a larger one.

I have made smaller rice packs that serve a neat purpose, though.

These make sweet pocket warmers when stuffed with rice.

These make sweet pocket warmers when stuffed with rice.

For a heating pad, bigger is better. So I made a large one with a folded kitchen towel and a big bag of rice, and this was a helpful friend for some time.

But have you ever wanted a full body hugging heating pad? I have, every month for some time now. I have wanted one to wrap around my tummy, and my dear and I have both wished for something bigger for pains in the neck and shoulders, too.

So I bought a huge bag of rice in bulk and decided to finally sew a rice pack heating pad big enough to wrap around.

So I bought a huge bag of rice in bulk & decided to finally sew a rice pack heating pad big enough to wrap around.

So I bought a huge bag of rice in bulk & decided to finally sew a rice pack heating pad big enough to wrap around.

Here’s how I made it:

Materials

  • 2/3 yd sturdy fabric
  • 20 cups rice

Of course you need a sewing machine, thread, scissors and/or a rotary cutter and mat.

Step one

Fold the fabric for your heating pad in half so that it makes a long rectangle approximately 44 inches (it will likely be shorter than 44 inches after pre-washing your fabric) by 12 inches, and press.

Then, make a narrow hem along both of the long (~44”) edges. Or you can serge along these edges with your serger.

Step two

Now fold it again, with right sides together. Sew along both short edges. Leave the long end open.

Of course you can serge these seams, too.

Clip the corners, and turn right sides out.

Step three

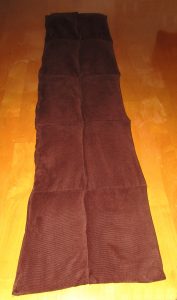
Now you are going to measure and then sew four lines of stitching to section the rectangle into five sections. These lines will run parallel to the end seams you just sewed.

I found the middle, then measured four inches out from there on either side, and marked my first two lines to create the middle section. Then I measured eight inches out from each of these to create the other sections.

Sew these lines from the bottom but end them approximately 3/4 inch before you reach the top.

Step four

And there is your whole body heating pad, which will wrap all around like a warm & heavy hug when you need it.

And there is your whole body heating pad, which will wrap all around like a warm & heavy hug when you need it.

Scoop two cups of rice into each opening.  Hold the bag and be sure all the rice flows to the very bottom of the pockets.

Now, sew a long line, parallel to the open edges, to bisect the five sections into ten.

Step five

Scoop two more cups of rice into each of the remaining five sections.

Then you can sew the long opening closed. I turned this over and sewed it down again to make this seam stronger, too.

If you want to be extra careful to prevent the rice from spilling out while you sew, then take the extra time to baste the long opening closed with quilter’s safety pins.

And there is your whole body heating pad, which will wrap all around like a warm and heavy hug when you need it.

To use:

Microwave the heat pad to warm. Microwave ovens vary a lot, so you will have to determine for yourself how long you should heat yours. Five minutes seems about right for mine, but be careful not to burn yourself.

Remove the pad from the microwave, shake it up a bit and evenly distribute the heat. Wrap it around your tummy, your shoulders, even your legs. Or lie down and use the whole length along your back from top to bottom.  And feel better soon!