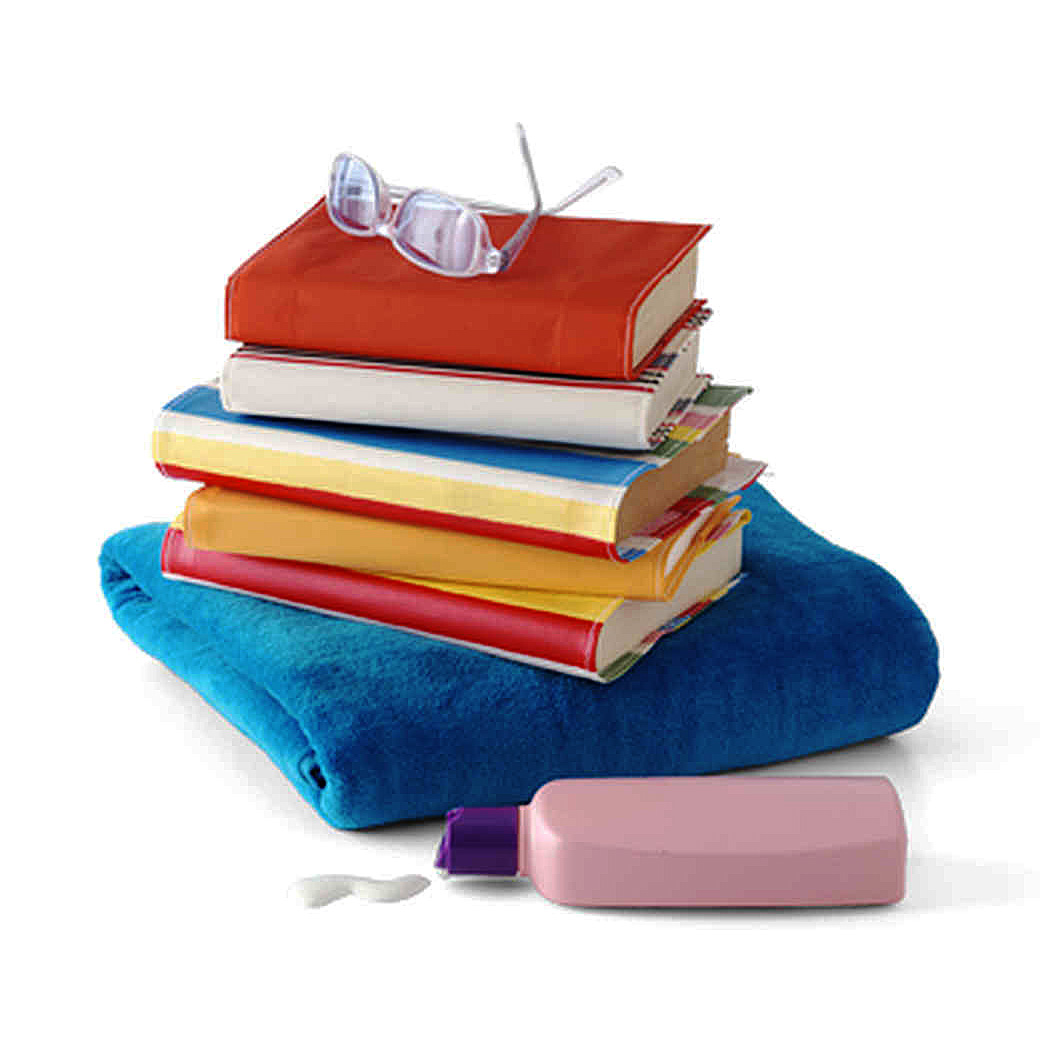
Imagine a summer day spent by the pool with your sunscreen on, your sunglasses perched on your nose, and a cup of your favorite drink beside you. A cool breeze blows by, and you can’t help but smile from your reclined position on your seat as you casually turn the page on the book you’ve been reading for the last half hour.
Then you set the book aside for the sake of refilling your drink — just when someone decides to do a cannonball into the swimming pool. The water flies upward and outward… and a huge splash lands right on your book. Suddenly, your poolside day of reading deteriorates with the knowledge that the book you were enjoying so very, very much has officially been subjected to the book-disease known as water damage.
This is not a good scenario for a book fan! In fact, it can put a damper on the rest of your poolside visit!
Splish splash
Create a waterproof book cover for relaxing day of reading by the pool.
So how could this incident have been prevented? Well, you could’ve left the book at home, but there’s another possibility that would allow you that relaxing day of reading by the pool. That option is to create a waterproof book cover. You can find instructions for that concept here, but the step-by-step guide can lead to exploration if you want to properly create this book-protector.
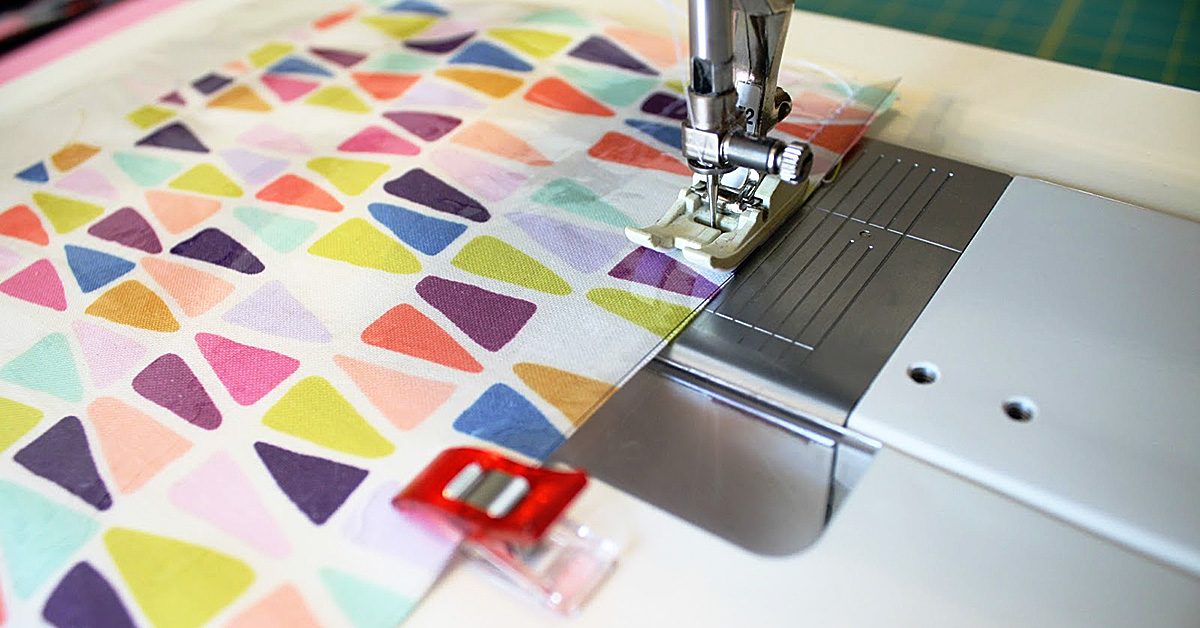
That exploration centers around one important detail, and that’s the best approach for dealing with vinyl in regard to sewing. It is, after all, a much different texture and structure than more common possibilities like cotton and flannel, and if you want the best experience possible for putting together a vinyl-based book cover, looking into how it’s different and what to do about those differences can be beneficial.
Troubleshooting
It’s thick. While it’s not thick enough to be something that seems ridiculous to use, it’s thick enough to come with its own concerns. For instance, you might find that the needle you used to sew that cotton project doesn’t work very well for this vinyl concept. The thicker quality calls for something stronger to easily maneuver through the vinyl to create your book cover. According to one source, “[i]t’s best to use a needle designed for leather or vinyl…[like] Leather Needles from Schmetz” for the task so you don’t have to wrestle with your needle as you go — or maybe even ruin your needle because it bends under the pressure. If this is your first vinyl project, you might want to look for an applicable set of needles for the job!
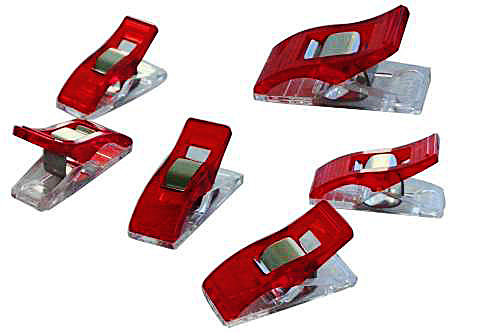
You may want to add Wonder Clips to your to-buy list for when you’re browsing through the store for your vinyl-sufficient needles.
It’s not pin-cushion friendly. While the tiny holes that pin cushions can leave don’t really make much of a difference in flannel, they can make a very big difference in vinyl since they’re much more pronounced! To combat that issue, you might want to add Wonder Clips to your to-buy list for when you’re browsing through the store for your vinyl-sufficient needles. These things can keep your project on track by holding things in place without forever scarring the vinyl!
“You can’t iron your vinyl flat.” If there’s something that’s a staple in preparing material for sewing, it could be to iron all of the wrinkles out beforehand. Since that strategy doesn’t really work for vinyl (it “could melt” under the iron!), it leaves the question of what a person can do that make sure everything is even before that first stitch happens. A simple solution would be to use your hairdryer on the vinyl, which will cause it to “flatten out nicely.” No bends, no damage, and no worries as you dive into making your stitches for your waterproof book cover!
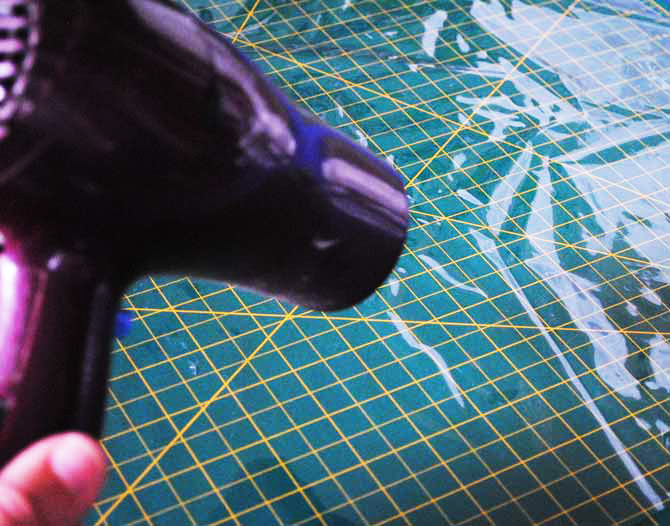
A simple solution would be to use your hairdryer on the vinyl
It might not stay in place. One of the things I personally don’t like about using a silk fabric is that it’s so easy for it to slip out of form and throw off your pinning, cutting, and sewing. And, well, vinyl doesn’t seem to want to stay in place either because of its texture. While this might make it perfect for the waterproof detail, it complicates the sewing process just a bit! This complication though is no reason to throw in the towel for this project since painter’s tape can be used to hold the vinyl in place without damaging it at all. It’s an extra purchase for the project, but it can keep things neat and orderly as you go to create a better, easier-made product.
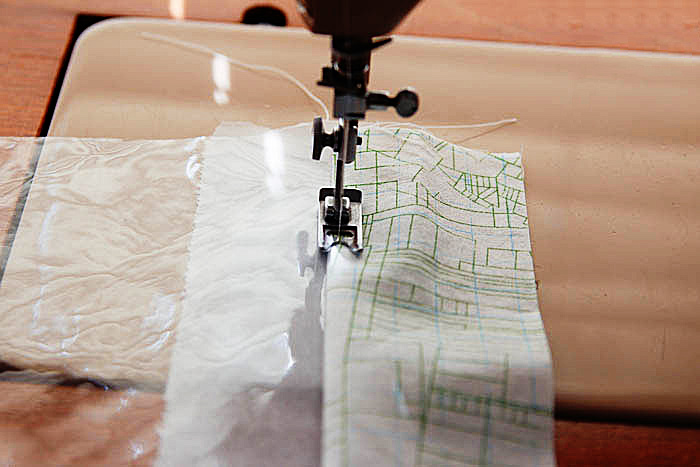
Use tissue paper to preventing sticking.
It might stick to your sewing machine. To my thinking, few things are more frustrating in the world of sewing than having material that won’t feed through your machine correctly, and since vinyl can stick, this could be a headache waiting to happen! It doesn’t have to ruin the experience though! You could use tissue paper on “the side [of the machine] that is having trouble” while you feed the vinyl through to keep it from touching that part of the machine, thus preventing the sticking. Once you’re finished, this tissue paper “will easily tear off” to become but a memory of a sewing hack you employed!
If you use these tips, tricks, and suggestions, you might find using vinyl is not so difficult that you have to remove it from your list of materials to use. And if you can use it, don’t hesitate in protecting that new paperback from the swimming pool splashes with its own book cover! It’s one step closer to that wonderful possibility of a summer vacation, poolside read!