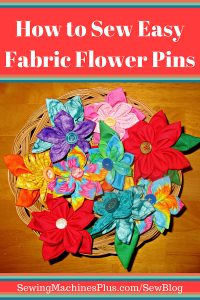
Sew Easy Fabric Flower Pins for Bags, Hats, Hair, Gifts and More

Sew Easy Fabric Flower Pins for Bags, Hats, Hair, Gifts and More

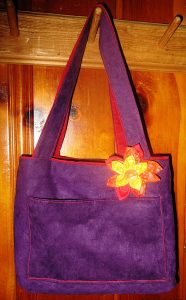
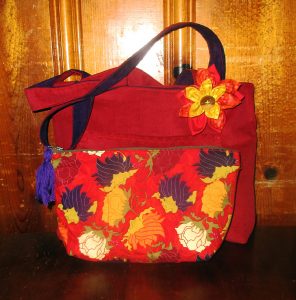
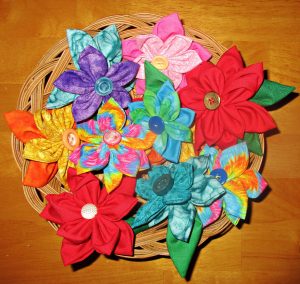
I wanted to make a fabric flower pin to dress up and bring together the complementary colors on a reversible tote bag I made for my mother-in-law’s Christmas gift.

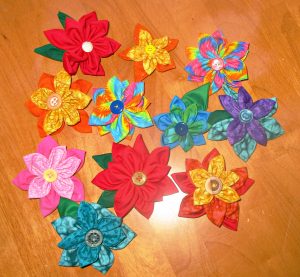
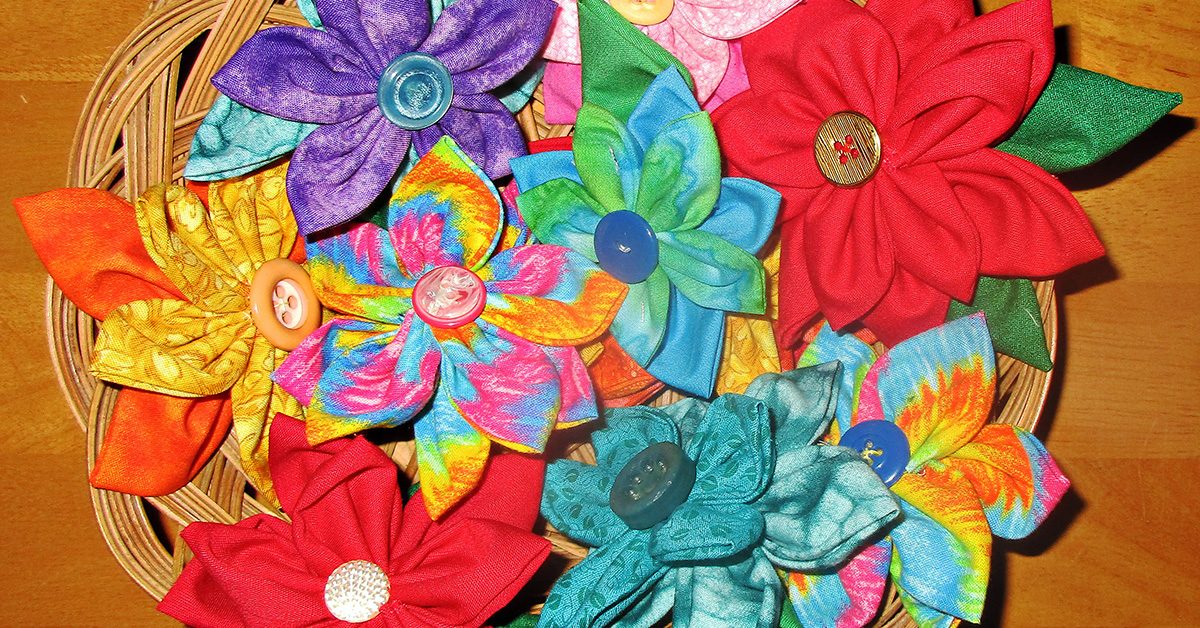
Yes, I’m getting a head start on my Christmas making now. And that’s why, when I loved the flower I made for her bag, I kept going and made a bunch of these pretty flowers. I kept my favorite of the bunch for my hair, and the rest are for gifts.

I kept my favorite of the bunch for my hair, & the rest are for gifts.

You could sew these directly onto a ponytail elastic, barrette, headband, clip, clothing, or bag, but I opted to make them more versatile by sewing them onto small brooch pins, which I can then pin on my hair elastic, hat, or bag.

Who can make a flower?

While making these, I had a sweet memory of my great grandmother, Lucy, who was a Sunday school teacher and loved nothing more than hearing children sing.  Of all the songs she taught us, my favorite was always this one:

“Oh, who can make a flower?

I’m sure I can’t, can you?

Oh, who can make a flower?

Only God, it’s true.”

While these aren’t the real thing, I sure felt happy while creating these fabric flowers and thinking of this old song and Grandmother Lucy. I hope you enjoy making them, too.

How to sew fabric flower pins

To make these double flowers, you need ten or twelve circles of fabric, a strong hand needle, thread, and a button for the flower center. You may cut five circles each of two different sized circles, or you can use all same sized circles. You may choose to cut seven rather than five for the bottom layer; these will be the larger circles if you are using two sizes.

If you would like to make leaves, cut these from slightly larger circles than you used for your largest flower petals.

You can cut your circles using an Accuquilt Go, a compass, or with the help of an Olfa circle rotary cutter.

You can also make your circles by tracing around a glass or other round object. I traced and then cut my circles several layers at a time. I used several sizes of mug and glassware and made my flowers in a few different sizes.

Sew by hand

Once you have your circles cut out, you can sit and sew them. This little project is sewn entirely by hand, and so is a great opportunity to sit and watch TV, or to have something to do while sitting in a waiting room or traveling as a passenger.

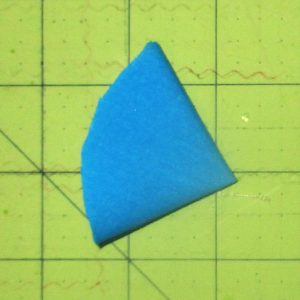
Thread a needle with a long, double length of thread. What I mean is, thread the needle and then tie the two thread ends together at the end. Then, take your first circle and fold it in half, wrong sides together, and then in half again, forming a quarter circle.

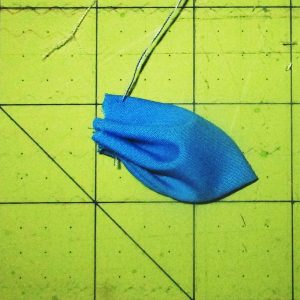
Sew a long running stitch through all four layers of the curved edge. Then pull the thread taut to gather the petal and repeat with the next petal. After you have sewn and gathered five petals, pull thread to tightly gather and sew the last petal you gathered to the first one of the five.

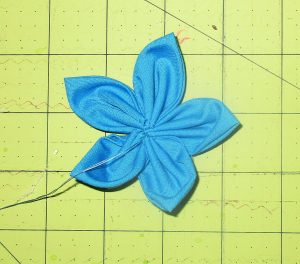
Sew the last petal to the first, then neaten center.

Sew the last petal to the first, then neaten center.

Continue to sew the raw centers of the petals tightly to each other, to tighten and neaten the inner edge of the flower center. Do this on both sides, then tie and cut your thread. You can set this flower aside for now.

Wash, rinse, repeat

Now sew another flower, perhaps using a different sized circle. Once you have both, sew them together with the smaller flower on top. If you’d like to add one or a couple leaves, do that now.

I made my leaves slightly differently than the flower petals. Instead of folding the green circles into quarter circles, I folded the circles in half, and then thirds. Then I sewed them with less gathers than the flower petals. Sew the leaves onto the back of the bottom flower layer.

Choose a matching or contrasting button or use a bit of embroidery for the flower center. Sew the button down through both layers of fabric flower.

Then sew the whole thing to a brooch pin, hair elastic, bag, or anything else. Small brooch pins work best, in my opinion, as these can then easily pin across a ponytail elastic or even a small barrette, not to mention on bags, lapels, hats, and etc.

Poinsettia pins

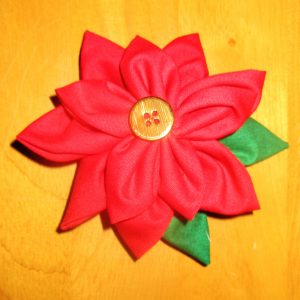
You can sew both flower layers from red fabric and make these into poinsettias. These will be useful during the holiday season. I plan to make small gifts of brooch pins at least, but I can think of lots of other ways to use these for holiday decorations and gifts, and I think I’ll be making a lot more of these fabric flowers in red.

You can sew both flower layers from red fabric & make these into poinsettias.

You can sew both flower layers from red fabric & make these into poinsettias.

Enjoy making them

I hope they will bring joy when I give them as gifts.

I hope they will bring joy when I give them as gifts.

I felt joyful making these and I hope they will bring joy when I give them as gifts. Whether you make just one fabric flower or a basket full, I hope you will enjoy making these as much as I did. Happy sewing!

How to Sew Sunbrella Fabric Outdoor Pillows

How to Sew Sunbrella Fabric Outdoor Pillows

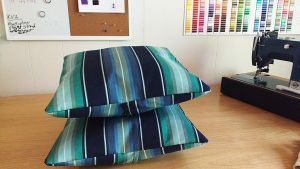
How to sew Sunbrella fabric outdoor pillows.

How to sew Sunbrella fabric outdoor pillows.

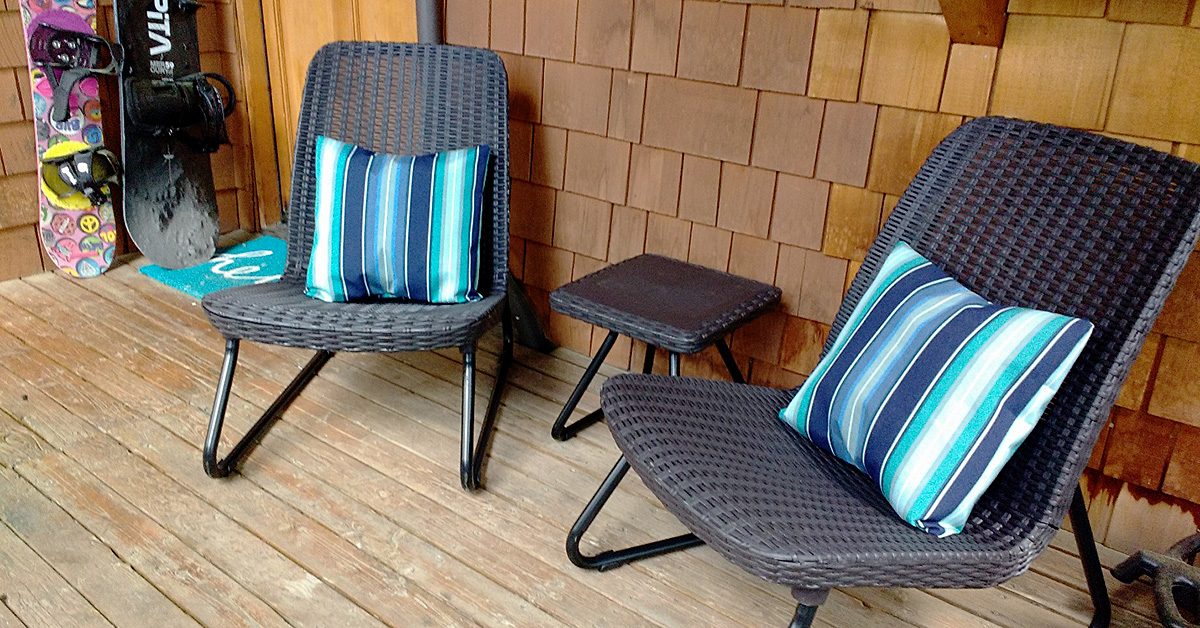
After a record amount of snowfall this year and the ensuing snow melt and run off, my new home town of Mammoth Lakes, California is in full summer swing. We live at 8,000ft elevation. This means that while we’re high up amongst mountains and the trees, we’re also closer to the sun. UV exposure increases about 4% for every 1000 ft. (305 m) gain in elevation (source). So at my house, we are 32% more exposed to UV rays than at sea level.

I mention this because I recently made some outdoor pillows for our patio furniture. I immediately chose Sunbrella fabric as my go-to because of its incredible sun resistance and durability (among many, many other factors. Seriously, read up on Glen Raven’s Sunbrella fabric and see why it’s the number one choice in marine environments).

Sunbrella

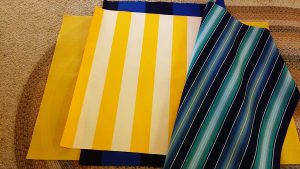
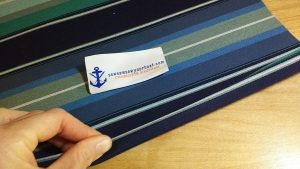
I dug through my stash of Sunbrella which is currently three yards of fabric. I settled on Sunbrella Saxon Cascade, both because I liked the pop of turquoise and how it matched with my welcome door mat, and because the other two pieces’ stripes were too big for the 18″ x 18″ pillow forms I planned to use.

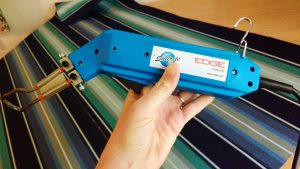
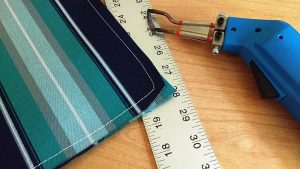
Sunbrella is an acrylic fabric & hot knives cut through it like butter.

Sunbrella is an acrylic fabric & hot knives cut through it like butter.

Sunbrella is an acrylic fabric and hot knives cut through it like butter. I love to use hot knives when I cut out my pieces because the knife seals the edges to prevent unraveling.

I love to use hot knives when I cut out my pieces because the knife seals the edges to prevent unraveling.

I love to use hot knives when I cut out my pieces because the knife seals the edges to prevent unraveling.

Clover Chaco Liner pen

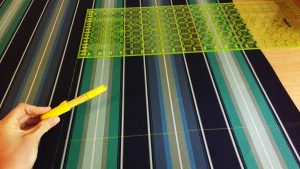
I planned to do envelope closes for these pillows so I marked out my two front pieces and four back panel pieces. For navy or black-colored fabric I use my Clover Chaco Liner pen in Yellow which is available from SewingMachinesPlus.com.

For navy or black-colored fabric I use my Clover Chaco Liner pen in Yellow.

For navy or black-colored fabric I use my Clover Chaco Liner pen in Yellow.

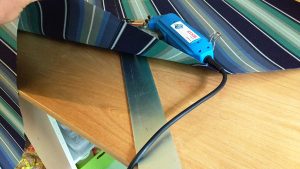
It’s super important that you put metal or ceramic, or something safe under the marked lines you’ll be using the hot knife on. I flip my 48” Starrett ruler over and cut on that.

It’s super important that you put something safe under the marked lines you’ll be using the hot knife on.

It’s super important that you put something safe under the marked lines you’ll be using the hot knife on.

Rounded corners

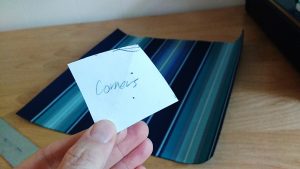
Next, I like to slightly round the corners of the pillow fronts (I’ll do it to the back pieces too once everything is sewn together.) I went over this method in my post here on how to sew square pillows with piping.

I like to slightly round the corners of the pillow fronts.

I like to slightly round the corners of the pillow fronts.

Now it’s time to finish the seams on your back panels. Sunbrella is great for finger folding over, plus working with stripes often makes marking your seams easy.

Tip: when you use a hot knife it can make the finished edges of Sunbrella fabric a little sharp. Be careful when finger folding that you don’t hurt your fingers!

Now is the time to sew in a tag if you have one.

Now is the time to sew in a tag if you have one.

Now is the time to sew in a tag if you have one.

Wonder Clips

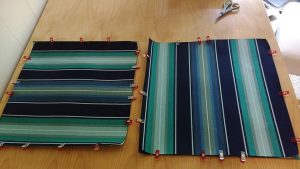
Putting a regular sewing pin through Sunbrella is almost impossible. I use Wonder Clips on projects this small to hold my pieces together. SewingMachinesPlus.com has them available here.

I use Wonder Clips on projects this small to hold my pieces together.

I use Wonder Clips on projects this small to hold my pieces together.

Once sewn, I use the hot knife to round the corners of the back panels to match the top panels.

I use the hot knife to round the corners of the back panels to match the top panels.

I use the hot knife to round the corners of the back panels to match the top panels.

Now it’s time to turn. This will be crinkly!

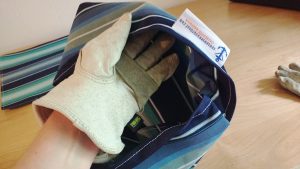
Tip: use leather gloves or gardening gloves while turning your fabric to avoid getting your skin cut or scratched from the hot-knifed edges of fabric.

Use leather gloves or gardening gloves while turning your fabric.

Use leather gloves or gardening gloves while turning your fabric.

Fluff time!

Slip in your pillow forms and enjoy!

Slip in your pillow forms and enjoy!

Slip in your pillow forms and enjoy!

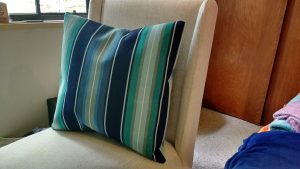
How gorgeous is that fabric? Truly!

How gorgeous is that fabric? Truly!

How gorgeous is that fabric? Truly!

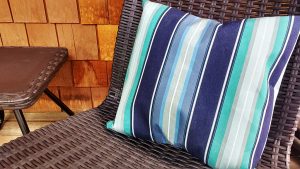
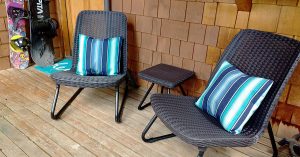
And an outside view.

And an outside view.

And an outside view.

Do you make your own outdoor furniture accessories? Tell us about it in comments!

Do you make your own outdoor furniture accessories?

Do you make your own outdoor furniture accessories?

———————————————————————————–
Charlotte Kaufman is a writer and sewist in Mammoth Lakes, California. She specializes in marine and home interiors and continues to fall more and more in love with quilting. You can follow her at charlottekaufman.com.
Running in Pink Tutus

Running in Pink Tutus

I’ve written before about answering the question, “What do you do for living?” and how I really don’t like it and have trouble explaining it accurately.

Another type of question I find slightly troublesome as well are the ones that start with, “You’re into clothing and fashion, what do you think of…”

Or questions about specific names for types of fabric or techniques.

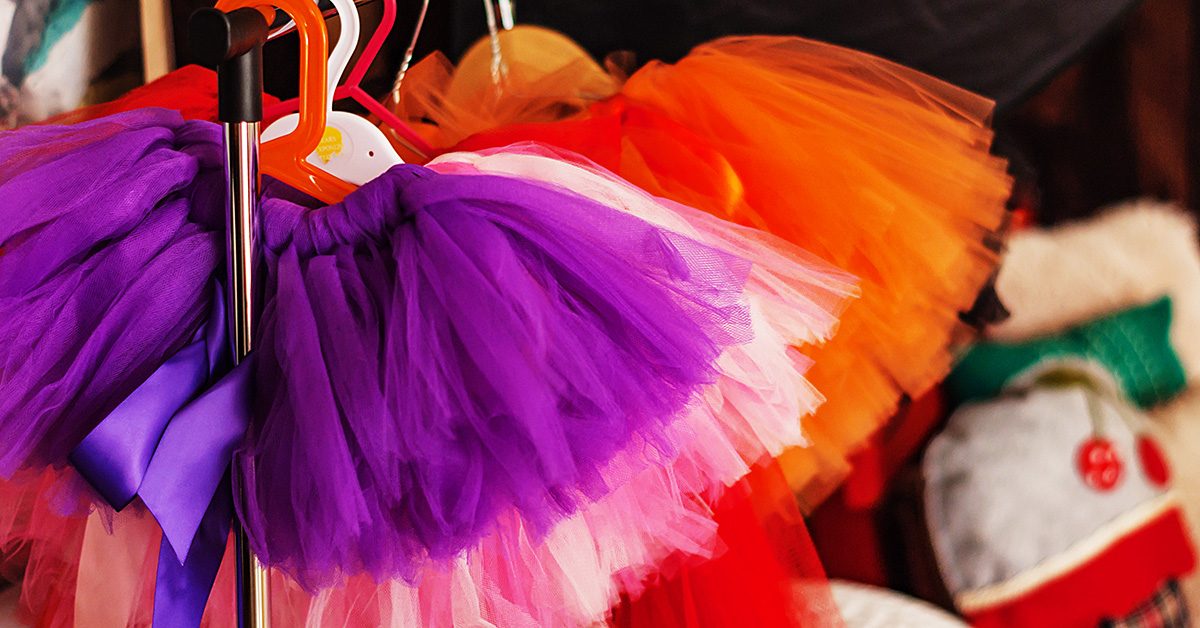
First of all, I would never say that I’m into fashion and clothing (If you saw the way I dress, you’d definitely believe this! I usually define my personal style as homeless chic). I just speak the language of fabric and patterns. I certainly have my own ideas about what styles I like but I’m no expert on whether or not that poofy princess dress you just bought for your niece is tasteful or not.

You go girl

If she likes it, is happy, and feels like a princess, then I’d say it’s perfect.

Humans have a wide variety of tastes and, ultimately, the things you like are the things you like. I’m a big advocate of never reading any article that has a title along the lines of What to Wear Now or Fashion Must-haves.

Wear what you want – be happy

I have an amazing, wacky friend, who is an ultra-runner – meaning she routinely runs 100 miles in a row. She’s also run the New York City Marathon a bunch of times. And sometimes she does this wearing a pink tutu. For no reason than it makes her happy. Just because.

I love this picture of her. So did the promoters of the marathon this past year as they featured it in subways and on the sides of city buses. I was on my way to work one morning, on my bike as is my custom, stopped at a light at the corner of Lex and 62nd, when suddenly this huge photo of my friend went rolling by. It was kind of amazing.

The other line of questions about names of fabrics and techniques annoy me (slightly) only because, honestly, I usually don’t know the “proper” name for things. Why, you may ask?

My big secret

Well, here’s the thing: my big secret. I never finished college. This was a huge deal at the time as I was valedictorian of my high school class and accepted into the Honors Tutorial College at Ohio University. I was considered smart and a brain.

So I went. For a year. But then I didn’t go back.

And I’ve never regretted it. Colleges and degrees are great for some people, if that’s what you want. But, honestly, I was sick of memorizing stuff and just “practicing” at doing things for life. There was no challenge for me at University. I needed, wanted, to be out in the real world, working at something I loved and was, quite frankly, quite good at in a very natural, intuitive way.

One size does not fit all

Put on your tutu & run.

Put on your tutu & run.

Sometimes I think the downfall of our education systems is the one size fits all approach to learning. (I’m allowed to say this because both my parents and two of my brothers are in education.) People learn differently.

And for me, at 18 or 19 years old, whatever it was, the best option was to be actually in a real working costume shop learning everything I could. Practical application, if you will. Developing new skills by trial and error (sometimes trial by fire) but ultimately, doing. Not sitting in a lecture hall listening or draping yet another sloper or princess seam bodice.

My main reason for bringing this up is that I’ve noticed recently that sometimes people are ashamed of the fact that the don’t have some fancy degree from some fancy college and think it makes them not as smart or talented as someone who does.

I can tell you with certainty that that is not the case. You either have the talent or you don’t. No college anywhere can teach you that. They can teach you the difference between organdy and organza in words but you won’t really know what that difference means until you’ve worked with both fabrics in a practical application.

The same with something as simple as the difference between cotton and wool. Its easy to say cotton is a natural fabric made from the cotton plants and wool comes from sheep but, in order to understand that difference, you need to use those fabrics and get to know them on a personal level.

I know its kind of cheesy, but I’m a big believer in the language of things. There is nothing inherently scientific about my belief. I just think people in general don’t pay close enough attention to their environments (in part because so many of us spend entirely too much time looking at our phones) and, as a result, miss a lot of the information that is right in front of us and don’t hear what someone (or something) is saying.

I know this post is a bit rambling and disjointed (I had a rather busy weekend lacking in sufficient sleep.) But, the point(s) I’m trying to make are put down your phones, put on your pink tutus, listen to your fabric, and make something unique and wonderful to let loose in the world.

I’m going to try and do the same today. And, then, I’m going to get some sleep.

Happy creating!
Sewing for Independence

Sewing for Independence

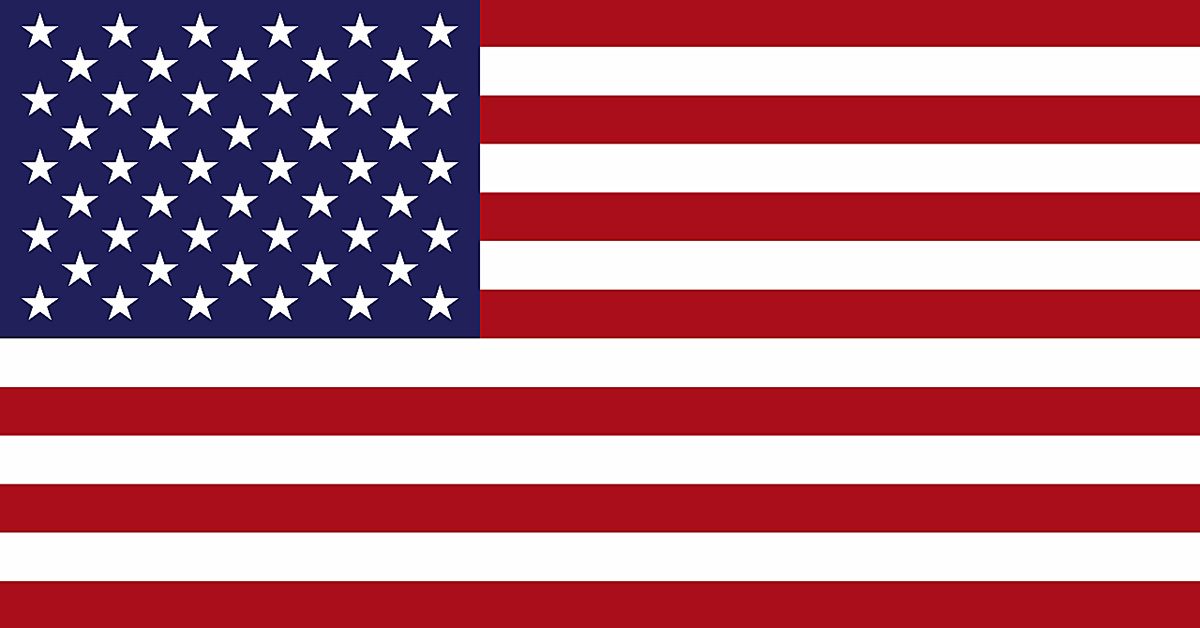
June is wrapping up, which means that July is on the horizon. If you’re an American, that means Independence Day is right around the corner with its fireworks, watermelons, and recollections of the birth of our freedom. But along with those standard notions for the 4th of July, there’s also a sewing story to be found within the details of our nation’s birth. It’s a story you might be familiar with, and we’ll explore it a bit on this post.

Betsy Ross

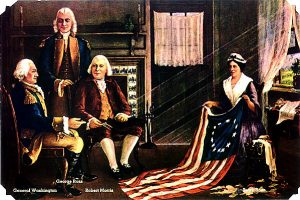
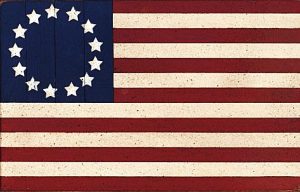
Betsy Ross presenting her flag to George Washington & two other members of the Continental Congress.

Betsy Ross presenting her flag to George Washington & two other members of the Continental Congress.

Once upon a time in the 1700s, a widow—named Betsy Ross—who was trying to make ends meet by sewing and such was approached by none other than George Washington and two other members of the Continental Congress. Why? They wanted her to create a flag for the nation that was budding around them. It’s easy to write off this detail as unimportant since countries and states often have their own flags as standards, but when you dig deeper, you might find how significant this moment was in United States history.

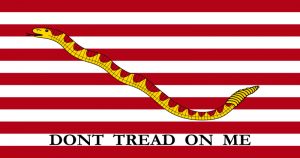
“Don’t Tread on Me” flag.

“Don’t Tread on Me” flag.

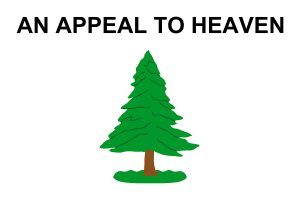
Before this, not once since the colonists started struggling for freedom did they have one unifying flag. Rather, a number of flags were decorating their army, and that concept doesn’t spark ideas of unity—not to the level that one overall flag for an army can showcase. If one group is using a “Don’t Tread on Me” flag, and another is waving the “Liberty Tree” one, that’s division even on a subtle level. Through Ross’s work, there would be one flag to fly for all the Colonials in their push toward independence. All of them would be united under that one flag in contrast to the subtle division they’d experienced before.

“Liberty Tree” flag.

“Liberty Tree” flag.

Ross accepted that responsibility to create the nation’s flag, and the rest is history.

But let’s take a moment to consider what could’ve happened if the United States had lost the war. I’ve heard how the men who signed the Declaration of Independence were essentially signing their own death warrants if the British had prevailed, and while I’m not saying that 18th century soldiers would’ve executed Ross for her assistance in the rebellion, it’s hard to say what her consequences would have been. Would she have been imprisoned? Banished? Would she have become a social outcast? Maybe she would have lost her business—her means of supporting her children—because she agreed to take on that duty of sewing the nation’s first unified flag.

Betsy Ross risked everything to make the USA's first flag.

Betsy Ross risked everything to make the USA’s first flag.

I’d be surprised if Ross herself didn’t wonder these same things. Imagine the unease she would’ve felt, thinking that she could’ve lost her means of providing for her children, as an 18th century widow, for such a sewing detail in the war. She could’ve passed the prospect on, choosing instead to let someone else sew the nation’s flag—someone perhaps who wouldn’t have so much to lose.

But she didn’t

She agreed to be an active part of the nation’s struggle for independence, risking so much to let her talent bring the colonists that sign of unity. And now? Now, we have flags waving across the nation and a pledge that’s to be given to that flag. Children have been taught to honor and revere the flag because what began with a handful of Continental Congressmen and one upholsterer has come to symbolize the nation as a whole and every man and woman who’s given their life or blood to keep it striving.

Did Ross know that so much would come out of her sewing project? She likely hoped the colonists would prevail to build a free nation, but knowing that it would happen is different. Even if she had known about their upcoming victory, how could she have known how much that flag would come to mean to the generations of Americans that would come in later years?

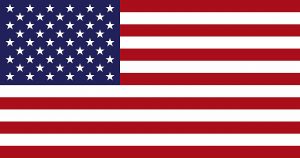
The evolution of an American tradition.

The evolution of an American tradition.

The point is that sewing was a part of our nation’s beginning, and it was a substantial moment for the United States. For once, we had a unifying flag, regardless of how much it could have cost just to agree to thread a needle and start sewing on it. Ross took that chance, and to say that the product has been significant to our nation would be an understatement. Overall, sewing has impacted our nation, and it’s linked to the struggle that allows us to celebrate our nation’s day of independence.

Enjoy the fireworks

So for the Americans reading this, happy Independence Day!

For others, even if the 4th of July is just another day on your calendar, consider how important such a small sewing project was. Will one of us sew something that noteworthy? Probably not! But clearly, each sewing project can matter—whether on a personal or public level. Tackle them with passion, because we never know how everything will turn out.

Fast and Easy Way to Hem Pants

Fast and Easy Way to Hem Pants

My fast and easy way to hem jeans & pants.

My fast and easy way to hem jeans & pants.

I’m barely over 5’ tall. It used to be that clothing companies made pants in “short” lengths to accommodate people of my stature. More and more often now, though, I’m finding that clothing companies, particularly jeans producers, make pants in “regular” and “tall.” I’m not sure why they think all the short (or as I prefer to call it, concentrated awesome) people no longer need pants, but there you have it. As you can imagine, this leaves me with the choice of either patching jeans and pants until there’s nothing left to them, or buying clothes that are too long and hemming them. Hemming something I’ve paid money for ticks me off, so I want to get it done and over with quickly. I developed a fast and easy way to hem jeans and pants.

First

Find a pair of pants that are a length you like. These will act as your template or guide. Lay them flat and smooth. If possible, I suggest pinning them down to keep them flat. Next, turn the pair of pants you’re going to hem inside out. Lay them on top of the pants that are the correct length.

Let’s begin

Choose a place on the leg of the pants where you’ll be okay with seeing a line. I often opt for the upper thigh. In that spot, pull the leg of the pants that are too long up, gathering the extra fabric in a straight fold that goes around the entire leg as you go. When the pants are the right length, pin this fold so that it comes directly out from the leg itself. Do this on both legs.

Almost done…

Sew around the fold to create your shortened pants, then cut off the extra fabric. Whip stitch around the cut edge for extra strength in the seam and reassurance that it won’t split apart while you’re wearing your new pants. Again, do the same thing on both legs.

Viola!

Hemmed pants, perfect for your height – no measuring or marking required. This is one of my favorite “sewing cheats” because it’s so quick and helps me buy pants and jeans affordably, even clothing companies no longer feel the need to cater to people my size. Give it a try next time you need to hem pants and let me know what you think!