Fix Your Own Pants

Fix Your Own Pants

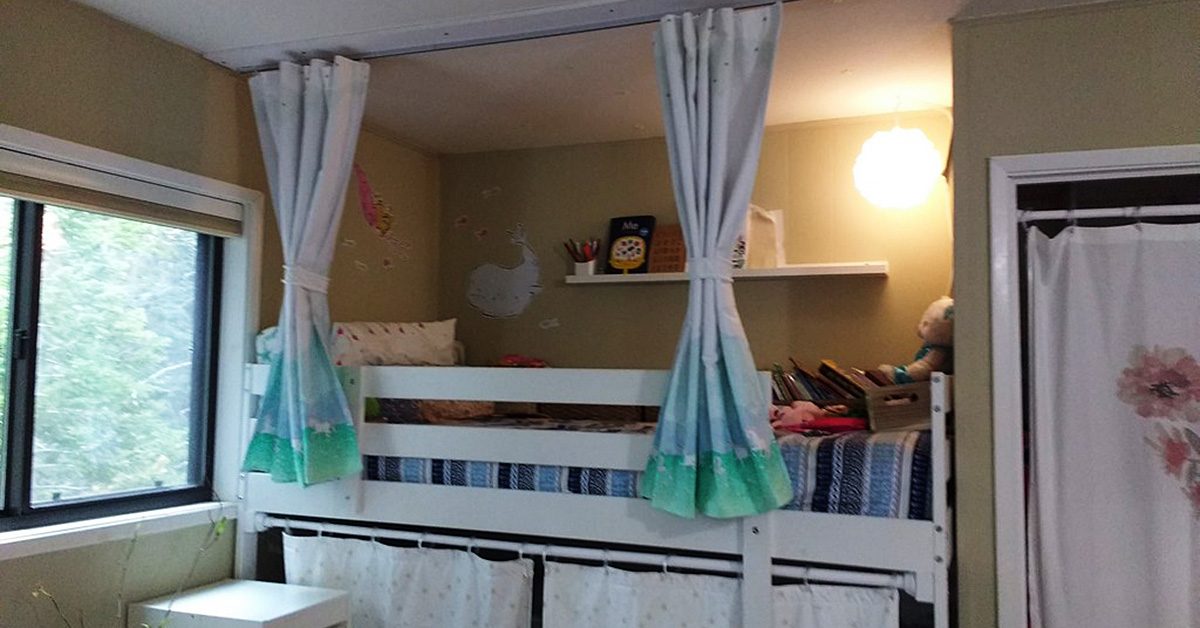
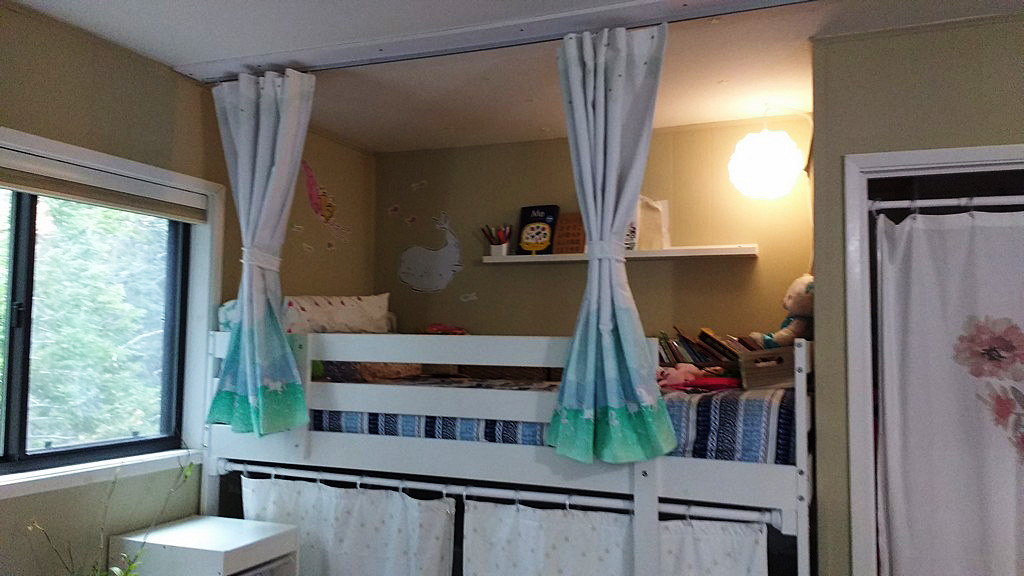
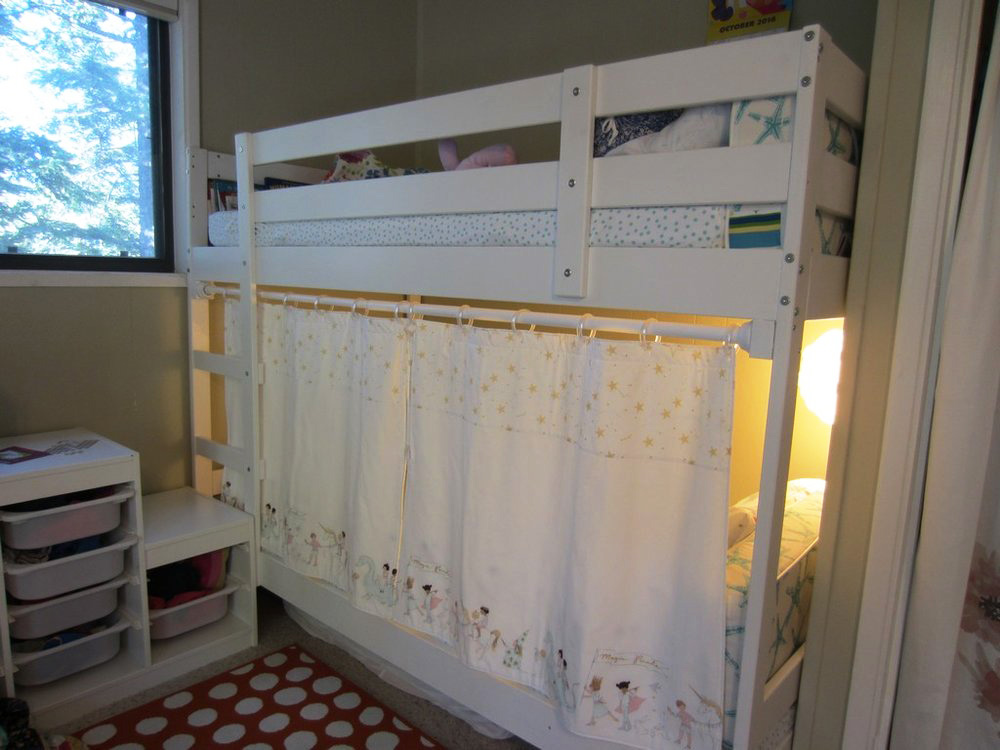
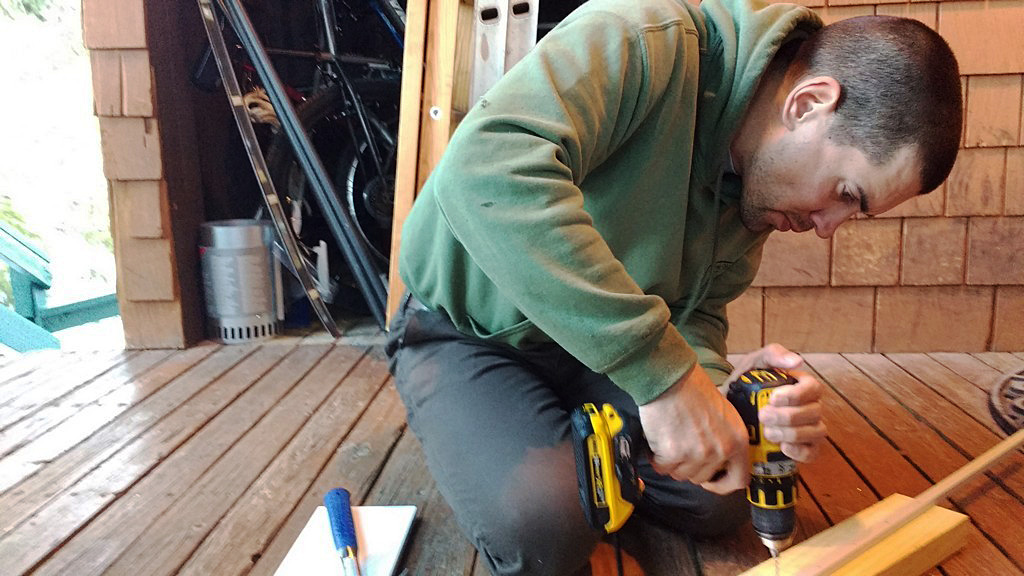
As many of you probably know, I work as a tailor and pattern maker for film and television in New York City. I don’t always work on the same show or at the same studio. I’m also, now that I’m old(er) a bit more particular about what projects I say yes to and who I work with.

I’ve got a few fitting related pet peeves like, for instance, when a dress comes back from the fitting room with a note that simply reads: Drop in a Lining or the ever infamous and popular: Take in as pinned (if I didn’t pin it myself). These are just minor annoyances though, compared to the phenomenon of people from other departments (accounting, grip, director, props, whatever) showing up in my sewing space – without ever having met me before – and asking if I can just fix their pants or take in this skirt.

Frustration

First of all, no. I can’t just anything because (1) I’m actually working on something for the show we’re both doing and (2) I don’t want to. Especially if your pants fix involves a worn out crotch (and even if it doesn’t). I don’t randomly show up in the accounting office and ask someone to add my receipts together when they get a chance, or ask one of the props people to rewire an old lamp I bought at the last set dressing sale, or ask the director of photography to take some pictures of me for my tinder profile or something because I’m just not talented enough to take my own. (I’m kidding about the tinder profile thing). And I certainly don’t throw in some disclaimer like I always wished I learned how to take a proper photo.

You’ve got to know when its time to let a thing go.

Sometimes the person will preface their ask with so and so (insert the name of someone else in my department) told me I should ask you. This is even more perturbing if that someone else hasn’t actually sent a text or something asking me if it’s ok to send that person over to me to ask a favor.

It’s not me – it’s you

Fix Your Own Pants

It’s not that I mind doing favors. I really don’t. I do favors for people I like and know all the time. I’ll even do favors for people who I don’t know if they ask nicely and genuinely – and especially if they offer to compensate me in some way (beer!). But if you show up with some blue cotton harem pants with a thread bare bottom that you want repaired when I’m in the middle of cutting down the neckline of a velvet top that is needed on set in about twenty minutes and the first thing out of your mouth is X told me I could have you to do this I’m never going to do it. Your sad pair of pants is going to hang on my work rack until this show wraps.

Why? Because you, whoever you are, you didn’t tell me your name or what you do on this little show of ours, and I’m quite certain that the only person who can have me do anything is the Costume Designer. So, there’s that. Second, if the back of your pants is worn out in the butt area, it might just be time to buy a new pair of pants. You’ve got to know when its time to let a thing go. Seriously, why would you think that someone you don’t even know would want to be that up close and personal with that particular area of your clothing?? I don’t care if they’re clean and, yes, I’ve taken in a countless number of center backs for actors but I’m getting paid to do that. The crotch of your pants? Um, no.

A healthy dose of humility

I personally would be embarrassed to take my worn threadbare butt pants to someone I didn’t know to fix. I honestly don’t understand it. Maybe someone could shed some light on this for me?

I think what upsets me the most about this type of favor-asking is the assumption that I’m not busy doing something else that is important for the show. It’s as if people think I’m just hanging round twiddling my thumbs just waiting for someone to turn up with their personal alteration request so I can sew something.

Anyway. Rant over. I’m going to go upstairs now and see if the accounting department can get an early start on my taxes for next year. I’m sure they’re not doing anything else of importance.

What’s your big sewing related rant?

Bunk Bed Privacy Curtains

Bunk Bed Privacy Curtains (part 2)

Last fall I wrote a post about the bunk bed privacy curtains I created for my youngest daughter for her bottom bunk.

Last fall I wrote a post about the bunk bed privacy curtains I created for my youngest daughter for her bottom bunk. You can read that post here.

They turned out amazingly well; here’s a picture.

They turned out amazingly well; here’s a picture.

They turned out amazingly well; here’s a picture.

It’s only fair…

I also promised my older daughter, who sleeps on the top bunk, that I’d make her a pair too. Her curtains, I knew, would take a lot more work. First I bought ceiling curtain track and used a hacksaw to cut it to size. Then I asked my husband to drill in the holes for the screws.

While he worked on the track, I painted a thin board white to match their ceiling. We attached the track to one side of the board and then attached the board to the ceiling, drilling holes in the side of the board that didn’t have the track, right into a stud in the ceiling.

Drilling holes in the side of the board that didn’t have the track, right into a stud in the ceiling.

Drilling holes in the side of the board that didn’t have the track, right into a stud in the ceiling.

Unicorns and stars

Next up was the curtains themselves. She said she wanted ‘unicorns and stars,’ and for a theme like that you can always count on Sarah Jane Fabrics for something good. The only problem was the space the curtains took up was much larger than the width of a yard of fabric.

Undeterred, I cut the clouds and the stars from the grass and the unicorns and did the math on how to baste the fabric onto white canvas fabric to elongate the scene.

Undeterred, I cut the clouds and the stars from the grass and the unicorns & did the math on how to baste the fabric onto white canvas fabric to elongate the scene.

Undeterred, I cut the clouds and the stars from the grass and the unicorns & did the math on how to baste the fabric onto white canvas fabric to elongate the scene.

I painstakingly snipped around the curves of the clouds and the grass on the bottom and top pieces and then finger folded them over and ironed. I used starch to help the little pieces stay down. This was time consuming because I had to do it for four panels (two front, two back) and the top and bottom pieces of all four.

I love it when a plan comes together

My trouble paid off however.

My trouble paid off however.

My trouble paid off however. I diligently pinned the pieces to the main panel fabric of the top and bottom curtains and then sewed them in place with a decorative stitch.

I diligently pinned the pieces to the main panel fabric of the top & bottom curtains & then sewed them in place with a decorative stitch.

I diligently pinned the pieces to the main panel fabric of the top & bottom curtains & then sewed them in place with a decorative stitch.

Here are the two front panels. Gorgeous, no?

Here are the two front panels. Gorgeous, no?

Here are the two front panels. Gorgeous, no?

For the back panels, I raised the grass & unicorns up higher and added a strip of white on the bottom so the unicorns wouldn’t be hidden from my daughter’s view by the bunkbed railing.

For the back panels, I raised the grass & unicorns up higher and added a strip of white on the bottom so the unicorns wouldn’t be hidden from my daughter’s view by the bunkbed railing.

For the back panels, I raised the grass & unicorns up higher and added a strip of white on the bottom so the unicorns wouldn’t be hidden from my daughter’s view by the bunkbed railing.

Putting it all together

On the back panel, I then sewed drapery tape to the top of each panel. Then I sandwiched the top and bottom panels, right-sides facing, and sewed them together. Next I turned the panels and pressed everything neat and flat. I finished by top stitching the panels, and the opening where I’d turned them, closed.

On the back panel, I then sewed drapery tape to the top of each panel.

On the back panel, I then sewed drapery tape to the top of each panel.

Now it was time to puncture some holes in the drapery tape so I could add the hooks that feed into the curtain tracks. For this, I used my handheld sailmaker needles to pierce a hole in the tape but not through to the front of the fabric.


And voila! The curtains fed onto the track perfectly. But I wasn’t done yet.

For this, I used my handheld sailmaker needles to pierce a hole in the tape but not through to the front of the fabric.

For this, I used my handheld sailmaker needles to pierce a hole in the tape but not through to the front of the fabric.

Train your curtains

My daughter wanted to be able to block out the light of the night lights we use in the room, but also wanted to easily be able to open and shut the curtains too. I took the time to carefully fold the curtains into the bunched position, using ribbon and clothespins to maintain them in that shape while I sewed curtain tie backs. I call this ‘training’ my curtains.


I took the time to carefully fold the curtains into the bunched position, using ribbon & clothespins to maintain them in that shape while I sewed curtain tie backs.

I took the time to carefully fold the curtains into the bunched position, using ribbon & clothespins to maintain them in that shape while I sewed curtain tie backs.

Then I sewed two curtain tie backs and added some mini pompoms for a bit of whimsy.

Then I sewed two curtain tie backs & added some mini pompoms for a bit of whimsy.

Then I sewed two curtain tie backs & added some mini pompoms for a bit of whimsy.

I knew that my daughter would lose them if I didn’t think of a way to keep the tie backs attached to the curtains so I sewed a buttonhole onto each tie back (you can read my post about how to sew buttonholes here). Next I climbed up into her bed and hand sewed a button onto the back panel of each curtain.

Then I connected the tie backs to the curtains via the button hole. Now she can bunch the curtains to open them, wrapping the tie back around them and securing them with the Velcro I sewed on the tie backs. And when she wants to close them for privacy or to shut out the light, she just releases the Velcro and the tie backs remain attached to the curtains.

When she wants to close them for privacy or to shut out the light, she just releases the Velcro & the tie backs remain attached to the curtains.

When she wants to close them for privacy or to shut out the light, she just releases the Velcro & the tie backs remain attached to the curtains.

And I have a very happy six year old! Have you made your own bunk bed curtains? Tell us about it in comments!


———————————————————————————–
Charlotte Kaufman is a writer and sewist in Mammoth Lakes, California. She specializes in marine and home interiors and continues to fall more and more in love with quilting. You can follow her at charlottekaufman.com.
Tutorial: 3 Ideas for Using Japanese Bento Bags

Tutorial: 3 Ways to Sew Japanese Bento Bags

Bento bags, AKA azuma bukuro

Bento bags are a popular Japanese style of bag, more properly called azuma bukuro (or fukuro. Bukuro and fukuru are different pronunciations of the same word, which is a blend of two words that translate to “good fortune” and “bag.” Azuma is the historical name for the eastern region in Japan now known as Kanto and Tohoku).

These are also sometimes called Japanese market bags, triangle bags, even origami bags, although there are other styles called origami bags, too.

I discovered bento bags a few weeks ago myself, and I am so glad that I did, because these are incredibly useful. I told you in January that I planned to sew for Christmas in July, and I’ve actually been doing this since June. So I’ve been making lots of bento bags as wrappings for the gifts I am sewing now. And for my own personal and household use, too.

There are different ways to sew bento bags. Whichever method you use, they end up the same shape. It is useful to know how to make these both ways, though, so that you can use scraps to make them. You might choose one way over the other depending on what size fabric scrap you have.

How to sew bento bags from rectangles

To make a bento bag from rectangles, you need two same sized rectangles that are three times as long as they are wide. Your rectangles could be 5″ x 15″ for a small bento bag, 6″ x 18″, 7″ x 21″, 8″ x 24″, 9″ x 27″, or any size, as long as it is three times as long as it wide.

Choose most any fabric you like to make these. Use 2 layers of cotton or linen for a soft and relaxed bag, or try denim or canvas for a sturdier bag that holds its shape well.

One rectangle will be the outside of your bento bag; the other is the lining. Align these with right sides together and sew around all four sides, leaving an opening for turning. Turn, press, and sew this opening closed.

Now place this lined rectangle with the outer fabric on top, and fold into thirds, with the lining fabric folded over the front. Sew two seams attaching each outer third of the rectangle to the center at opposite ends.

Then, sew across the two outer corners of the bag to box the corners. The shape and size of the bag will differ depending on how deeply you box these corners. Or you can choose not to box them at all.

Turn right side out and your first bento bag sewn from rectangles is complete. I’m betting you will make many more.

rectangle bentos

I made these bento bags from rectangles.

Sew bento bags from squares or triangles

There a couple of different ways to construct these from squares and triangles. Here are two slightly different variations on one method:

Take two same sized squares of fabric. They could be the same fabric for a bag with outsides and linings the same, or two different fabrics for a bag that will show both fabrics on both sides. If you want to use this method to make a bag with one fabric showing on the outside and one other fabric for the lining, you will need to first cut a square of each fabric in half diagonally and start the next step with four triangles rather than two squares.

Now you will either fold your squares in half diagonally with right sides together to form right triangles, or lay two different triangles right sides together, if you cut them as described above. Sew these together with an opening. Turn triangles right sides out, press, and sew the opening closed.

Then lay one triangle on top of the other at the right angles, forming a square where they overlap. Sew down along the edges of this square.

bandana bento

Overlap triangles at the 90 degree angles,and sew the square these form.

Now fold bag with right sides together and sew along both side seams. Box the corners and turn right sides out.

One More Way

Yet another way to make these is to start with three same sized squares, or six for a lined bag. You can use smaller scrap squares for this method than you can for the previous method, since this way uses more of them.

Sew two sides of one square to two sides of another square. Then sew two sides of the third square to the other two sides of the middle square.

You could line these as in the above methods, by sewing outer and lining squares right sides together and turning. Make three of these lined squares and then sew together.

This one is made from three squares. I'll make the lining the same way & sew the two together.

This one is made from three squares. I’ll make the lining the same way & sew the two together.

Or you could sew the bag and lining pieces separately, forming two bags. Then put them right sides together and sew, leaving an opening. Turn, press,and stitch opening closed. Sewing it this way creates a reversible bag, by the way.

What to do with bento bags

Now you know a few different ways to sew bento bags. You can probably think of plenty of things to do with them on your own, but here are quite a few ideas from me for how to make use of these handy bags.

Gift bags

These make “re-useful” wrappings because rather than just being a fabric gift bag, the recipient can then use it for some handy purpose like any of the ideas below.

Lunch sack

I first found out about these bags when I saw an anime character on TV using one to carry her bento boxed lunch. You can use these to carry your lunch as a pretty package whether you also use a bento box or not.

Your lunch will taste much better than this felt example lunch! Just tie bag closed to carry.

Your lunch will taste much better than this felt example lunch! Just tie bag closed to carry.

Bread basket and cloth all-in-one

I’m thinking they are perfect for wrapping loaves of bread as gifts, and these can go straight to the table for serving the bread and keeping it covered, too

Grab and go sack

For pencils, yarn or knitting supplies, small patchwork pieces, works-in-progress: anything you need to keep together and carry along.

Sort-able storage

Make a set for sorting nails or other hardware; fabric, scraps, or trim; cords, wires, or anything else. I plan to make a rainbow set for myself to sort small pieces of fabric and scraps by color. This could be a solution for organizing tools, a kitchen junk drawer, or bead and jewelry supplies collection, too.

Basket / bin

You can make these with interfacing or even quilted for sturdiness. Especially when these are small, they will nicely stand up and hold things on a bureau, desk, counter, or table. Or stand one in a dresser drawer or cabinet.

Harvest bucket

Sew another strip of fabric to connect the two ends and it becomes a handy tool for harvesting your garden.

Produce bags

For separating fruits and vegetables on the counter or to use while shopping. Unlike many reusable bags, bento bags are easily machine washable.

Use them to harvest or store produce.

Use them to harvest or store produce.

Purse or shopping bag

Sew a strip for a handle and carry a bento bag, small or large, as a casual purse or a shopping bag.

Make a strap by sewing a wide or two narrow rectangles into a tube, then tuck raw ends under & insert the ends of your bento bag, then sew.

Make a strap by sewing a wide or two narrow rectangles into a tube, then tuck raw ends under & insert the ends of your bento bag, then sew.

Add to this list by sharing your ideas for how you will use these in the comments below. Happy sewing!