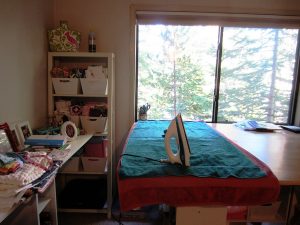
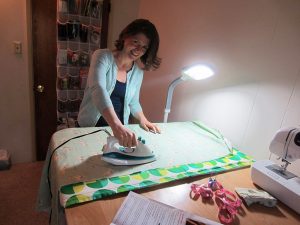
I recently decided to upgrade my ironing station from two towels placed on top of my new DIY work station to something fancier. I went from this:
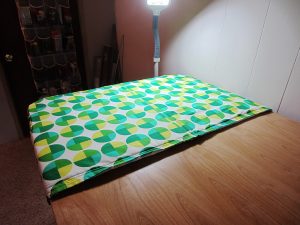
To this:
Fancy, right? Before I made my own ironing station I did a little research. Here’s what I learned.
Be Creative
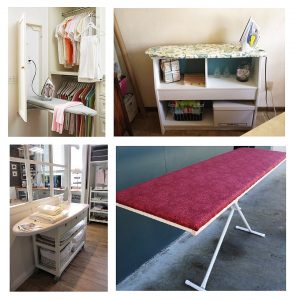
Images from left to right: BH&G, Hometalk, Crazy Mary Revista, Sew We Quilt
The sky is really the limit when planning where you want to iron. Do you want to be able to iron a lot of fabric at a time? Go big. Do you want to save space? Go between the studs or hang from the wall. Almost anything with a flat top can be converted into an ironing board.
Thing Long Term
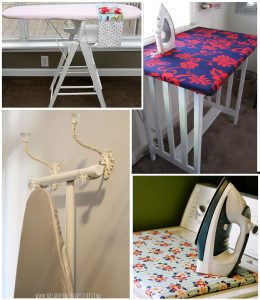
Images from left to right: Flaming Toes, Stitchery Dickery Dock, A Diamond in the Stuff, A Crafty Fox.
Images from left to right: Flaming Toes, Stitchery Dickery Dock, A Diamond in the Stuff, A Crafty Fox
Will you want your ironing board to always be on display? Consider the fabric you choose and if it coordinates or clashes with the space you’ll be ironing in.
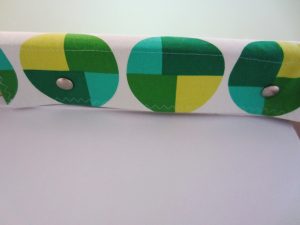
Consider the fabric you choose and if it coordinates or clashes with the space you’ll be ironing in.
I made my cover removable. It snaps firmly into place on my work station, but I can slip it off in a moment if I want the whole space.
Be Resourceful
Want to save money? You can line your ironing board cover with many things. Try using old wool blankets, receiving blankets, towels, or the innards of your former ironing board covers. Layers of batting work as well. If you want to use Insul-Bright, make sure to include a layer of batting to absorb extra moisture.
Go Vintage
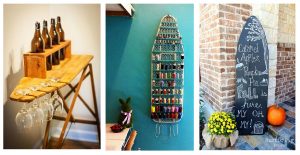
Images from left to right: Simply Pallets, Recyclart.org, The Rustic Pig
If you are retiring a vintage ironing board for a newer one, don’t let the old board go to waste.
Use it as a wine station, to store your thread, or for holiday decorations.

