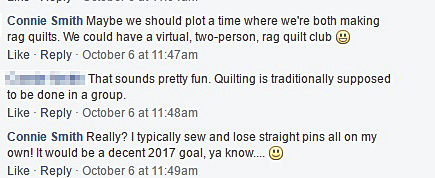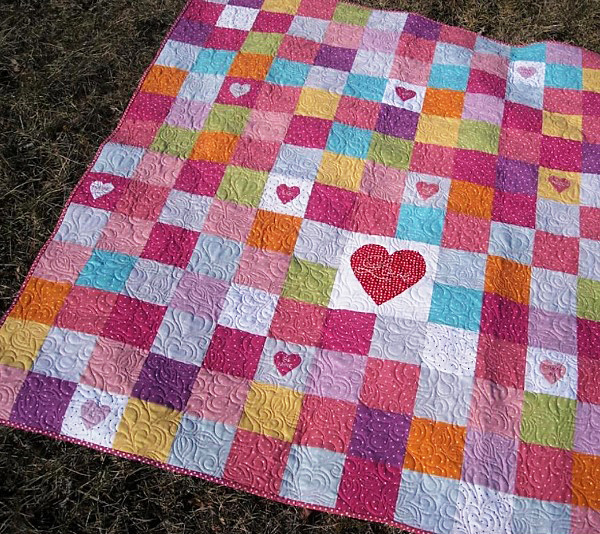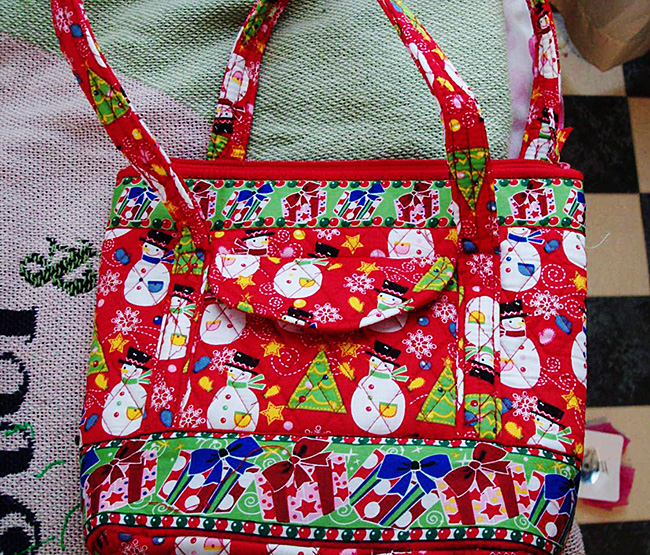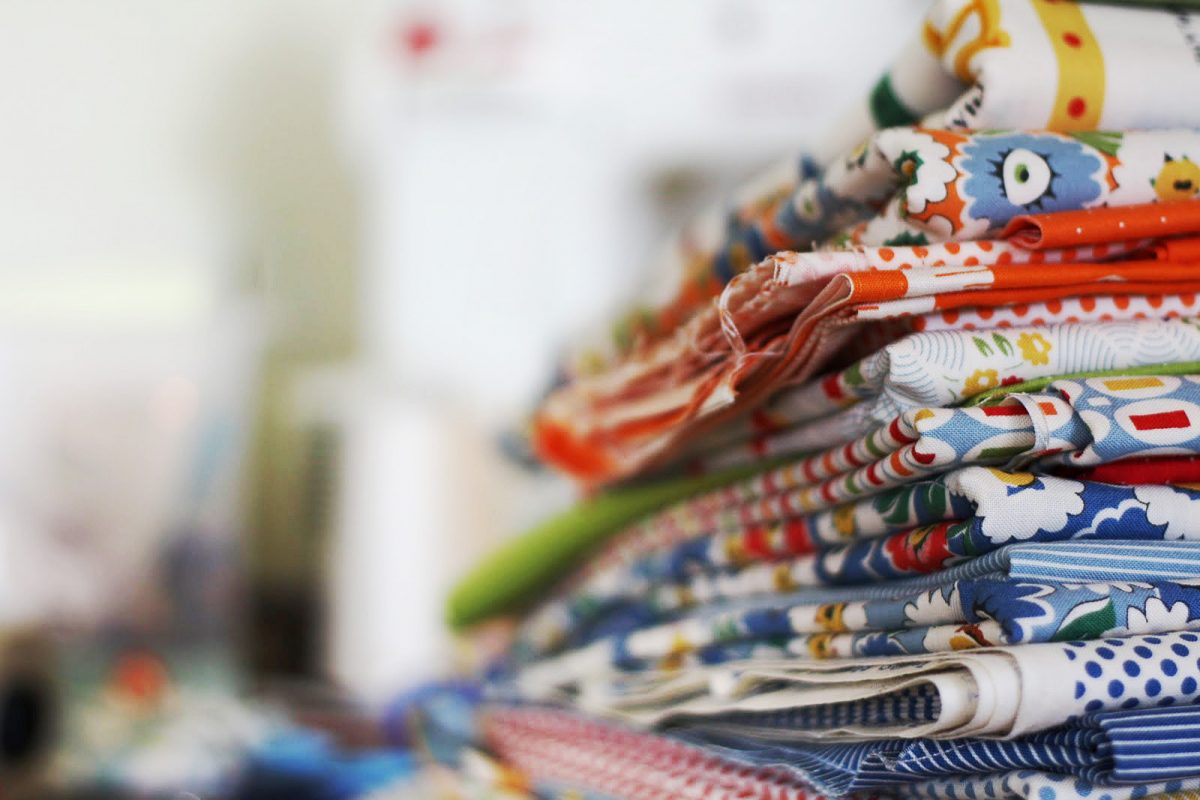
I’ve written tips on this blog, and I’ve written about fabrics. Truthfully though, some of the most sensible pieces of advice I think you can give a person just diving into the world of sewing are about fabric. While it might be easy to fall into the mindset of simply looking for patterns and colors, there’s more to consider in regards to your fabric choices—particularly for those of us with potential baby-steps skills with sewing. Those details, as it were, can have severe impacts on the ease or difficulty of putting together your first quilt, pillow, shirt, etc. For this particular post, I’ll focus on one specific kind of project: Patchwork Quilts.
Running the risk of making this read like a high-school, three-point essay, I’ll still stick to my idea here in saying that there are at least three fabric details worth considering before beginning your first patchwork quilt: Type, stretchiness and size.
1) Type:
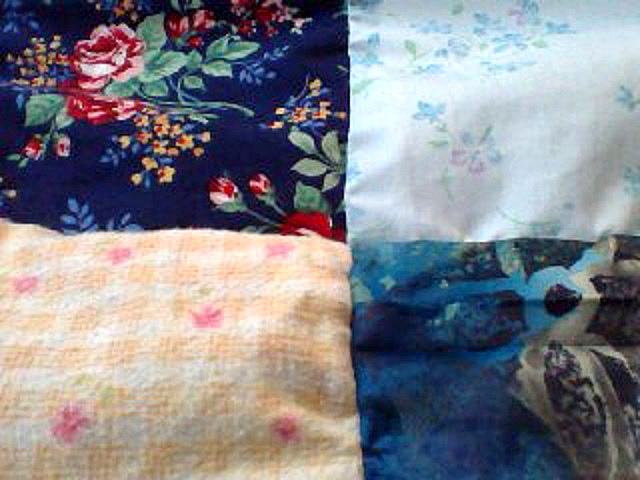
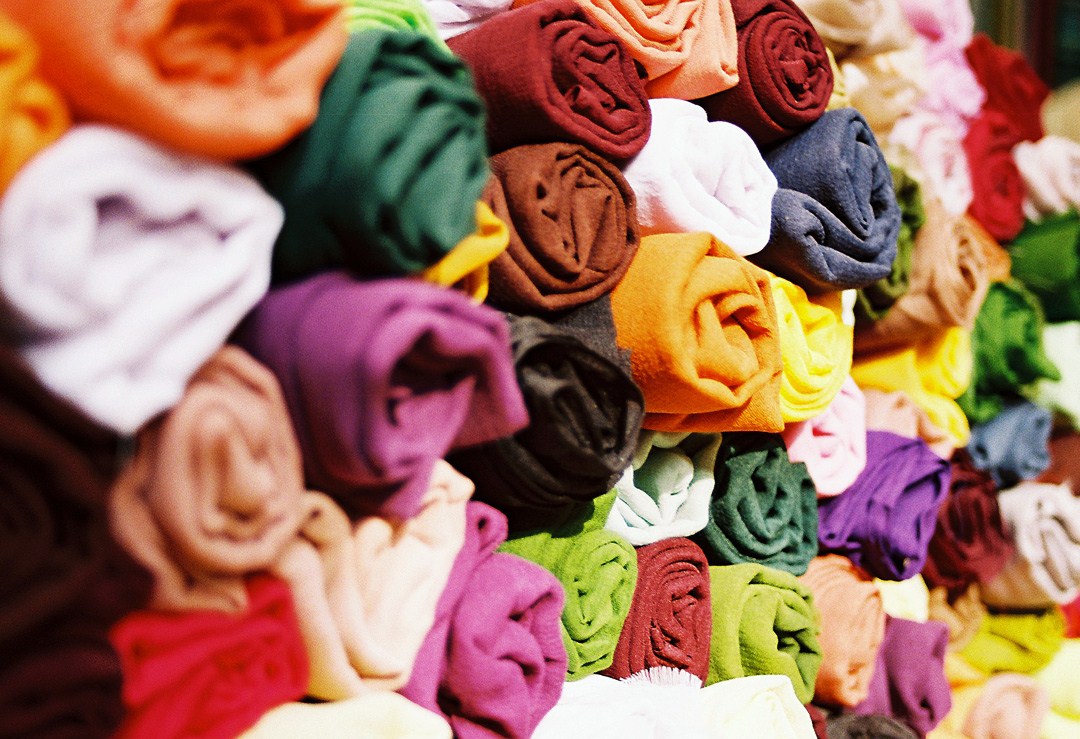
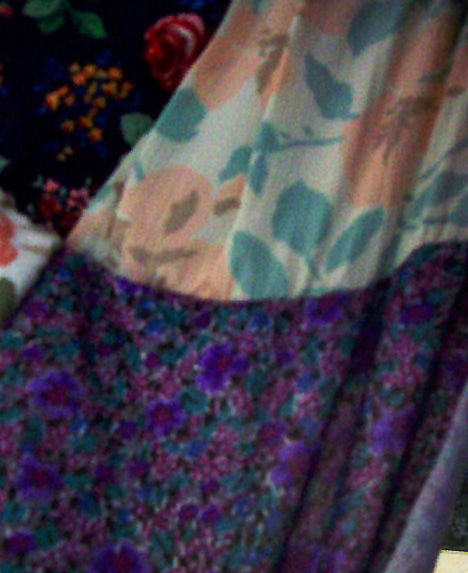
Can words honestly express how big of a deal the type of fabric you pick can be? Well, let’s look at it logically. Through Amazon, you can buy these pieces of material:
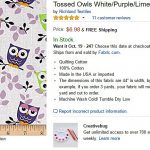
Which one, just by looks, seems to be the most agreeable to work with? If you chose the owl-including Door #2, you would be correct!
Of course, that was an easy example since lace just looks like it would be a pain, but even choosing silk or satin as your first fabrics could prove a regretted decision. They’re slick, and that easy-to-slide quality could lead to stitching that is too wavy to be precise.
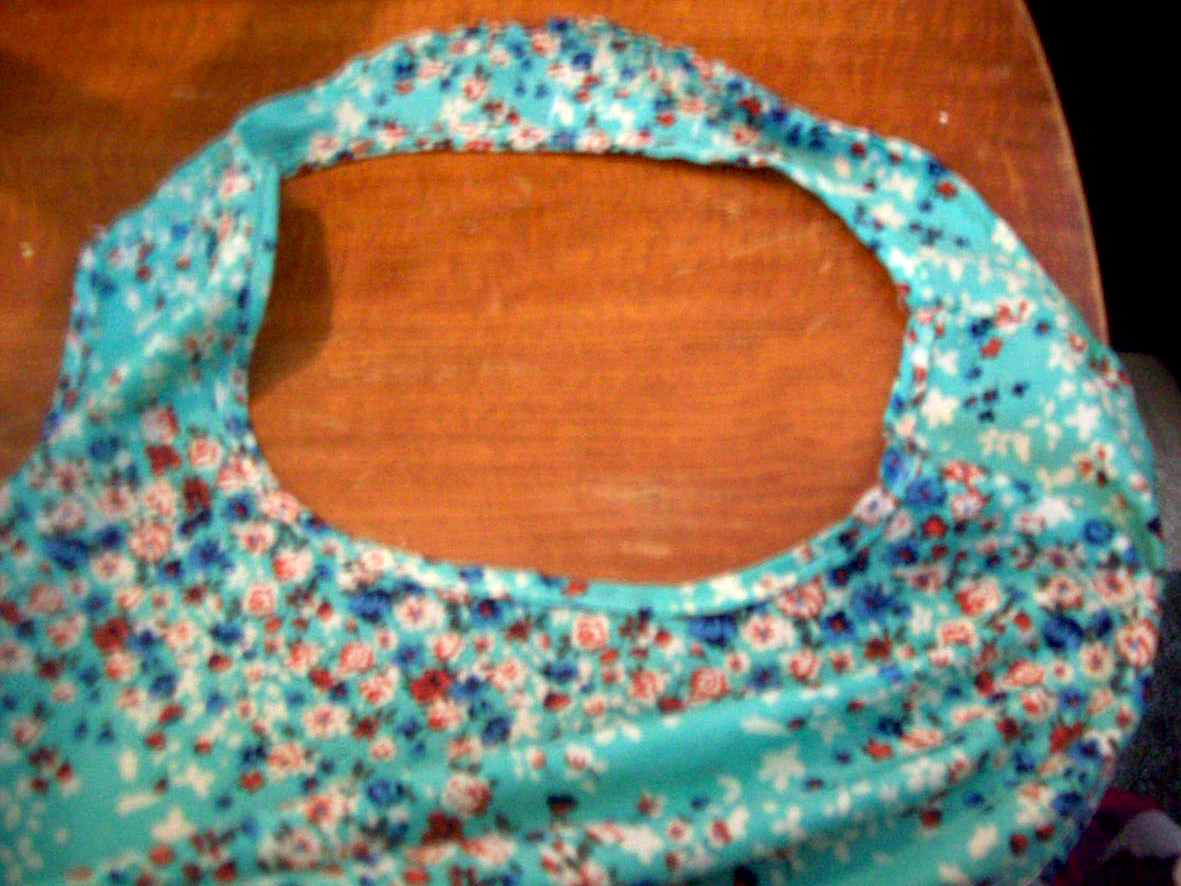
A good first-fabric, in my opinion, is cotton. It’s simple, but it stays where you put it more than silk or satin, which could lead to more accurate stitching with less hassle. A better product that’s simpler to come by could be in your hands and on your sewing-resume just by picking the right fabric!
Another detail worth considering in type is *you* personally. Example: I have potential issues with polyester—like sneezing—so that’s probably not the way I should go!
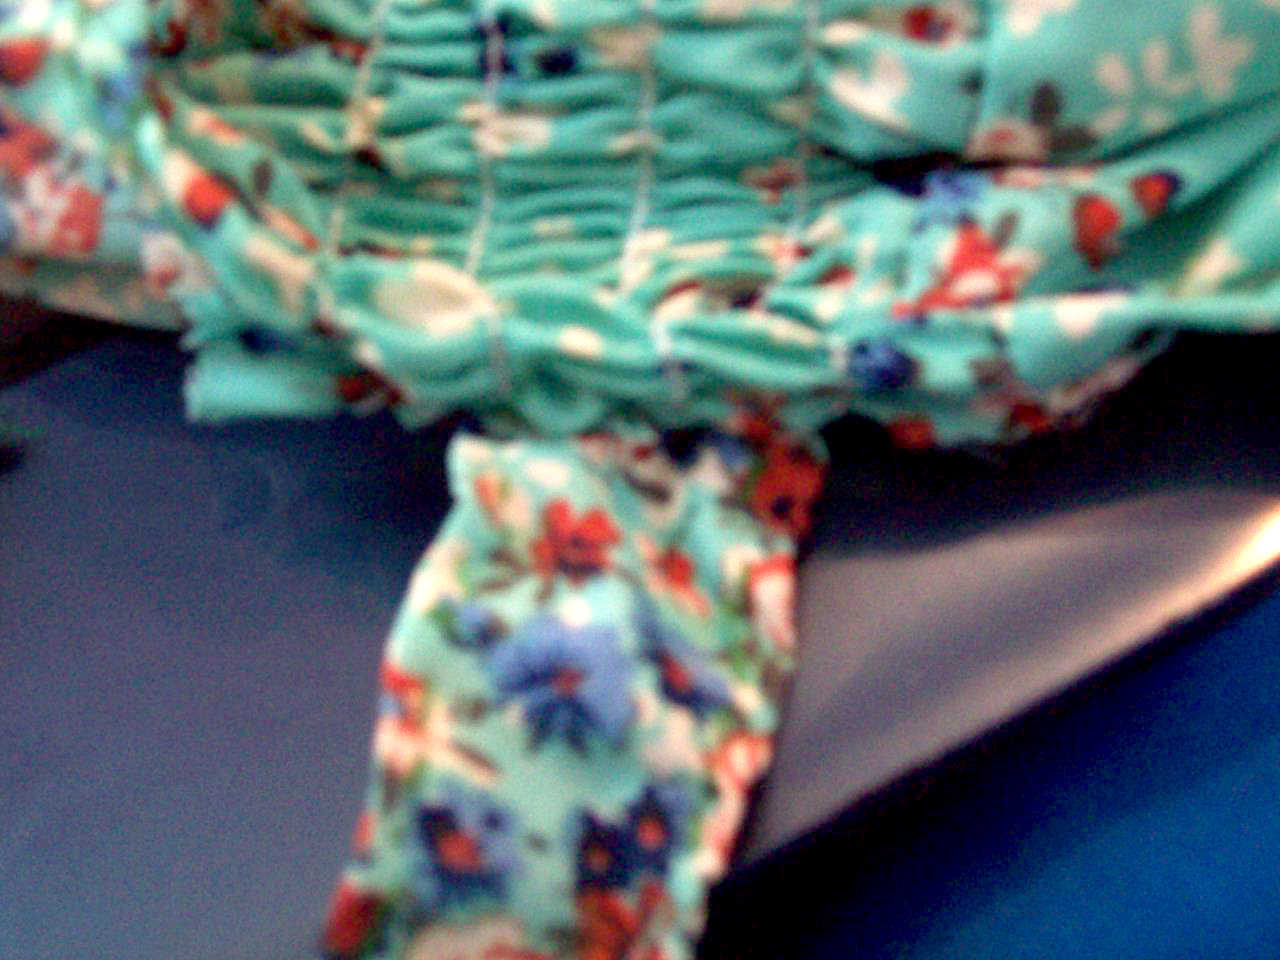
Some fabrics have more give than others seem to have.
2) Stretchiness:
Some fabrics have more give than others seem to have. That doesn’t mean you should necessarily rule out every piece of material for the rest of your life that has a stretchy quality, but it’s something worth noting as you pick out fabrics. If you’re making a quilt, a stretchy piece of material that’s beneath a non-stretchy one could be an issue.
Example: If Block A is non-stretchy and is above stretchy Block B, the end result could be that Block B *has* to be stretched out to match Block A’s size. Say you measured Block B’s fabric by *having* it stretched out. That decision, if your blocks are the same size, would lead to the need to keep Block B’s fabric stretched for it to reach the same end-line as Block A. That, in turn, could lead to a scrunchy detail for your quilt that you don’t care for because the material condensed back into its original form.
Trust me! Few things are as disappointing on a quilt you made as seeing lines that are obviously not straight and blocks that are clearly mismatched in size! Speaking of size…
3) Size:
Last but not least, the size of your material matters, and I’m not talking about how much you get from your fabric store. I’m talking about block sizes. It really pays to think about where you want your overall product to go, and in two particular ways for this idea: How complex you want your product to appear, and how difficult you want your journey toward a final product to be. Once you find the answers to those questions, you might be closer to deciding on a block size for your patchwork quilt.
For instance, if you want something that looks really complex, smaller pieces of material might be your friend. Think of it like a puzzle. If your puzzle has one hundred pieces, you might have an easier, quicker time finishing it than a puzzle with fifteen hundred pieces, but the fifteen-hundred-piece product might look more impressive to someone who notices it. It’s the same principle with patchwork quilts. Even though tiny squares can look impressive, there’s more time that goes into making smaller squares into that large final product. It might look better if you get it right, but be ready for some effort!
If you want something that’s easier, you might think of having larger squares—like ten inches. The final product could look particularly amateurish though *because* the quilt squares are so large. Without some kind of embellishment for the patches, the simplicity might make your product seem less impressive.
For those reasons, you might want to decide on a combination of impressiveness and ease for your first quilt—maybe 8 inches. They’re large enough blocks to be easy to work with, but with the material that would be taken up while sewing the patches together, the final product might look more professional. Sounds like a potential win/win!
One final tip about size: Once you select one, you might think of buying pre-cut fabric squares in that size for your quilt. It’ll ease up your first-quilt process, and maybe you can get enough confidence with their help to give you fuel to keep going in your quilting journey!