Learning Re-Learning

Learning & Re-Learning

Generally speaking, I can be more of a hand-sewer than a machine-sewer. Getting frustrated with a machine, to me, isn’t the most difficult task, so stepping back from one can be a fairly easy decision. What I’ve found in stepping away is that I actually like hand-sewing. Sure, the process might take longer, but there’s something relaxing about going one stitch at a time with my own hands.

And, believe it or not, I might actually be more likely to sew a straight-ish line by hand than I am with a machine! Weird? Maybe!

But stepping away from the machine has led to me trying to re-acquaint myself with my sewing machine, and what I found is that the time away caused me to potentially forget things—maybe keep me from fully learning all things—about my machine. Had I had (or kept) those things in mind, I suspect my sewing-machine-experiences might’ve gone a bit better—and a bit quicker.
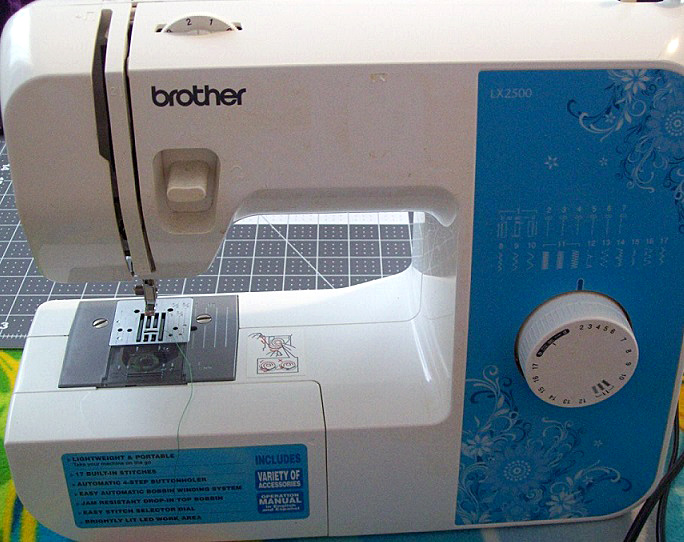
Brother LX2500

Brother LX2500

Now, don’t get me wrong! I’ve completed projects on my sewing machine. But I was potentially setting myself up for frustration by not really understanding or memorizing the details of this machine (Brother LX2500):

Imagine how far I could be with machine-sewing if I would’ve taken the time to learn more details and commit them to memory! So, for today, I’m going to give you that bit of information: Get to know your sewing machine! Even something as simple as realizing the thread-holder lifts higher could prevent grief, since you might not have as much issue with the thread falling off while you’re sewing or threading your bobbin. And, yes! That happened to me!

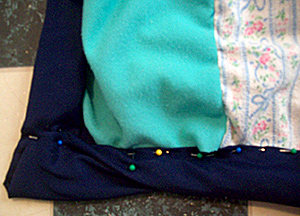
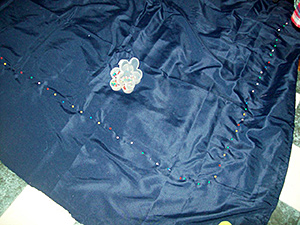
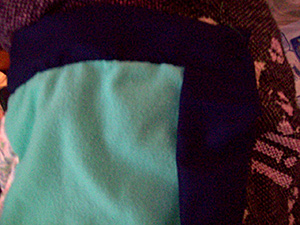
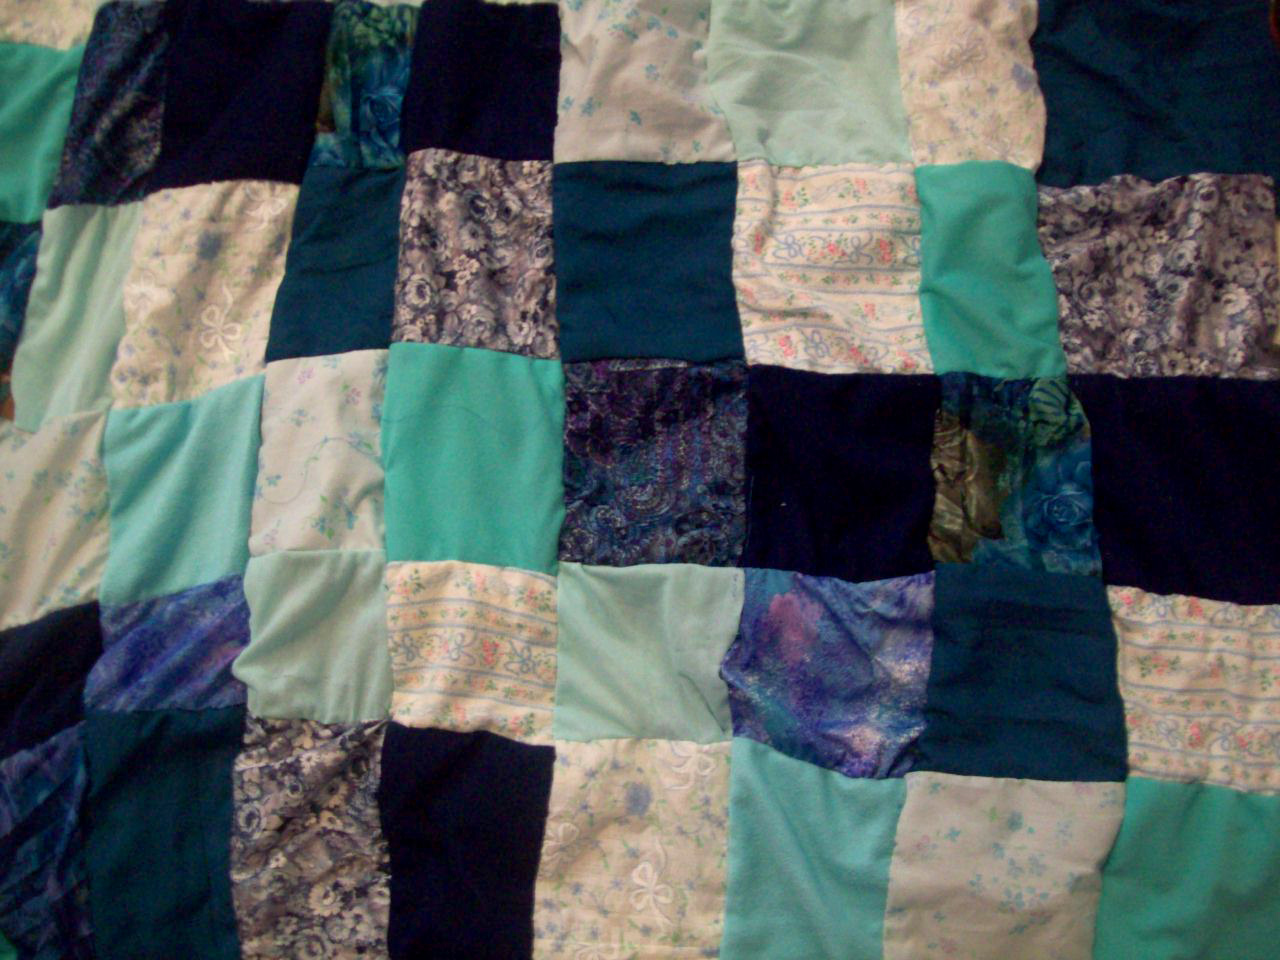
For me, figuring out the need-to-know details and letting the rest go might’ve been tempting. Do yourself a favor, and don’t keep that thought process. There might be aspects of your machine that make for easier sewing, or that advance your capabilities in a way that a basic “Hey! I can thread the needle and bobbin!” don’t quite cover. Possible examples: Apparently, I have a reverse button on my machine I maybe never knew about, and a way to alter the tension. Who knew?! And if you don’t get to know your machine, by the way, don’t be surprised if you come out with stitches that look like these:

If you buy your sewing machine brand new, check out any instruction manual that comes with it. The reading might seem tedious, but that tedious task could be worth it when you don’t hate your sewing machine, like, twelve times per use (Am I exaggerating??? You decide!). If you buy yours used, don’t have a manual, or lose the manual, try looking online. I think I threw mine away (don’t do that!), but luckily there are videos available on Youtube that show the basics of running my model. I can’t encourage you enough to look into such information to learn what you can about your sewing machine! Doing so could extend your possibilities and preserve your nerves!

Your sewing machine is only as good as your ability to use it, so don’t hold yourself back by not learning about it properly.

And even if you did know all there is to know about your machine, forgetting details after a limited amount of use isn’t out of the realm of possibility. Think about all the math classes you had over the years. Even though you might’ve had formulas in your head for a time—like, for an exam—how many do you still remember? After a while, your sewing machine’s details might be so burrowed into your thought process that you can be away for a time and remember them, but don’t be too embarrassed to rediscover those details if you can’t bring them to mind. Something like which way your bobbin’s thread goes could be so small that you don’t remember it, but not knowing could complicate your sewing.

So that’s lesson number two, one I had to learn when I came back to my sewing machine after time away: Don’t be afraid to admit you don’t remember, or be too proud to look into how to do these things again. Your sewing machine is only as good as your ability to use it, so don’t hold yourself back by not learning about it properly—even if it isn’t the first time you’re learning about it! Don’t stop until you know what every button, knob, or contraption does!

The Final Touches (And Reinforced Lessons)

The Final Touches (And Reinforced Lessons)

Remember on my last blog post when I proclaimed that sewing isn’t baking? In the latest stages of my quilt, I’ve once again found myself facing similar details and thoughts as the ones I experienced earlier. Why? Because — as I said before — guesstimations and “until-it-looks-right” attitudes don’t necessarily spill over from the kitchen to the sewing area.

My homemade backing.

My homemade backing.

You see, I completed all the main lines of a nearly-finished quilt. What that meant, to me, was that it was time to sew on some kind of backing. My tactic for doing so? Getting a flat sheet, cutting it *very* generically around the exterior of the quilt, and trying to fold the excess material down in an appealing manner for the outer edges of the quilt. I ended up with a mess that looked something like this:

Not good, right? And I couldn’t seem to fix the issue with the backing/quilt this way. Whenever I would try to re-pin something so that the massive/slanted corner was more size-and-style-similar to the line leading up to it, the material would twist unpleasantly (like you can see). This blatant issue led me to undoing most of my pin-and-sew work connecting the backing to the actual quilt, in hopes that the lines and corners would better match up.

The process this go-round was a bit more precise, in that the original wrinkles in the sheet had fallen out, and the overall quilt was more carefully positioned under the sheet for more accurate results. That’s right. Under the sheet. Rather than focusing on exactly where the backing would overlap on the front, I concerned myself with making sure that the back portion was somewhat smooth against the quilt blocks. My rationale was that if I could get that territory as it should be, I could flip it over and fold over the ends with more confidence that what I couldn’t see on the back was proficient enough to allow my focus to safely fall on what I could see. Basically, if the backing was smooth, I could do things, like better decide how much material needed to be beyond the quilt blocks to fold over and work with, without worrying so much that the material on the underside was bunched or wrong in some way:

Pins, pins and more pins!

Pins, pins and more pins!

Once I flipped it over, I cut off a bit of the backing material, and I took out the pins from one side (and admittedly—accidentally—a number more!). Some of the quilt had already been sewn (I’m currently thinking of redoing that section, by the way), but beyond that stopping point, I could fold over the excess material, tuck it under itself, and pin it back down so it would create a more pleasing line and corner:

Progress is progress for an early quilter, right?

Progress is progress for an early quilter, right?

Perfect? Eh. But progress is progress for an early quilter, right? And, perfect or not, this strategy seems to have helped.

Still, knowing if the strategy will prove effective throughout the rest of the process might be something I judge later. After all, I’m less than one line into it, and there are over three sides to go (not to mention inner attachments).

In any event, this particular dilemma has led me to another tactic in learning to quilt better, and that’s to look for answers online. I’ve looked at a quilting video before, but a number of things that I’ve attempted to do are details I could’ve found assistance for online. There are charts, for instance, about how big to cut blocks, or how large a certain size of quilt should be. I might’ve literally been the girl who measured a bed with measuring tape (not sewing tape!) to see how big I should make a quilt, which I wouldn’t have had to do if I’d looked at a chart! I wouldn’t be too surprised if I took more of my sewing/quilting concerns online to try and find answers for them in the future!

Hopefully, this quilt will be finished soon, and I’ll be able to move on to another project with the skills and lessons I’ve learned up to this point. And maybe one day, I can become the quilter I want to be!

Quitling is Not Baking

Quilting Is Not Baking

My mom was the type of cook who didn’t accurately measure ingredients, and to this day, if you ask her how much of an ingredient to put in food, she might say something like, “Until it looks like enough.”

Be exact. The “it’s good enough” mentality I might’ve had for baking doesn’t spill over so well into the world of sewing.I don’t always accurately measure things in the kitchen either. I might use a coffee cup when the recipe calls for a cup, but even then, I’ve been known to eye-ball the food and decide it needs more. I put baked goods in still pre-heating ovens, guesstimate about time, and haven’t owned a measuring cup or spoon in my adult life that I can recall.

This is how I bake, and I’ve come up with some tasty sweets.

This is, to some extent, how I’ve tried quilting, and the results are evidence of the title of this post.

Quilting is not baking…

I’m a bit of an amateur in the quilting/sewing department. I’m working on my second quilt (third if you count that one atrocity I never finished), and my overall products have been somewhat lacking.

Even with missing the mark on projects though, I still learned. As it turns out, a number of things I’ve learned for quilting are in opposition to habits that worked fine in my baking. See? It’s not baking!

My first quilt.

My first quilt.

1) Less can be more. I’m not saying smaller quilts are better than bigger quilts, but — let’s connect this food-thing again — “portions” can be too big, and ruin the effect. For baking, if I put in too many ingredients, I might just get more cookies. Who doesn’t love more cookies? For quilting, if the sizing is too big, the best I can do is something that looks amateurish. Like my first quilt:

I hesitate to definitively label this a quilt because it’s so simplistic. The design made sense here, since the animal print was from a fabric I cut up, but imagine how much better this quilt could’ve looked if the panels on that fabric had been smaller. It still might’ve been lacking — hey, it was my first finished one! — but that smaller size of each block could’ve made the overall appearance more refined.

My latest quilt.

My latest quilt.

2) Be exact. The “it’s good enough” mentality I might’ve had for baking doesn’t spill over so well into the world of sewing. Want to see an example? Here’s part of what I have so far with my latest quilt:

These shapes were not all cut in the same sizes. Instead, my system was more general—like “it’s good enough” with baking. Spotting places where this work has issues isn’t too hard. Blocks are different sizes, and I’m not entirely sure the middle rows aren’t smaller than the ends. A reason these problems could’ve happened is because I wasn’t exact with my measurements. Here’s another example of the same flaw:

Crooked corners, but a great learning experience!

Crooked corners, but a great learning experience!

See how the corners don’t line up? Oops! Not good! More accurate measuring could’ve kept this from happening.

3) Have the right tools. I might not have measuring cups and spoons. I might not even use an oven mitt. And my baking could still turn out okay. But what I’ve discovered is that tools might be a key in quilting, especially for an early quilter/sewer like me, and I should look into equipping myself with utensils for the job. Currently, I want a rotary cutter and ruler. With those, getting the right measurements could be easier, which could in turn make my final products look more refined.

4) Have a plan. Going into the kitchen and deciding I’m going to experiment with ingredients might be fine. I’ve done that. And I got some pretty tasty banana cake out of the deal. But if I go into a quilt project without a plan, things could go wrong. For my latest quilt, I changed my technique for sewing after I’d started, which caused some let-downs. My quilt is smaller than I intended, holes showed up in my fabric, and my final row of material might’ve been decided by the fact that I didn’t have enough pieces of certain materials to continue my pattern (which I slightly messed up anyway). Basically, with quilting, I should potentially map out my strategy from start to finish. Otherwise, tasty banana cake might not be the end result.

Hopefully, I’ll learn from my mistakes though, and maybe someone else can, too! Like with just about anything, practice can lead to improvement.