Posts by Sarah Woodard

Sarah Woodard is a freelance writer based in Southern New Hampshire. She enjoys bringing stories, issues and topics to live with words and pictures. In addition to writing, Sarah is a beekeeper, Reiki Master Teacher and black belt in Muay Thai Kickboxing. In her free time, Sarah enjoys spending time with her boyfriend and playing with their four cats.
Teaching Kids to Sew

Teaching Kids to Sew

How Young is Too Young

Does your daughter (or son) hang around while you’re sewing? Do they seem really interested? Maybe they even beg you to show them or let them help? If you’re like most parents, this makes you happy that they’re interested, but unsure when is the right time to get them involved in your hobby.

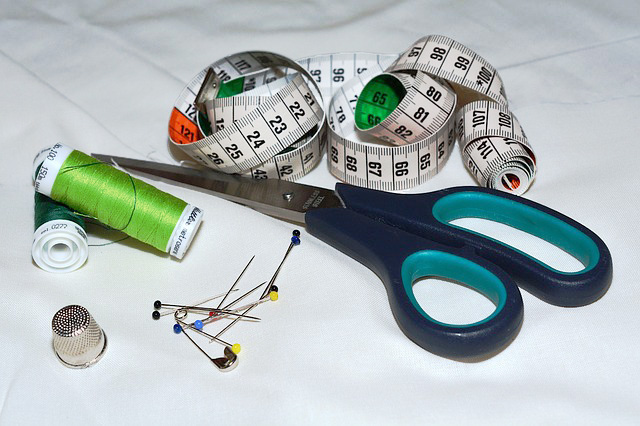
Like many things in the course of childhood, the decision of when to teach your child to sew isn’t as much about chronological age as it as about maturity level. Before you teach your child to sew, they need to exhibit patience and ability to sit still and pay attention for an hour or so at a stretch. Manual dexterity helps, but isn’t absolutely necessary since you’ll be there to help with items like pinning and cutting.

Step 1: KISS

Even if your child doesn’t love momma kisses and hugs, keeping their first sewing project simple and fun will help keep their interest. Bean bags, doll pillows, and similar items are a great way to engage your child’s interest and help them learn basic sewing skills. They’re small enough to be completed quickly and not overwhelm your child with several steps.

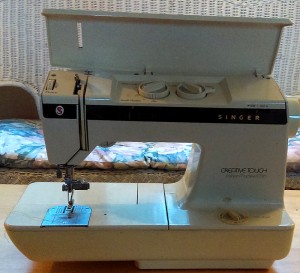
Bean bags can be cut freehand without the benefit of a pattern. Depending your comfort level and your child’s interest and abilities, you can guide them through the setup and use of the sewing machine. At the end, you can both have a great time stuffing the bean bags and playing a game of bean bag tag.

Step 2: A Tougher ProjectHelp your child learn to read the pattern and understand how to lay out the pattern pieces.


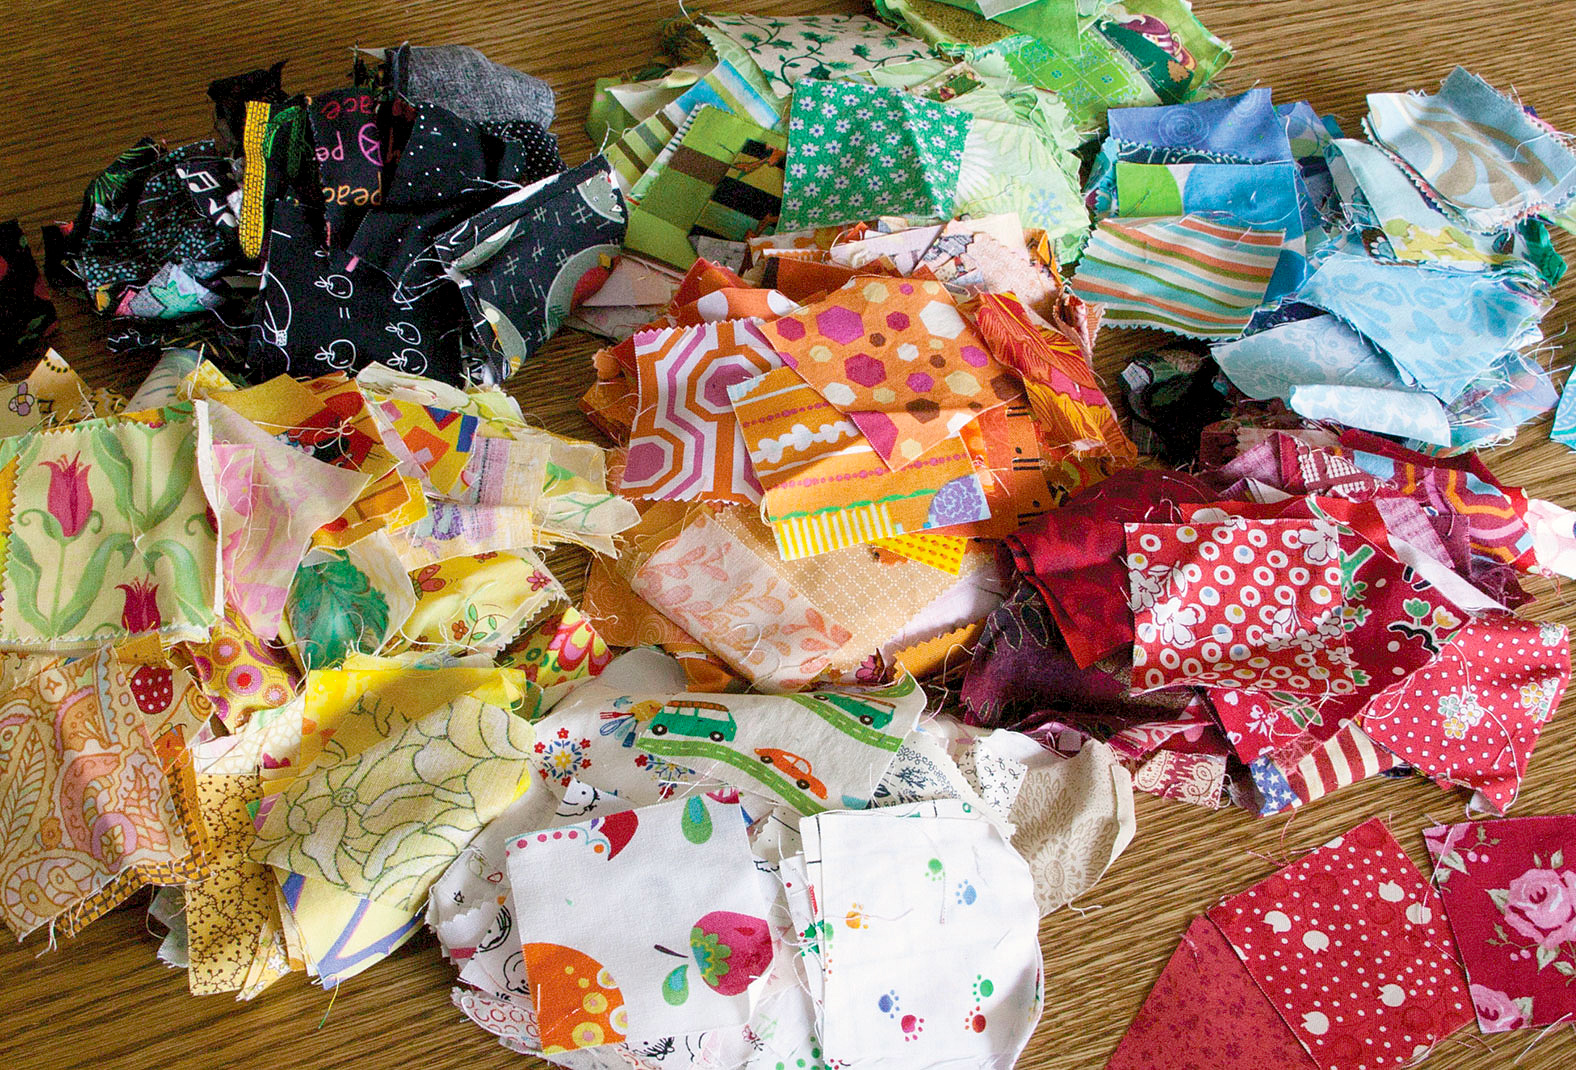
Assuming the first project went well and they’re still interested, you can help your child pick a simple pattern to work on. Projects like simple doll clothes for American Girl sized dolls or a basic stuff animal can be great options. Give them some guidelines and set them free to pick out fabric.


Help your child learn to read the pattern and understand how to lay out the pattern pieces. If they’re up to it, explain about the different ways to fold the fabric based on how the pattern needs to be laid out. If you think they’ve got the dexterity, it might be appropriate to let them help you pin and/or cut the pieces. As with the simple first project, let them help you with the sewing machine if it seems appropriate to do so.

Things to Remember When Teaching Your Child to Sew

  • Every sewing project is unique – so is your child
    • Go at their pace
    • Keep their physical needs/abilities in mind
  • Start small
    • Keep it simple with an easy, fun project
    • Judge their interest and only move on to a tougher project if they want
  • Be patient
    • Just as many parents can’t teach their kids to drive, teaching your kid to sew may not work out
    • If teaching your child to sew is too stressful for both of you, check around for classes. Often places like the local YMCA will offer sewing classes for kids.

Sew Calm

Like many hobbies, sewing can help you relax and put aside the stress of daily life. Depending on the hobby, there can be many reasons for this. For me, sewing is relaxing because it requires intense concentration, which means there’s no room left in my brain for worrying about life stressors. And then there’s the rhythms – they call to something deeper much the way drum beats do in Native American rituals.

Snip Snip Snip

Next time you’re sitting down to cut some fabric really listen.

Next time you’re sitting down to cut some fabric really listen.

Have you ever noticed the sound scissors make when cutting fabric? There’s something almost melodic about it. Try it out next time you’re sitting down to cut some fabric really listen. If you can safely close your eyes for a moment to tune into the sound, do so. The crunch, snip, clip is mesmerizing. I allow it to become like a mantra – if there’s something I’m working through, the rhythm of the scissors can help me hone my focus and energy. Try it – you’ll see.

Whirr Whirr Whirr

I don’t have a lot of experience with modern machines; I’m still using the old Singer my mom taught me on, so I’m not sure if newer machines have the same wonderful whirring sound. When doing a long straight row of stitches and keeping steady pressure on the pedal, that whirr is as rhythmic as train speeding down the tracks. The whirring helps organize my thoughts and creates a space where my only focus is the machine, the fabric, and the whirr. As my problems and stressors take a back seat, they also subconsciously begin to resolve.

As with the snip and whirr sounds, my anxious thoughts fall away and my focus hones in on the task at hand.

Motions

Sewing also has a lot of repetitive, and thus soothing, motions. The body and brain disconnect during these moments and the subconscious takes over. Just as our brains are able to work out problems as we sleep, so too can they work out problems while our conscious brain is disconnected during waking hours.

Pin and Unpin

The motion and concentration needed to properly pin a sewing project are often all consuming. I find this quite soothing. As with the snip and whirr sounds, my anxious thoughts fall away and my focus hones in on the task at hand. When I’m done, the thoughts and anxieties plaguing me don’t seem so all-encompassing.

Joy of Completion

I’m sure you know the feeling. That moment of elation when the hours of snipping, pinning, and sewing come to fruition with the final product. For me, the only thing that tops it is when I’m wearing something I made and someone compliments it, giving me the opportunity to say that I made it. Oh man! Is there anything else like that? I don’t think so.

How about you? What part of sewing speaks to your inner being and helps you relax and release the stressors of daily life?

Learning to Sew with Mom

Learning to Sew with Mom

I remember watching my mom make clothes, doll clothes, and other items on the Singer sewing machine. Pins in her mouth, scissors in hand, she’d pin, trace, and cut a pattern and then magically sew it into something spectacular. I don’t remember how many times I asked, or how old I was when she finally agreed, but one day I finally got to learn how.

We went to the store and I got to pick out an easy pattern. Mom showed me how to read the back to figure out how much material I’d need as we browsed through bolt after bolt of fabric. I couldn’t get enough of all the colors and textures, but finally settled on something. Then it was off to pick out thread, zippers, and other necessary notions. I had no idea so much happened before even starting the project.

I had no idea so much happened before even starting the project.

Once home with the loot, Mom helped me fold the fabric so that the pattern would line up correctly. She supervised while I carefully cut out the tissue paper pieces of the pattern and helped me line them up correctly on the fabric. I was so ready to start cutting them out, but Mom said I had to pin the tissue paper to the fabric first. My small fingers weren’t overly dexterous, still aren’t, but I managed to get it done. And then, finally, it was time to cut!

Mom supervised while I carefully cut out each piece on the appropriate line for my size, being careful not to cut through the pins. I felt so grown up being allowed to use the special fabric scissors. When each piece was cut, it was time to learn to read the pattern instructions on pinning it all together and what the heck “right side to right side” meant. Turns out, that’s actually pretty important, but I still think “pretty side to pretty side” would be less confusing.

I quickly realized that the pinning part is not a lot of fun, but Mom told me it was necessary or it wouldn’t sew up right on the machine. So, I suffered through it one pin at a time. It wasn’t until years later I figured out how to do the pins in the mouth thing I always saw Mom doing, so I also got poked a lot messing around with the pin cushion.

Finally, though, the pinning for the first part was done and I got to sew…or so I thought. But Mom was worried I might be a little young to use the machine on my own, so at first, we did it like we had when she came to my nursery school class to make beanbags, and she sewed while I watched. After some pleading, she finally relented to let me use the Singer under her supervision. I managed to refrain from twirling around in excitement, but I sure wanted to!

Scraps, pieces and extras. These spare parts will make a lovely quilt someday!

Scraps, pieces and extras. These spare parts will make a lovely quilt someday!

Before I was allowed to sew my project, Mom pulled out some spare scraps from her ever-growing scrap bag and gave me a lesson on the presser foot, going forward and backward, keeping constant pressure on the pedal, and keeping my fingers out of the way. I’m pretty sure there were parts were I was sticking my tongue out with the effort of concentrating, but I finally sewed the scrap to Mom’s satisfaction and was allowed to sew part of my very first project!

'Old Reliable' mom's Singer Creative Touch takes a lickin' and keeps on stitchin'!

‘Old Reliable’ mom’s Singer Creative Touch takes a lickin’ and keeps on stitchin’!

We continued this way, pinning per the pattern instructions and sewing it together. It took far longer than it would’ve taken Mom to do the project herself, but we both have fond memories
of sharing this time while I learned a life skill. I don’t remember what the first project was, but it certainly laid the foundation for a lot that came later. I loved to make my own clothes, dresses and skirts particularly. And when I got married (the first time) I even made my gown.

I don’t use it as much as I’d like to, but I’ve still got that trusty old Singer and I periodically have the opportunity to teach the sewing craft to others. Plus, I can repair and alter clothes that would otherwise become unwearable or have to be brought to a tailor. None of this would’ve happened without that first lesson from Mom.