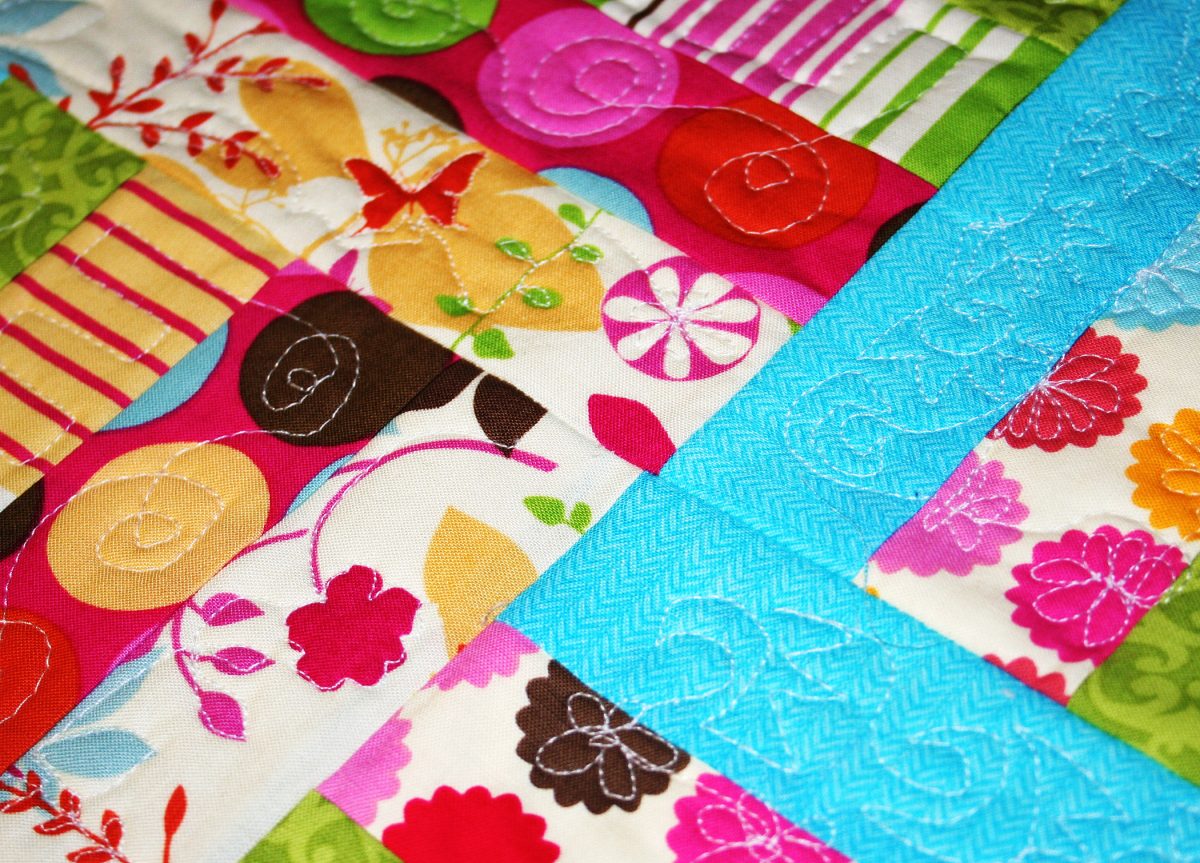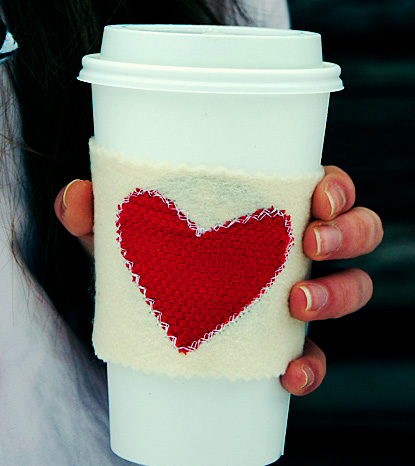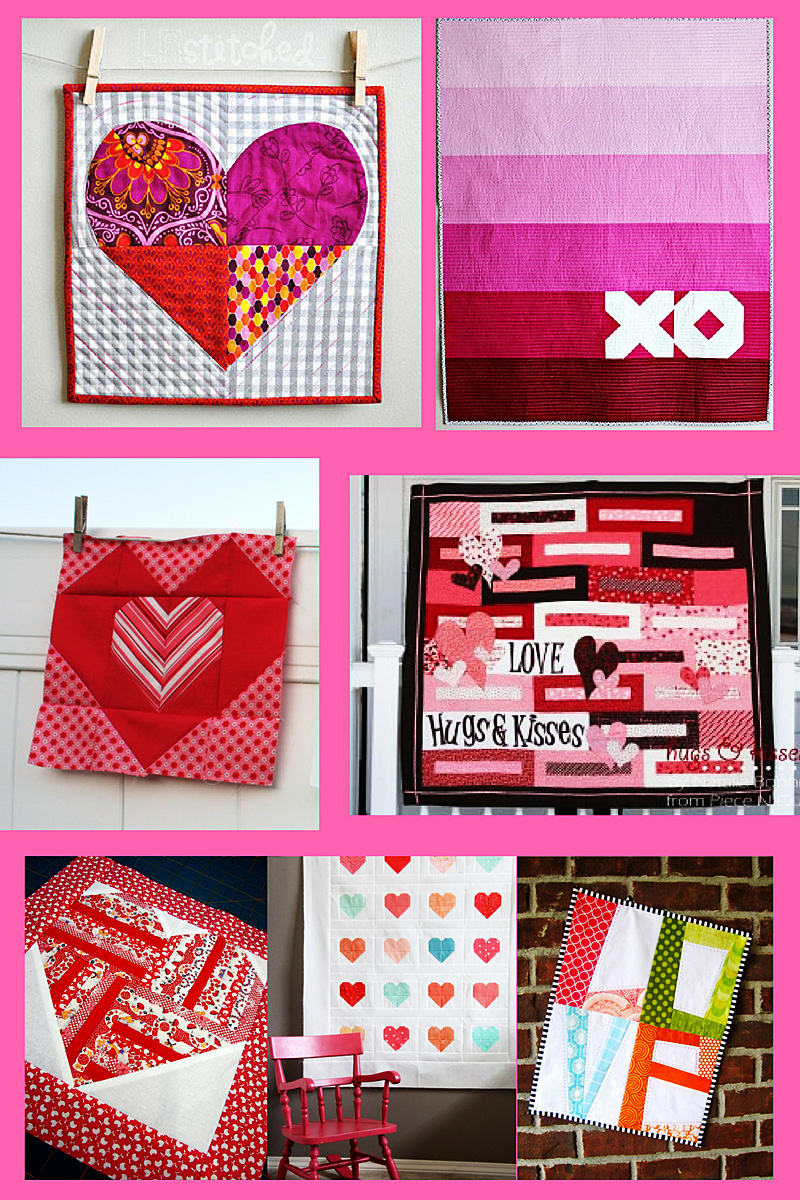
Valentine’s Day is around the corner, and as you might know from previous posts, I’m a holiday fan! In fact, I spent time researching Valentine’s Day projects for a post, and I chose one specific sewing craft that I thought was a cute idea. That concept is a raggedy coaster with a heart in the middle, which seemed simple and pretty. It was also useful since I have a Valentine’s Day party coming up with my nieces and nephew. I have plenty of leftover fabric from my latest quilt, so using it for homemade décor for the party sounded like a good notion!
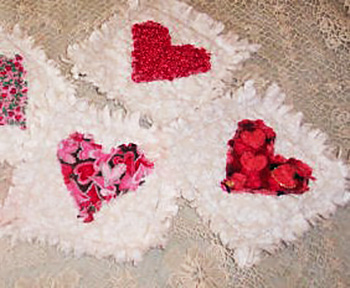
That concept is a raggedy coaster with a heart in the middle, which seemed simple & pretty.
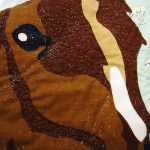
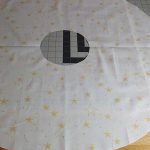
Unfortunately though, one detail of the project did get derailed because I decided I didn’t like the Cupid cutout that I had planned to use in the center of my coaster. It looked amateur and out of place, so I made the executive decision not to use it. That meant that the coaster wasn’t very Valentine’s Day-ish since the top portion is a general floral pattern, but I was still interested to see how things would play out. And, as I’d been wanting to try a rag quilt for a while, this was a good time to test the waters. If I didn’t like the process of making one rag coaster, an entire rag quilt might not be something I wanted to dive into!
Stock up
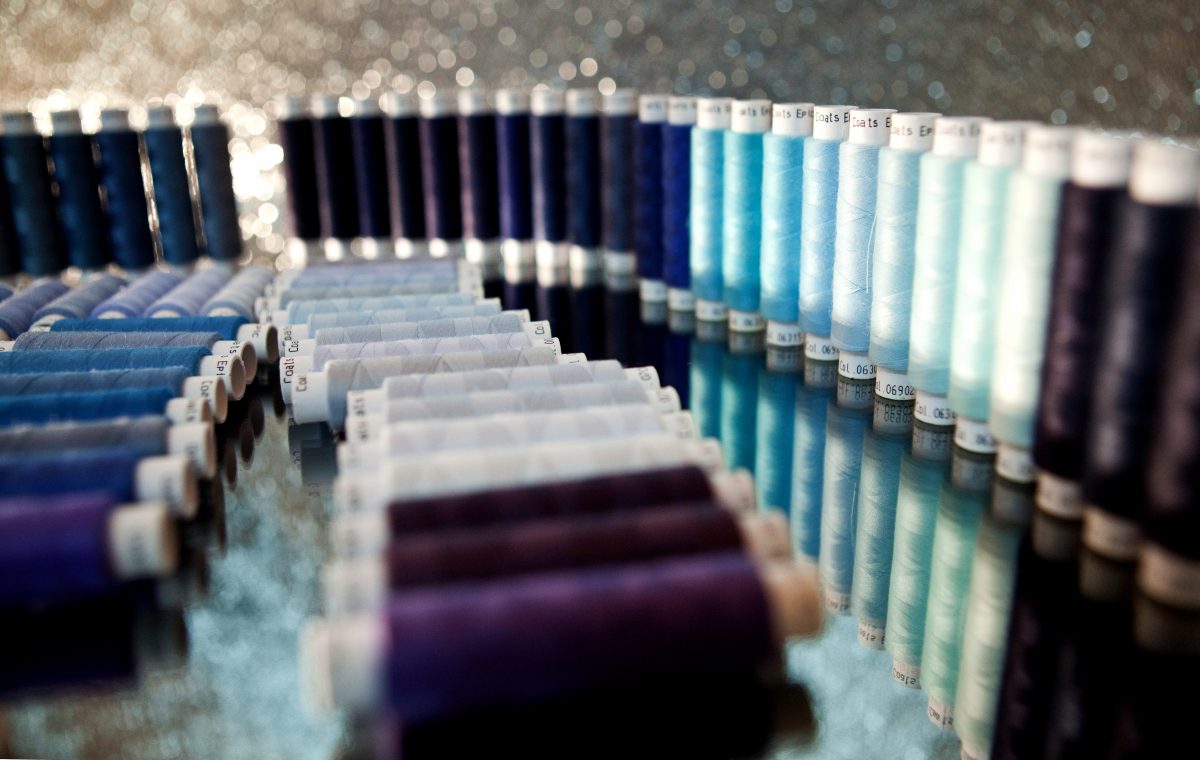
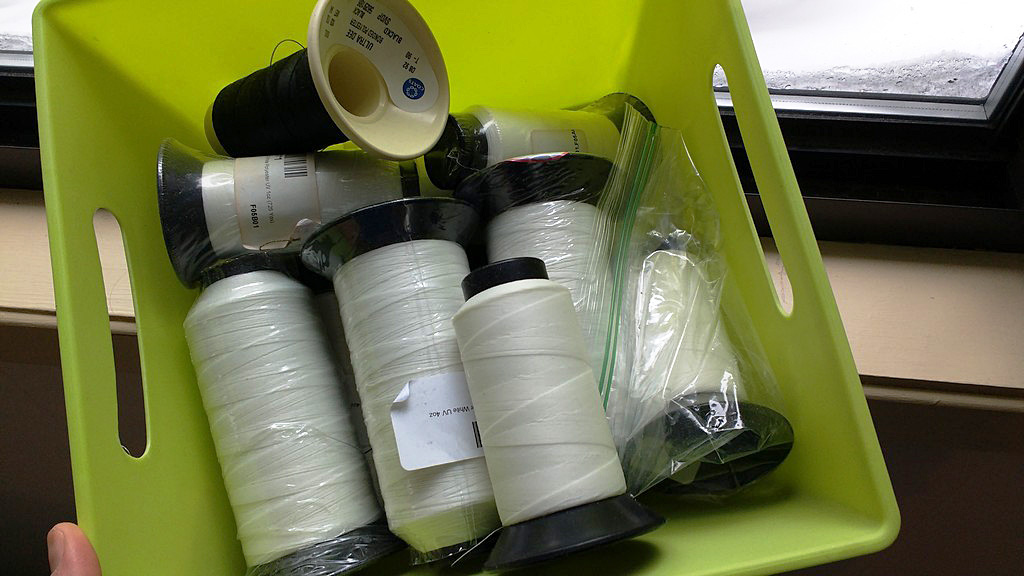
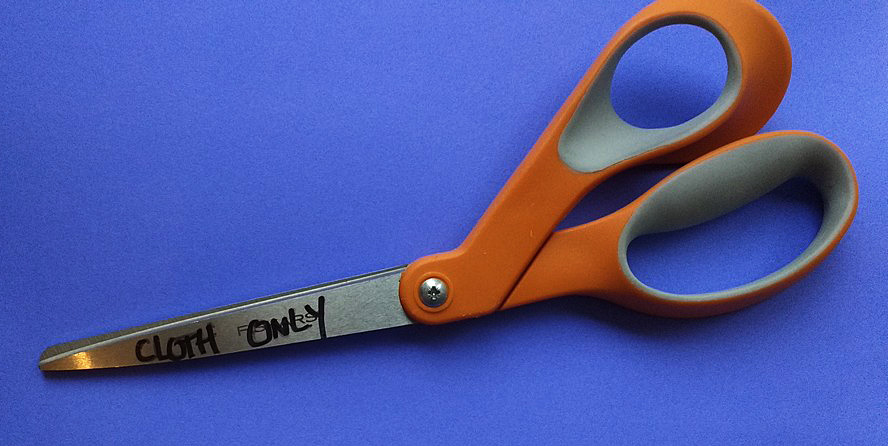
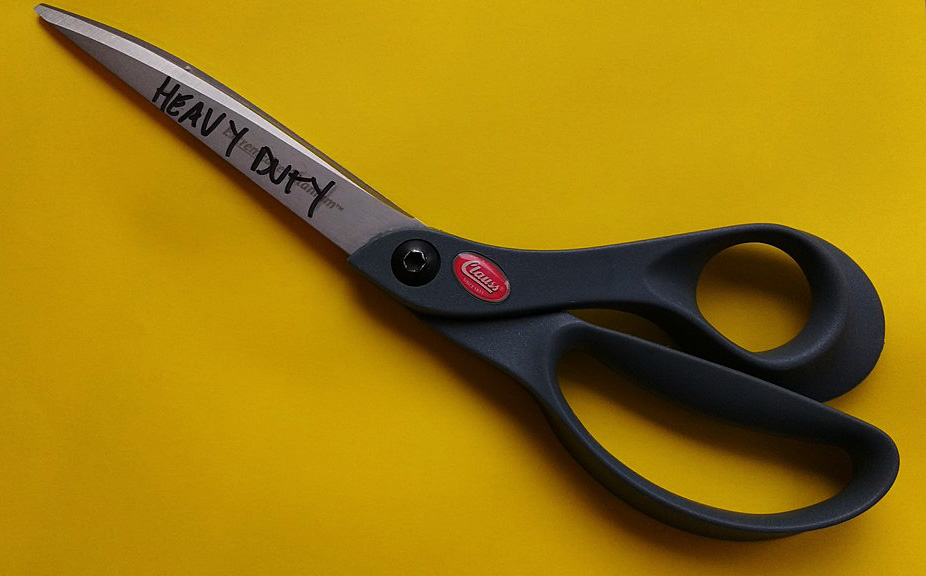
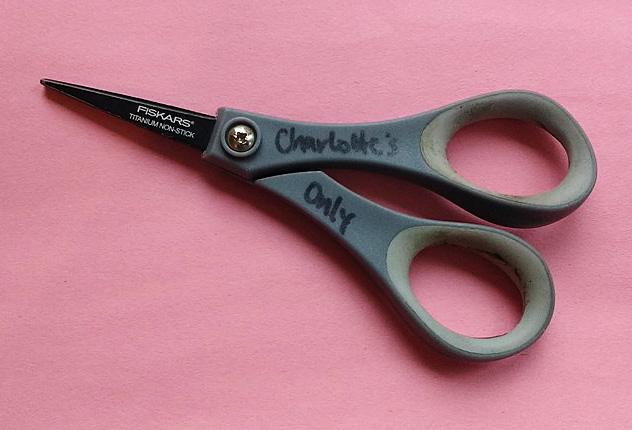
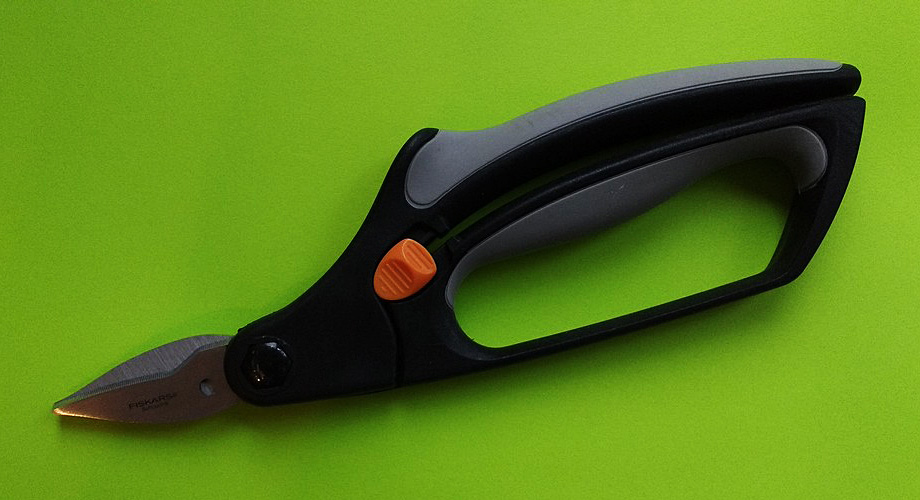
The needed supplies are fairly minimal. All you really need are the bare essentials of a sewing project, like a needle, thread, fabric, pins, and scissors. Once you have those, you’re ready to start work on your coaster!
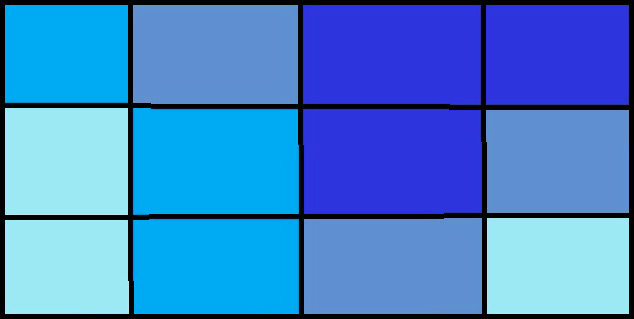
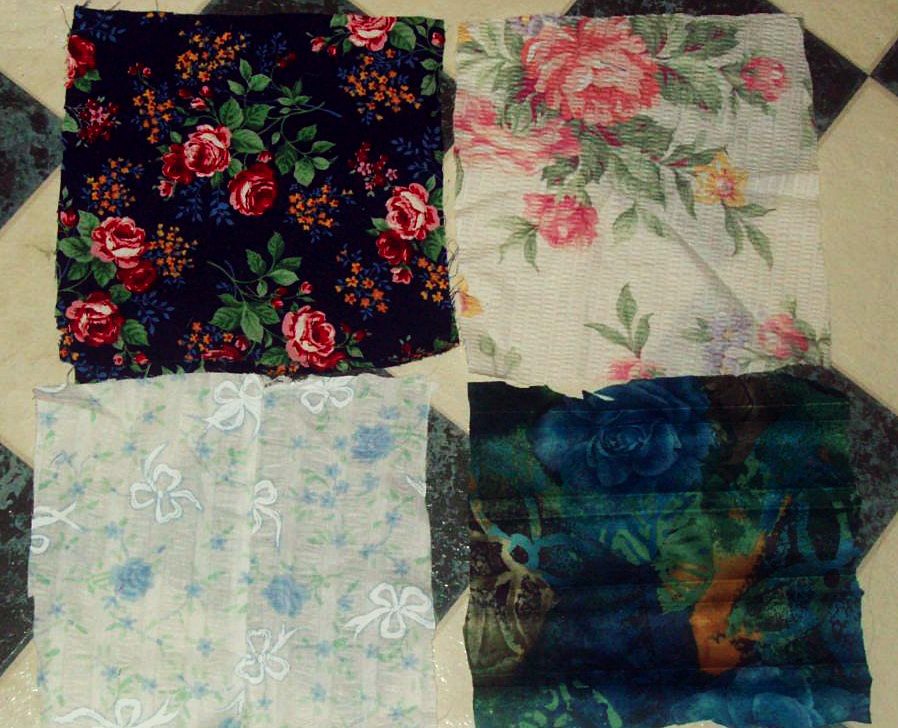
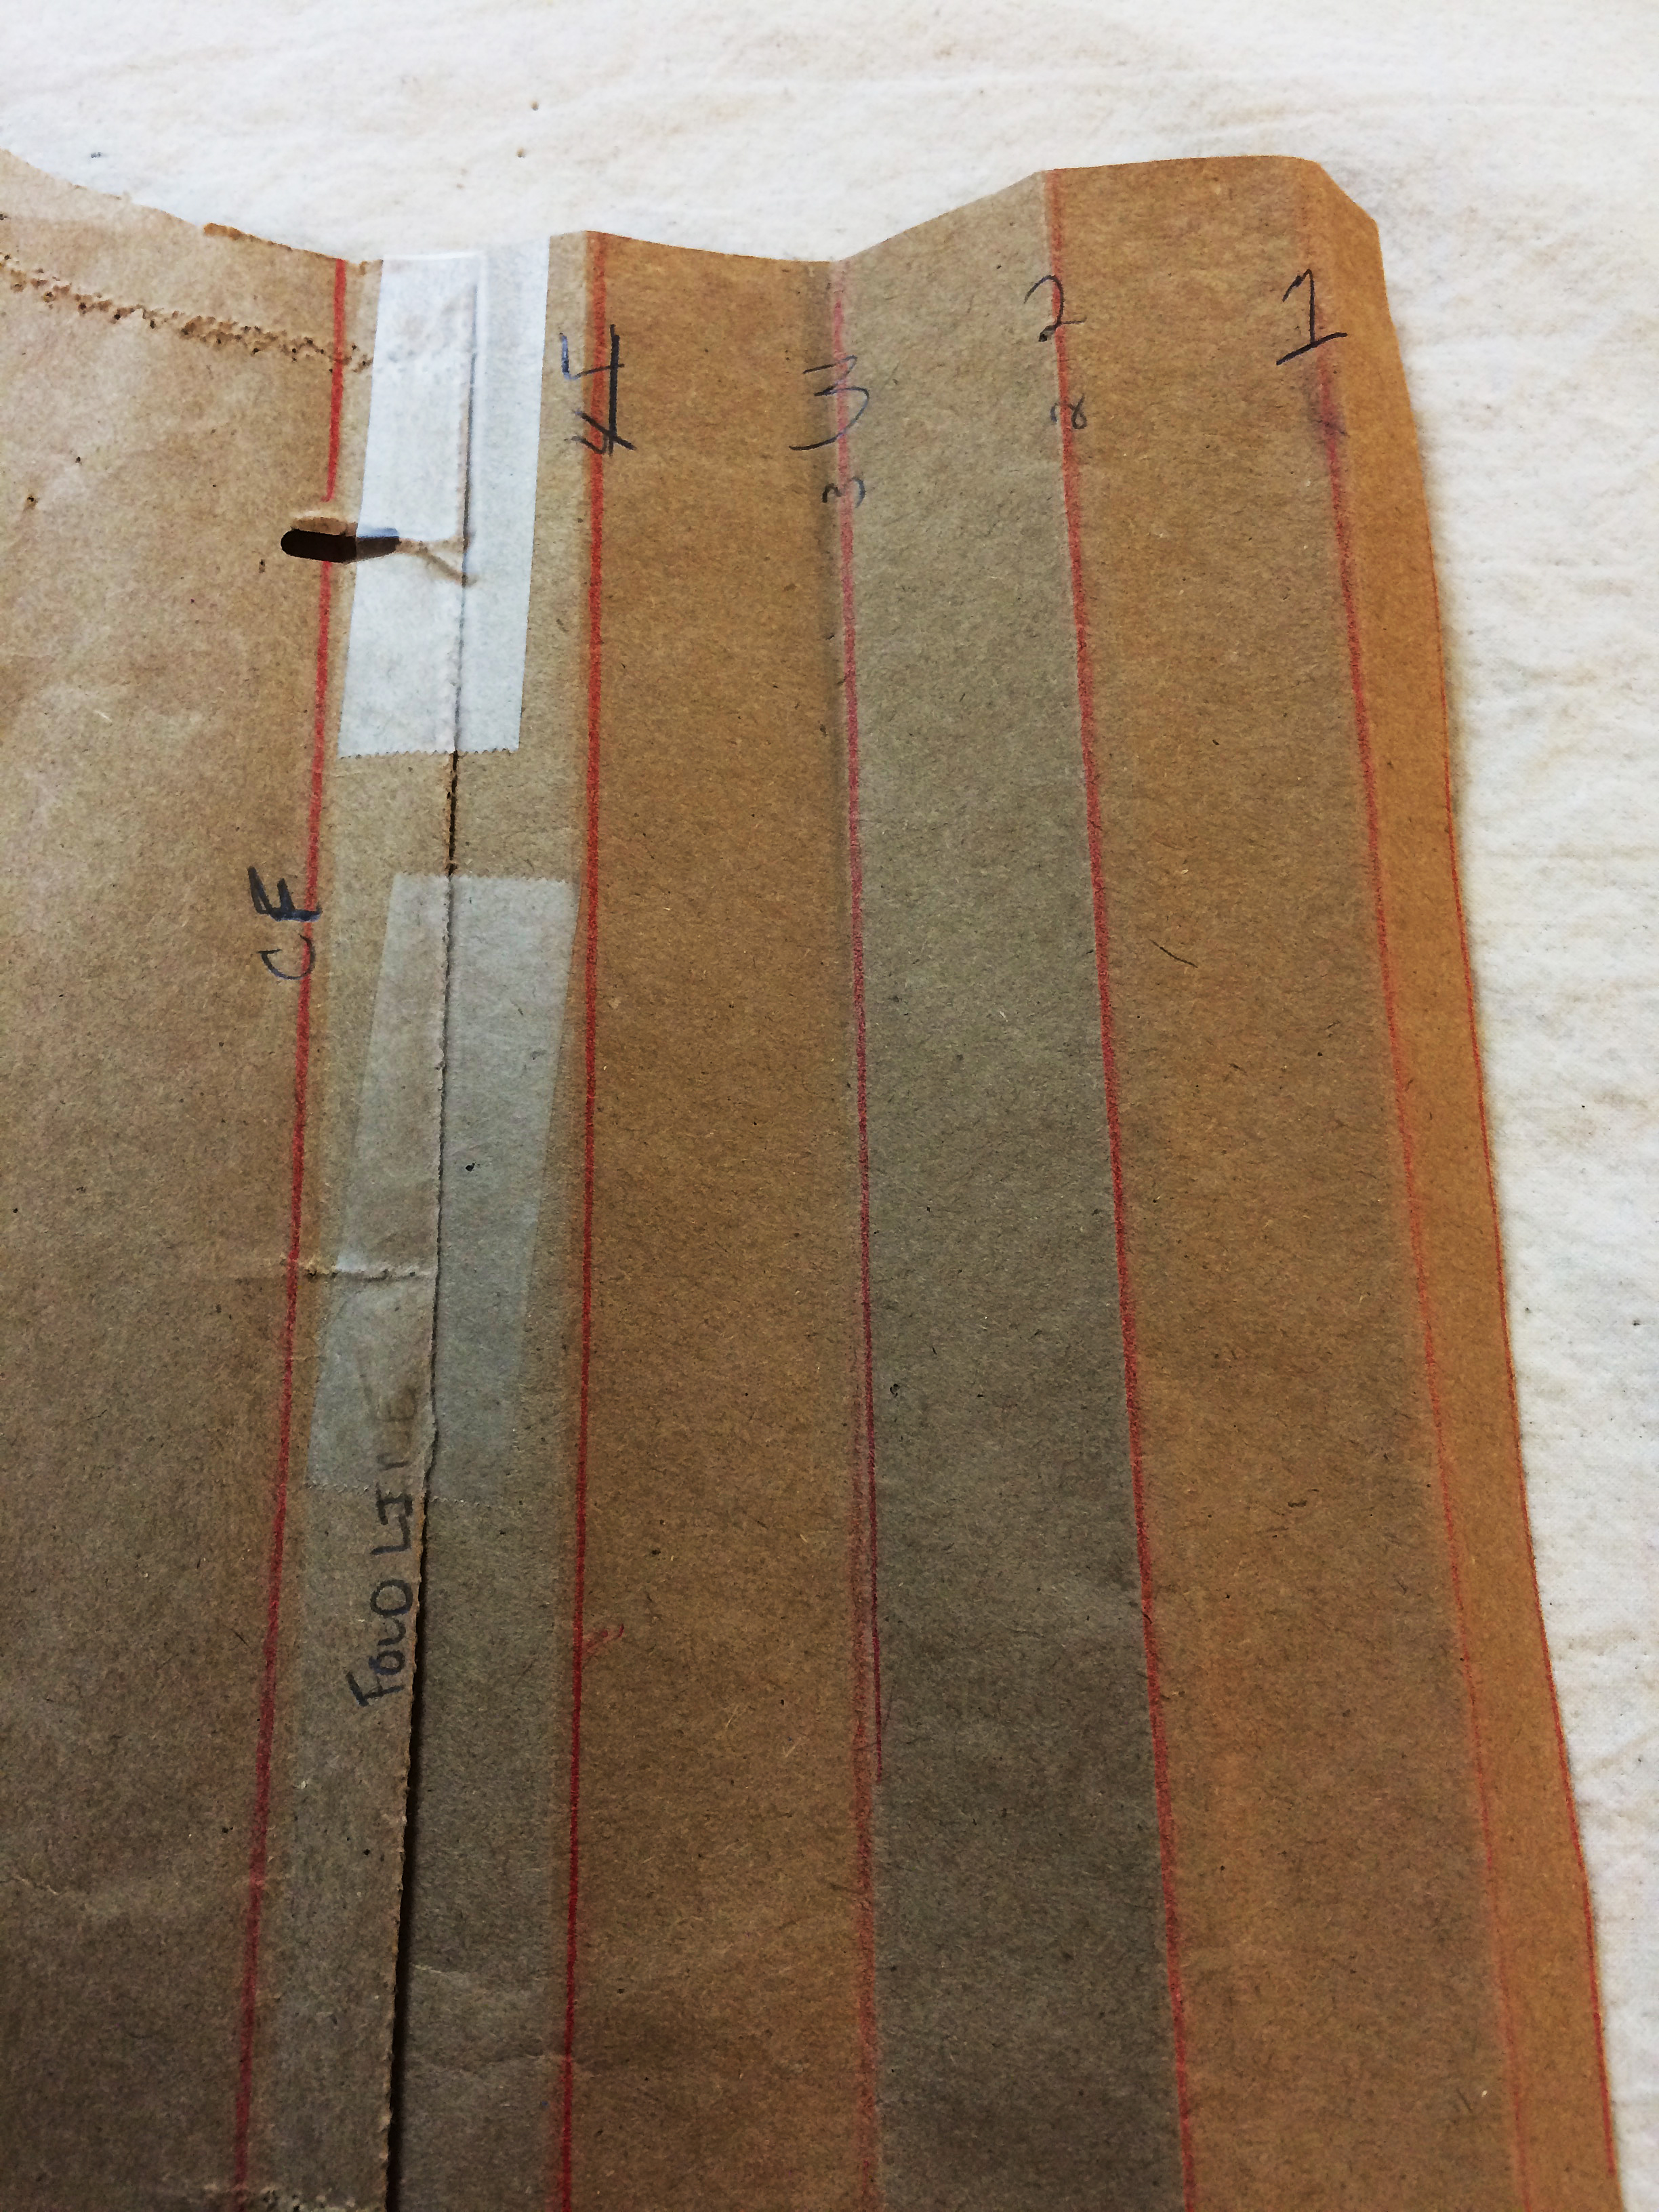
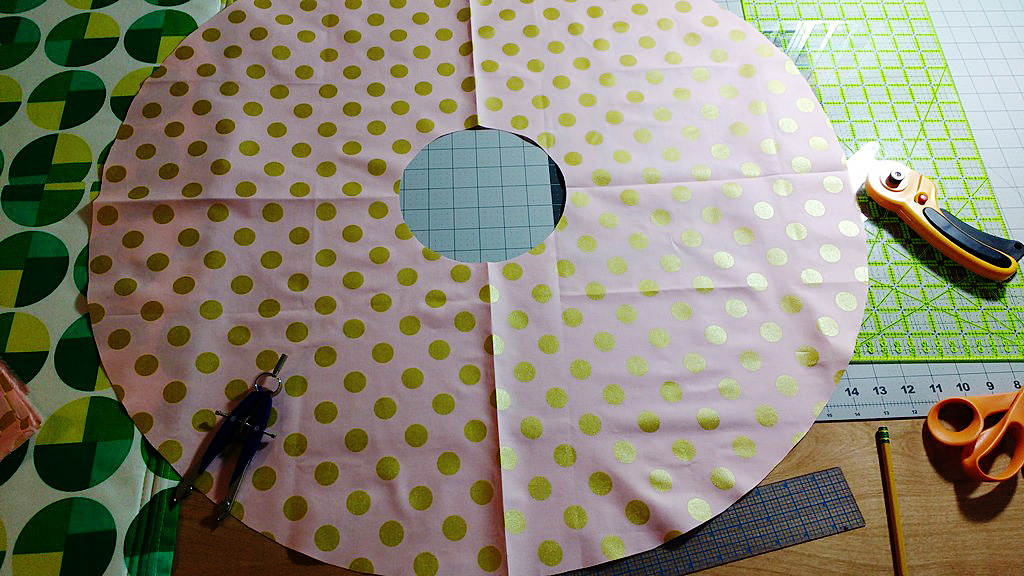
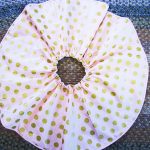
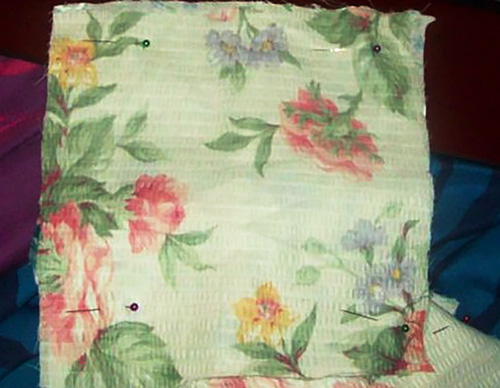
First, pick out the material you’ll use. Ideally, you would have batting in between the top and bottom layers because this raggedy craft can be, in truth, a miniature quilt sandwich. For me though, I didn’t have any batting available, so I decided to layer four pieces of fabric together. That way, there’s more thickness than what I would’ve gotten from just three pieces of thin fabric.
Let’s get started
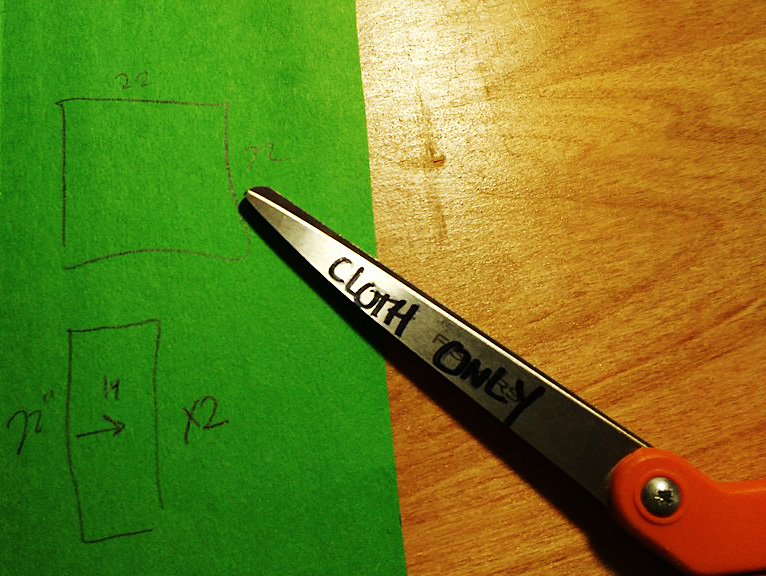
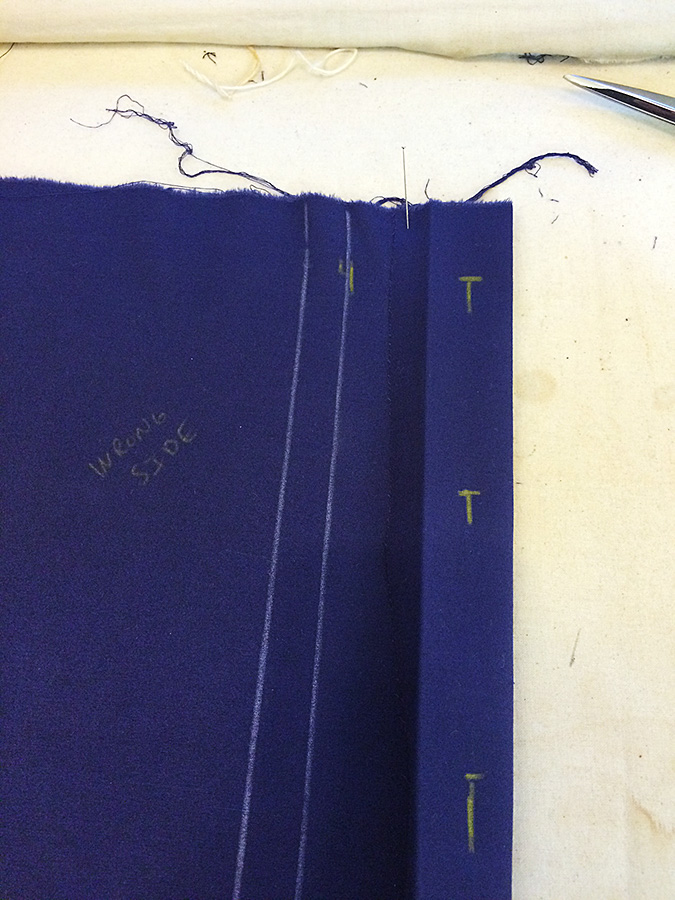
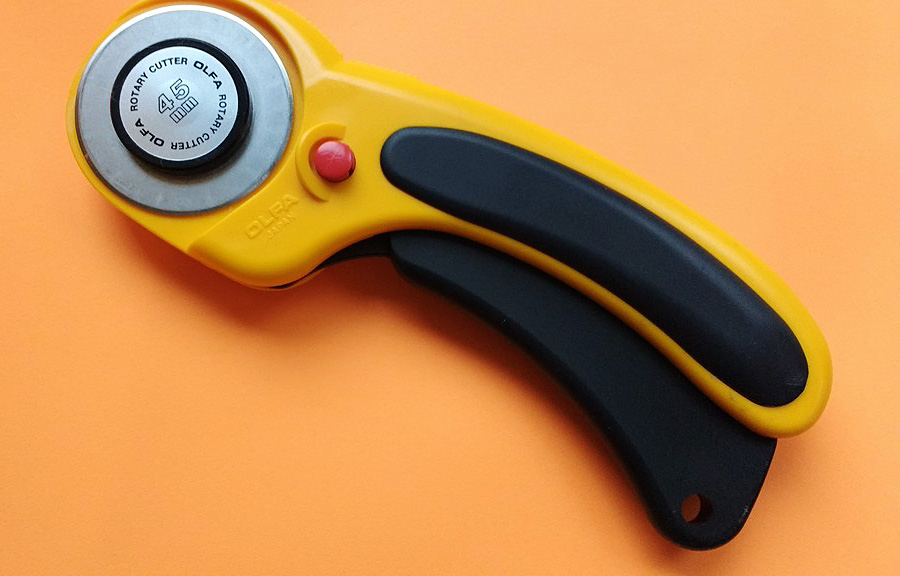
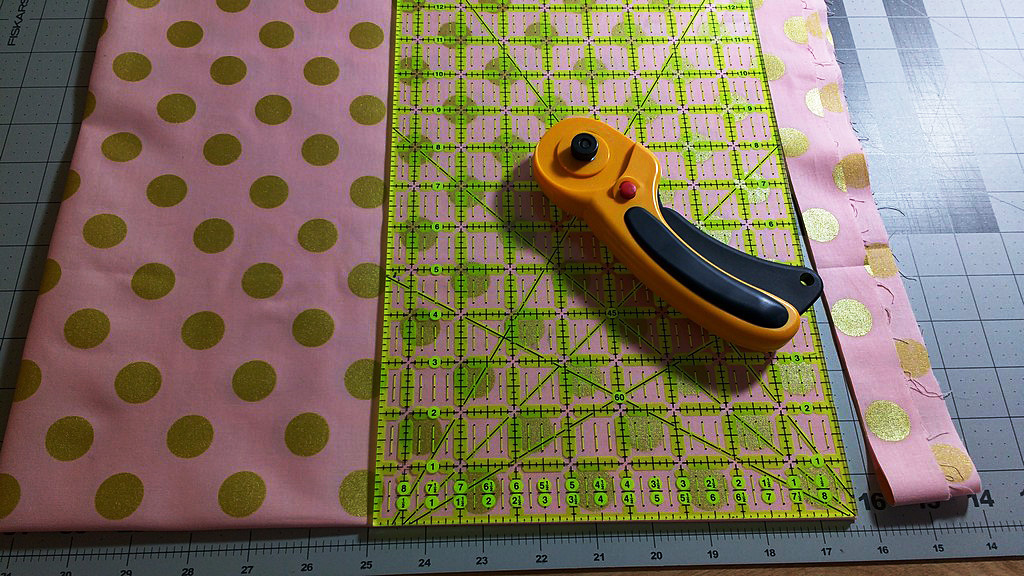
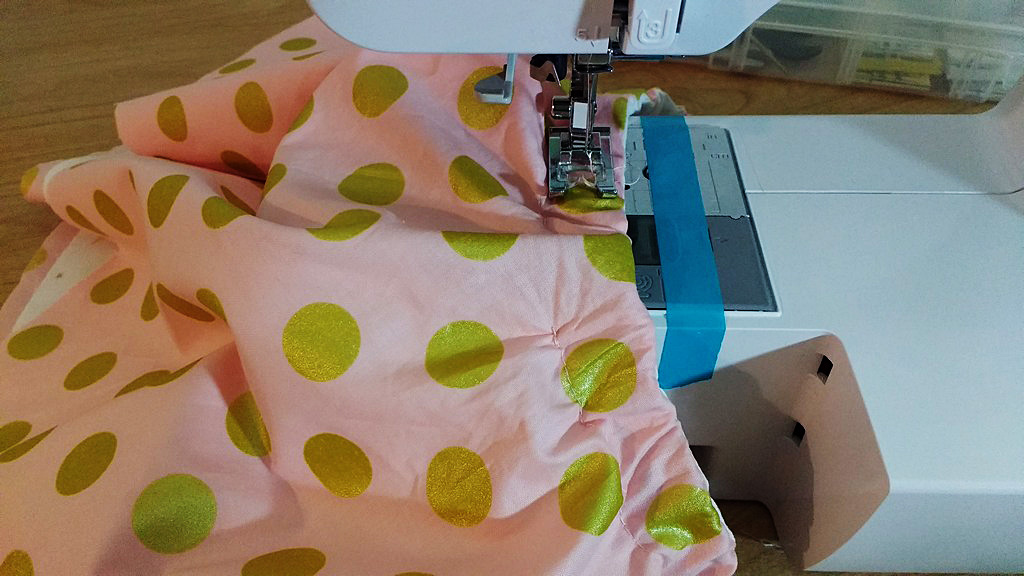
Once you choose your material, make sure the pieces are cut into similar-sized bits that are more or less quadrilaterals. This is actually one benefit of a rag coaster or quilt. You’ll be shredding the ends anyway, so it doesn’t matter if they’re the exact same length at every point. Just make sure they’re close enough that, with the raggedy edges, they’ll look the same!
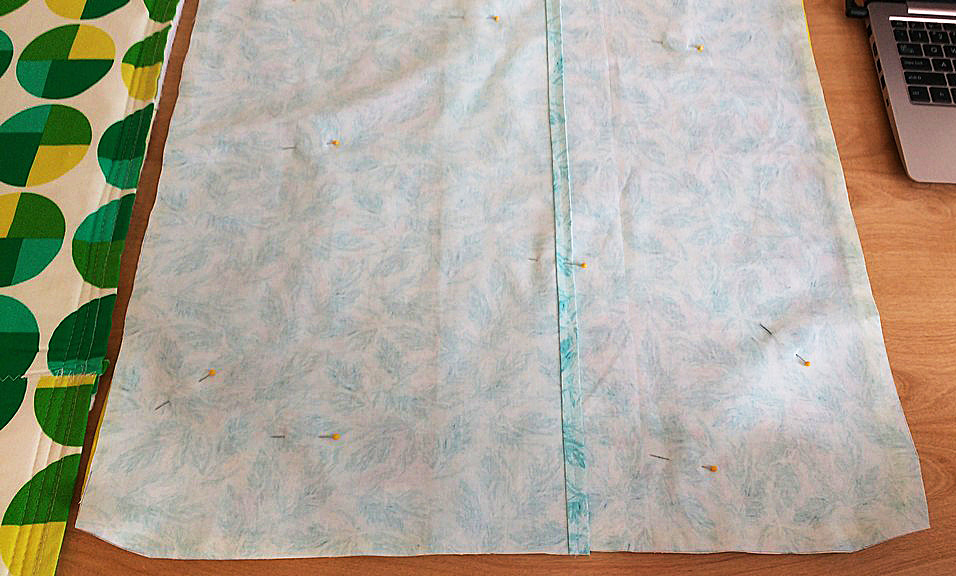
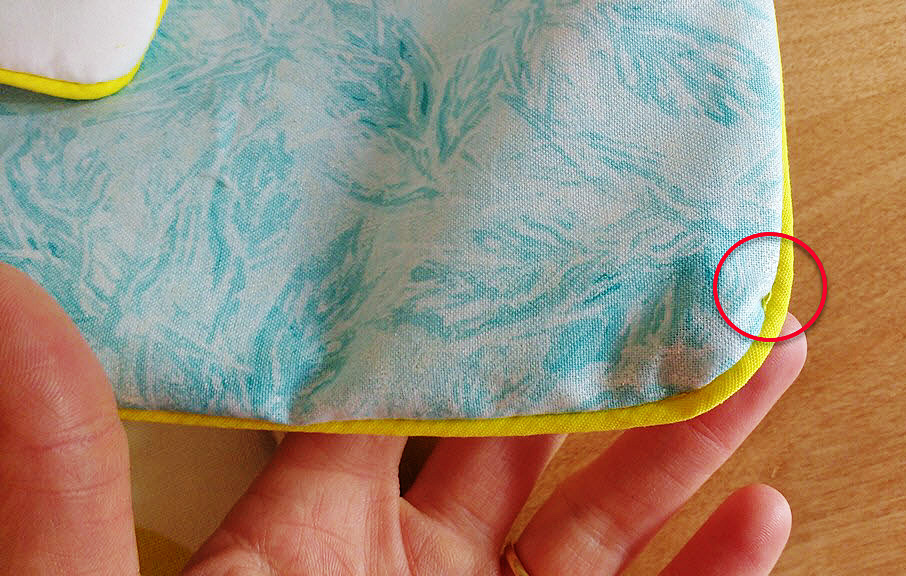
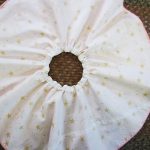
You’ll need to allow extra space beyond where you sew the pieces together for your ragged edges.
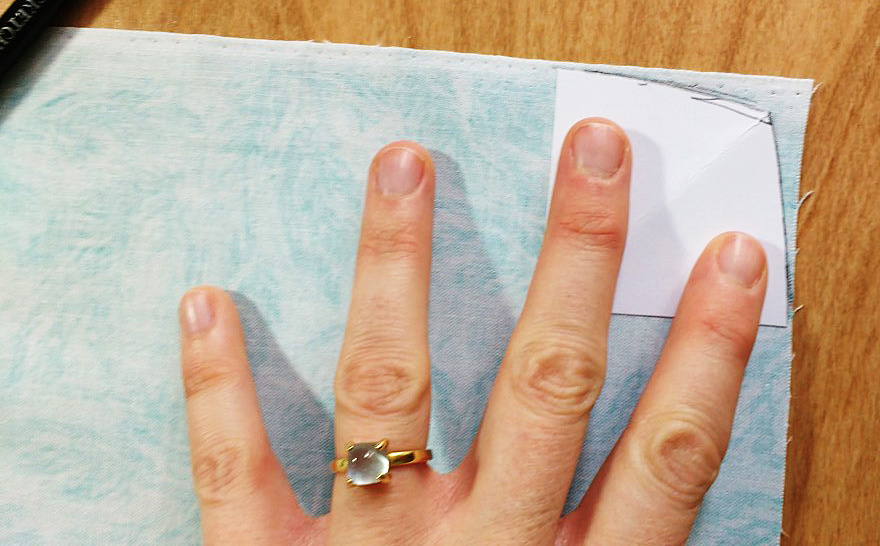
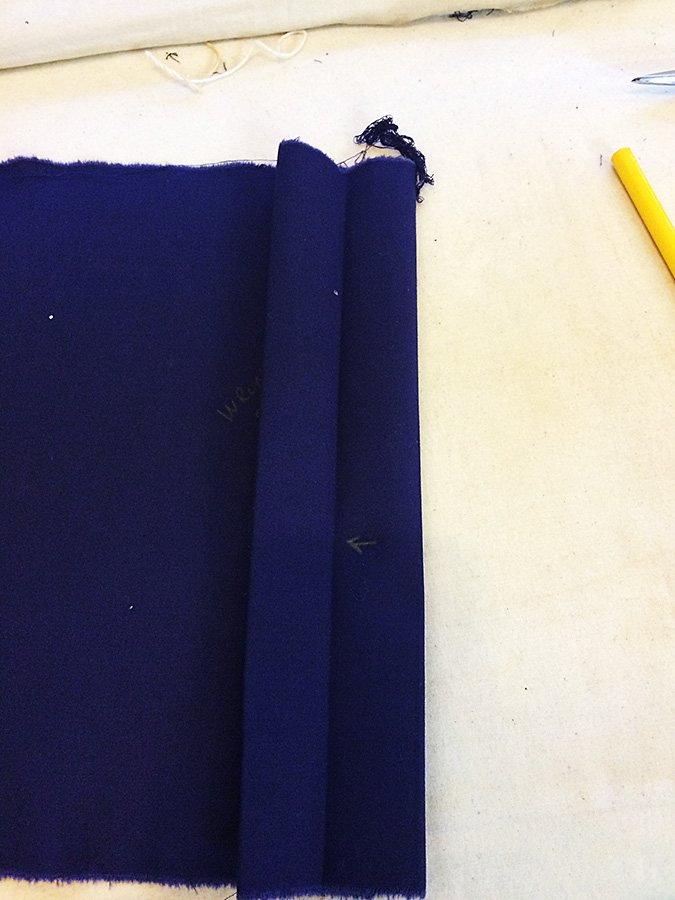
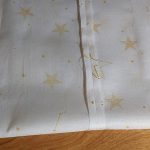
From there, you layer those fabric/batting pieces in the correct order and pin them together — but not necessarily right at the ends of the material. You’ll need to allow extra space beyond where you sew the pieces together for your ragged edges. Also, if you find after pinning that you have a bit of extra material that’s going to really stick out once your coaster has been shredded, feel free to trim off those ends.
Feel free to trim off those ends.
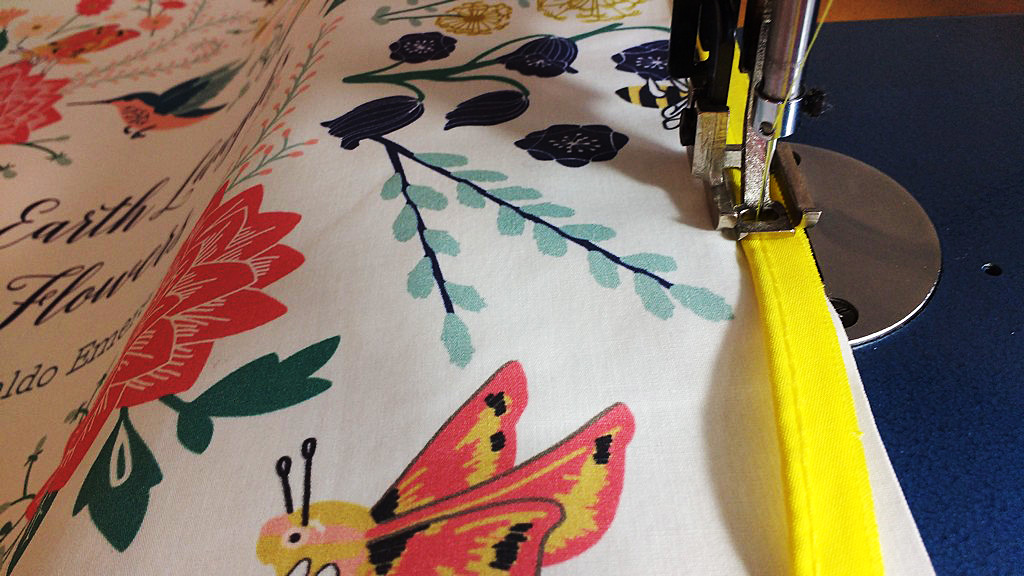
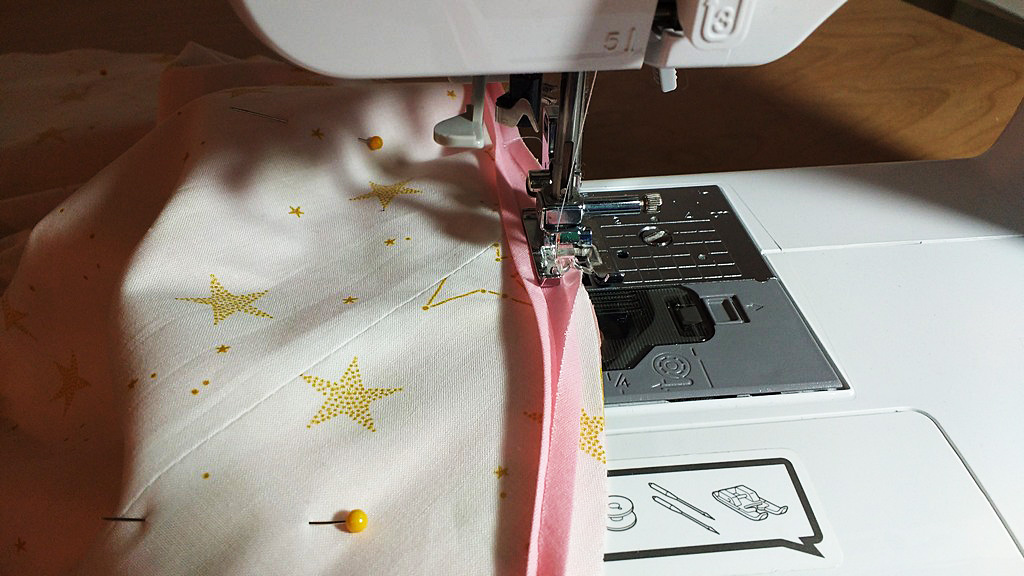
Time to sew
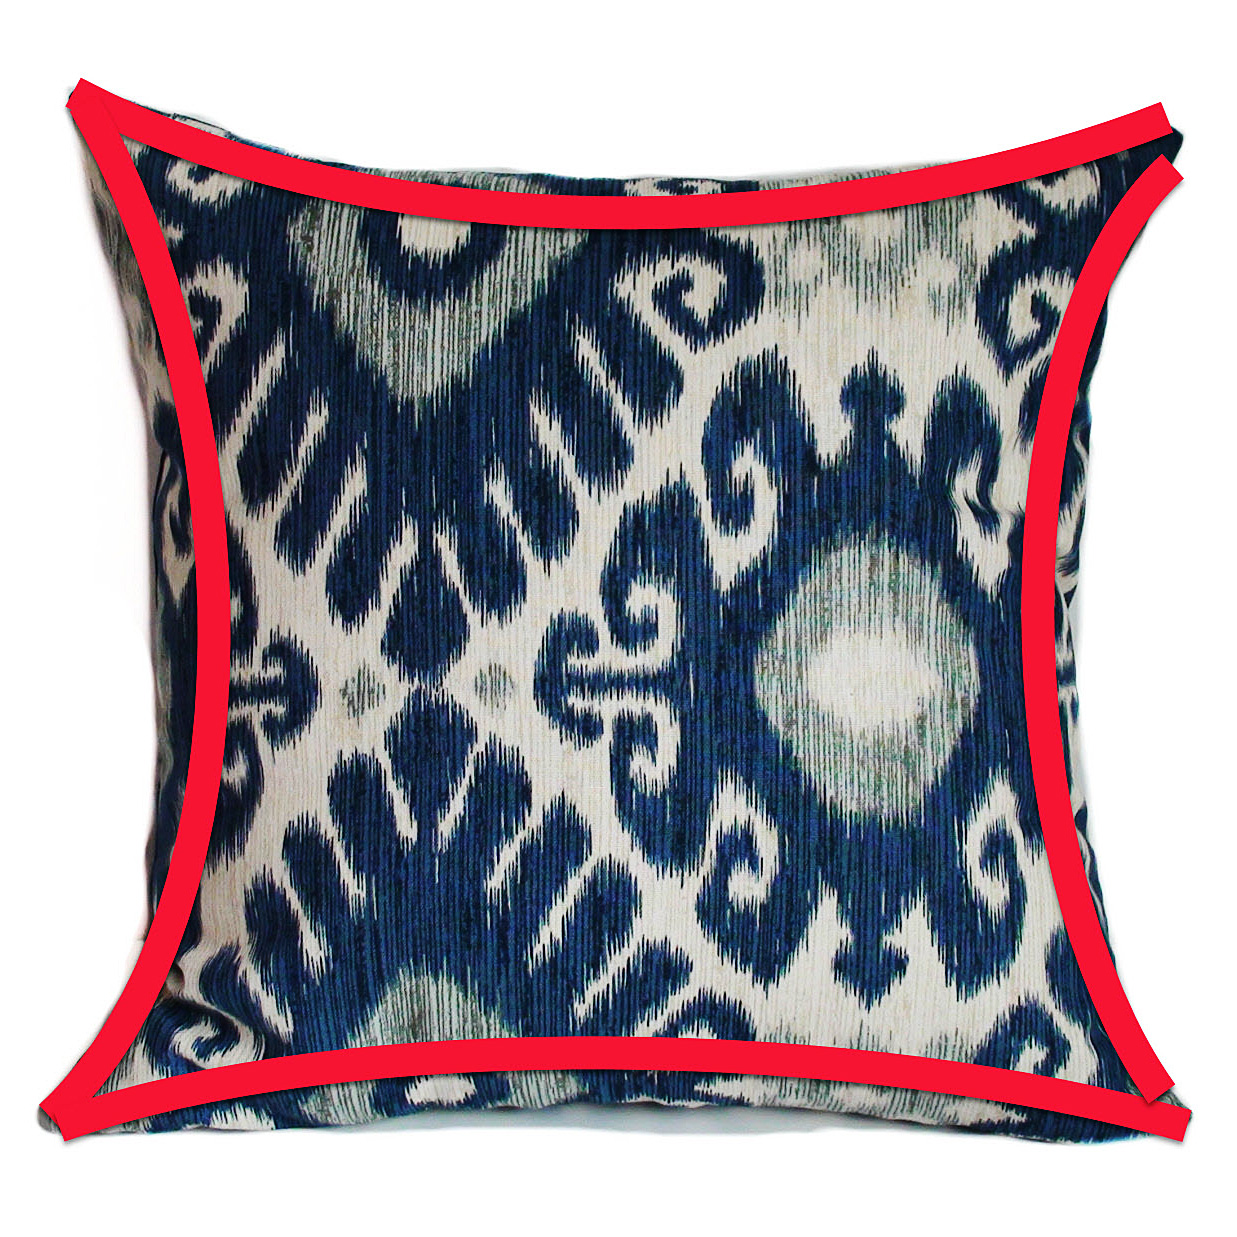
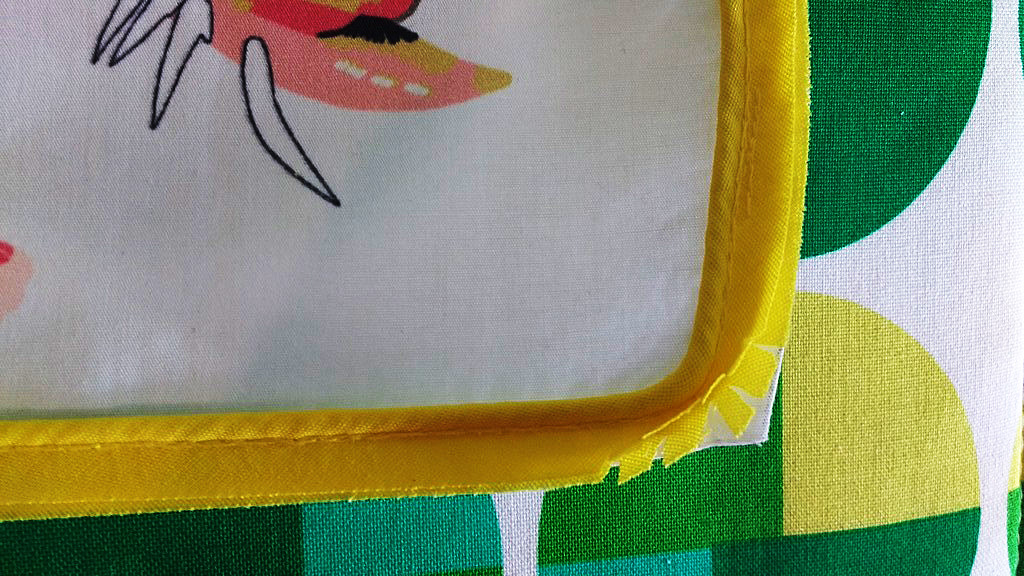
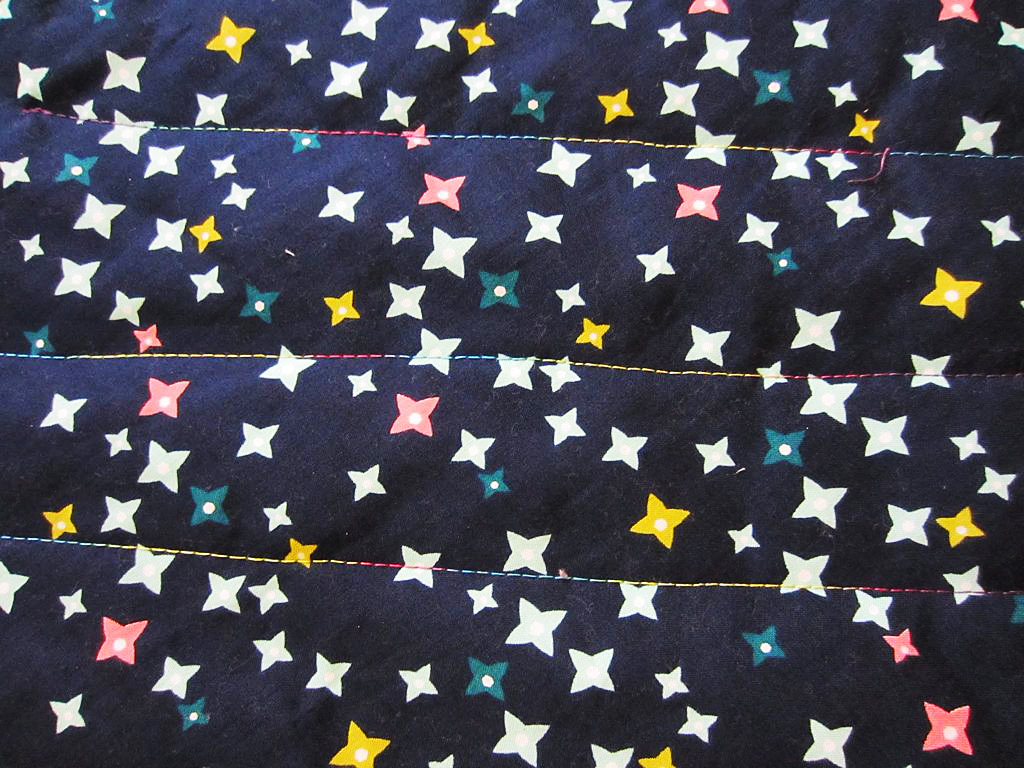
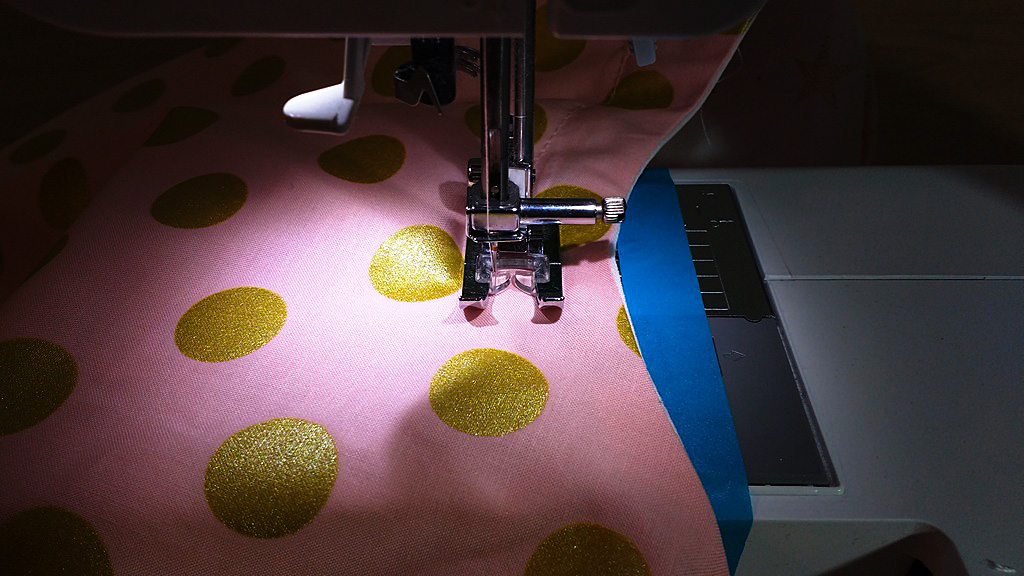
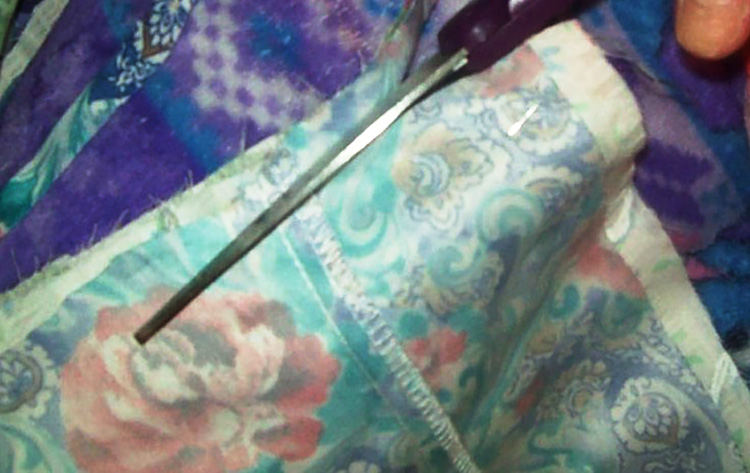
Then you can start sewing! Remember to try for a box shape within your block of fabric, and to keep that space away from the edges. After you’ve sewn all the way around to finish that box shape, cut off the excess thread and get ready to do some shredding!
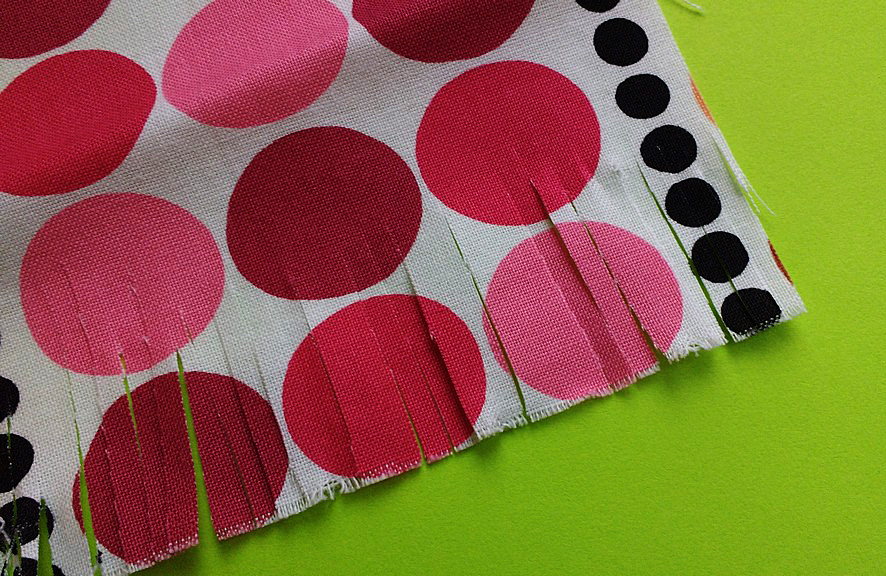
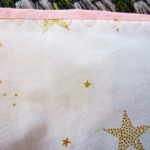
Be careful to give a decent number of cuts as you go around the fabric because the more you cut, the more thorough your raggedy quality could be!
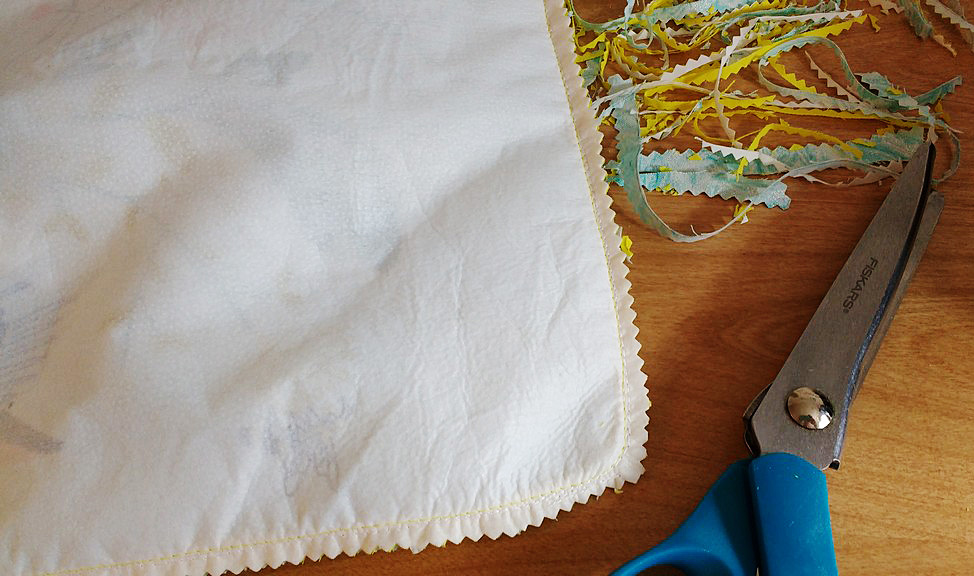
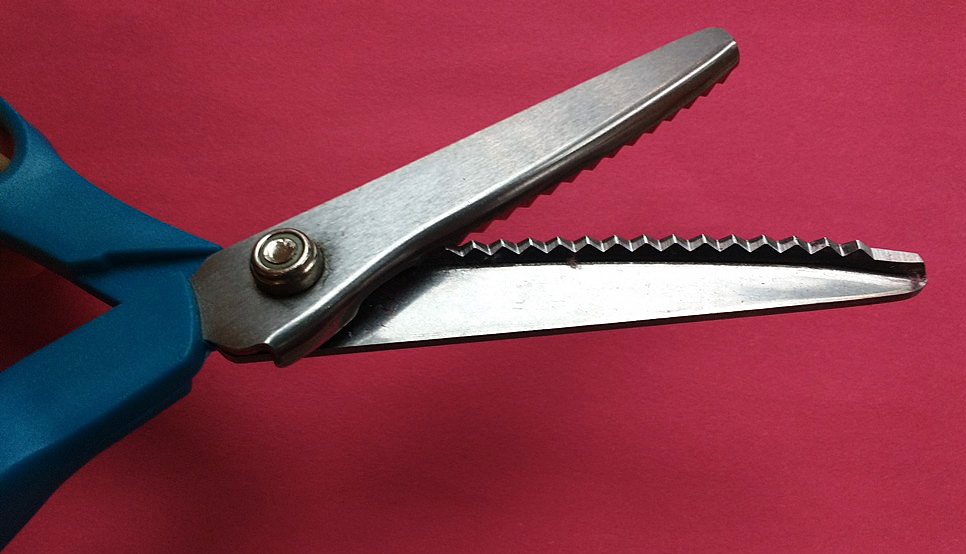
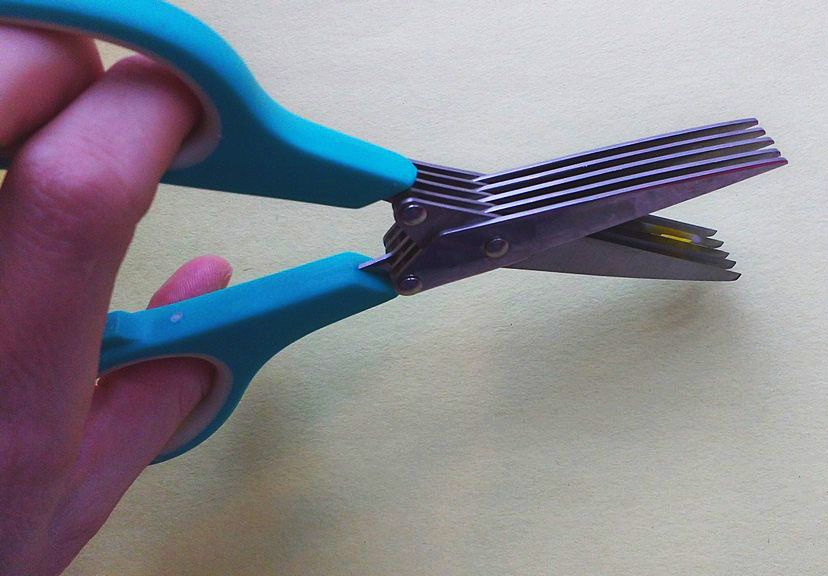
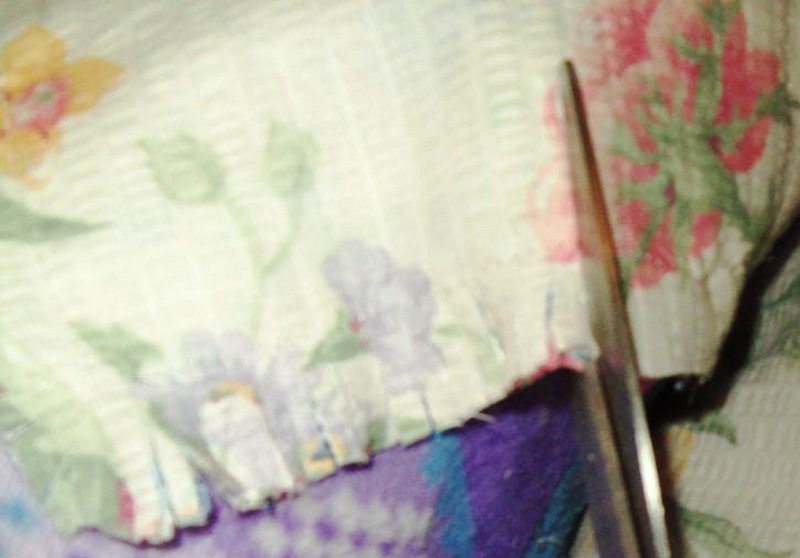
Now, shredding happens to be a bit more time consuming than I expected, but it’s a simple process! All you do is take your scissors and cut from the edges of the fabric inward, but never so far that you cut your stitches since that can seriously damage your final product! Also, be careful to give a decent number of cuts as you go around the fabric because the more you cut, the more thorough your raggedy quality could be!
Common mistake
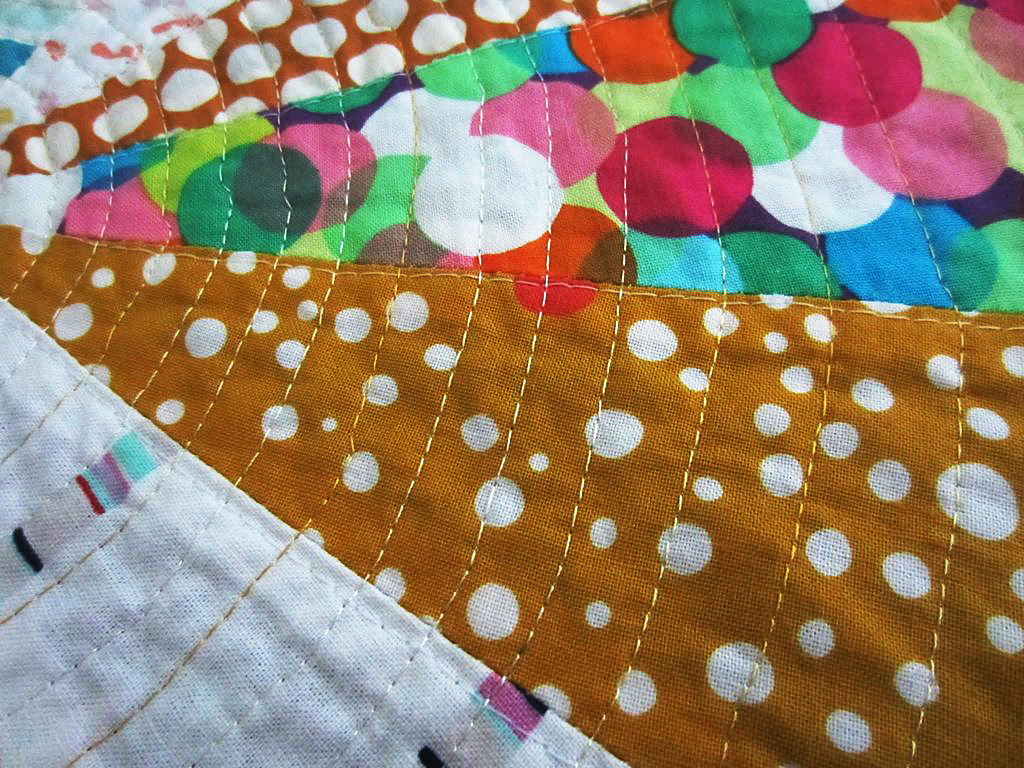
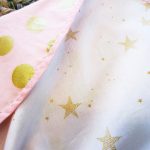
Another tip on shredding is to make sure that you’re cutting through all layers of your coaster or quilt. I noticed a time or two that I’d left the bottom layer uncut for some of my shreds, so missing a space here or there is an easy thing to do! For a thorough job, check your results as you go along!
Once the shreds are finished, you’re ready to throw your product in the washing machine! Believe it or not, the washing and drying process makes those simple cuts attain that raggedy appearance!
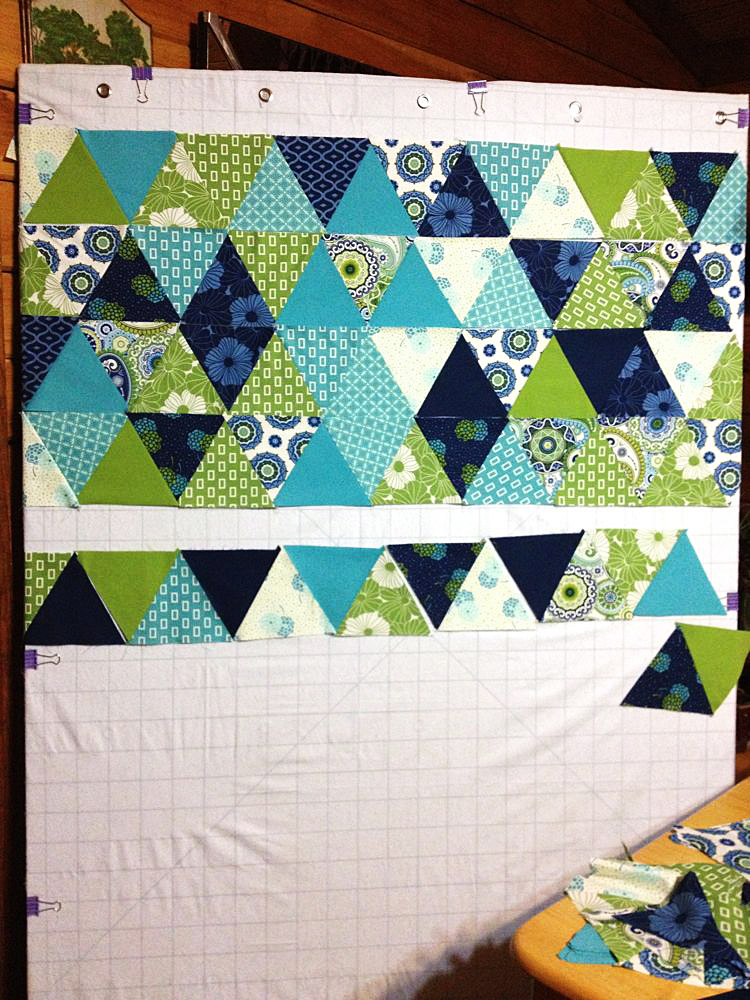
What I learned from this experience is that making a rag quilt is going to be more complex than I expected. I’ll need to cut fabric, layer it, sew it, then shred it, and shredding is pretty tedious! I honestly wasn’t mentally prepared for what awaited me, and I think I have a better idea now. Although it’s different than the quilts/blankets I’ve made before, I’m still interested in making one. So, basically, the hunt for a Valentine’s Day project worked out differently than I thought — but still well!