Throughout my career I’ve worked on a variety of projects. People often ask what my favorite show to work was, or what my favorite period is. Both of those questions are difficult for me to answer. I could probably tell you what my least favorite show to work on was but narrowing them all down to one single absolute best and favorite is not possible.
It all depends. Some projects require more creativity than others. Some are relatively simple straightforward gigs that involve hemming a staggeringly large number of pants. Some shows are more stressful than others with a higher than normal rate of last minute changes. Some involve working with difficult people. Others are filled with co-workers that quickly become family.
Whenever I mention any of the period shows or movies I’ve worked on, people usually say, “Oh that must be so much fun!” When I say I work on a contemporary procedural crime drama, the response is more something like, “Oh. The show with the tattoos?” or “That’s interesting.” Meaning: That doesn’t sound interesting at all. Don’t actors just wear store bought clothes? What do you possibly have to tailor on those shows?
To this all I can do is laugh. No major actor or actress on any contemporary procedural crime drama wears clothing that hasn’t been fit and altered specifically for him or her.
There are, always, a few exceptions to this, notably when a talented costume designer knows the cut and style of high-end clothing well enough to know which designer label will fit a particular actor the best with little or no alteration. Frank Fleming who designs Power for Starz Network is an absolute master at this.
I truly enjoy working on Blindspot (my current gig). Everyone in the costume/wardrobe department is absolutely amazing and all the actors are lovely to work with.
One of the lead actresses wears a lot of expensive high-end dresses and skirts and blouses. Most of the dresses I alter for her require alterations in the shoulder, side, and waist seams. Altering the shoulder seams means the neckline will need to be altered and the sleeve taken out and reset. Altering the side seam means (again) the sleeve will need to be removed and put back on. Basically, I must take apart the entire dress and put it back together (Thanks for the fabric, Tahari! or Black Halo or Escada or Nanette Lepore).
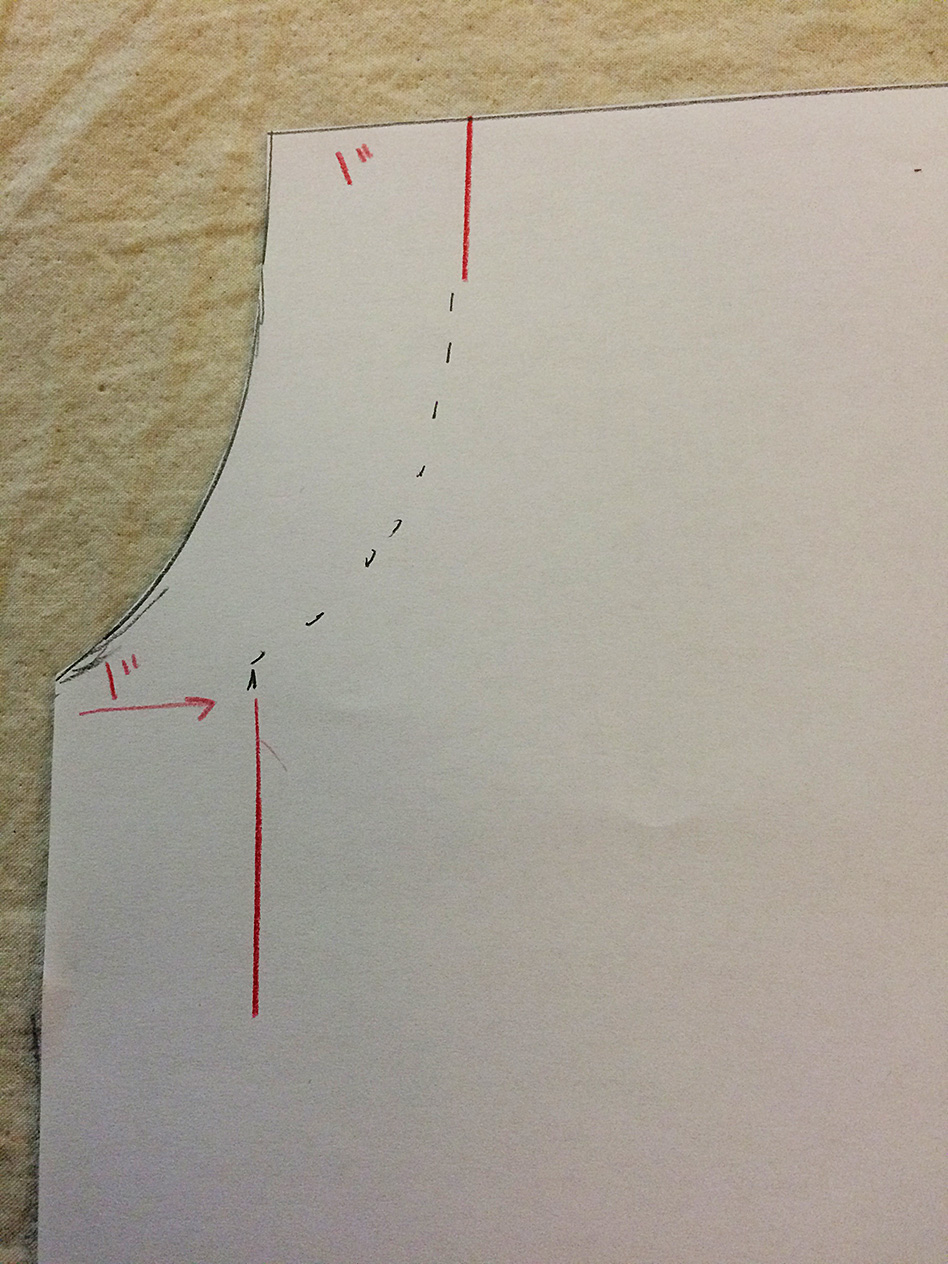
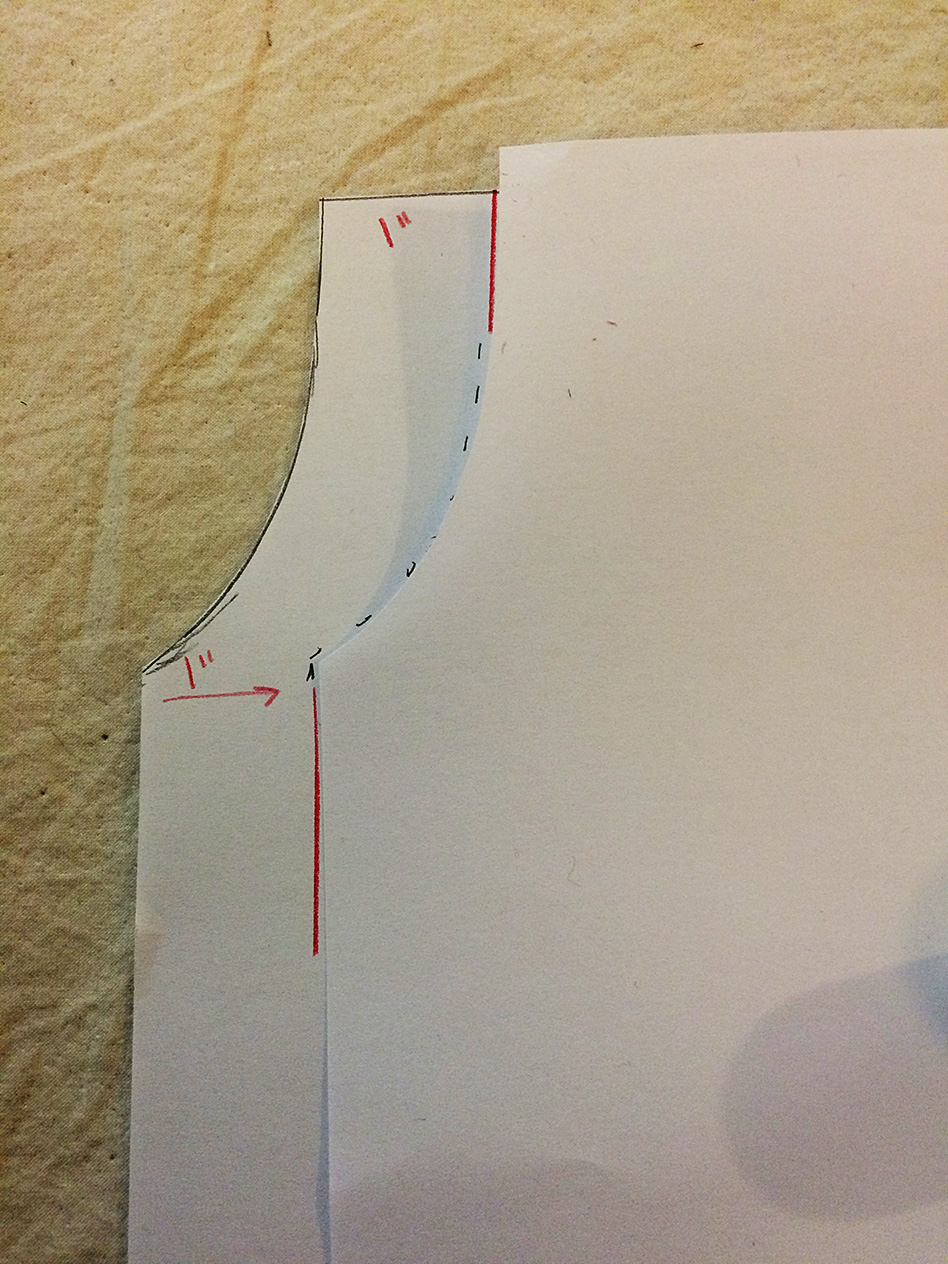
We also do things like changing necklines (from a high scoop to a vee) and changing short sleeves to long sleeves or even adding sleeves altogether. Jared B Leese who designs Blindspot comes up with many creative and brilliant ways to alter something so that it no longer is a dress ‘off the rack’. He’ll ask things like, “Can you open this neckline?” or “Will you make sleeves for this dress?” or “What if we turn this into a v-neck – do you think that would look better.”
The answer is always “yes”.
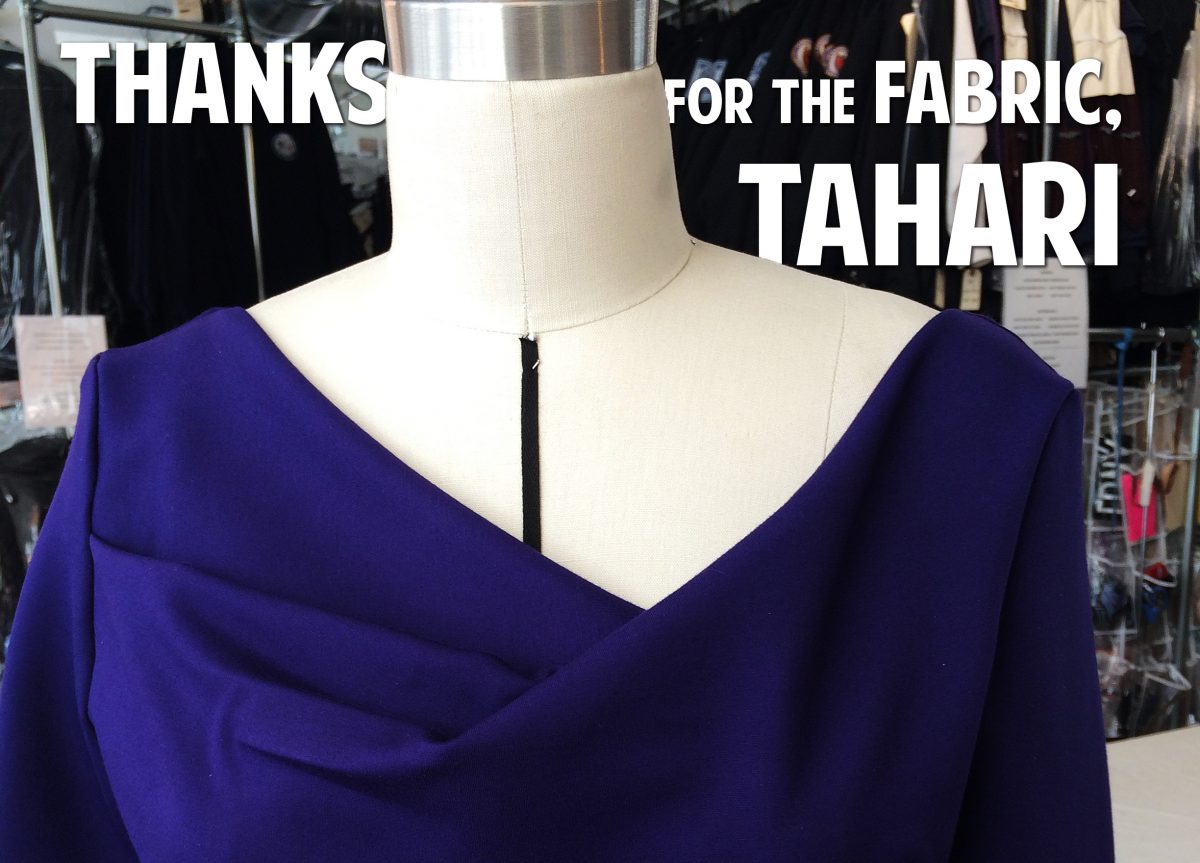
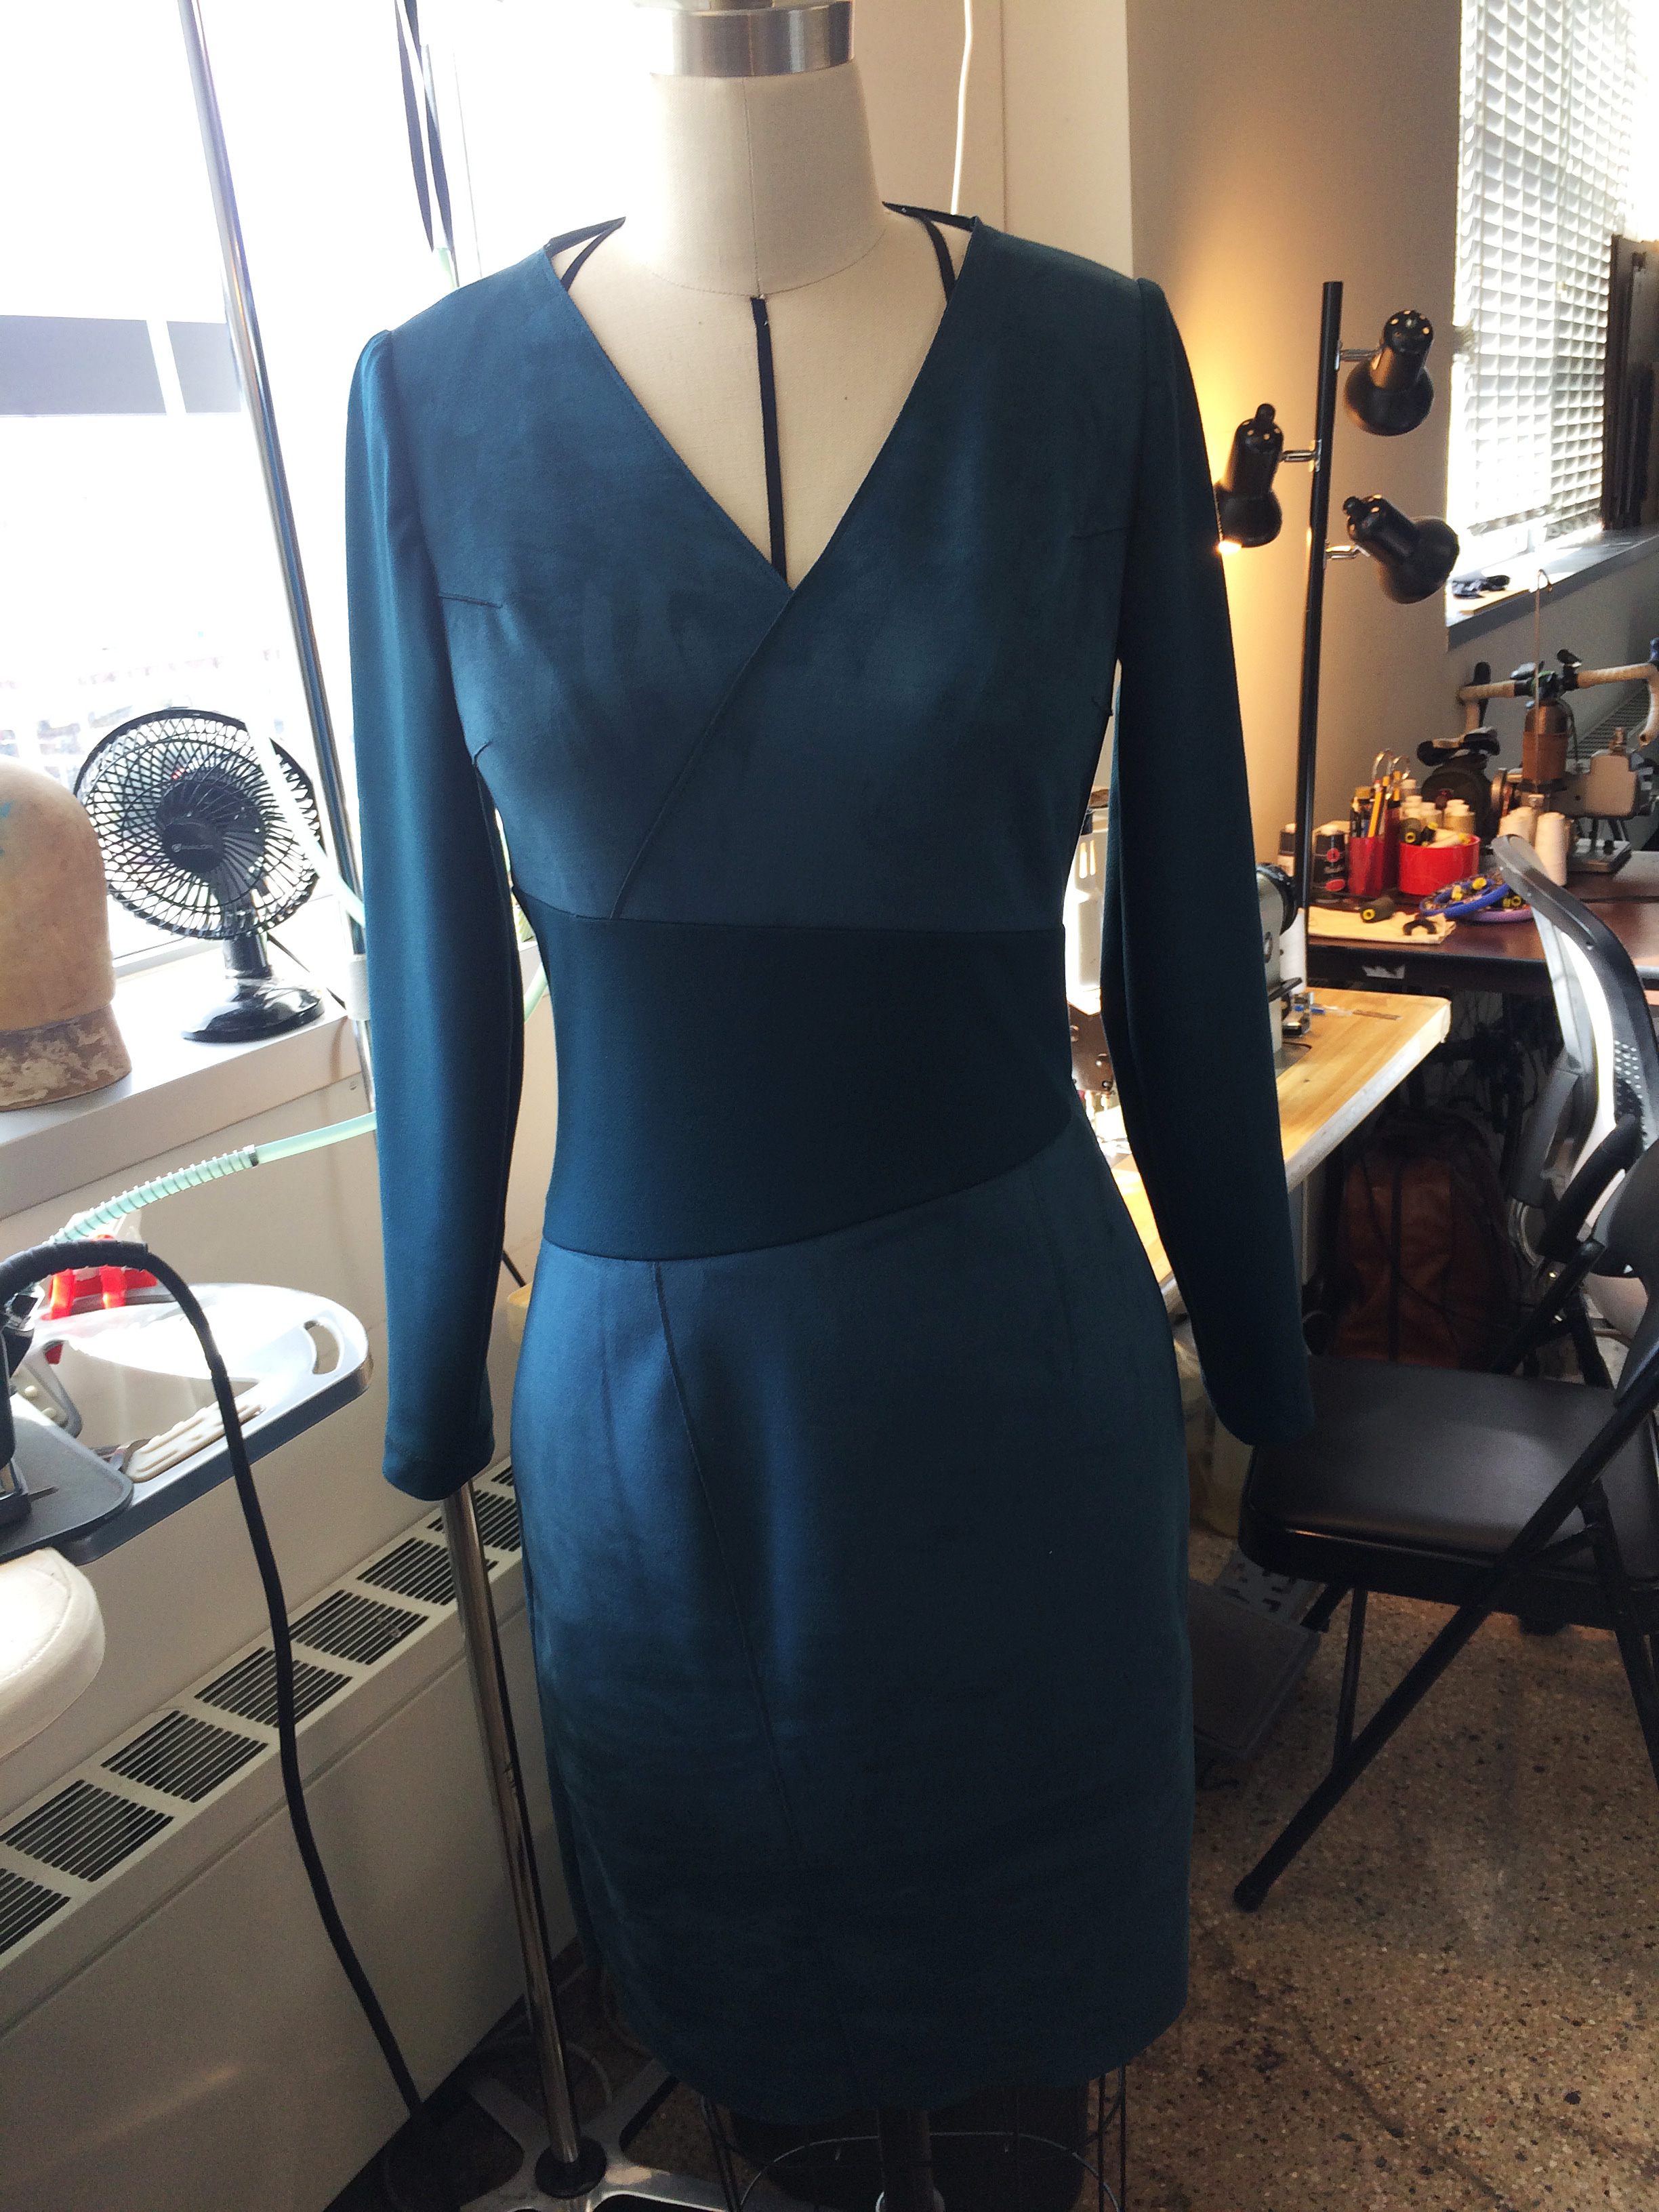
This beautiful suede Tahari dress used to have a high crew neckline and short sleeves:
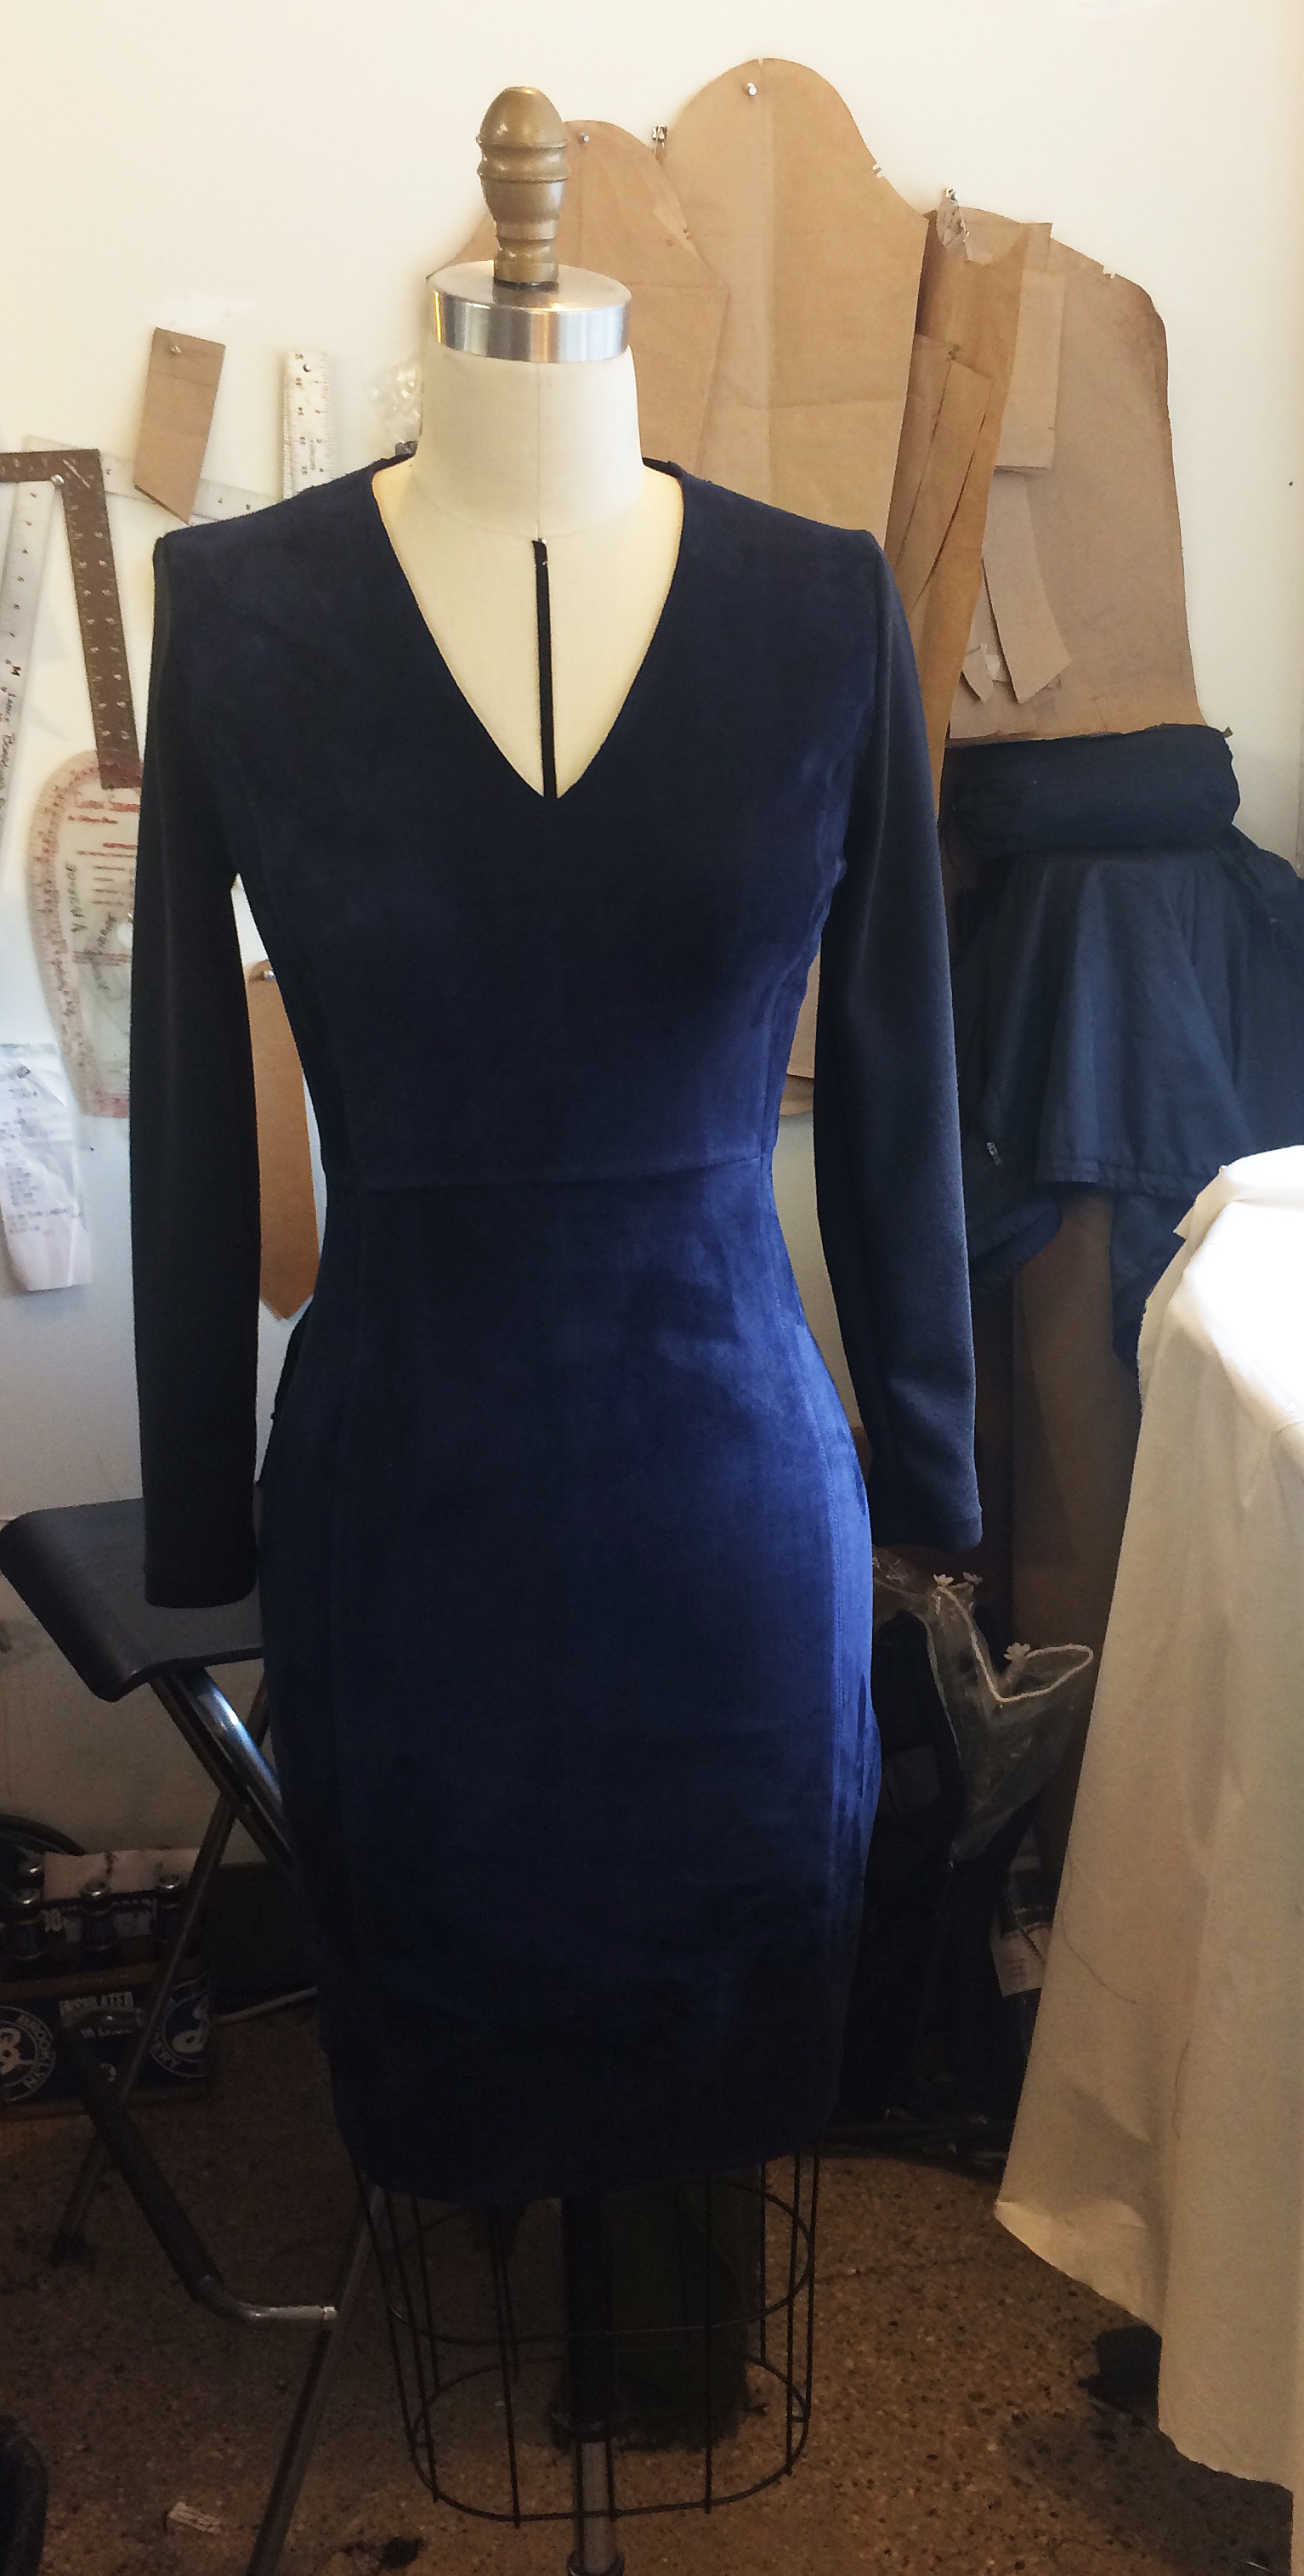
Tahari dress with new neckline and sleeves.
This lovely dress (also by Tahari, I think) used to be sleeves and all suede. We replaced the center panel and added some sleeves.
Tahari dress with new sleeves and center piece.
And this Black Halo dress used to be navy.
To be honest, this one was a complete rebuild. I copied the pattern from the existing dress, made a few adjustments and cut out and built a whole new dress.
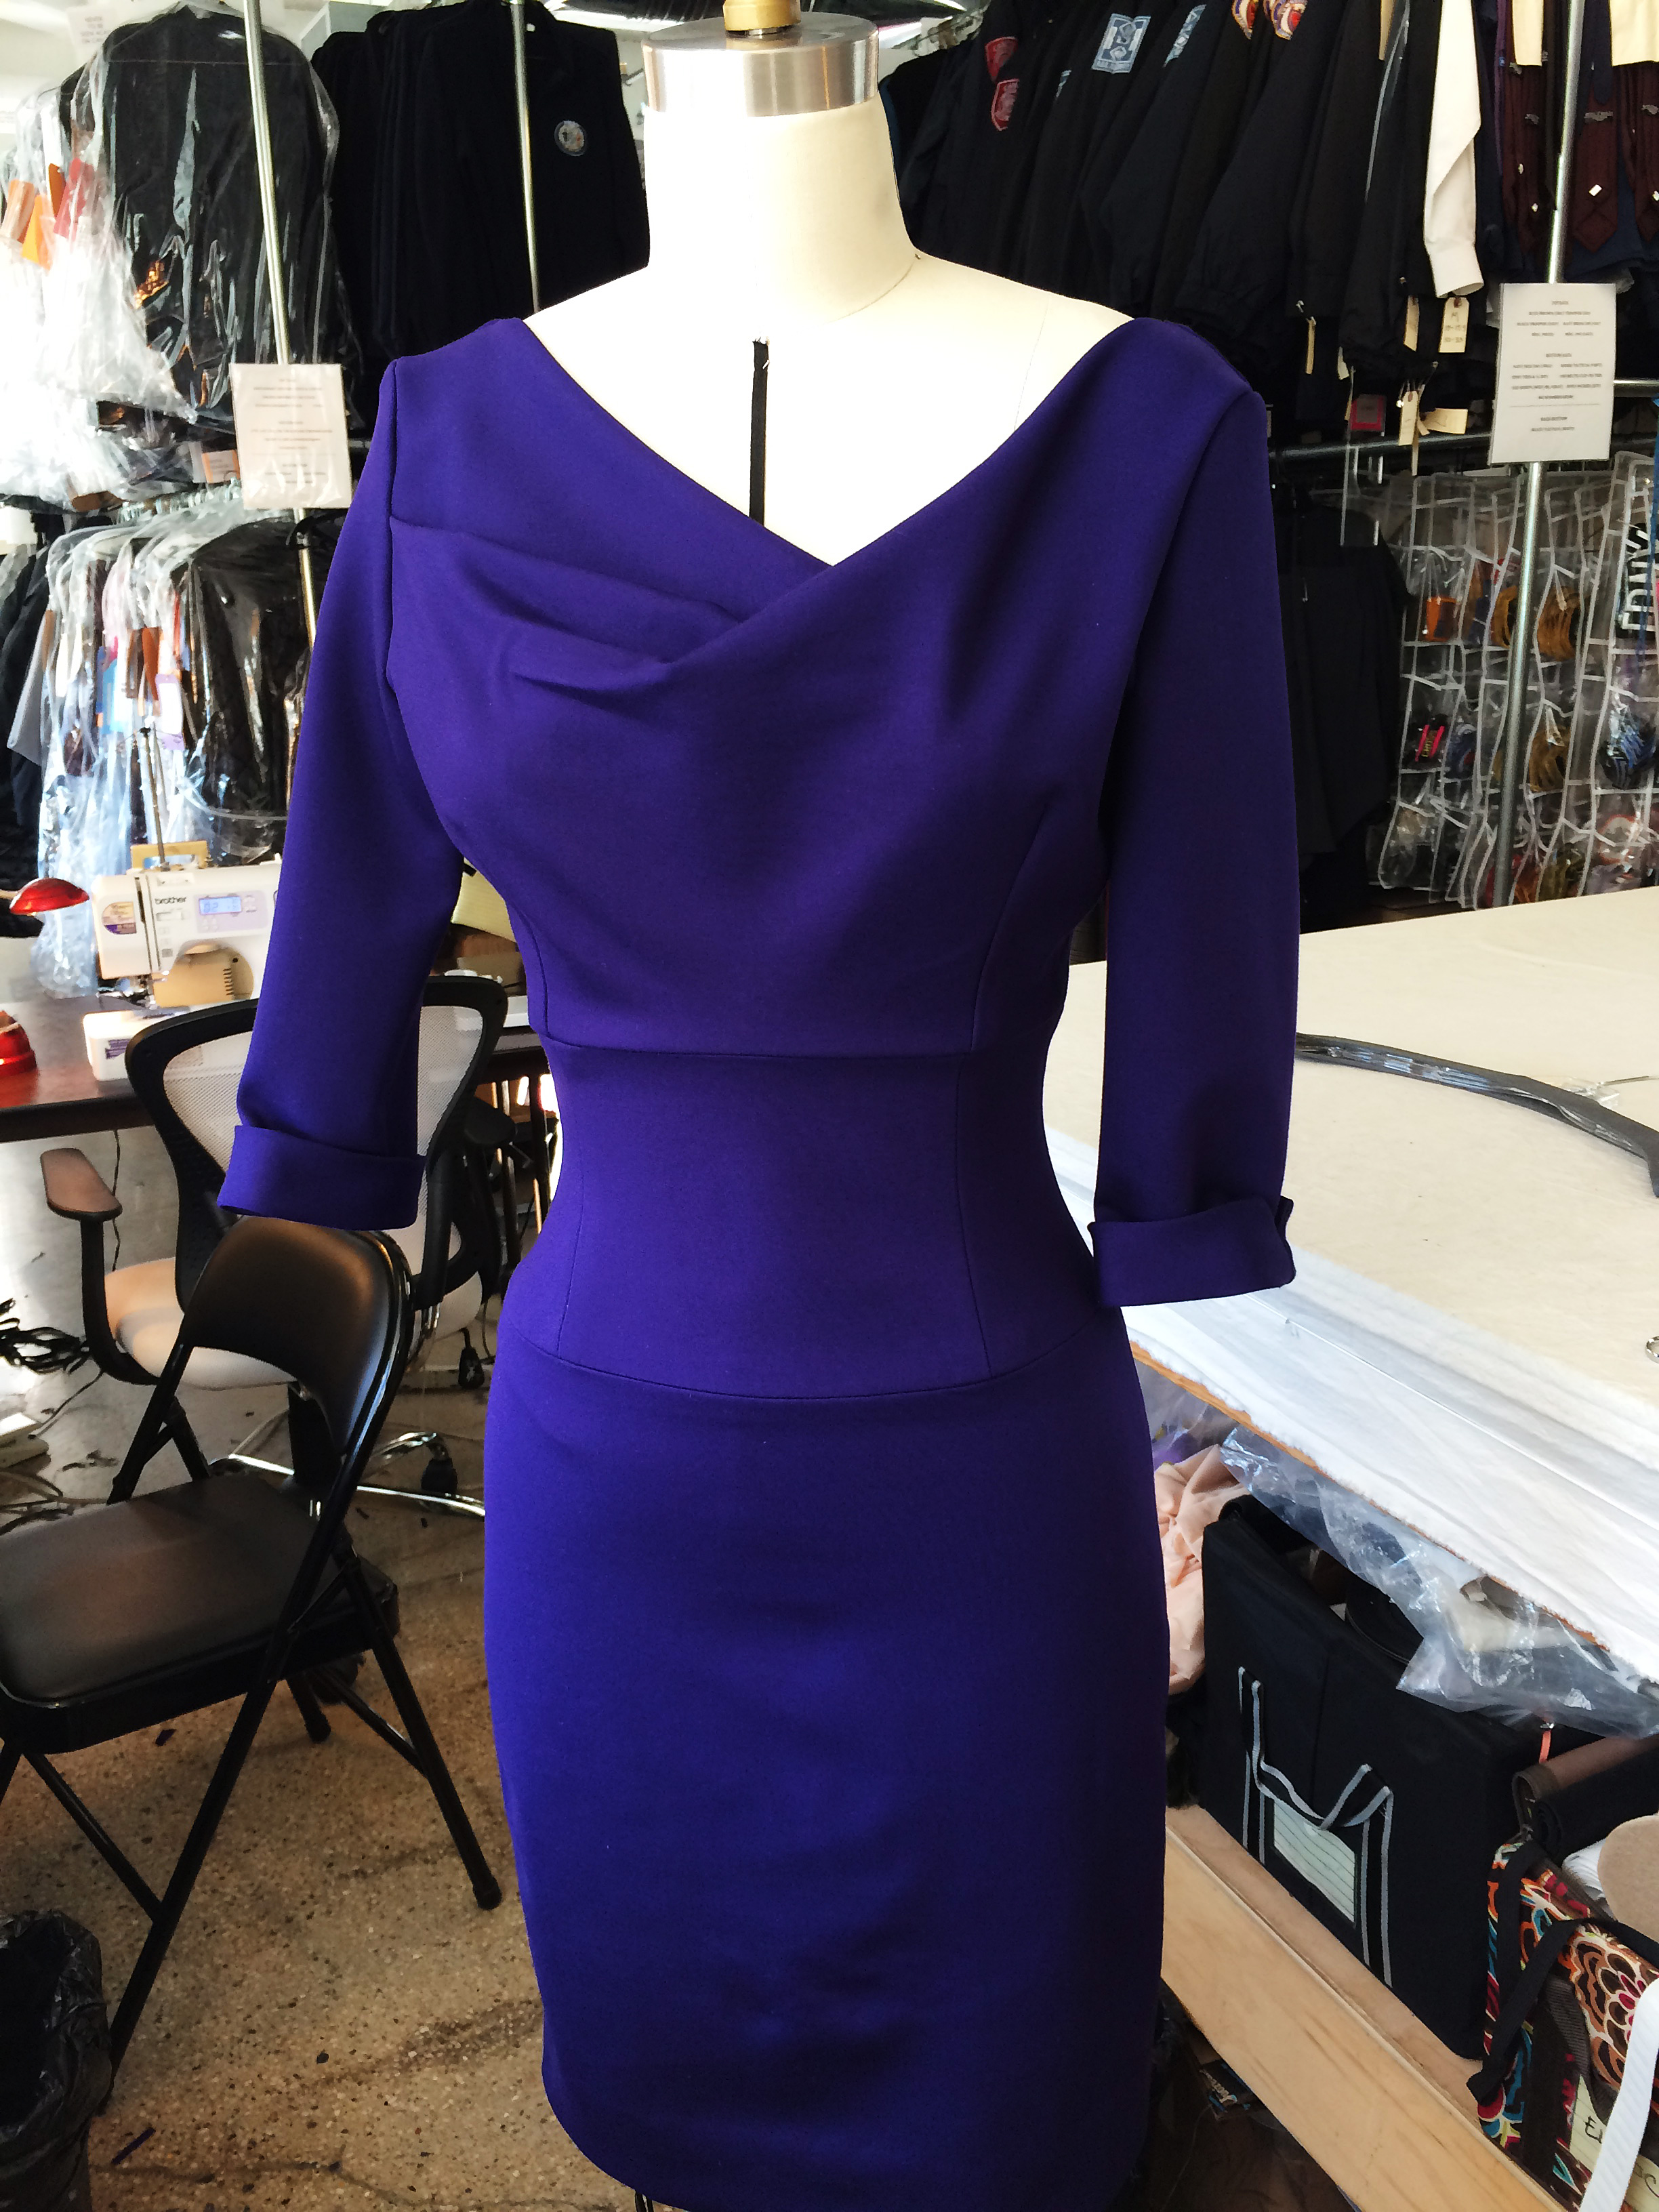
Make of Black halo dress.
See, contemporary procedural crime dramas are anything but boring (and often my favorite type of show to work on).
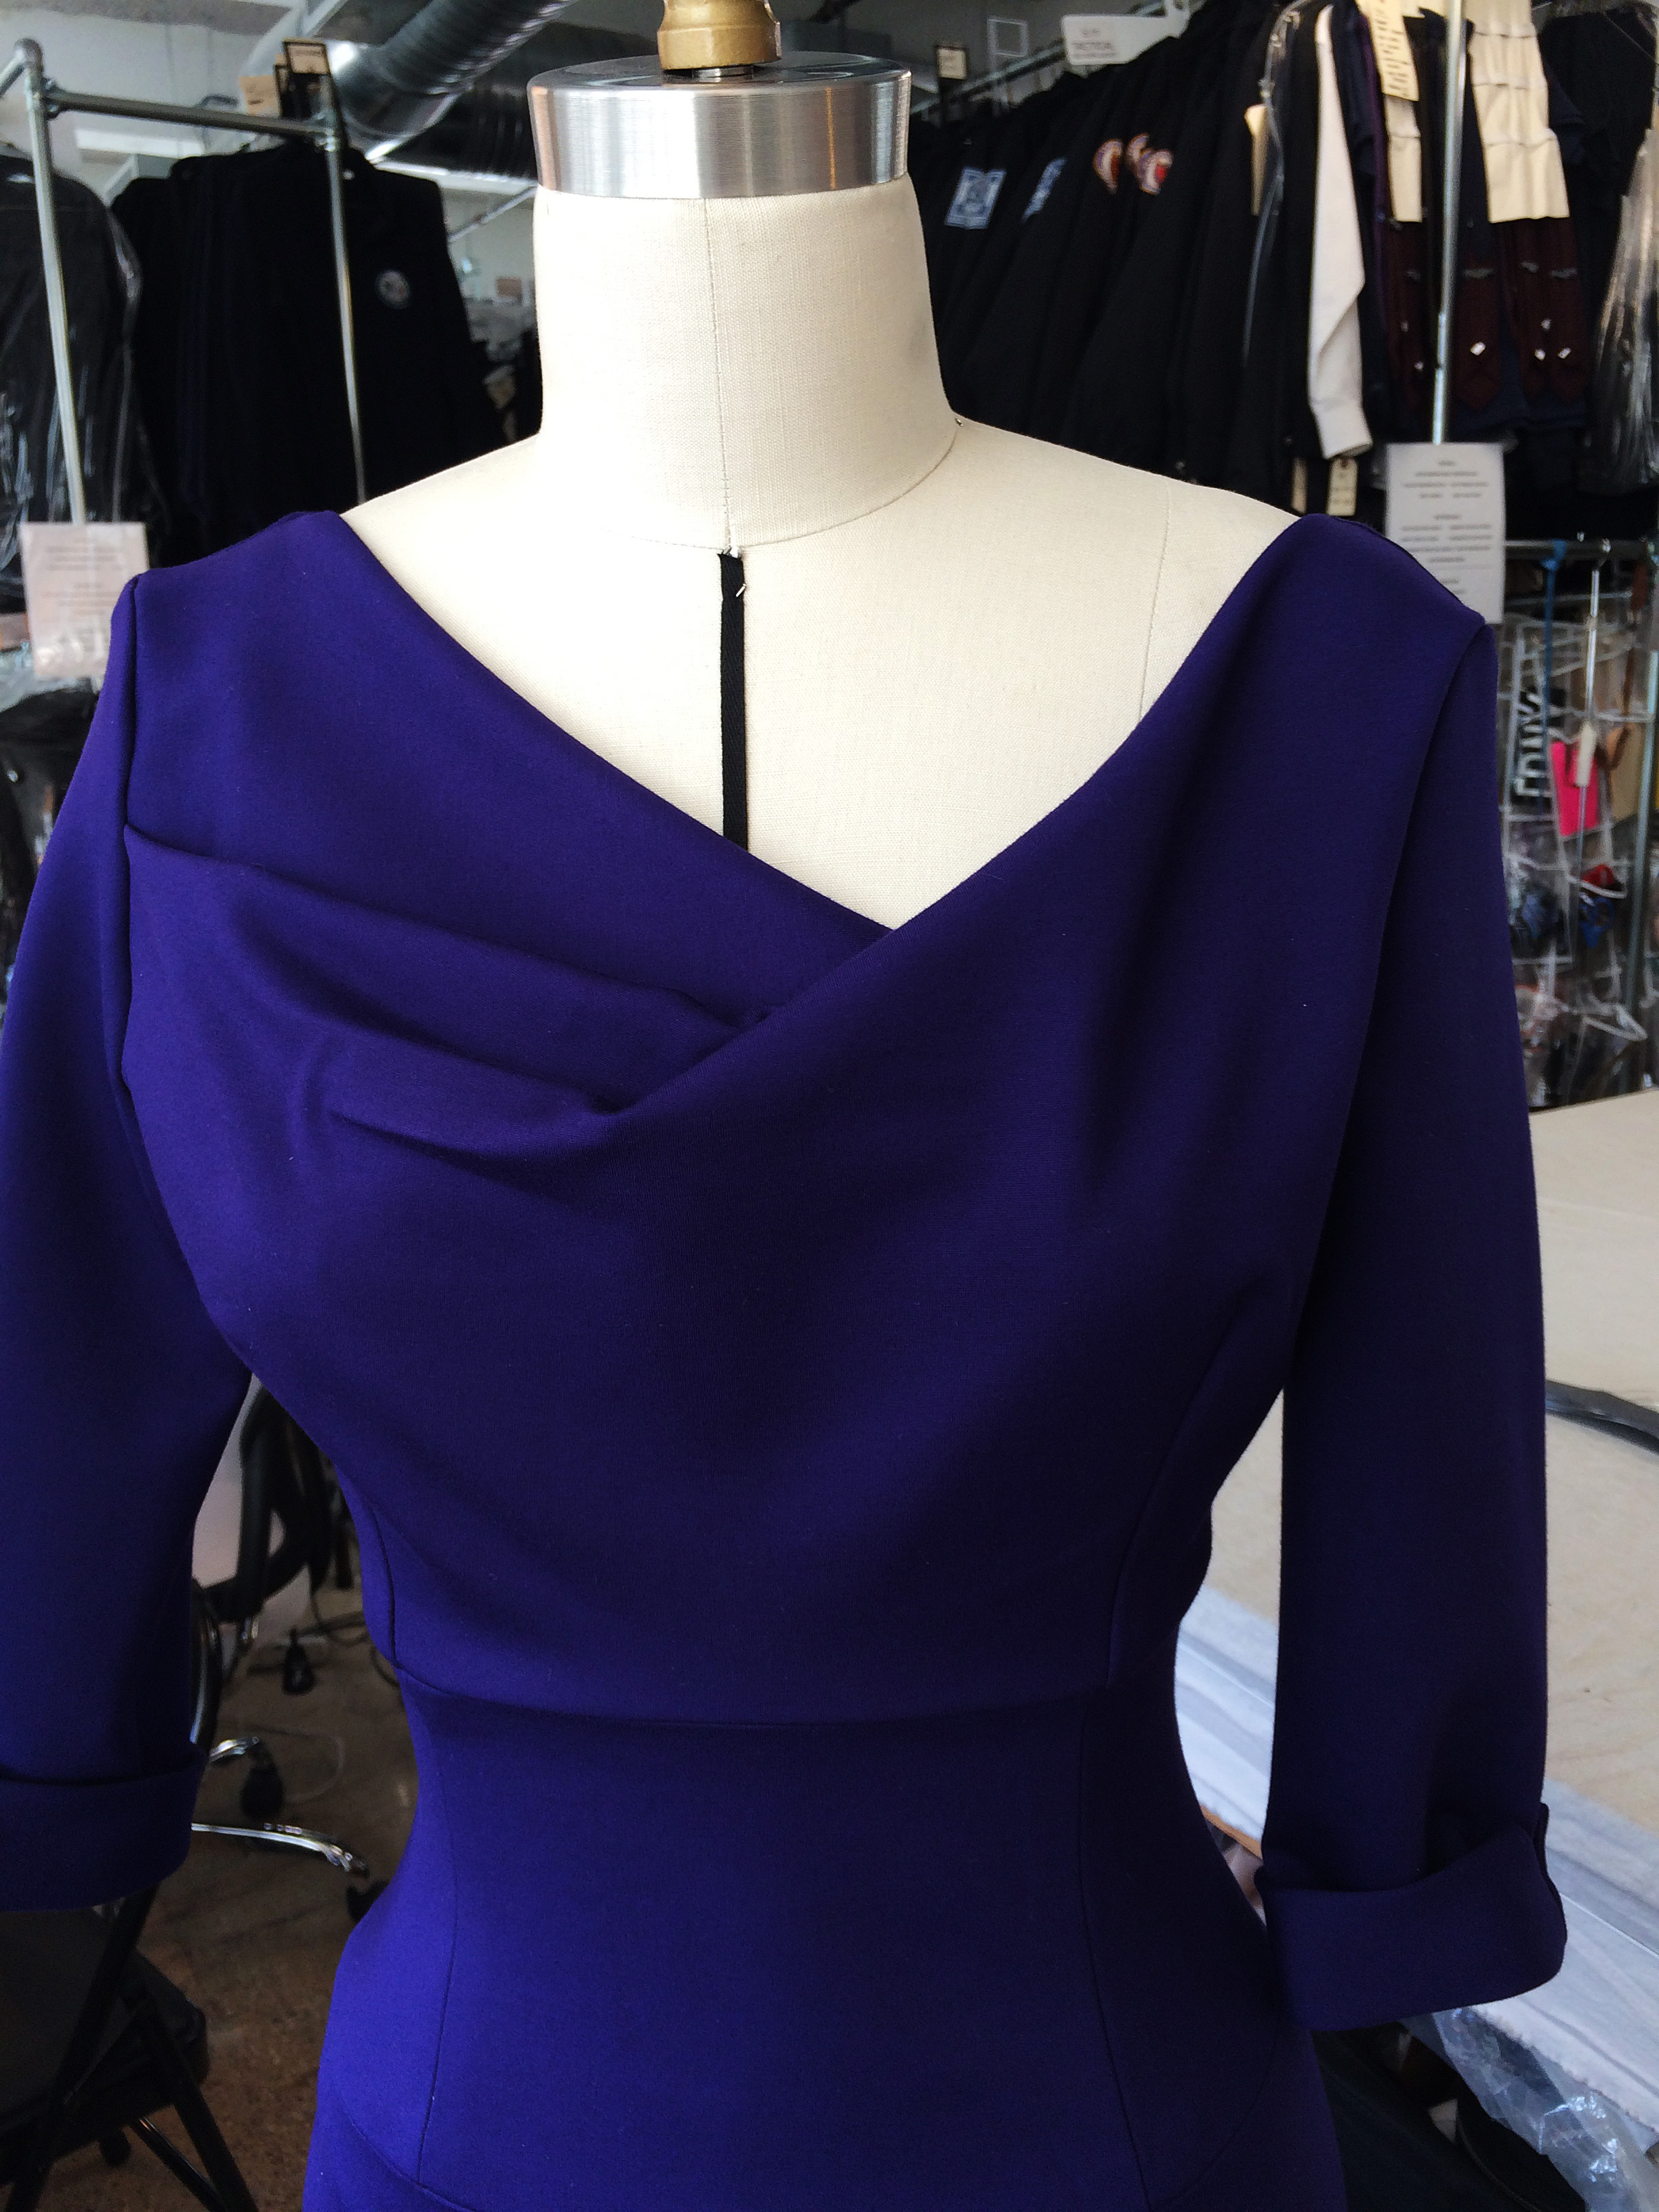
Just a closer view of the Black Halo dress.