I’ve had planned indoor picnics with my nieces for the sake of Valentine’s Day and Halloween.
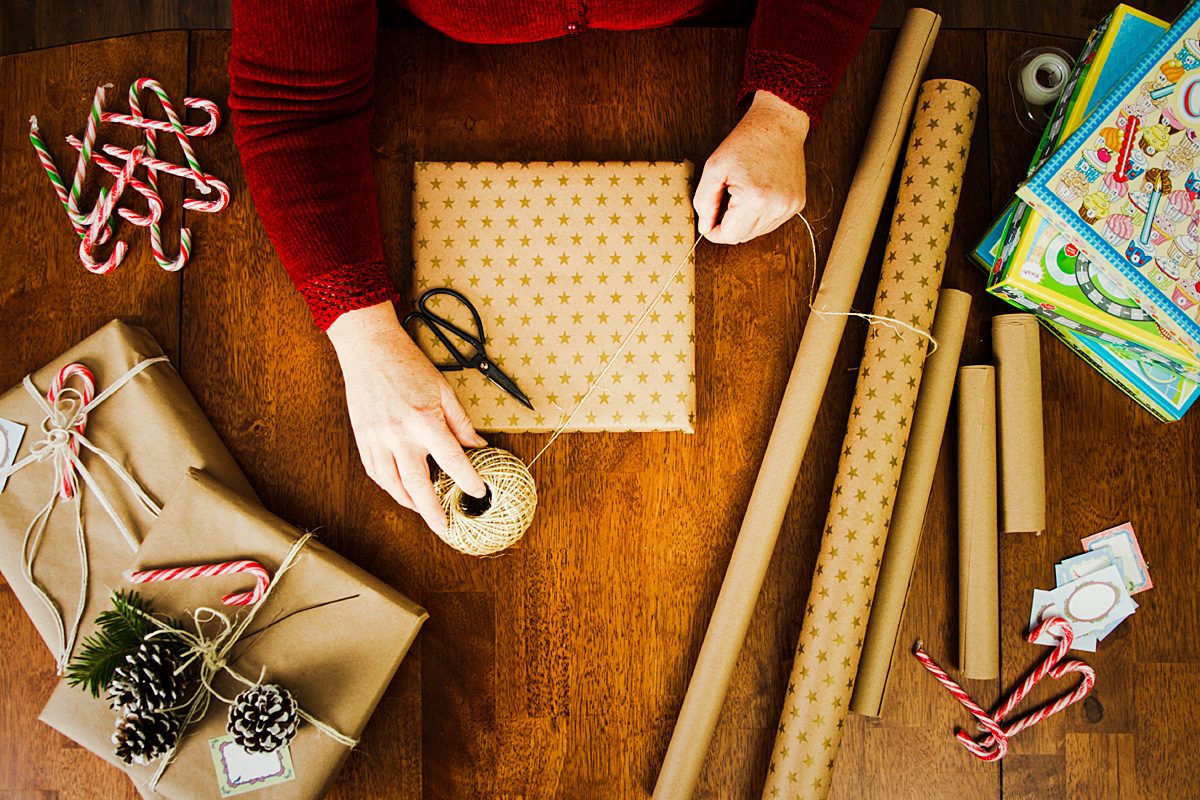
Christmas is even closer than it was when my last blog about homemade, sewn gifts was posted, so it seems fitting to keep with the holiday vibe! Whether or not I mentioned this earlier, I’m a fan of holidays to the point that I’ve had planned indoor picnics with my nieces for the sake of Valentine’s Day and Halloween, so don’t be too surprised if you see a good number of holiday topics when the big ones roll around!
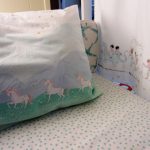
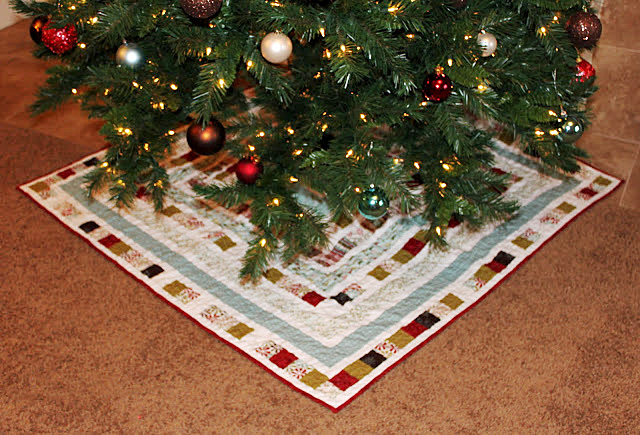
I’ve been browsing online to try and find an interesting Christmas project to check out, and I came across a concept that is really fitting this season: a tree skirt. You see, we have one, but we changed Christmas stockings this year. The new ones aren’t the best of matches to the old tree skirt, so we’re currently going tree-skirt-less for the sake of coordination. Basically, the idea of constructing a tree skirt is a logical notion for a Christmas project this year!
Let’s decorate!
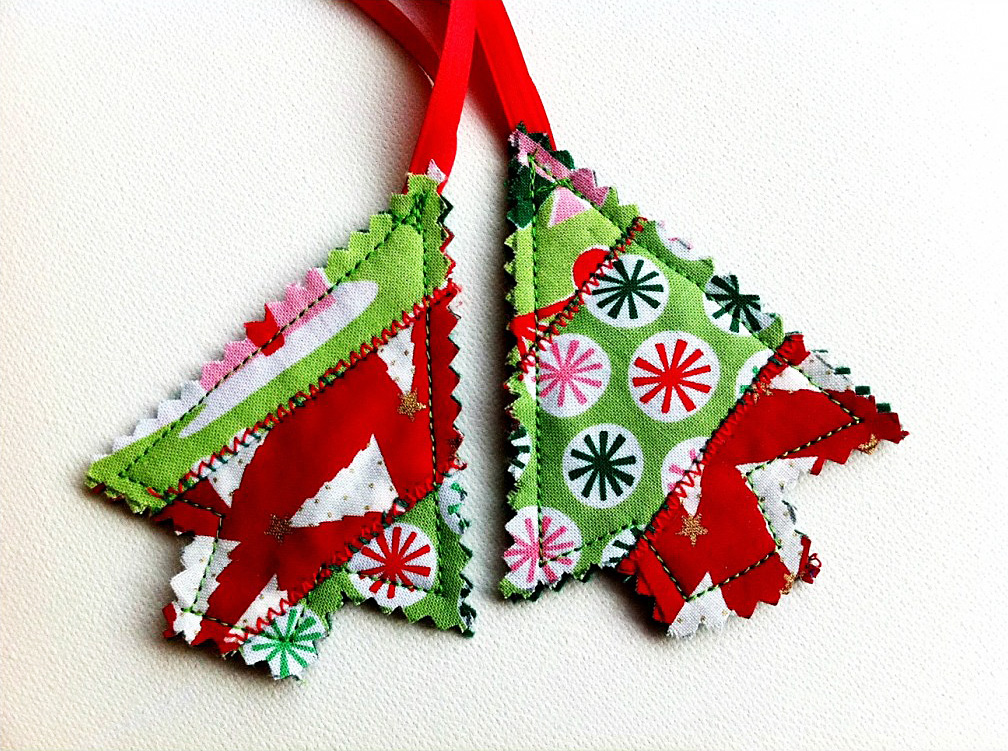
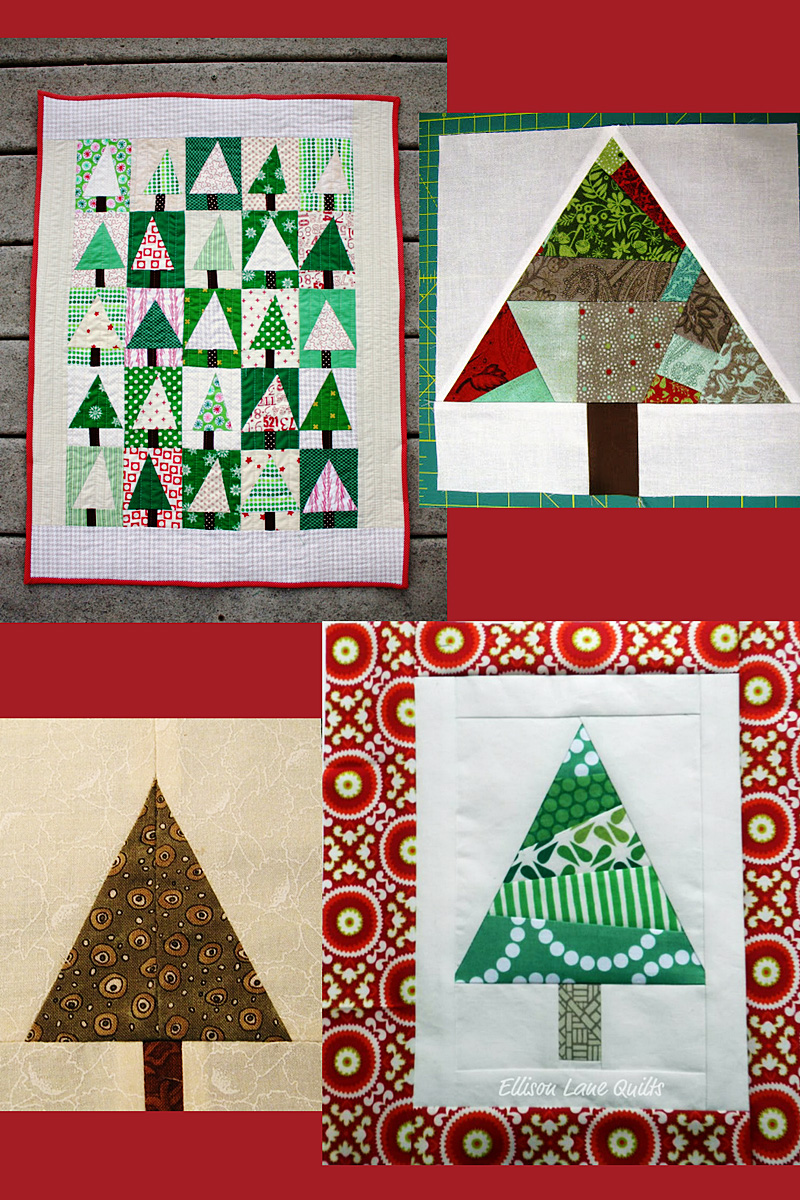
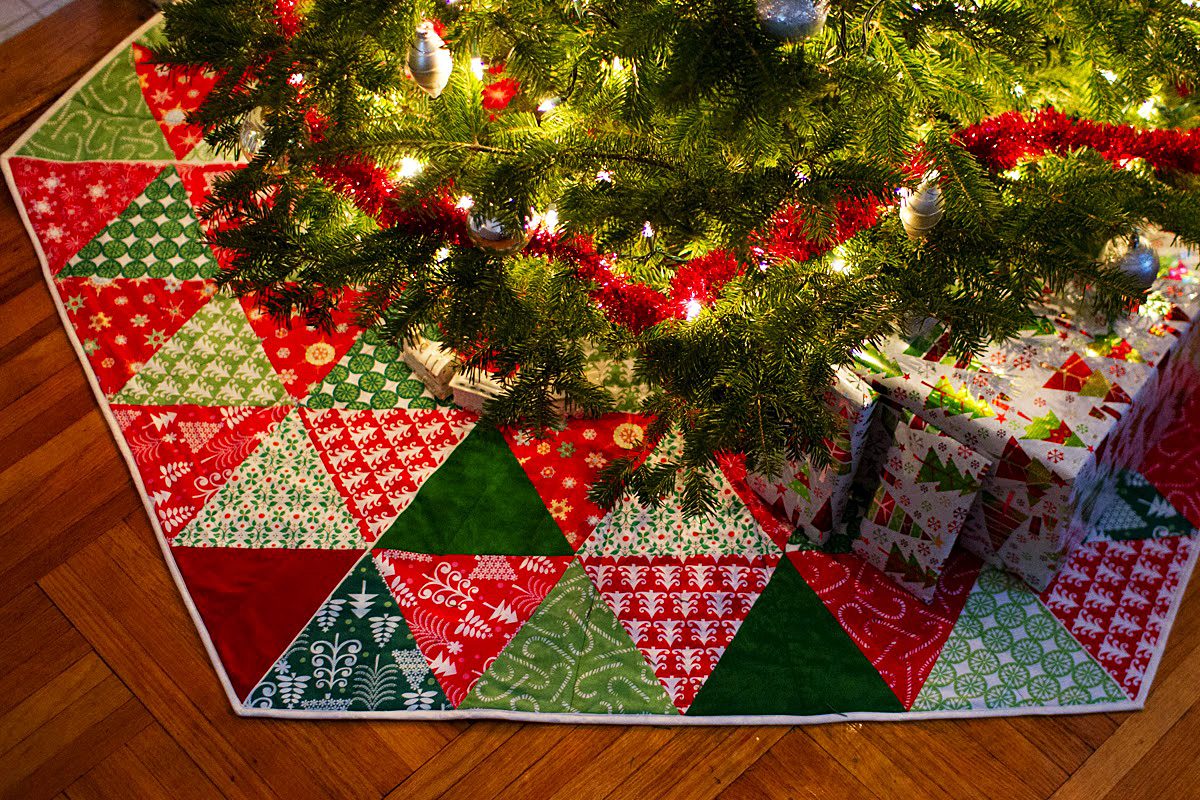
I’ve come across more than one option including a fancy scalloped one that caught my eye, but being the patchwork girl that I am, I was more drawn to a patchwork-looking design. As easy as the overall pattern might seem to some, the idea of creating my own blocks with multiple patterns is a bit daunting to me. Usually, I just use pieces of material—one piece per section—and I don’t know that I’ve ever tried to piece together my own block. For that reason, it seems reasonable to do some research before potentially diving into the process. As I’ve said before, doing research can make a sewing process smoother, and should I try this, I want it to go smoothly!
And maybe certain readers are in the same boat with me on this one—interested in moving into elaborate blocks, but unskilled in the technique. If so, keep reading! I’m going to hand over some general ideas that I’ve found that could help with the process!
Where to start…
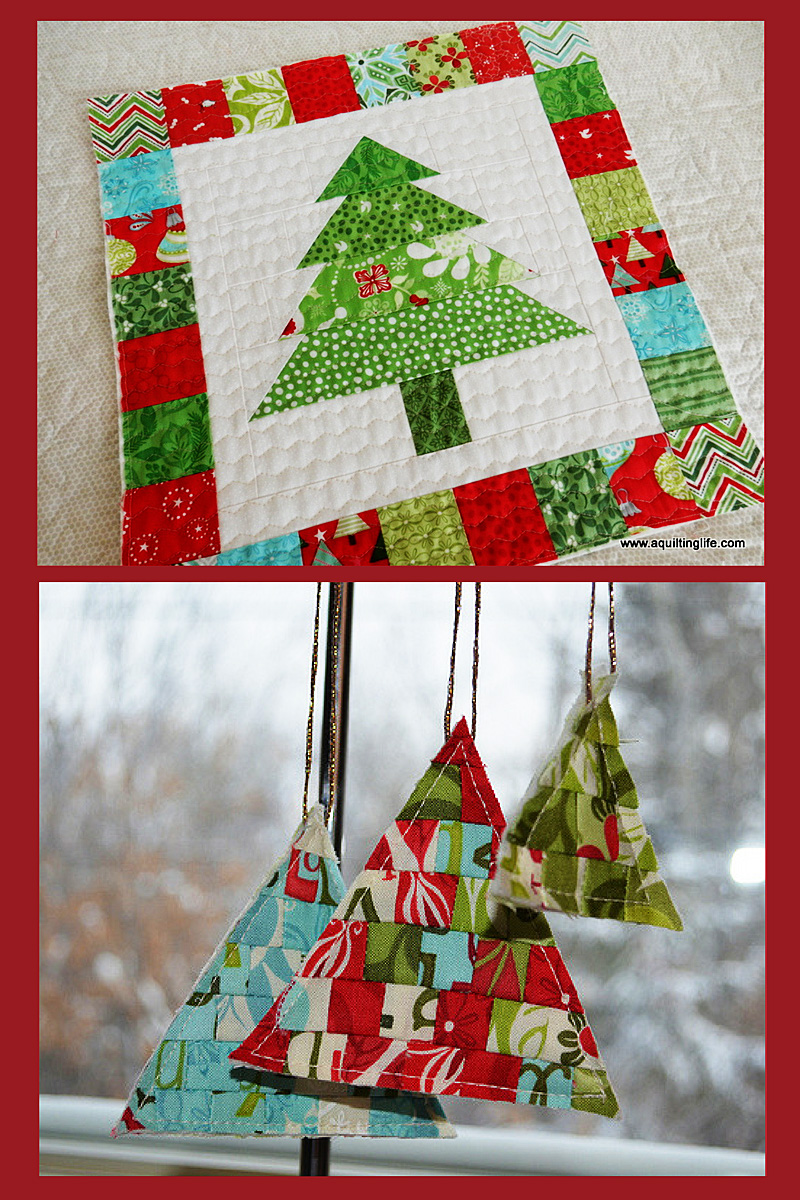
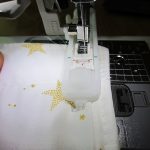
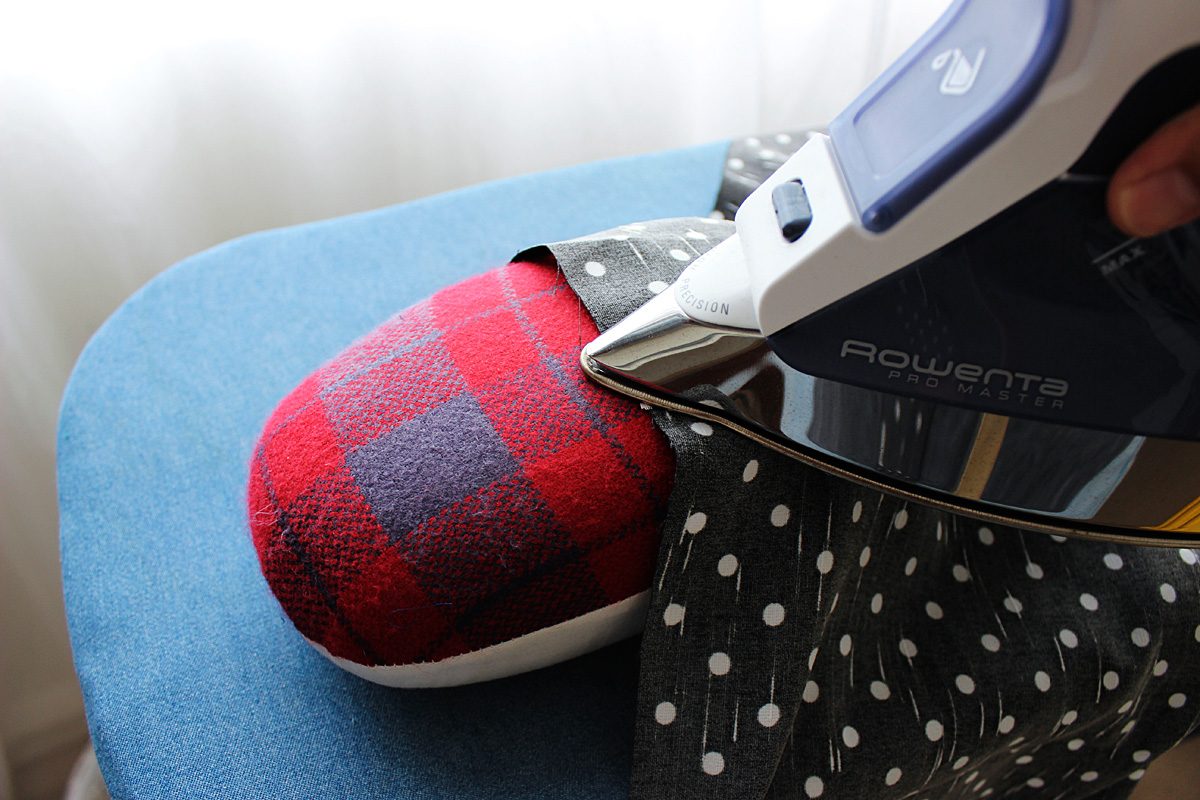
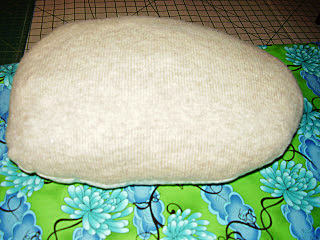
Tip #1: Press your material! This is a simple step, though one that can easily go overlooked. Even if you want to just jump into constructing your project, taking the time to level out the fabric you’ll use can help in making sure things line up as they should. So before you sew the first stitch, break out that iron!
Pressing is also something to keep in mind during the process when you sew fabric together. If you connect two blocks of fabric, press that seam! As you connect more material, your blocks will be less likely to have random bumps or puffy spots because the act of pressing as you go will ideally have smoothed out troublesome areas before additional pieces get locked in. That kind of consistency—no puffiness where it shouldn’t be—can create uniformity. You can even get pressing sprays to help solidify the effect!
Around the block
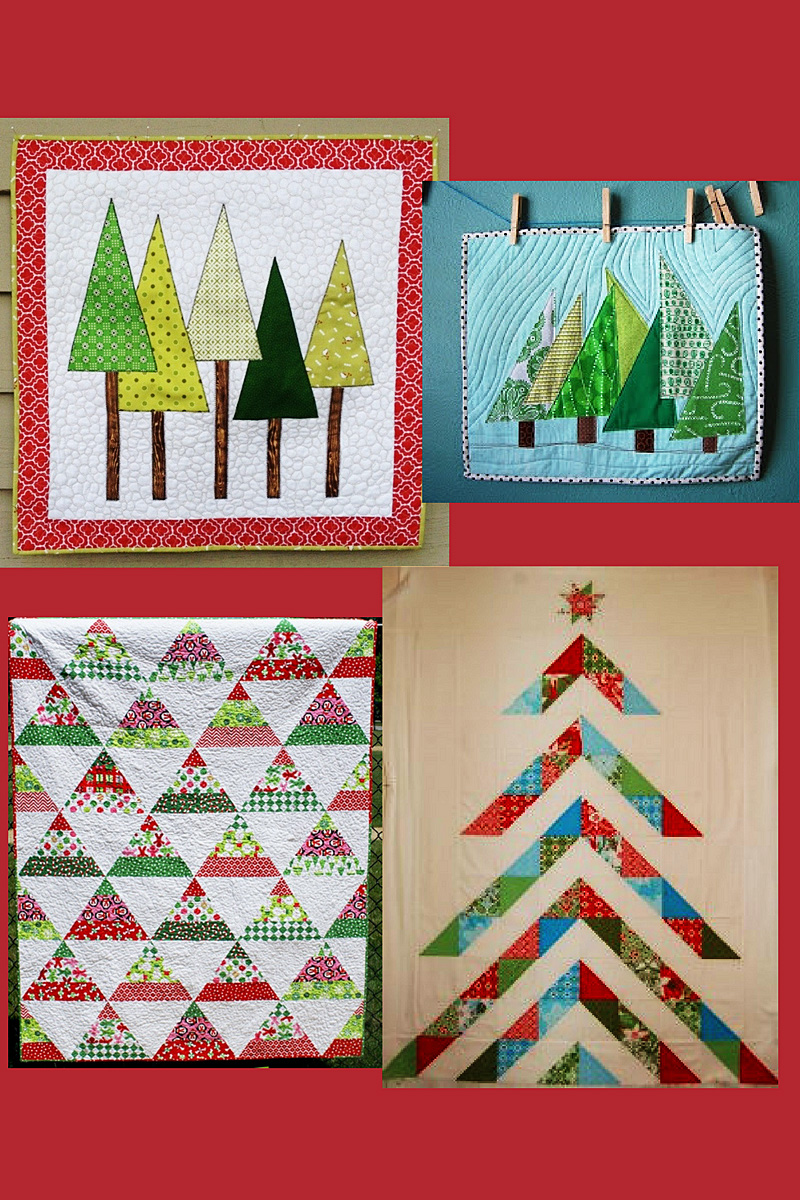
Tip #2: Learn the basics of block patterns! Are you planning a four patch product? Nine patch? It helps to think about those concepts before you start piecing your product so you can plan the design and get an idea of how you’re going to structure your work. This might be particularly true if you’re planning a five patch product since basic mathematics will let you know that such a pattern does not divide evenly by two! There’s a technique for each of these blocks, and being aware of those techniques can help you through the process. You can find out more about those pattern options here.
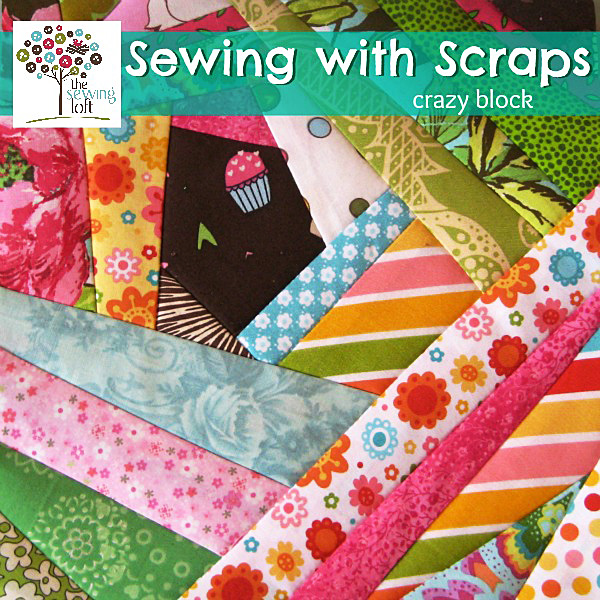
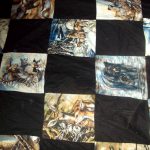
Crazy square block.
Once you get comfortable with the more traditional and beginner-friendly possibilities, maybe you can work your way into something less typical, like a “Crazy square block” of material.
Color theory
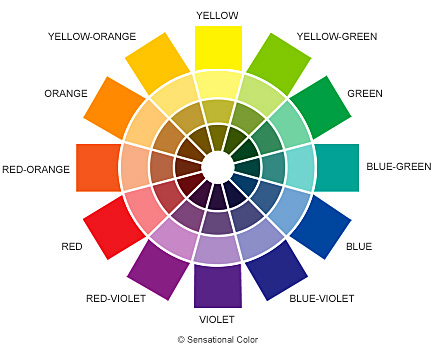
The color wheel.
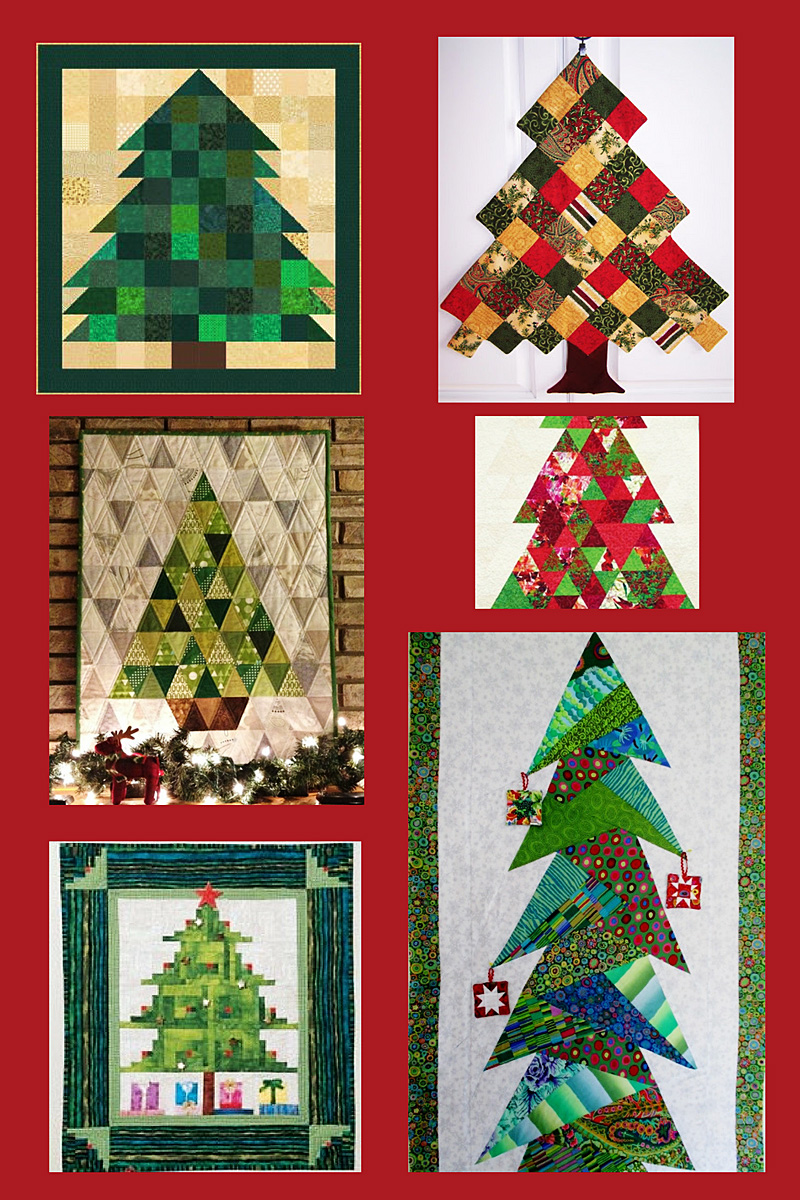
Tip #3: Get to know your color options! One site recommends the use of the color wheel, and I think this strategy might be a good one. While aesthetics might be subjective, decisions on color are still something to take seriously before you begin stitching. This, I think, could be particularly true when you’re creating your own block from a series of fabrics. Instead of just having 50 or so segments of color on one product—one per block—you could end up with various colors per block, which leads into a whole lot of color-consideration territory!
If you want to go with a cool tone, for instance, how easily could you do a nine patch product with different variations of color per block—one for greens, one for blues… That example is a perfect illustration of why knowing your colors could be so important. If you don’t know too many shades of cool colors, you might not have the background knowledge that would help you create the cool color, nine patch work. Basically, if you want a cohesive final product of multiple fabrics per block, think about those colors while you consider your fabrics!
Measure twice, cut once
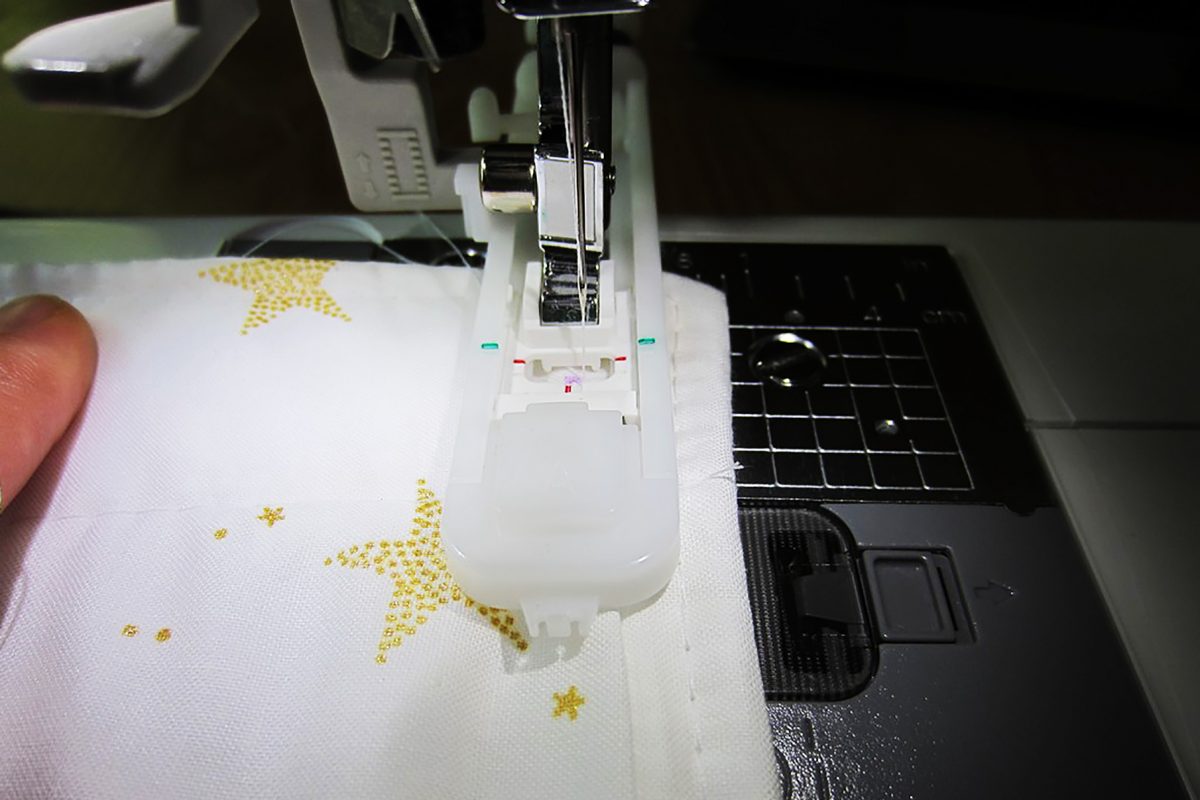
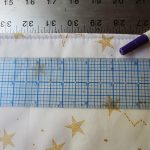
Tip #4: Be exact with your measurements! This one might be a bit obvious—or really obvious—but it’s worth noting. Not only should you make sure your blocks are consistent in size for the best possibility of a final product, but you should make sure the individual sections of the block are measured accurately. Doing so could keep embarrassing things from happening—like running out of fabric in your squares before you get to the end of a block or having excess. Either mistake could lead to the overall product looking off because every block wouldn’t have the same mistakes. If you want uniformity throughout, measure!
Even if Christmas is too close for this concept to result in a 2016 tree skirt, this is still something I can keep in mind for next year. In fact, new goal!
~ Make a home-sewn tree skirt. ~
I wonder if 2017 – me will hate all of these goals I’m tossing her way? If so, maybe she can appreciate it if there’s a by-hand product decorating the bottom of the tree next year!