Do you make most of your holiday gifts? Have you wanted to start this tradition? If you haven’t, this is a great year to sew gifts for everyone on your list.
I have been sewing and/or making most every gift I give for many years now. So I know from experience that it is easy to get stuck for ideas, especially for certain recipients. But I have learned that with time and thought, it is possible to sew gifts for everyone on your list.
The most important tip I have learned in making holiday gifts over the years is to get started early. With an early start you can complete your gifts in plenty of time to enjoy your holidays. Starting in December can make for a stressful season! Learn from my mistakes and get started now, or you could wind up as I have- sewing late into the night on Christmas Eve.
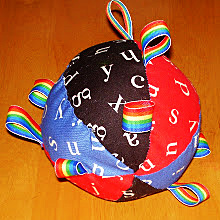
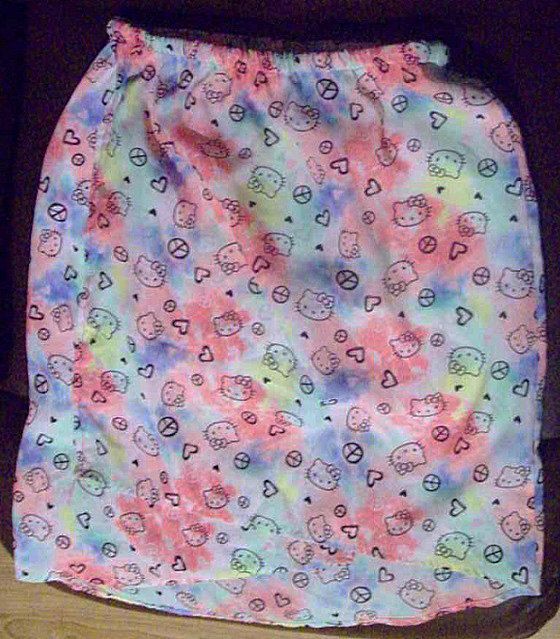
For babies, try a stuffed ball with ribbon tags for grabbing.
You can sew gifts that everyone will love. Here are some ideas to consider for everyone on your list:
For Kids
Quilts – here are some tips for sewing fun, quick quilts.
Soft Toys – dolls, stuffed animals, robots, monsters. For babies, try a stuffed ball with ribbon tags for grabbing.
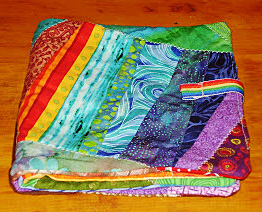
This rainbow book of colors is one of my favorite gifts ever.
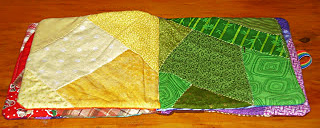
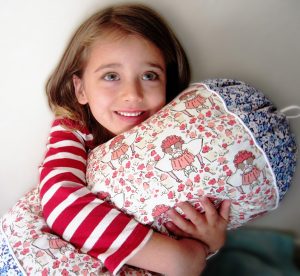
These are a lot of fun, both to make and to play with.
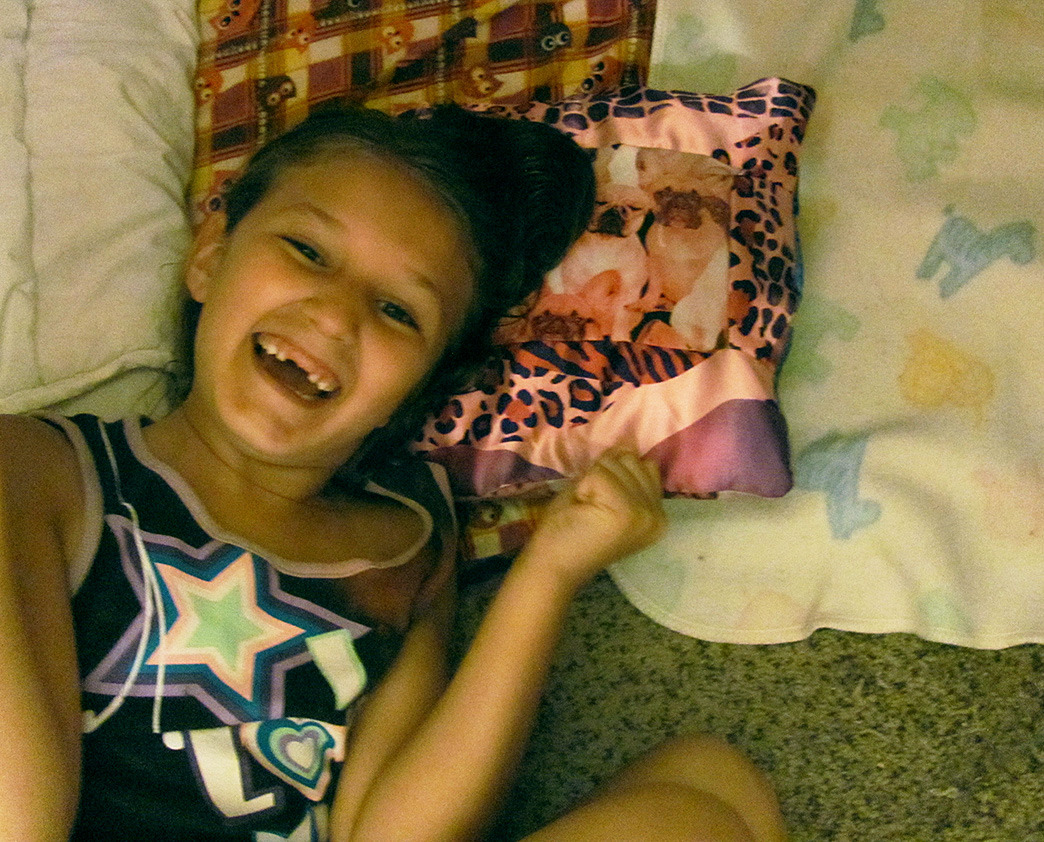
Soft Books – These are a lot of fun, both to make and to play with. This rainbow book of colors is one of my favorite gifts ever.
Bags – make a tote bag with divided pockets for crayons and include a coloring book. Or whip up a precious little purse to match a sweet girl’s personality. I’ve even made a Star Wars backpack from an outgrown favorite T-shirt.
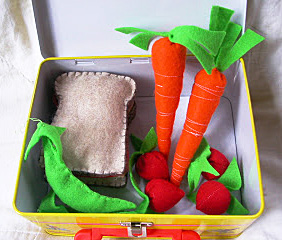
Felt Food – these are both easy and lots of fun to make. You could sew a sack lunch, complete with felt brown paper bag; pretty cupcakes and donuts; even a whole roast turkey! There are a ton of free patterns and tutorials for felt foods available online, but these are easy to make up off the top of your head, too.
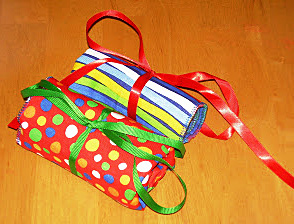
Crayon, Marker or Colored Pencil Rolls – make a great gift for kids on-the-go.
Doll Clothes and Accessories – Sew something new for her favorite dolly. Make a dress or two, a carrying bag with a front pocket designed as the doll’s bed, or a doll quilt.
For Anyone
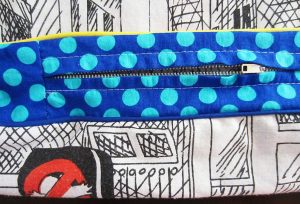
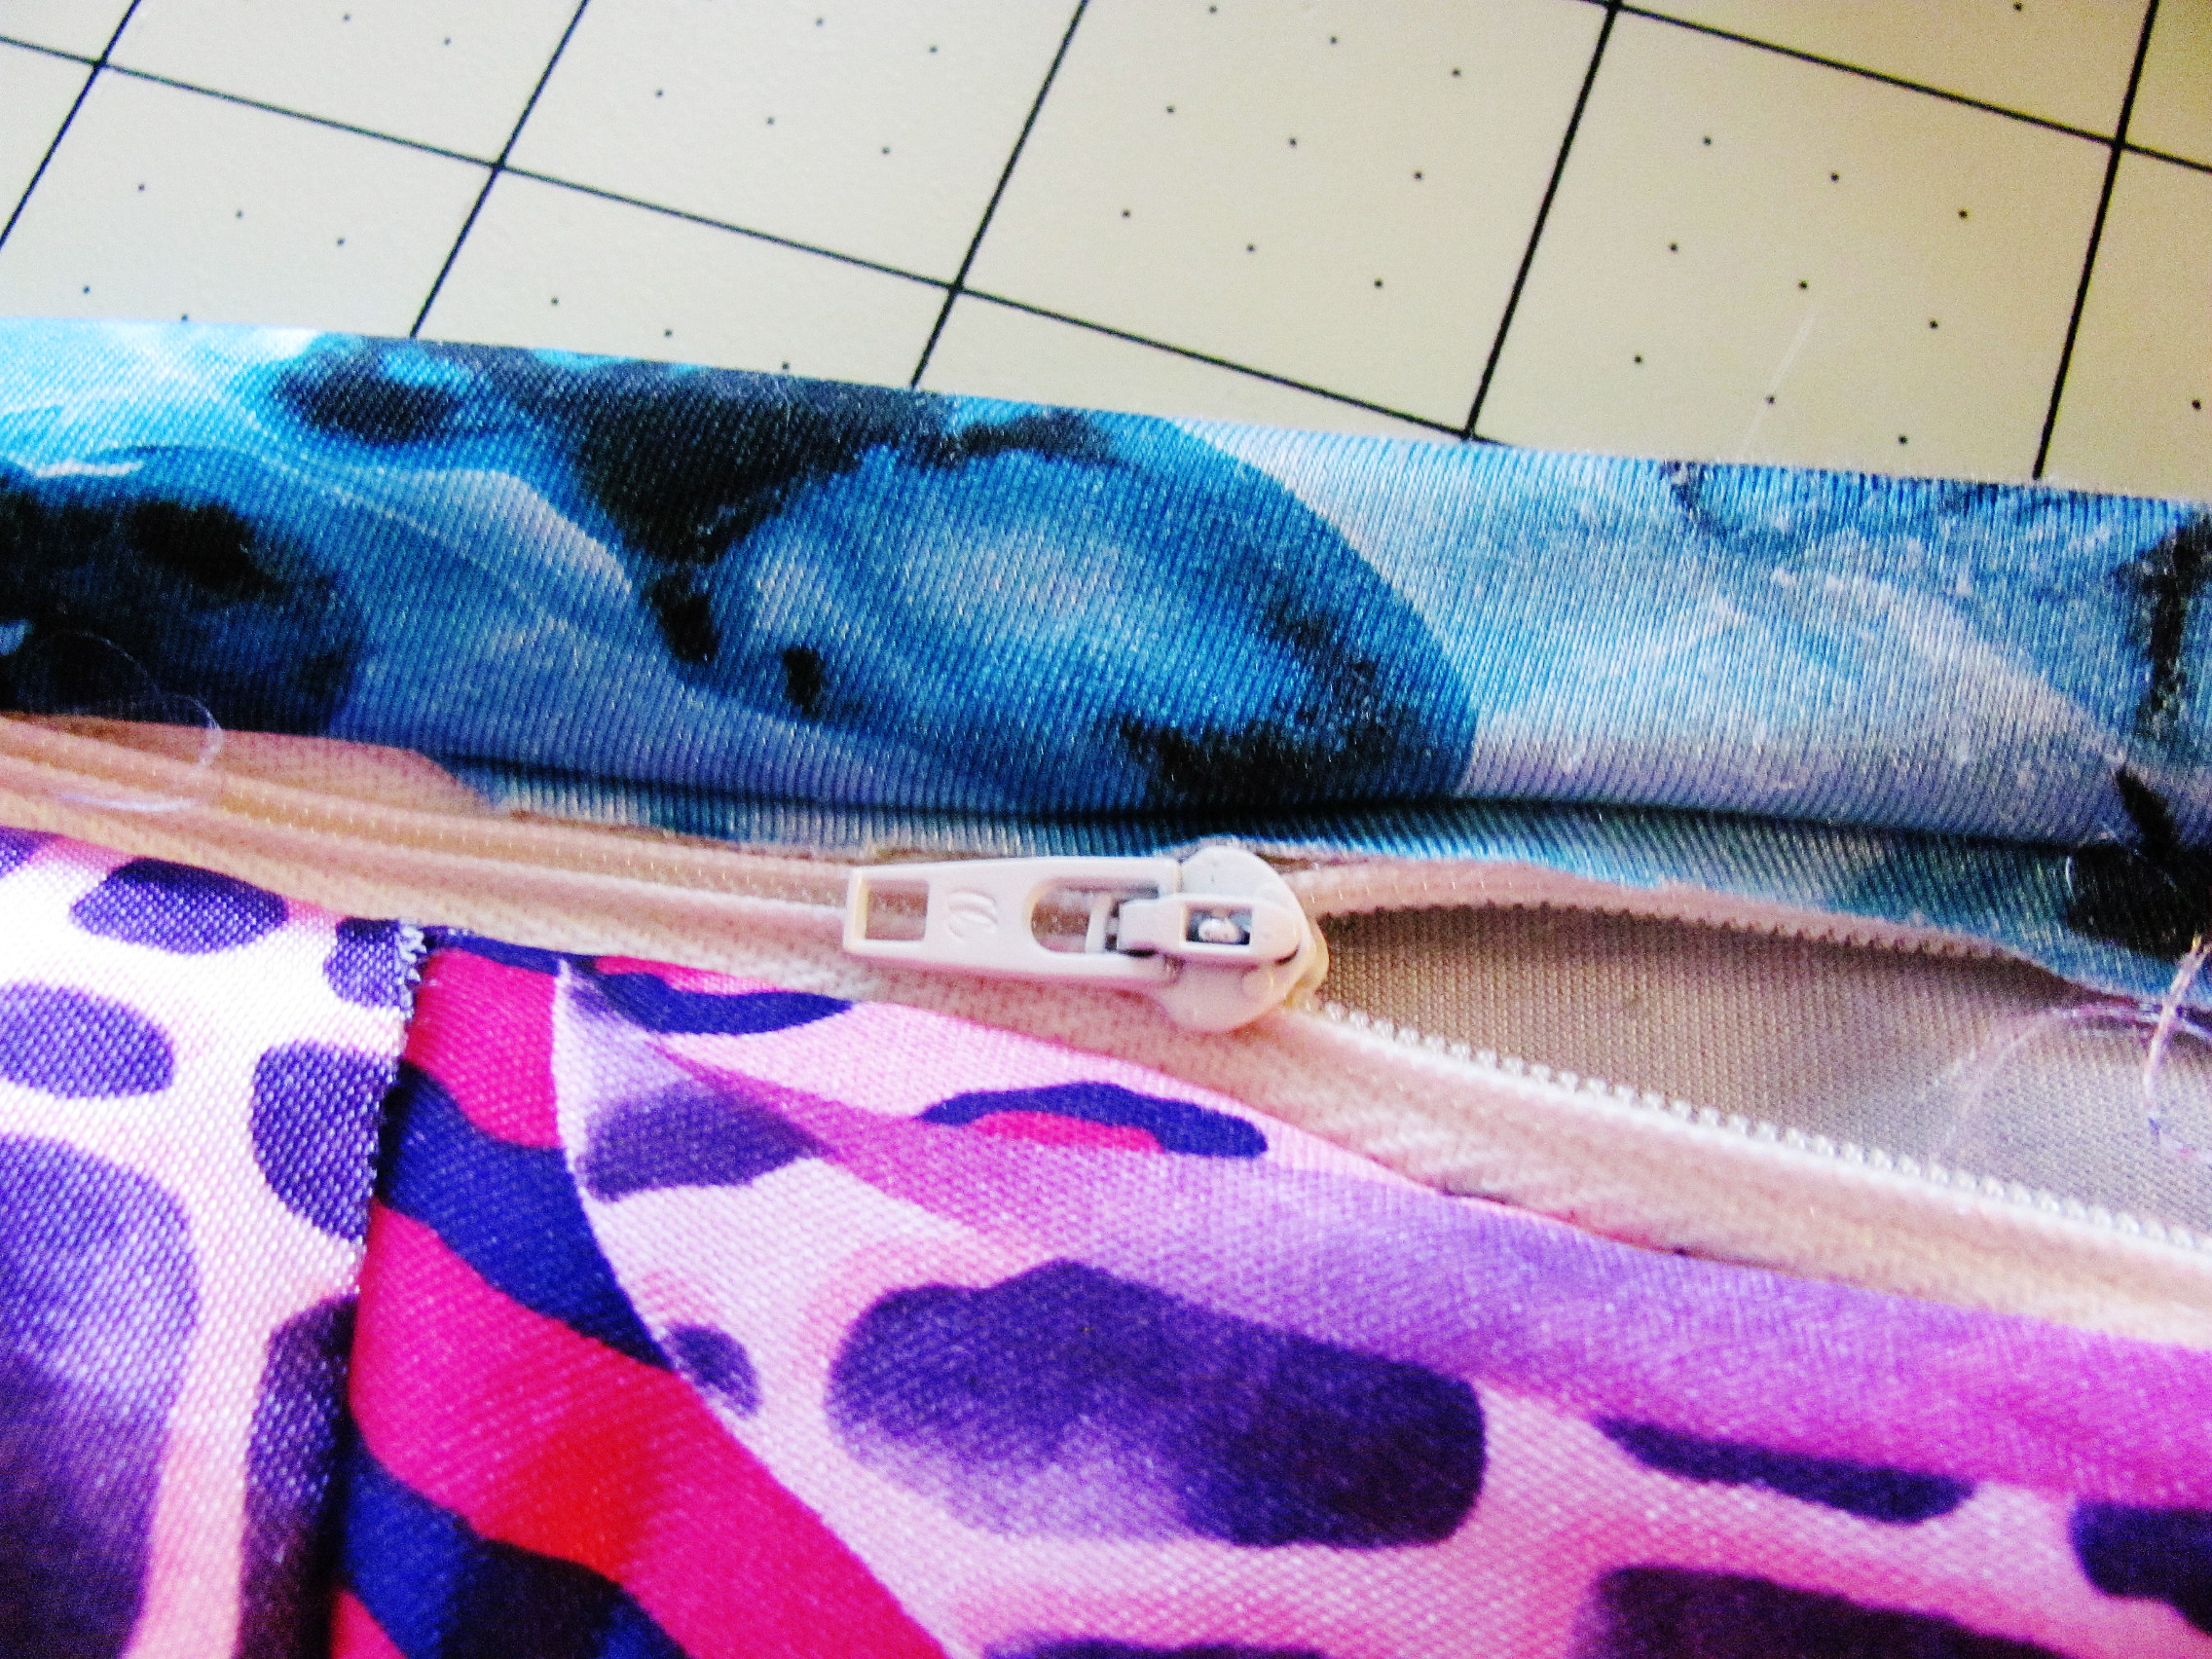
 Zip Bags – These are useful for everyone. Ladies can use them for cosmetics, men will appreciate them for holding shaving and toiletry supplies for travel. Children can use them as crayon or pencil bags, or for containing sets such as legos to-go. They also make great first aid kits for the car or travel.
Lap Quilts – Be inspired by your recipient’s favorite colors or personality and sew them something special for snuggling.
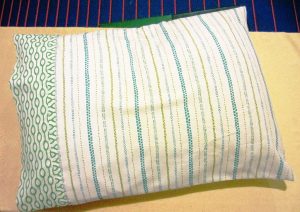
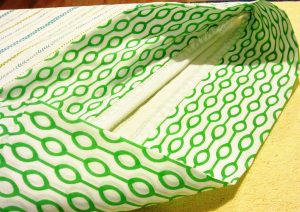
Pillowcases – You can sew a pillowcase from any yard of cotton fabric. Choose a beautiful print or fun novelty fabrics.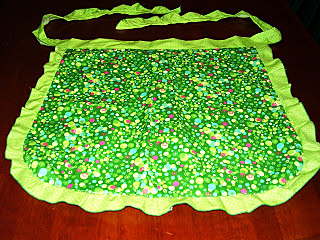
For Ladies
Half Aprons – These are always appreciated and a great way to use fat quarters from your stash. Embellish with ruffles, pockets and/or appliqué.
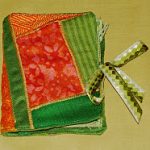
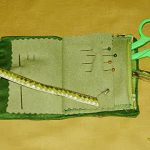
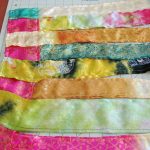
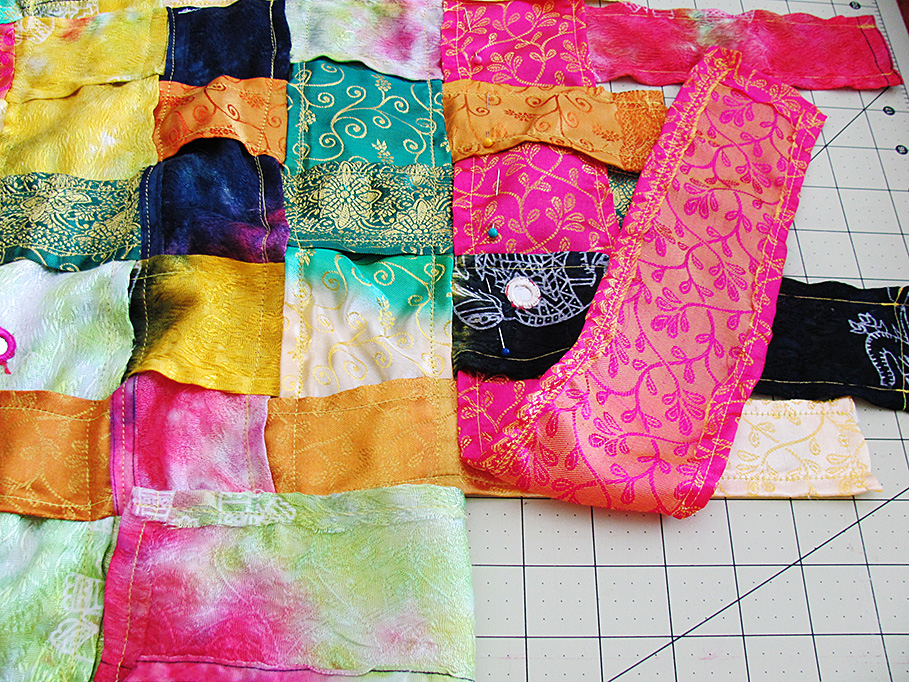
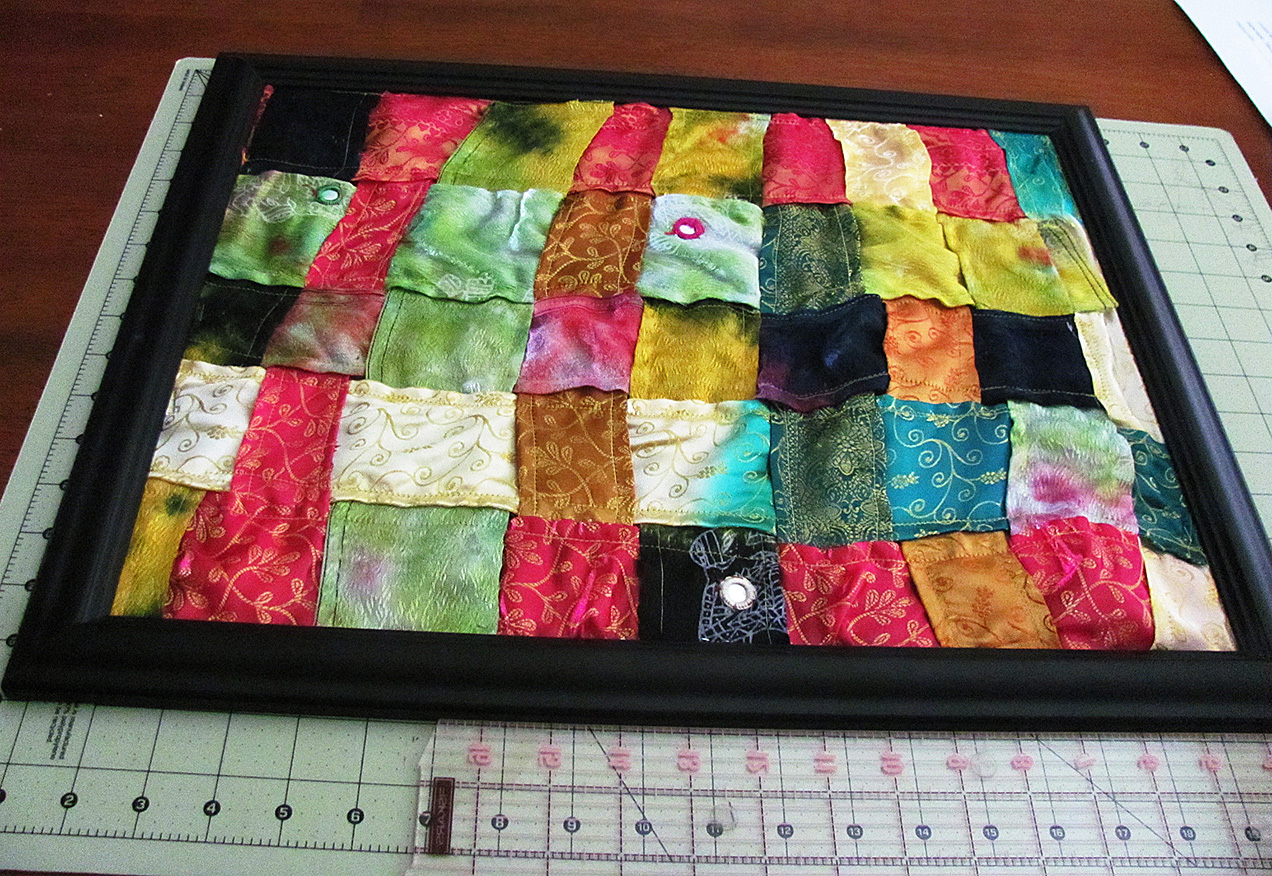
Needlebooks – These are a fun little project for playing with patchwork and make useful and treasured gifts.
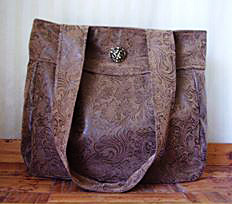
Folklore Bag
Purses – What lady wouldn’t like a pretty new handbag? My favorite purse pattern is the Folklore Bag from the book One-Yard Wonders. I like to add special details like an attached clip for easily finding keys.
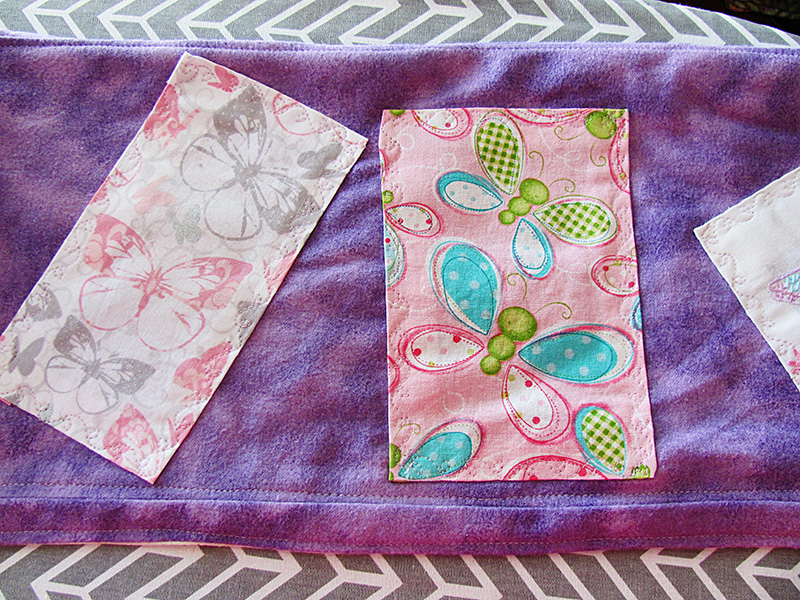
Cloth Napkins – Holiday themed sets from novelty fabrics make a lovely gift. This is my go-to for teacher gifts.
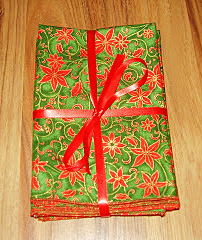
Cloth napkins.
For Men
Barbeque Apron – Here’s another fun place to use novelty fabric. He’s sure to appreciate one emblazoned with his favorite ball team’s logo, or choose a funky fabric with vintage cars, guitars, or hot dogs.
Handkerchiefs – I use the embroidery feature on my machine along the edges. My machine has an alphabet, so I like to sew “Bless You” on these too.
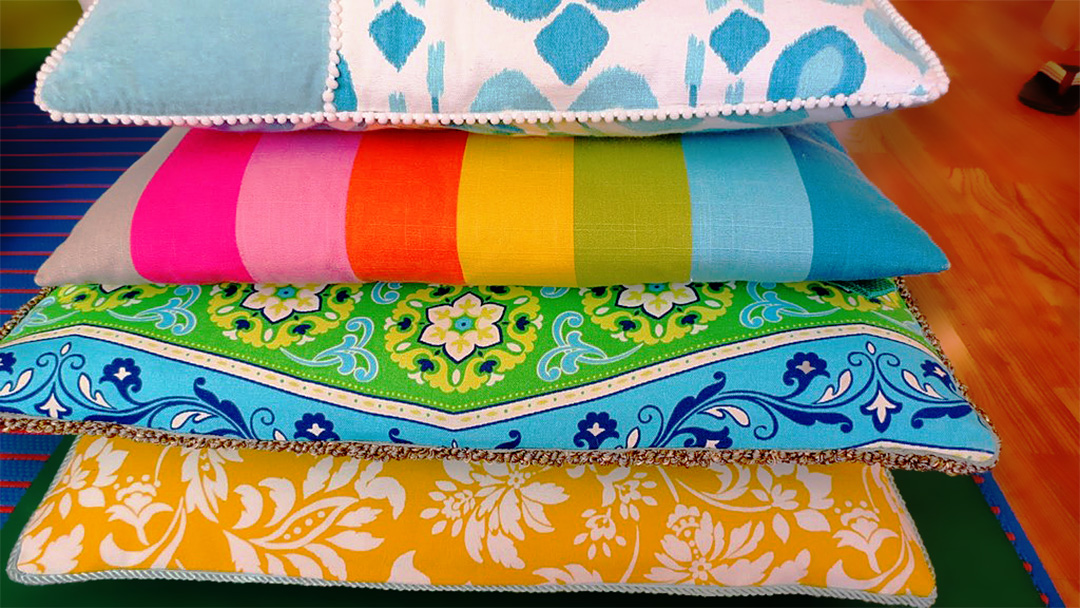
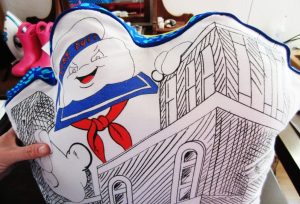
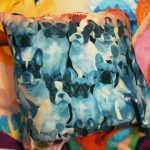
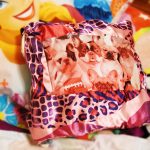
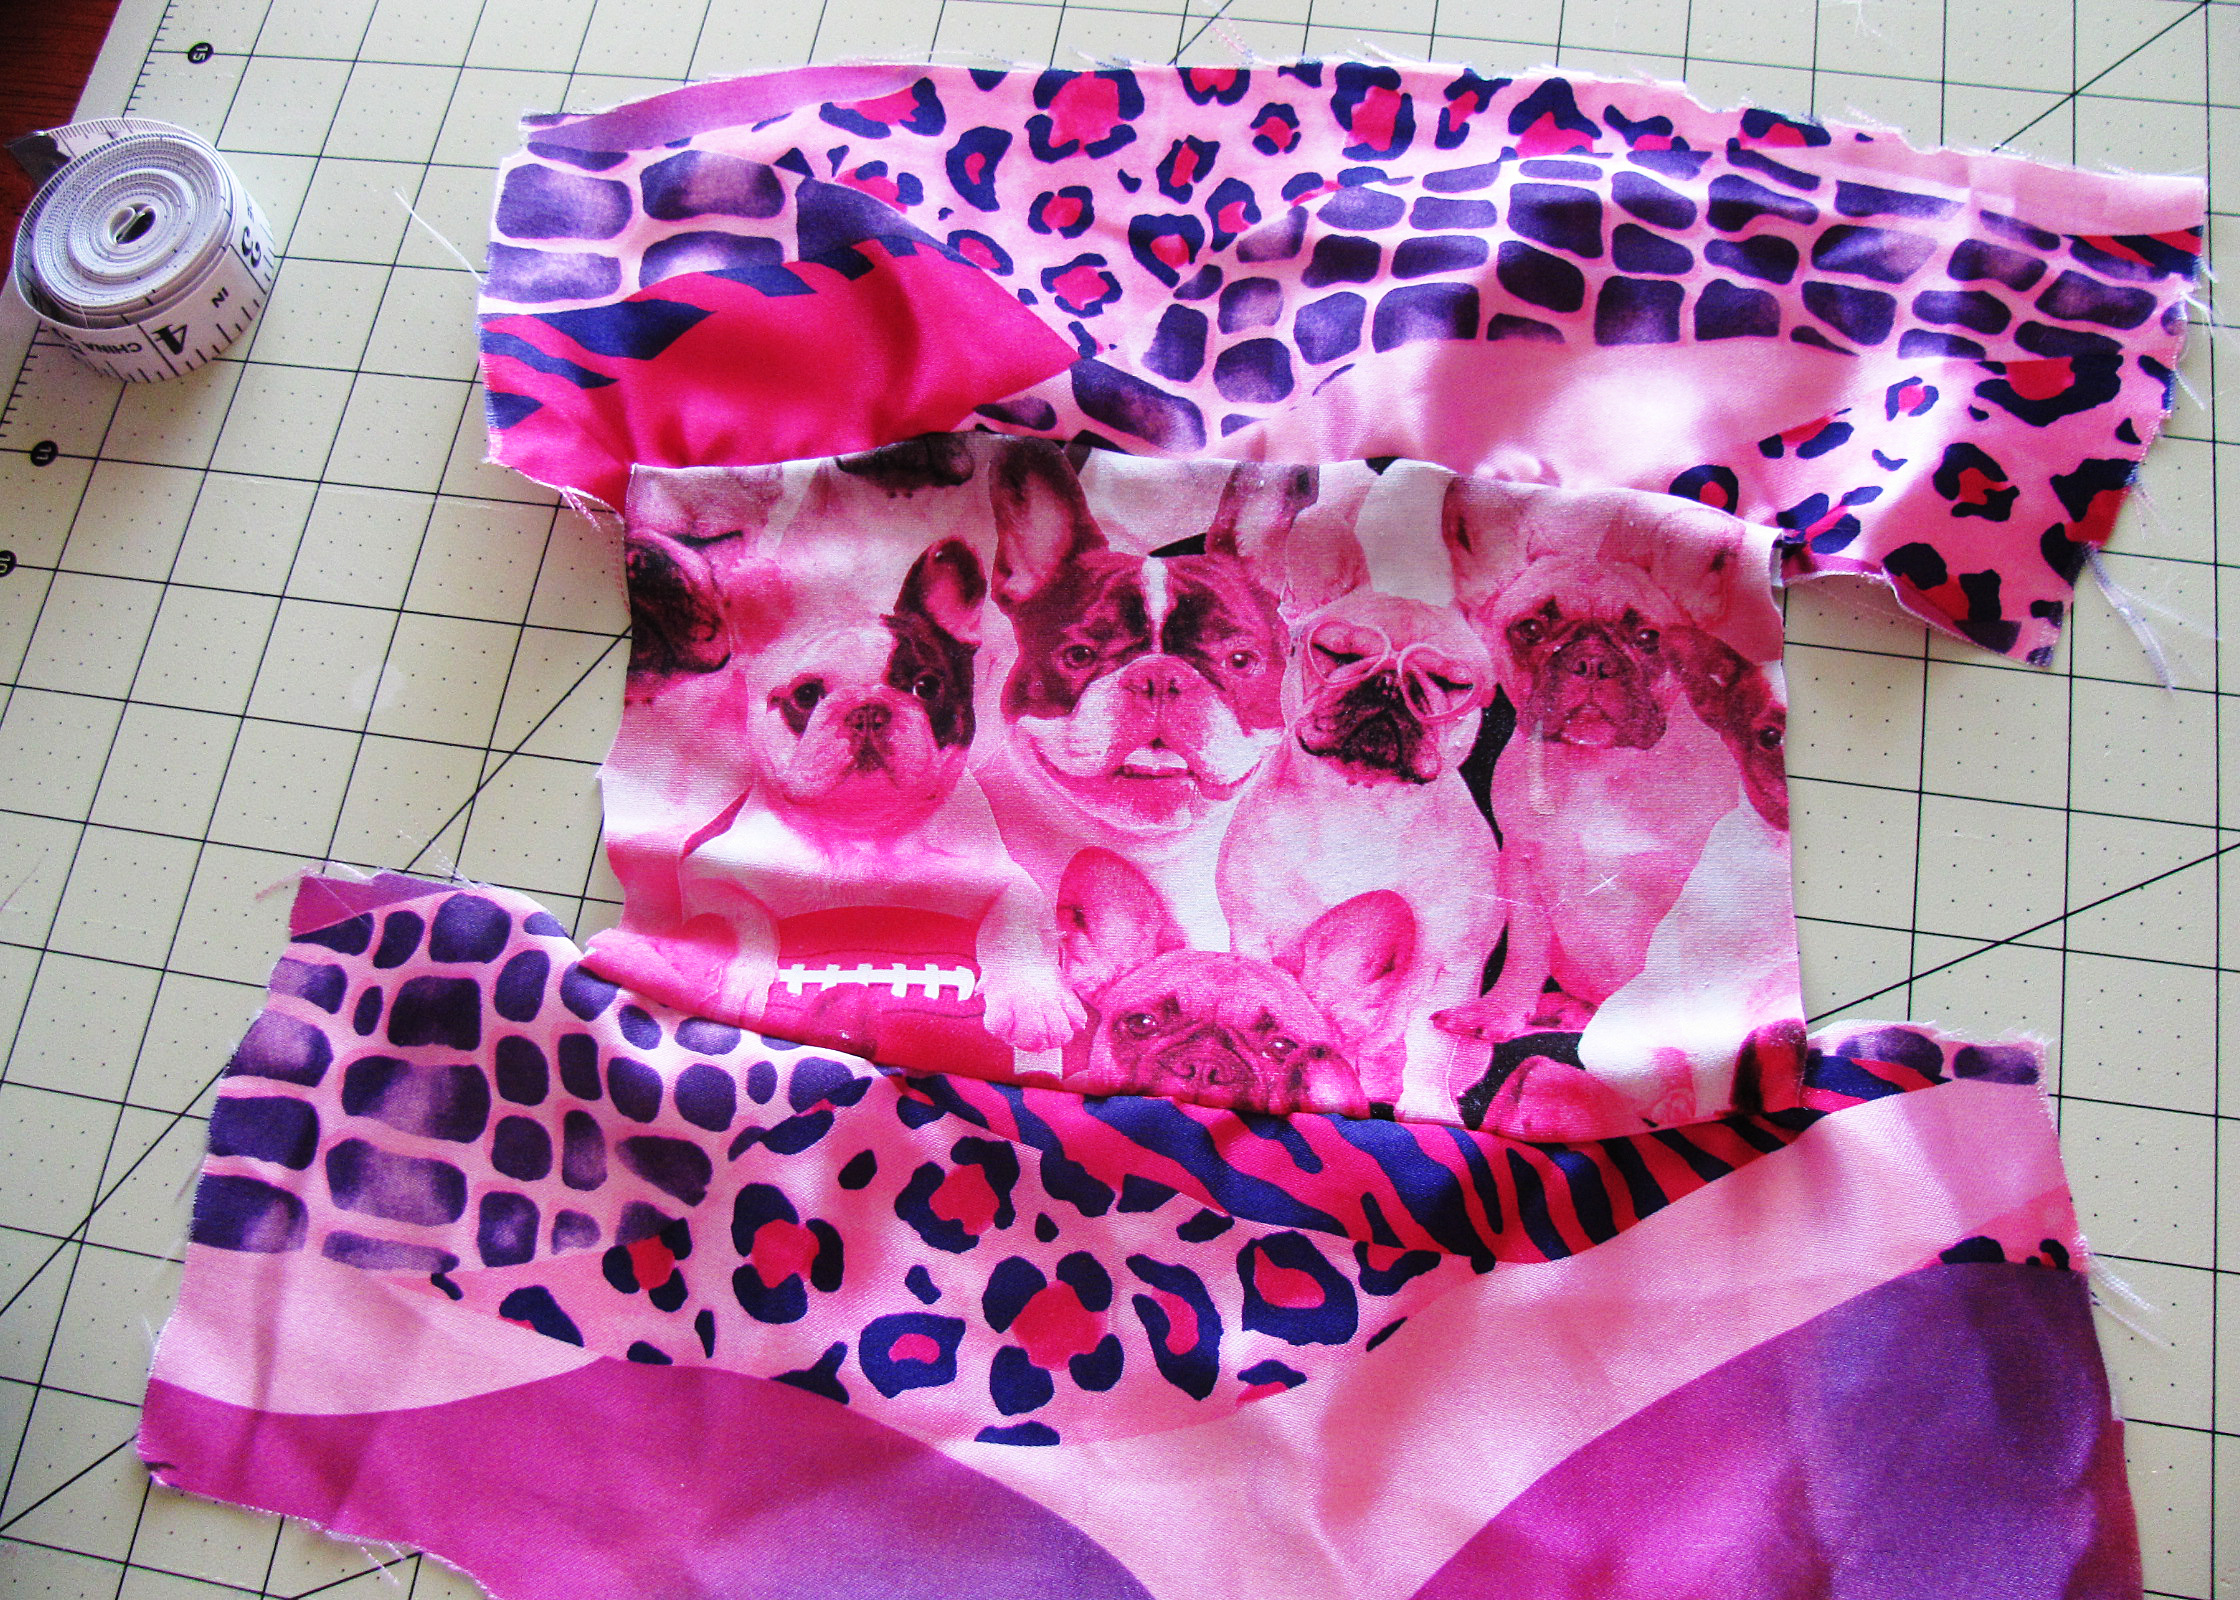
Throw Pillows – with football fabrics or something else he’ll appreciate. Be sure they match the couch or décor in his man-cave!
Over-the-Visor CD Pockets for the Car – include a mix cd for extra fun.
For Furry Friends
 Dog or Cat Bed – You can make these as a simple stuffed rectangle or square, or go fancier with patchwork or other design details.
Stuffed Toys – catnip stuffed mouse or felt or fleece “bones.”
Matching Collar and Leash – I buy ugly collars from the dollar store for the hardware, then I make nicer, new collars with nylon webbing covered with embroidered ribbon. These make a super nice gift for pet parents.
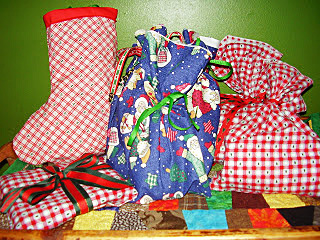
Make this the year that you sew gifts for everyone on your list and they will thank you for it! And don’t forget the gift wrap; use holiday fabric and whip up gift bags to fit any size gift. These re-usable wrappers are zero-waste and your recipients will be happy to use them again next year.