Like many things in life, sewing has a series of ways it can be done that could be different for each individual person. Once upon a time, I covered one of those details in my post about how to press your seams, and there are plenty of other ways that preference can sway the way a person sews.

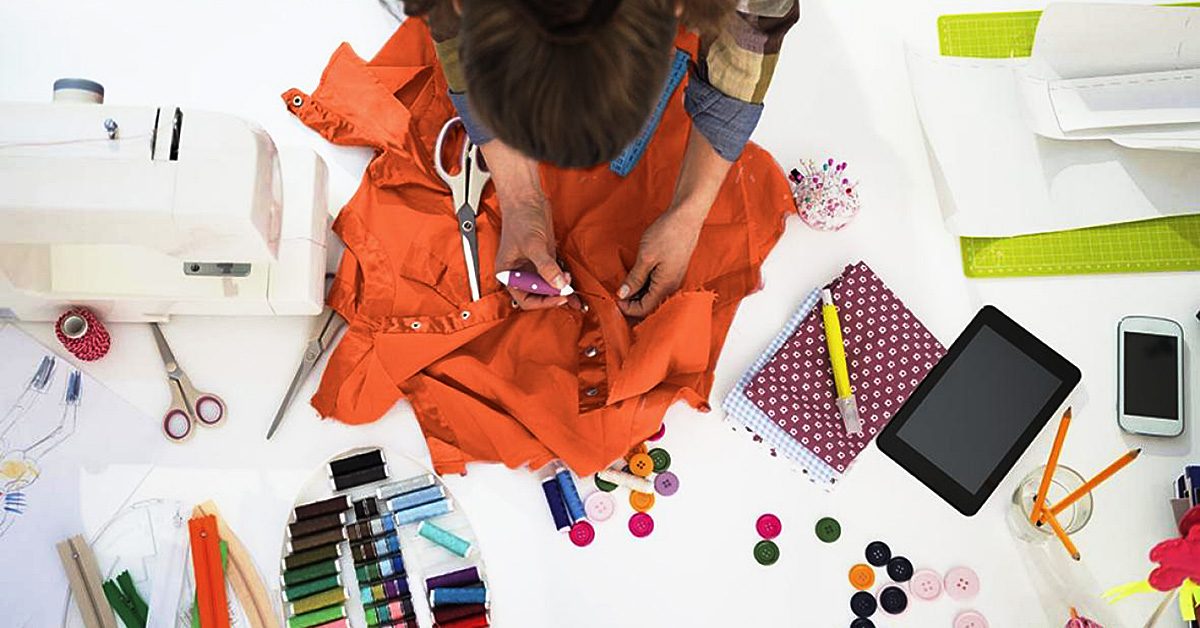
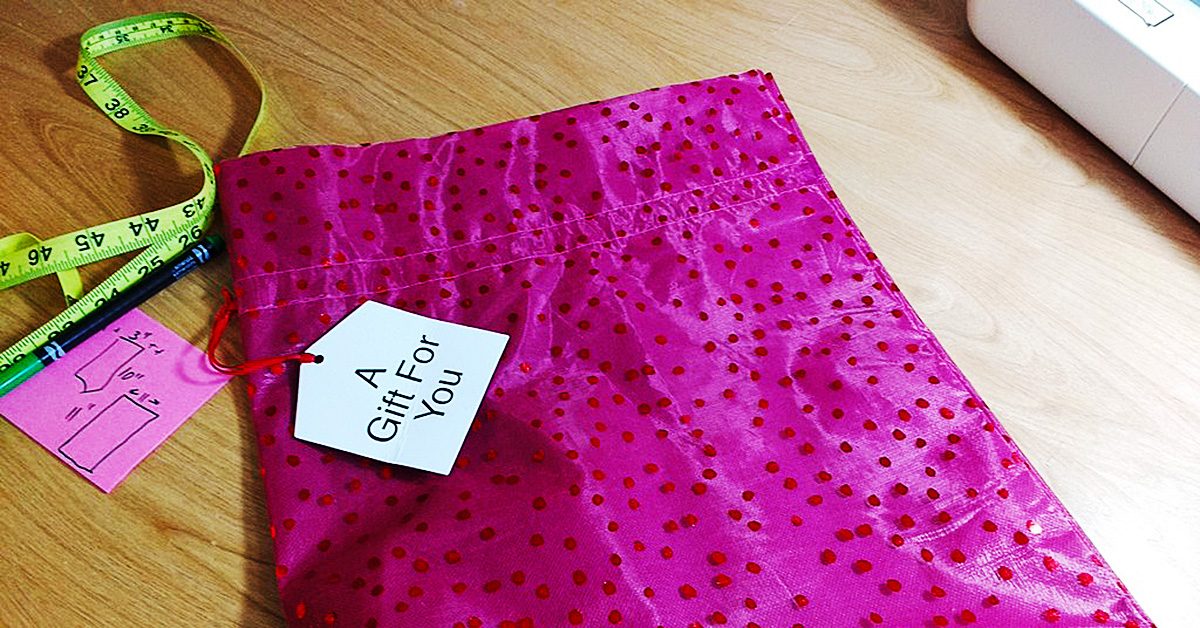
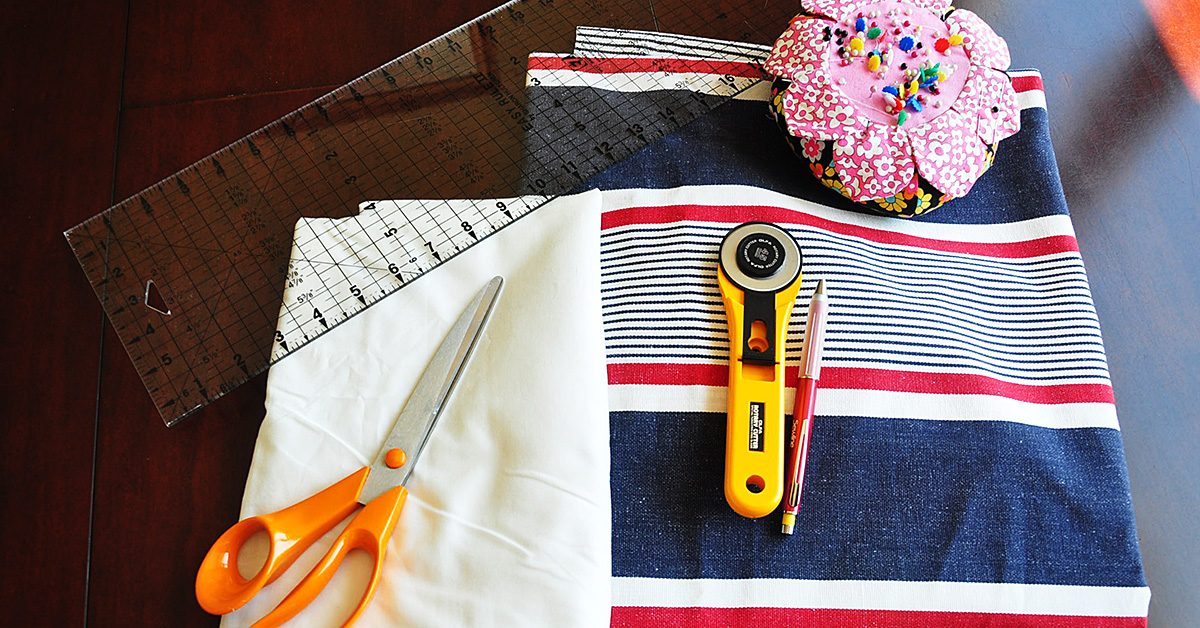
Weighing the pros & cons of sewing project kits.
This week, I found myself considering one of those preference details, and that involves pre-assembled kits for sewing projects. Some people might love these kits for their sewing craftiness, and others might feel that the kits come with more negative details than positive. So, as you might’ve guessed, this is the subject for today’s post: Weighing the pros and cons of sewing project kits.
Pros:

If you choose the right kit, you can have the fabric & pattern that you need to create an impressive project at your fingertips just by making this one purchase.
If you choose the right kit, you can have the fabric and pattern that you need to create an impressive project at your fingertips just by making this one purchase. That’s most of the project-specific details in one package, minus things like thread and general sewing requirements. All in all, these are really convenient in that regard!
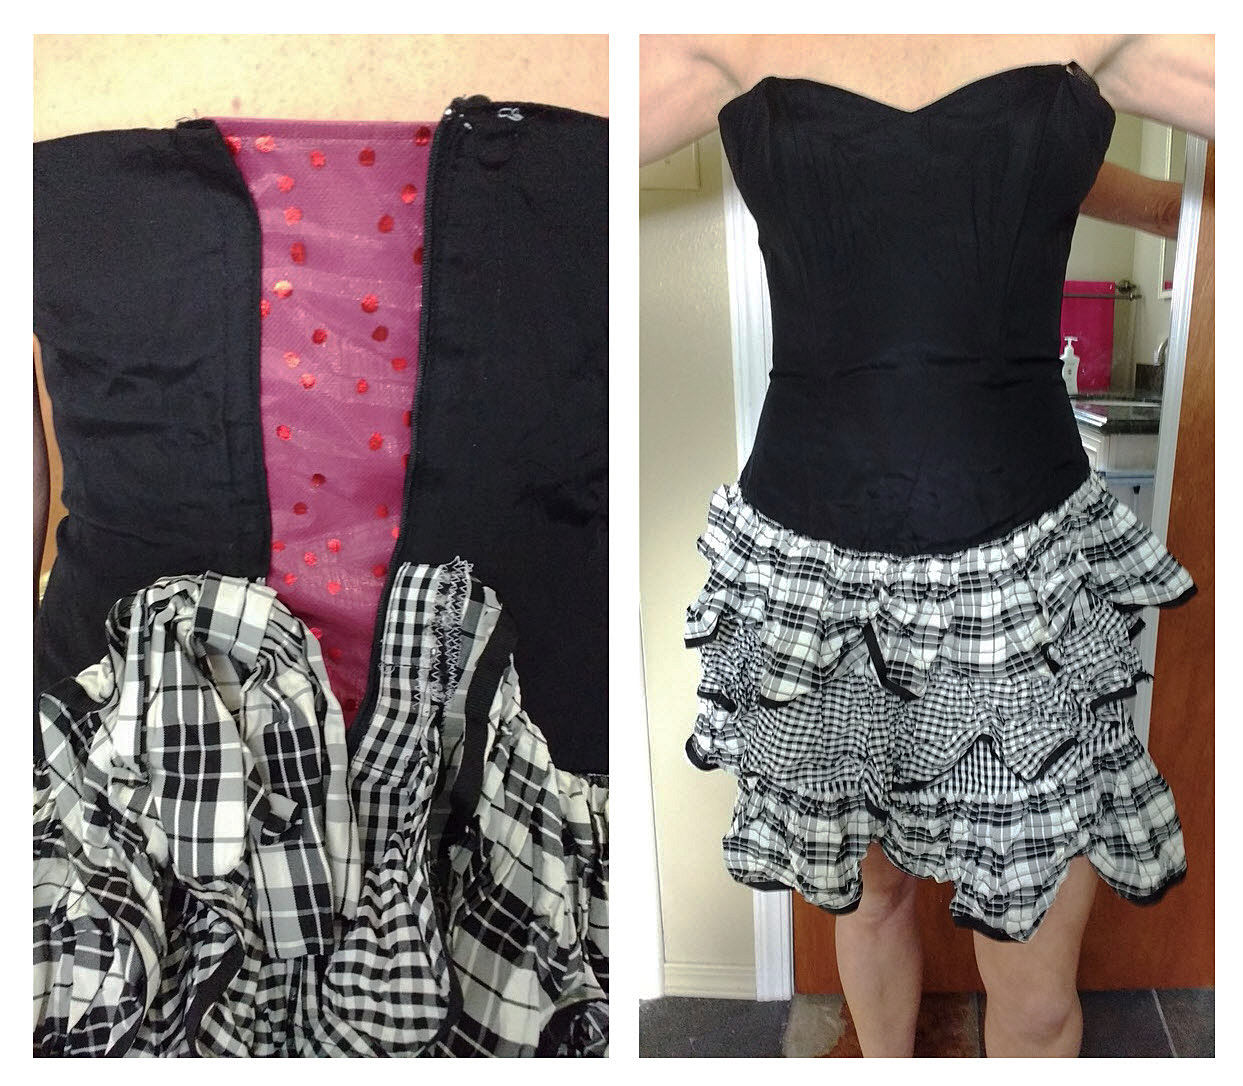
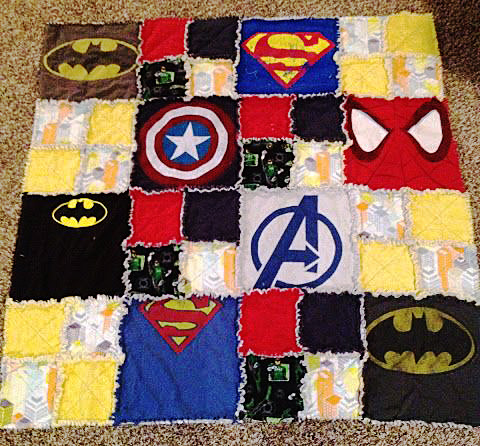
You can see an example of your finished project goal before you start. In fact, you can browse project kits until you find one you feel is perfect for your taste and purpose, and you’ll have the fabric to replicate the picture without having to piece together the appearance for yourself. I can’t tell you the number of times I’ve seen a project online that I wanted to be able to create, but something as simple as not knowing or being able to find the right fabric can lead to a very different final product. The idea that a pre-assembled kit can cut out that possibility is worth thinking over.
Some of these project kits can be fairly cheap. I’ve found some online for around or under $20—which isn’t that pricey if they come with fabric. Other options can be pricier, but if you stick within your budget, you could find a project kit that doesn’t break your bank account. Even if they are pricier, it’s worth considering how much buying the individual pieces for the projects would be without the kits since the prices might still be reasonable under that kind of inspection.
Cons:
These kits can lessen your input in projects.
These kits can lessen your input in projects. While providing the fabric can be a pro, as I said before, it’s also a potential con if you want a project that’s more yours than the sewing kit allows. Maybe you want a gym bag like the kit shows, but you’d rather have star-print fabric than what was provided. If that’s the case, then you’d probably do better searching for a free or cheap pattern and buying your own fabric. In that scenario, even $20 could be a bit much to pay.
The process could be so specific that it doesn’t really challenge an advanced sewing enthusiast. I find the same notion to be true in regard to pre-cut blocks of fabric. If too much work is done for you, you might not be pushing yourself to grow in your craft. Like with a number of other details in life, you have to give yourself space to grow if you want to improve. If everything is given to you pre-ready for assembling, you’re cheating yourself out of bettering your own preparation skills.
Costly regrets
If you have the wrong fabric, after all, you can’t necessarily create the project you intended.
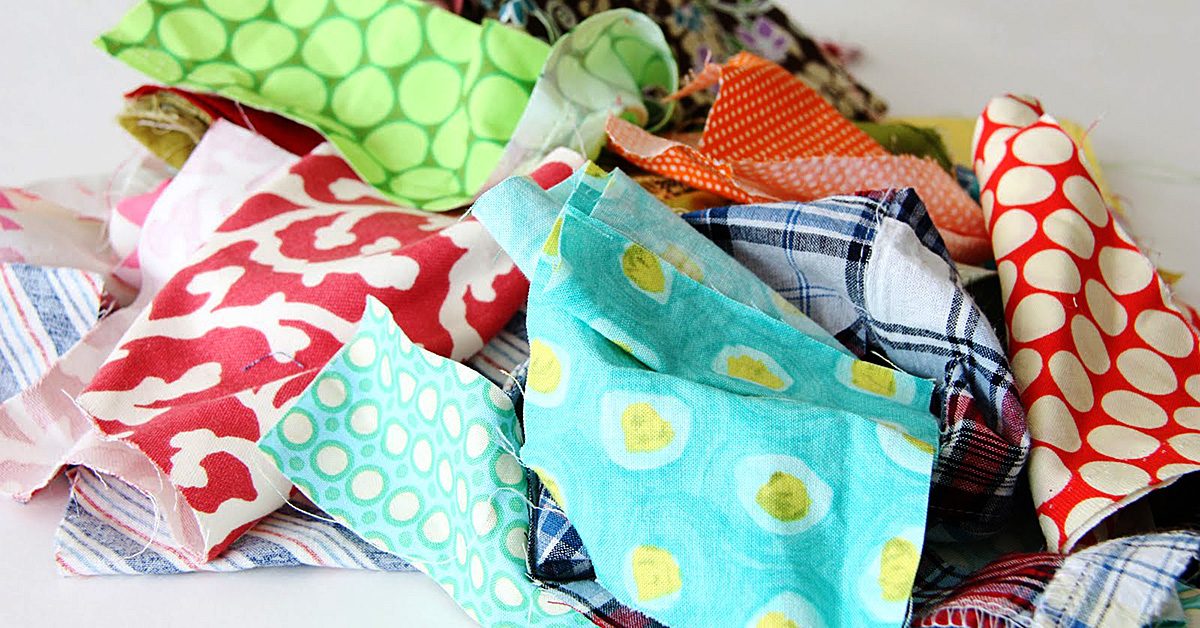
I’ve seen at least one review of a project kit where someone complained that the sent fabric didn’t match up perfectly to what was on the project kit image. I can’t say for sure if this is the case, and even it is, all kits wouldn’t automatically come with the same flaw. Still, it’s worth noting that at times, this could be an issue that makes the kit less impressive than expected. If you have the wrong fabric, after all, you can’t necessarily create the project you intended. Additionally, if the fabric you do receive is so against your taste that you have to replace it, then we’re back to point #1 on the cons list because removing the fabric from the kit lowers its value to where the price could be too much. Who wants to pay for a kit that’s supposed to include fabric, then have to buy extra fabric? Not me!
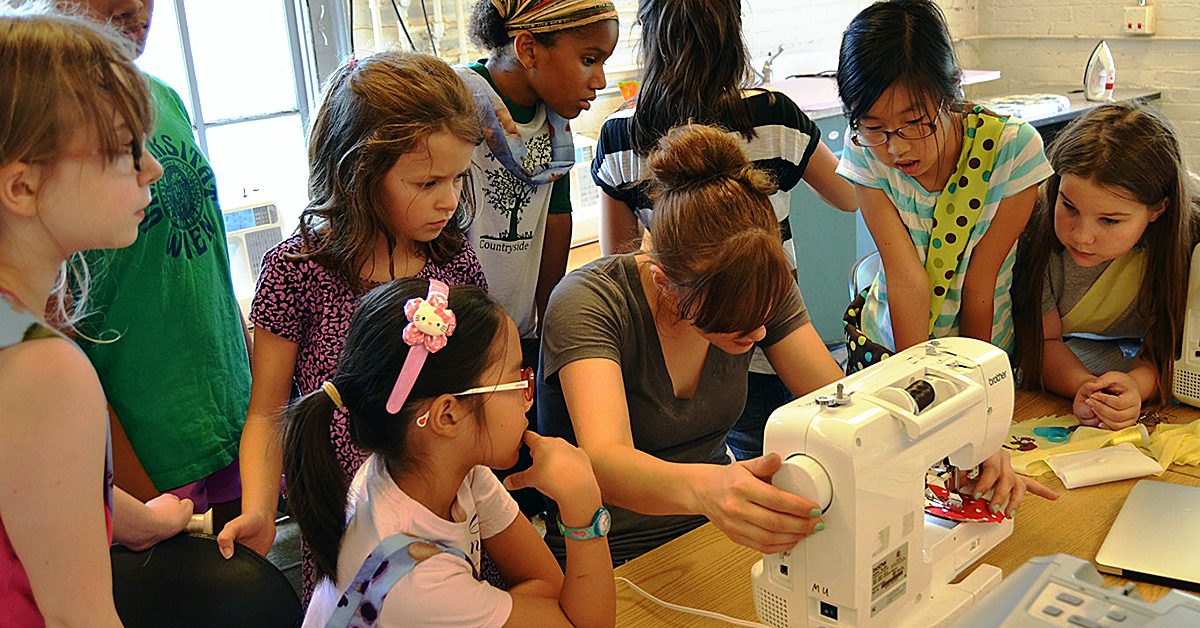
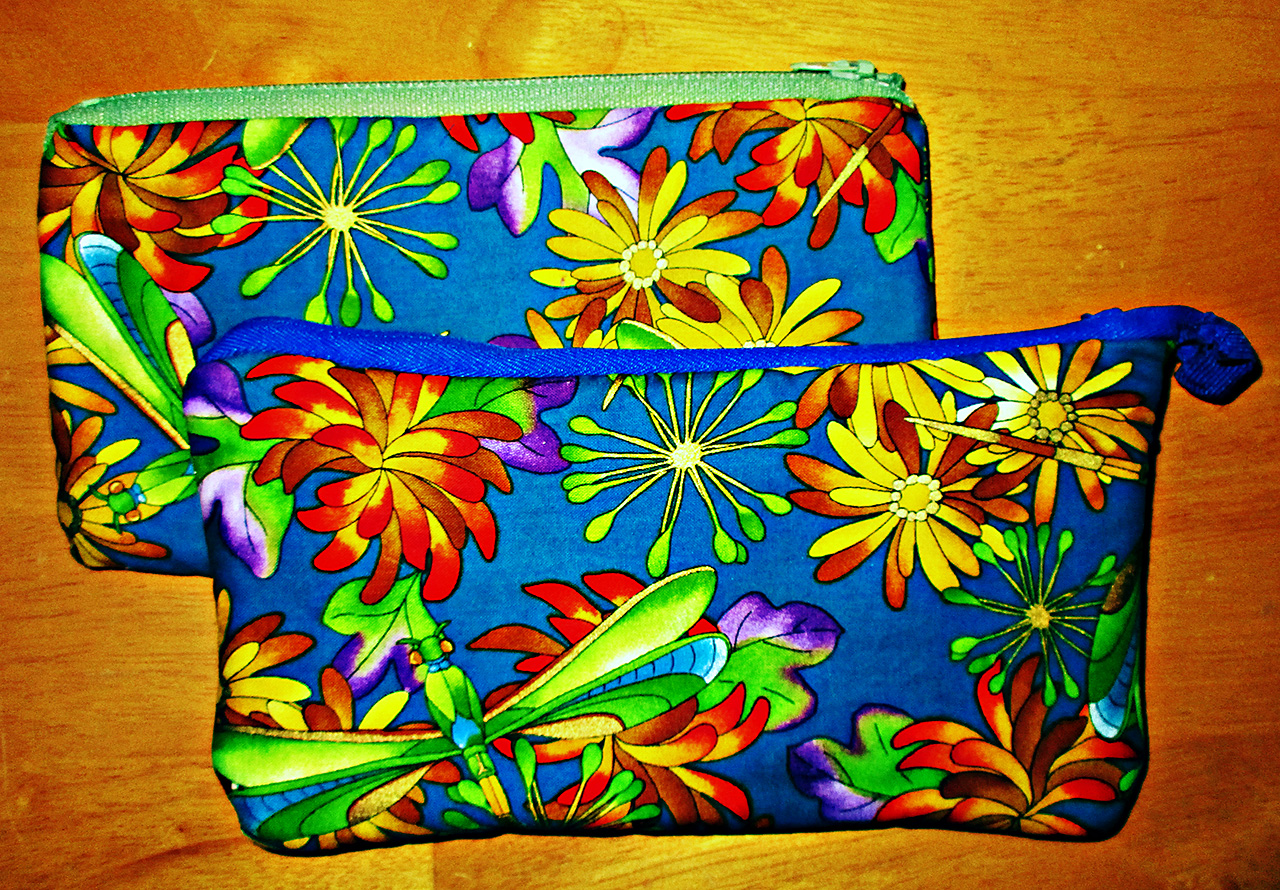
Given though that con #3 is based on a review that I can’t prove or disprove, I still feel like trying one of these project kits could be worth the money for a person who’s new to sewing, or at least new to sewing a specific product. I’d love to try to sew a purse, for instance, but it’s something I’ve never done. Using a kit could ease me through my first purse and help me get some familiarity with the process before I step into the world of purse-sewing more on my own.
So, I guess my thoughts now are that these sewing kits can be great for beginners, but those with more sewing experience might find them too simple and dictated to fully embrace.