
The film and television business has many safety precautions in place. Productions almost always have a Stunt Coordinator to supervise and choreograph any type of fight or daredevil action scene. Actors and actresses often have stunt doubles who will perform most of the really ‘dangerous’ bits. Big name actors usually have a regular stunt double who always works with them no matter what show or film they are on.
What this means costume-wise, is that we need to dress the double in exactly the same clothes as the actor. Many times, both the stunt and actor themselves will require multiple outfits of the same thing.
Love / hate
I have a love-hate relationship with multiples. On the one hand, it can be super boring to do the same alteration on the same pair of pants, or jacket, or whatever six to ten times. On the other hand, it can be a very zen experience: doing the same thing over and over kind of puts you into a rhythm where everything flows naturally and without much thought. I prefer to do all the multiples at one time if possible.
When I lived in Austin, TX, I worked as a set costumer on many of the films directed by Robert Rodriguez: Spy Kids, Sin City, Grindhouse. His movies are very stunt heavy which makes his sets very active and interesting. The stunt coordinator for all the films I worked on for Mr. Rodriguez was a lovely and talented man named Jeff Dashnaw. Many of the actors and stunt actors were harnessed for various scenes. A stunt harness is similar, I suppose, to a climbing harness or rig. It’s made of heavy canvas and twill and sometimes has metal jump rings to facilitate the attachment of cables.
There are different types of harnesses, depending on what sort of action is required. Some are full vests and some are just a belt and leg straps. It’s up to the stunt coordinator to determine what harness should be used and where the cables should be attached in order to create the desired effect. There’s quite a bit of physics knowledge in all of that!
What to do when things go wrong
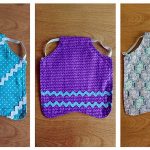
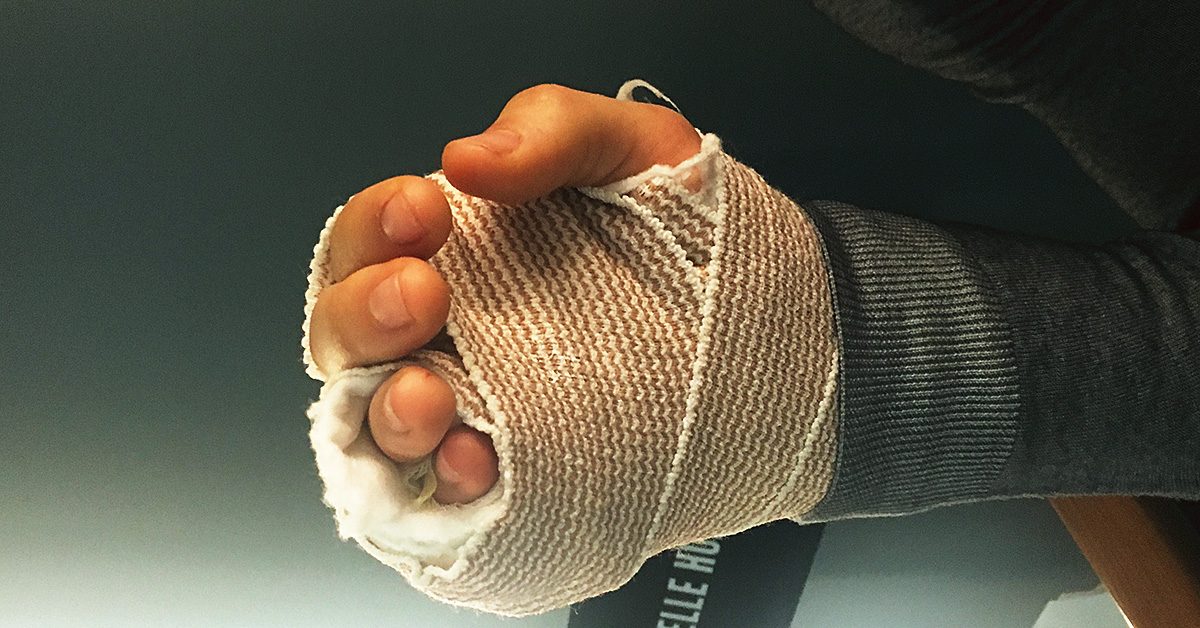
Things can go wrong sometimes and people can be injured. Thankfully, it doesn’t happen all that often. On a show I worked on recently one of the actors tore a ligament in his hand which, in turn, resulted in him having to wear a big, rather awkward cast. The task of trying to disguise this cast fell to the costume department.
The costume designer and I had to figure out how to make a glove of some sort to cover the cast.
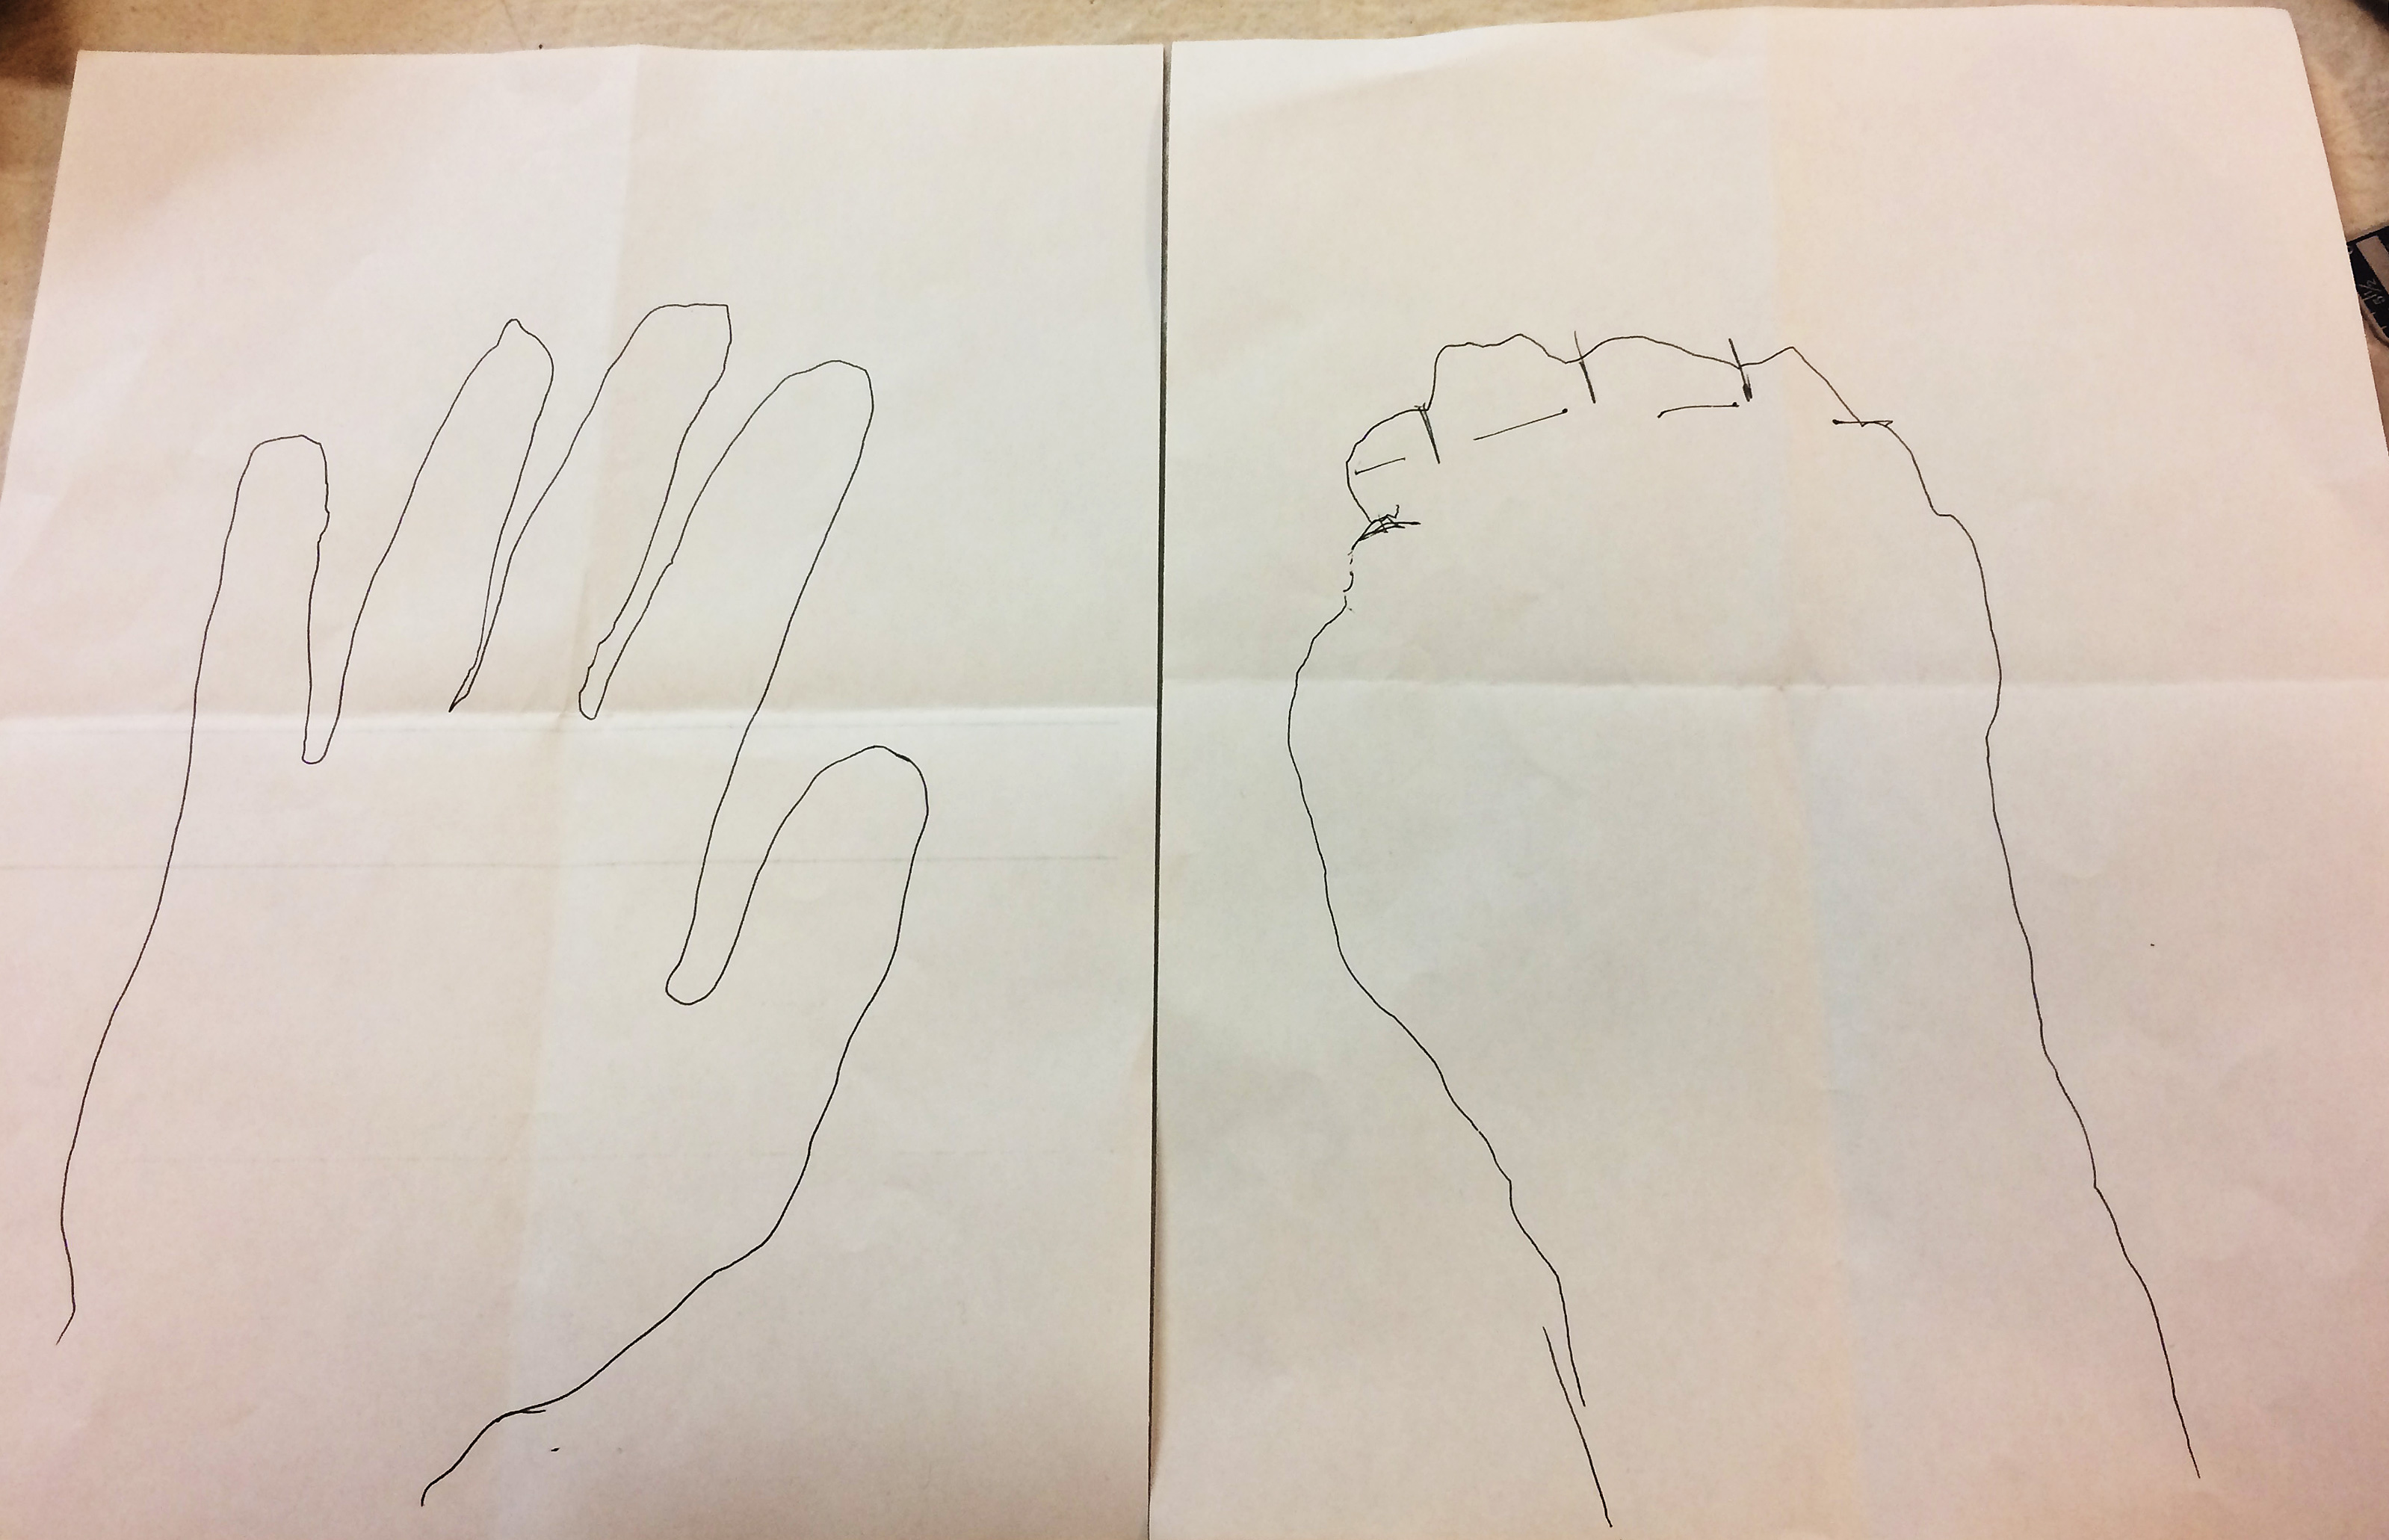
Tracing of hands.
First, we traced the actor’s hand in his cast.
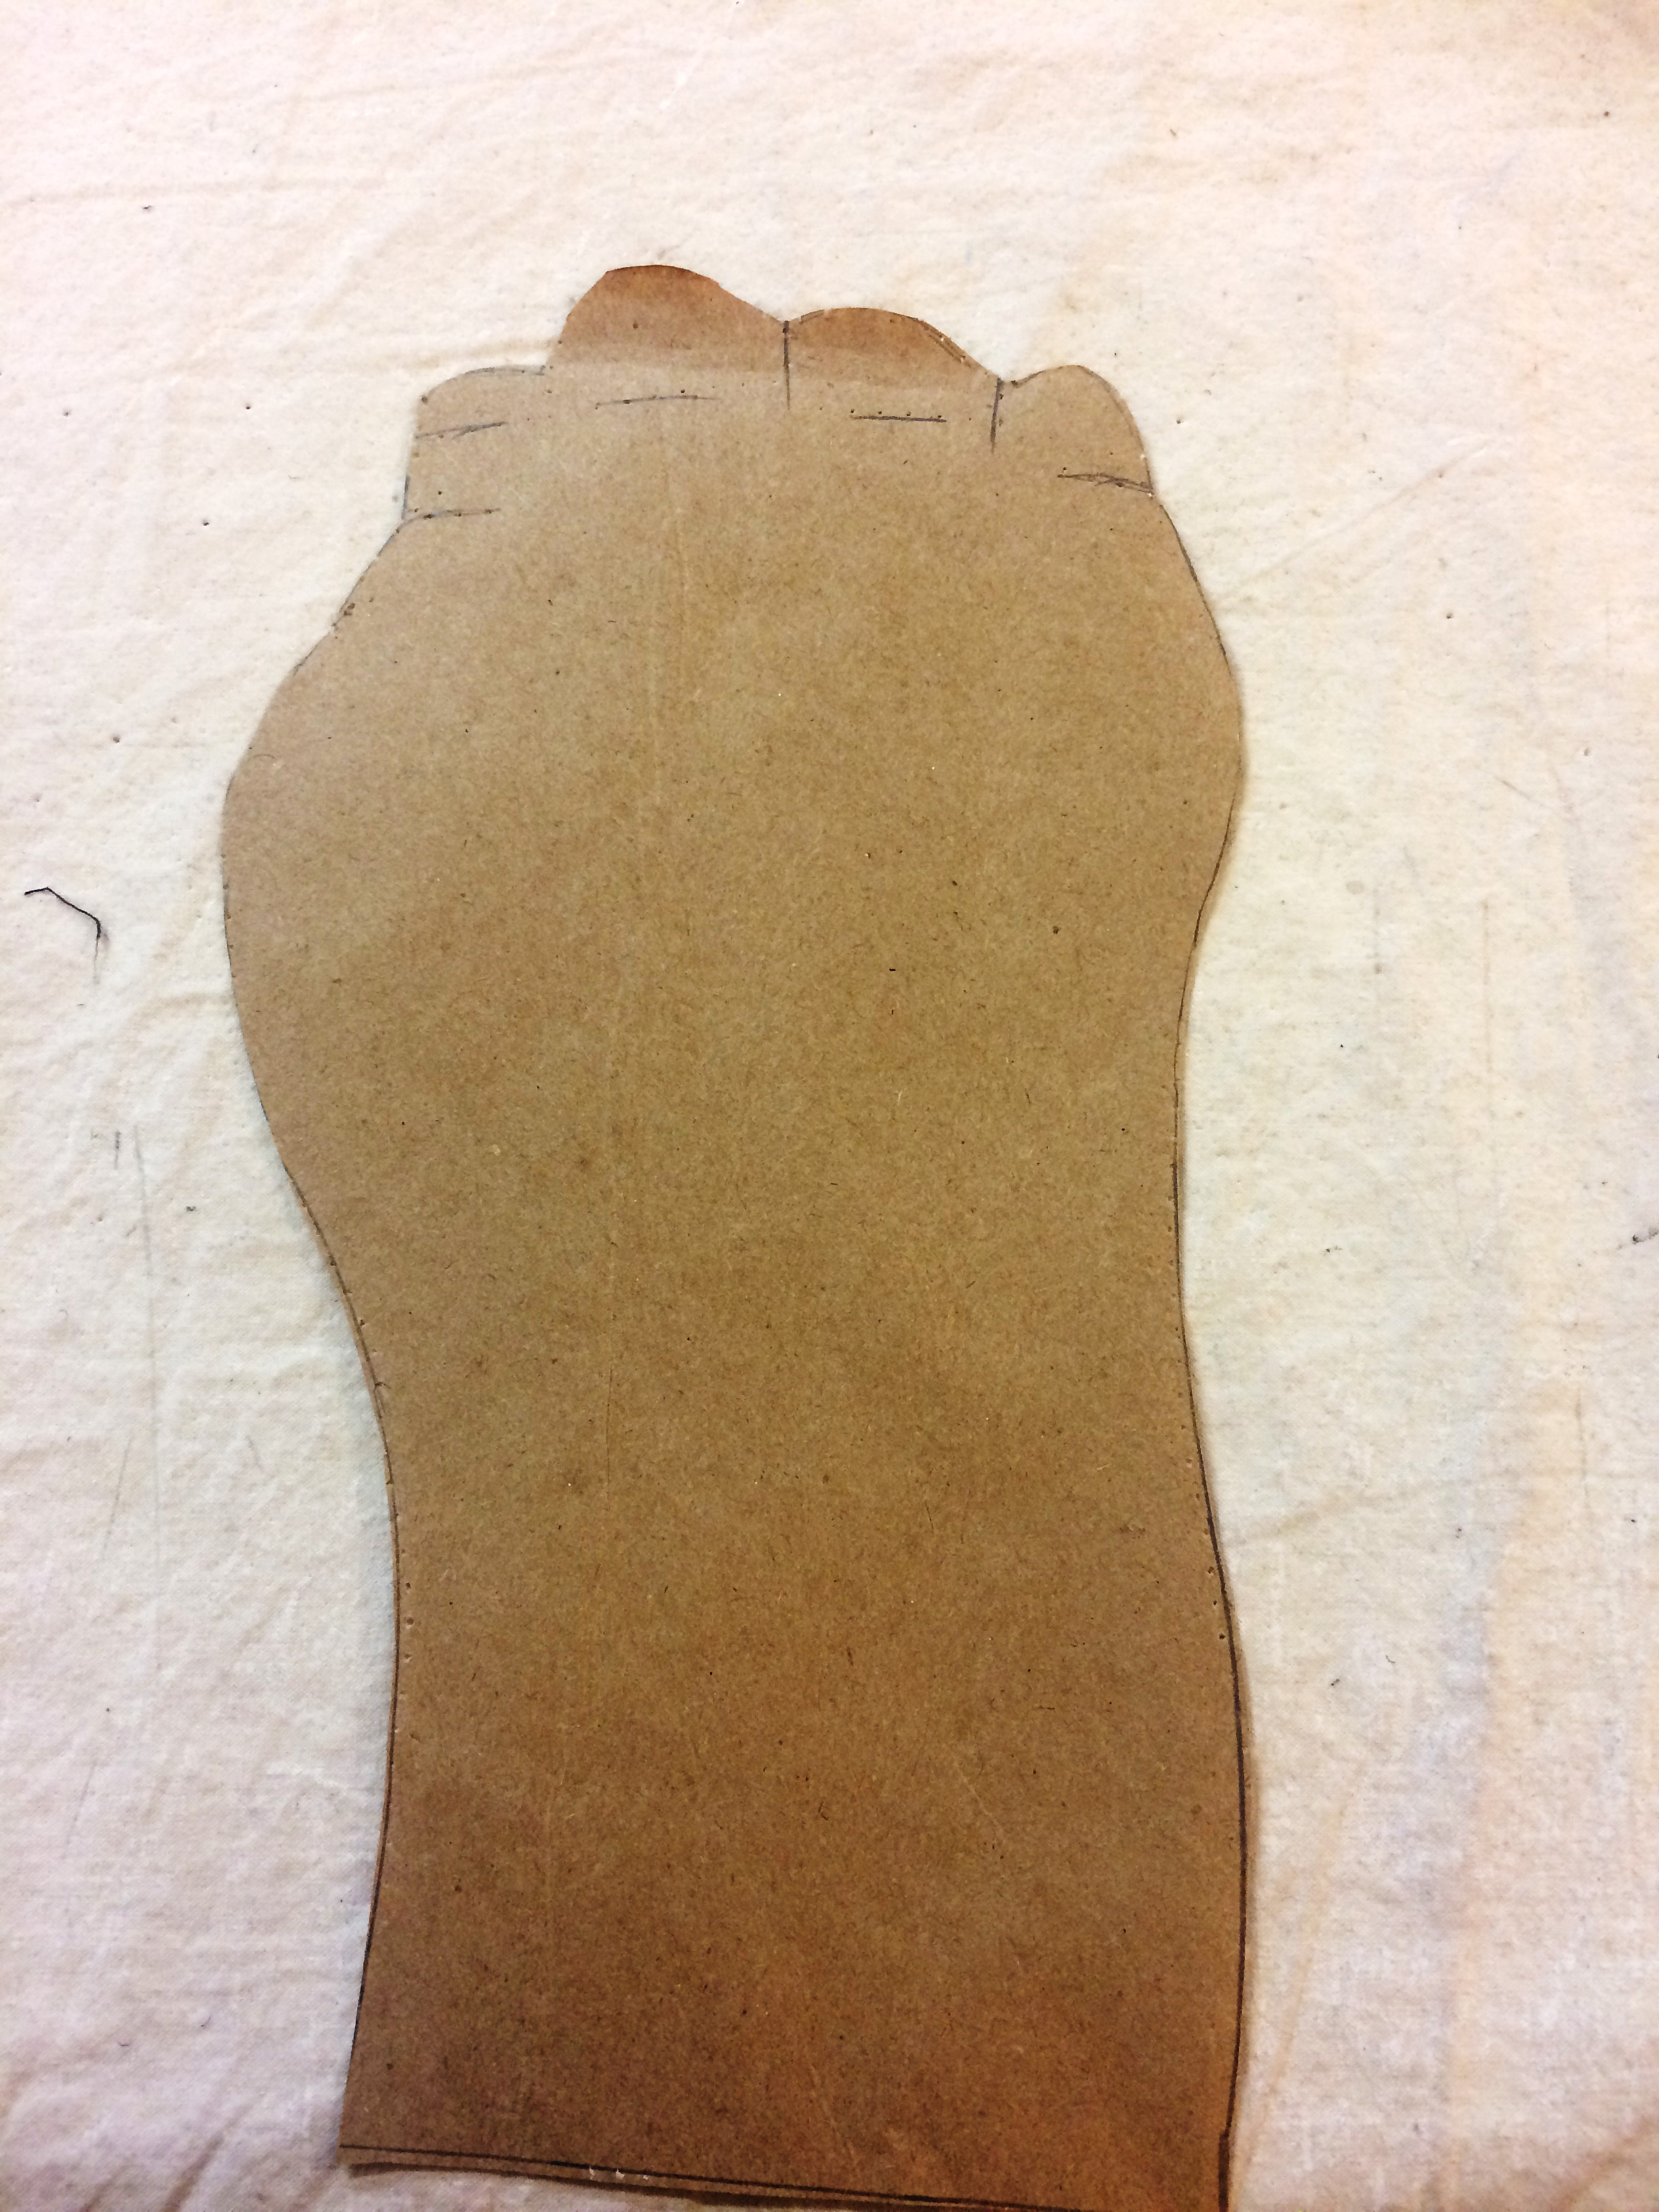
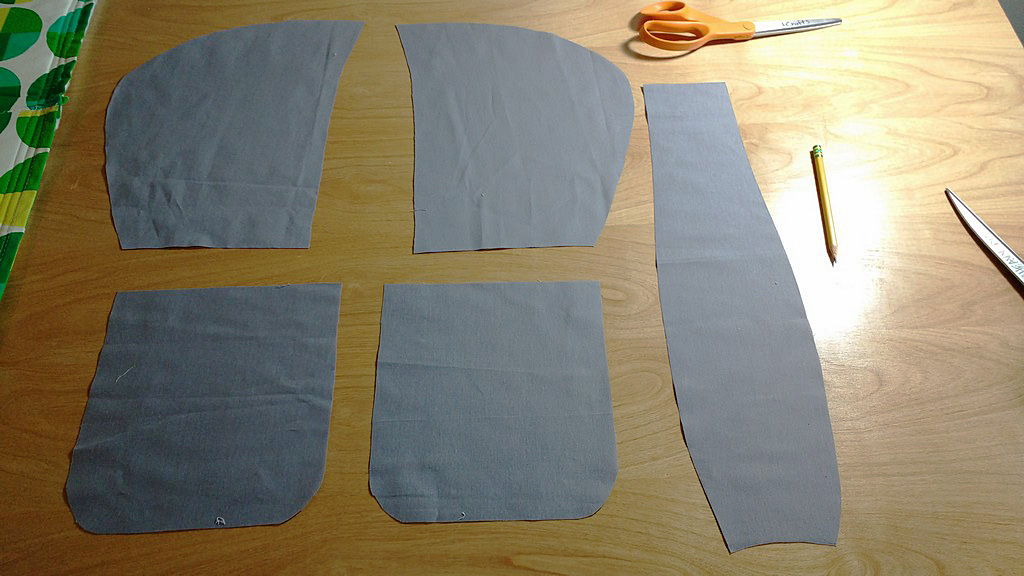
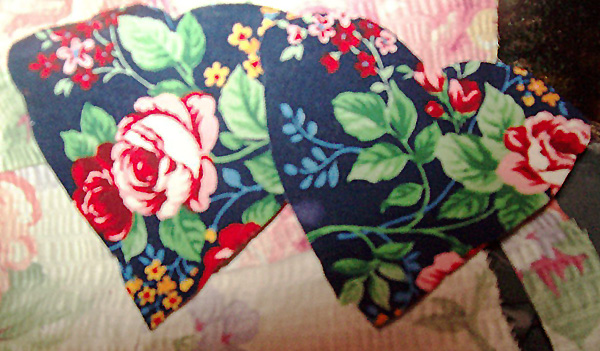
Make a pattern.
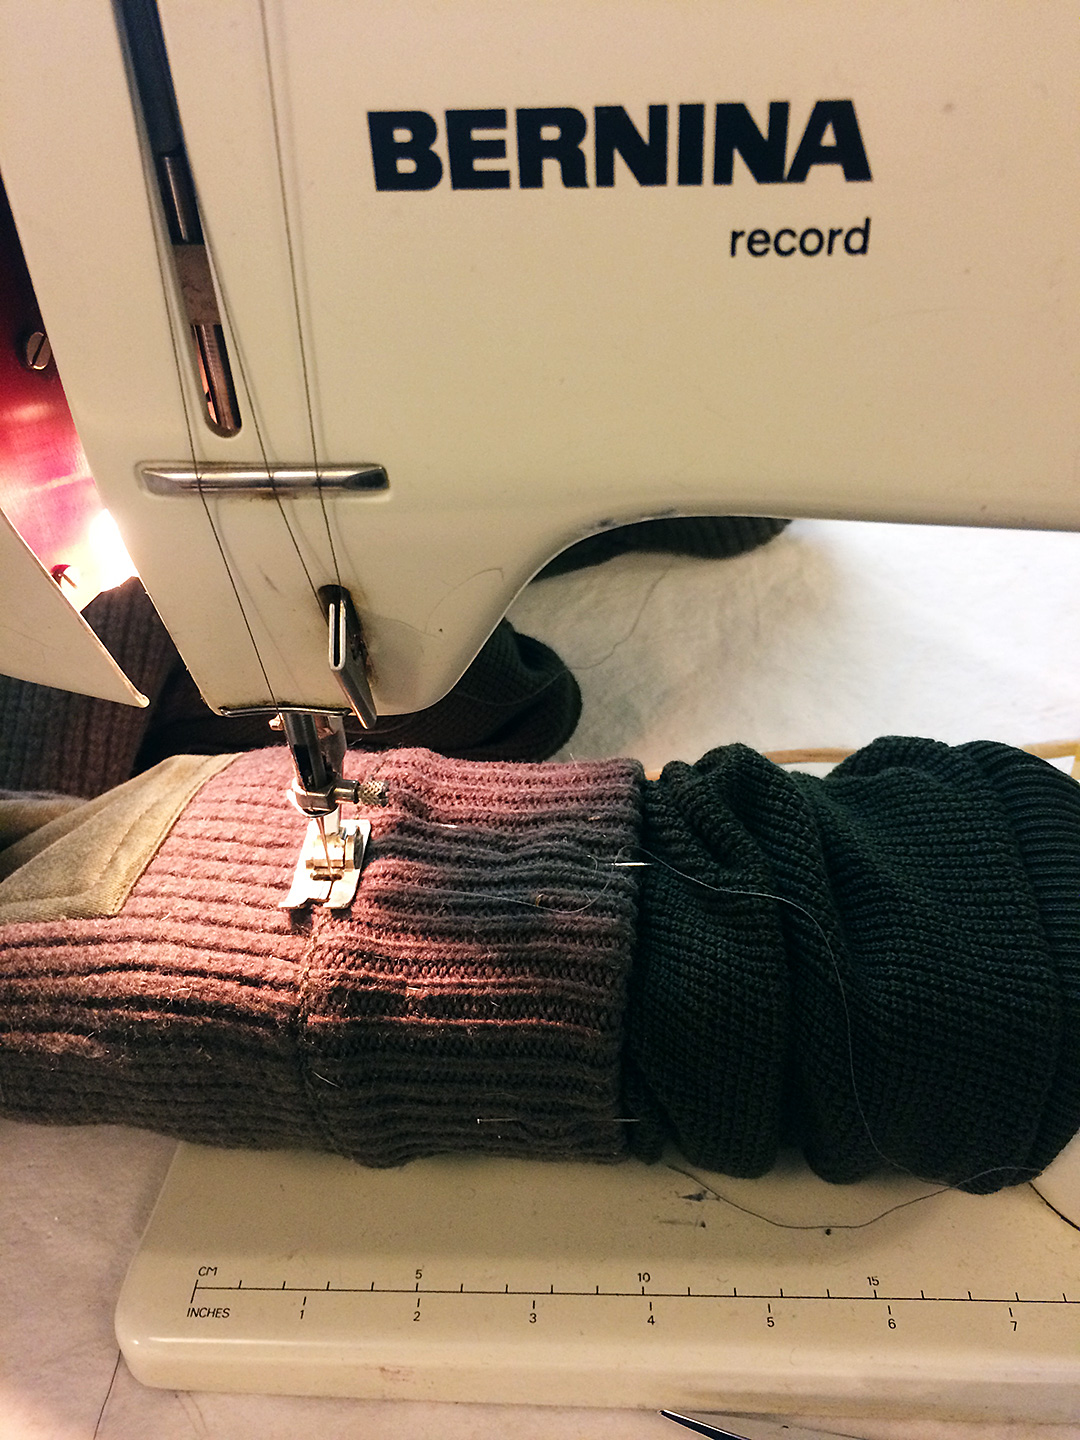
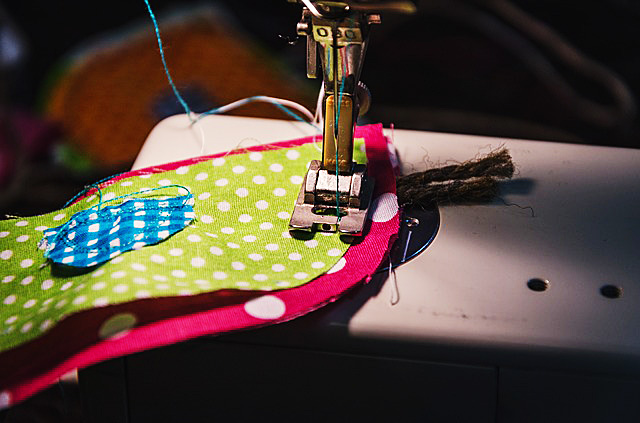
Next, I made a pattern of the tracing. Our idea was to use an existing glove, take it apart, stitch the fingers together (since his fingers are bound together), and add a new neoprene layer on the palm side.
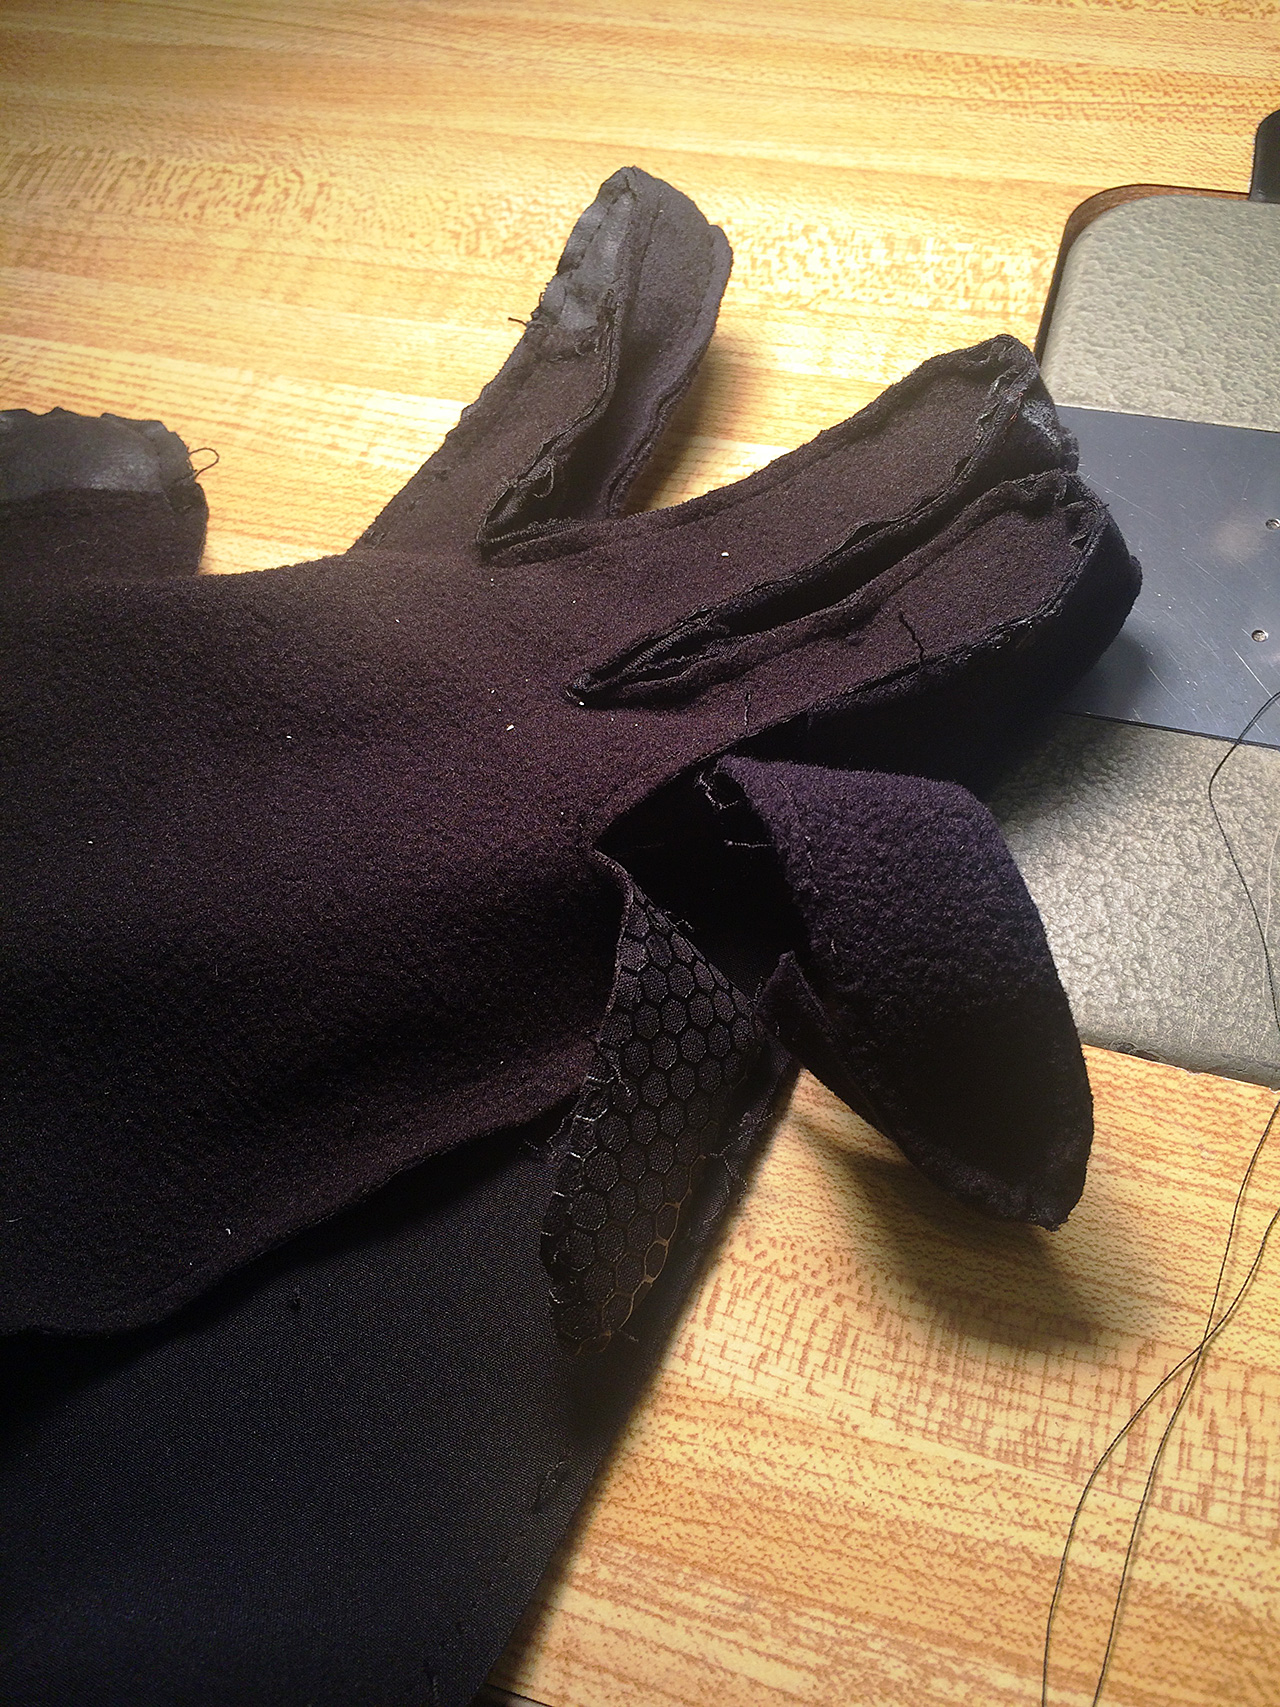
Taking apart an existing glove.
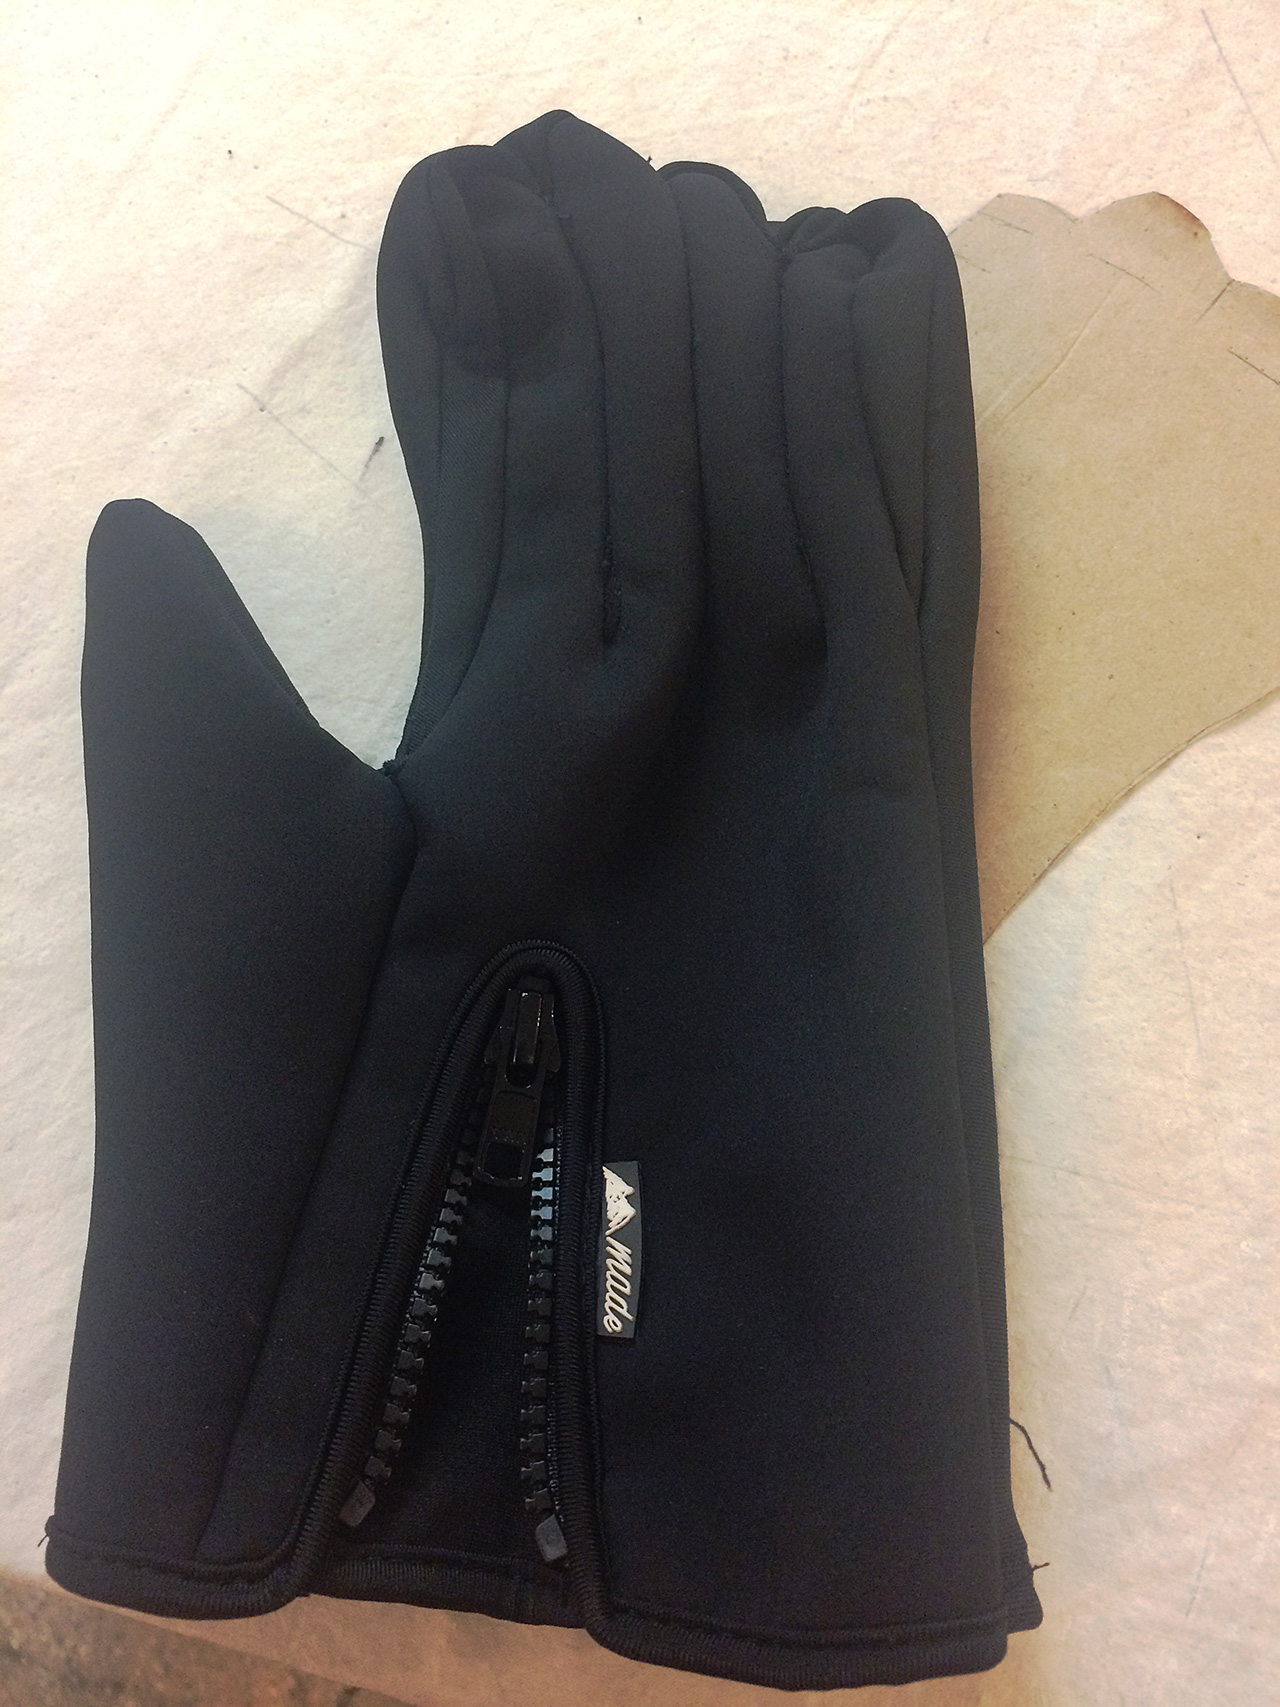
This was the first result: Not too bad.

First attempt at a glove to hide the cast.
Then we decided that it might look better to have the thumb separate so I did some modifications:
Attempt 2 with separate thumb.
Now, it’s a bit too small across the knuckles so I have to take the neoprene back off and recut a new, wider one, to add some width.
Being flexible is key
Projects like this are fairly normal in my sewing life. And if there’s one thing that seems to be true no matter what show I’m working on it’s that the costume department is almost always the ones tasked with finding solutions to a problem that no one else wants to deal with.
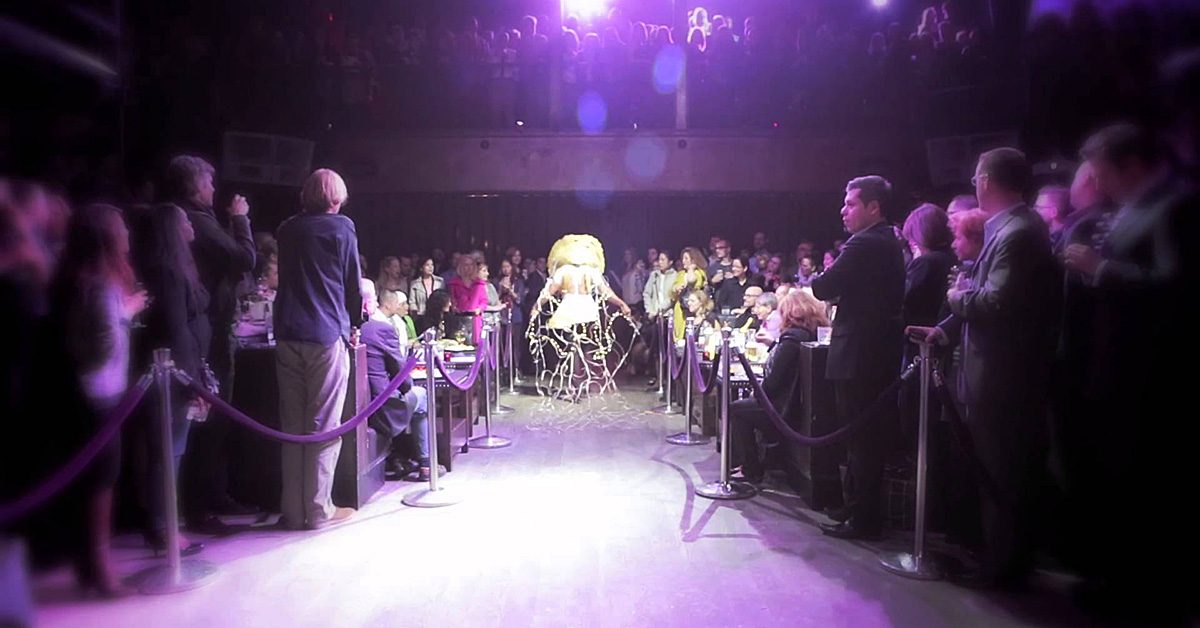
TV magic. It’s a real thing. This actually reminds me of an incident during Boardwalk Empire when I came to work one morning to find a shredded beaded dress on my table with a note that said, “Help! Please work your magic to fix this dress. It works again this evening.”
We did indeed manage to put the dress back together to get through one more night of filming but we sent it back to set with a note that read, “We are all out of magic for the week but did our best to bring this dress back from the dead. Love, The Costume Shop.”