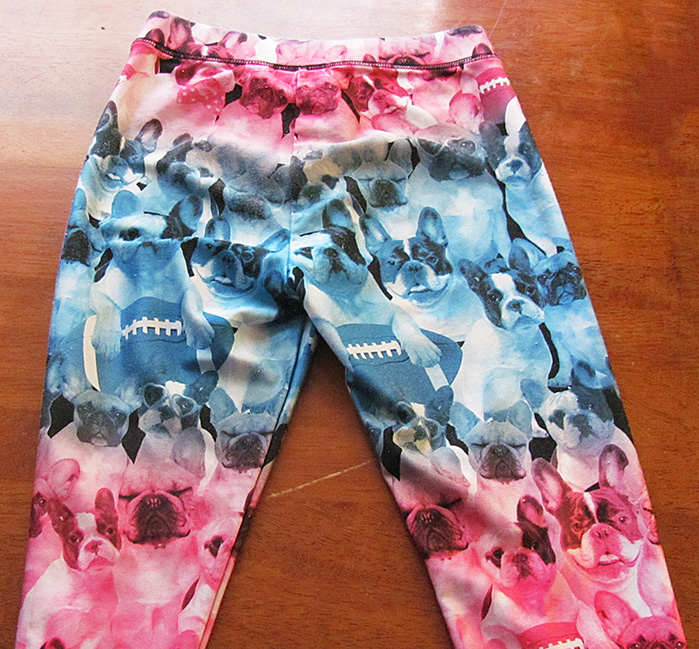
Awesome doggie leggings!
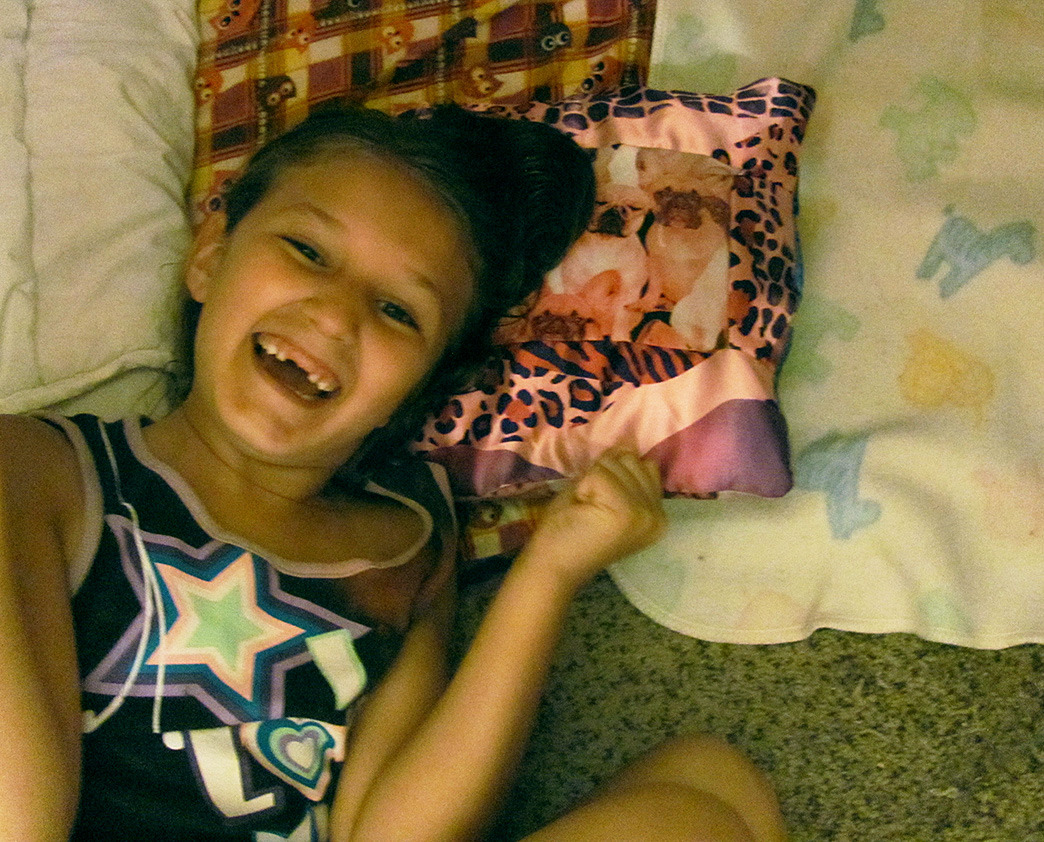
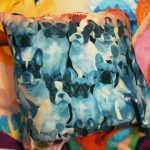
“Mom, my doggie leggings don’t fit anymore!! I love them, Mom, don’t throw them away!” To save these precious doggies for eternity, my daughter’s distress signal turned into the Doggie Leggings Pillowcase.
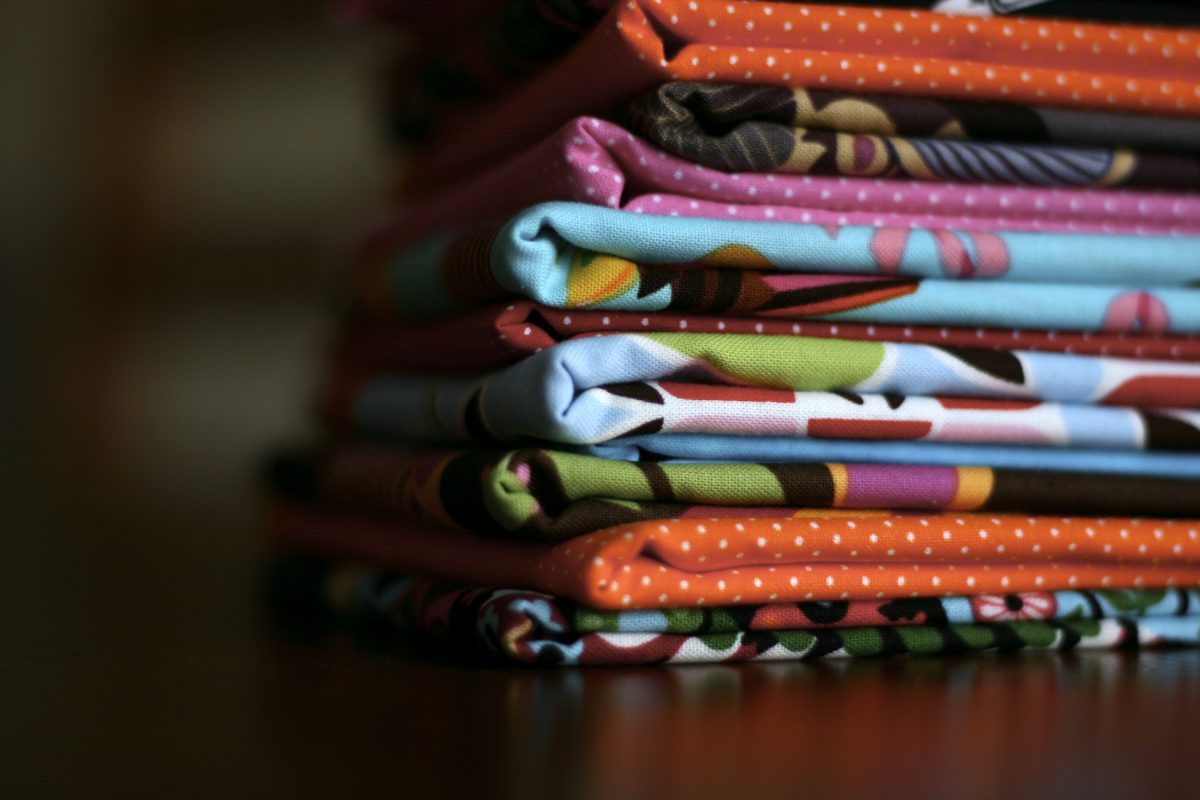
Leggings are a very popular fashion trend today. I’ve seen hundreds of unique, bright designs on websites, in stores, and worn by passers-by. I’ve admired many of the designs and agreed with my daughter that creating something with them would preserve their awesomeness 🙂
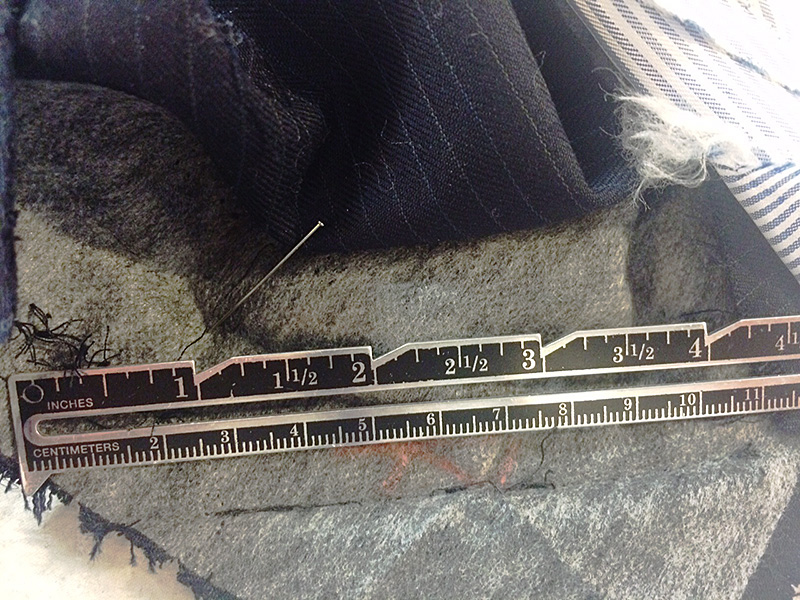
Fair warning, everything except the zipper was measured, cut, and sewn by my 7 yr old daughter. The pieces aren’t straight, the stitching is all off, the corners look funny. But that’s ok, it’s awesome the way it is because she made it. It turned out to be a great learning project for her. She’s super proud of it, and so am I.


Level: Beginner
Time to Complete: In An Evening
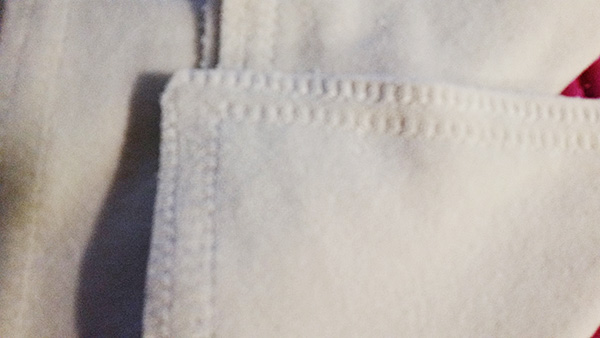
Sewn By Machine: 1/4 in. straight stitch
**Tip: Wash all new materials prior to use to avoid shrinkage when you wash it.
**ProTip: Iron cut pieces before sewing and in between each step. This helps in the sewing process as well as setting the stitches to lessen unraveling with age. Often, the end results tend to look more professional.
**All measurements based on a craft pillow I already had. Measurements should be adjusted to fit the size of the pillow you are working with. I typically add an extra 1/2″ to measurements when I do a zippered pillowcase to allow for the extra bulk of the pillow.
Materials:
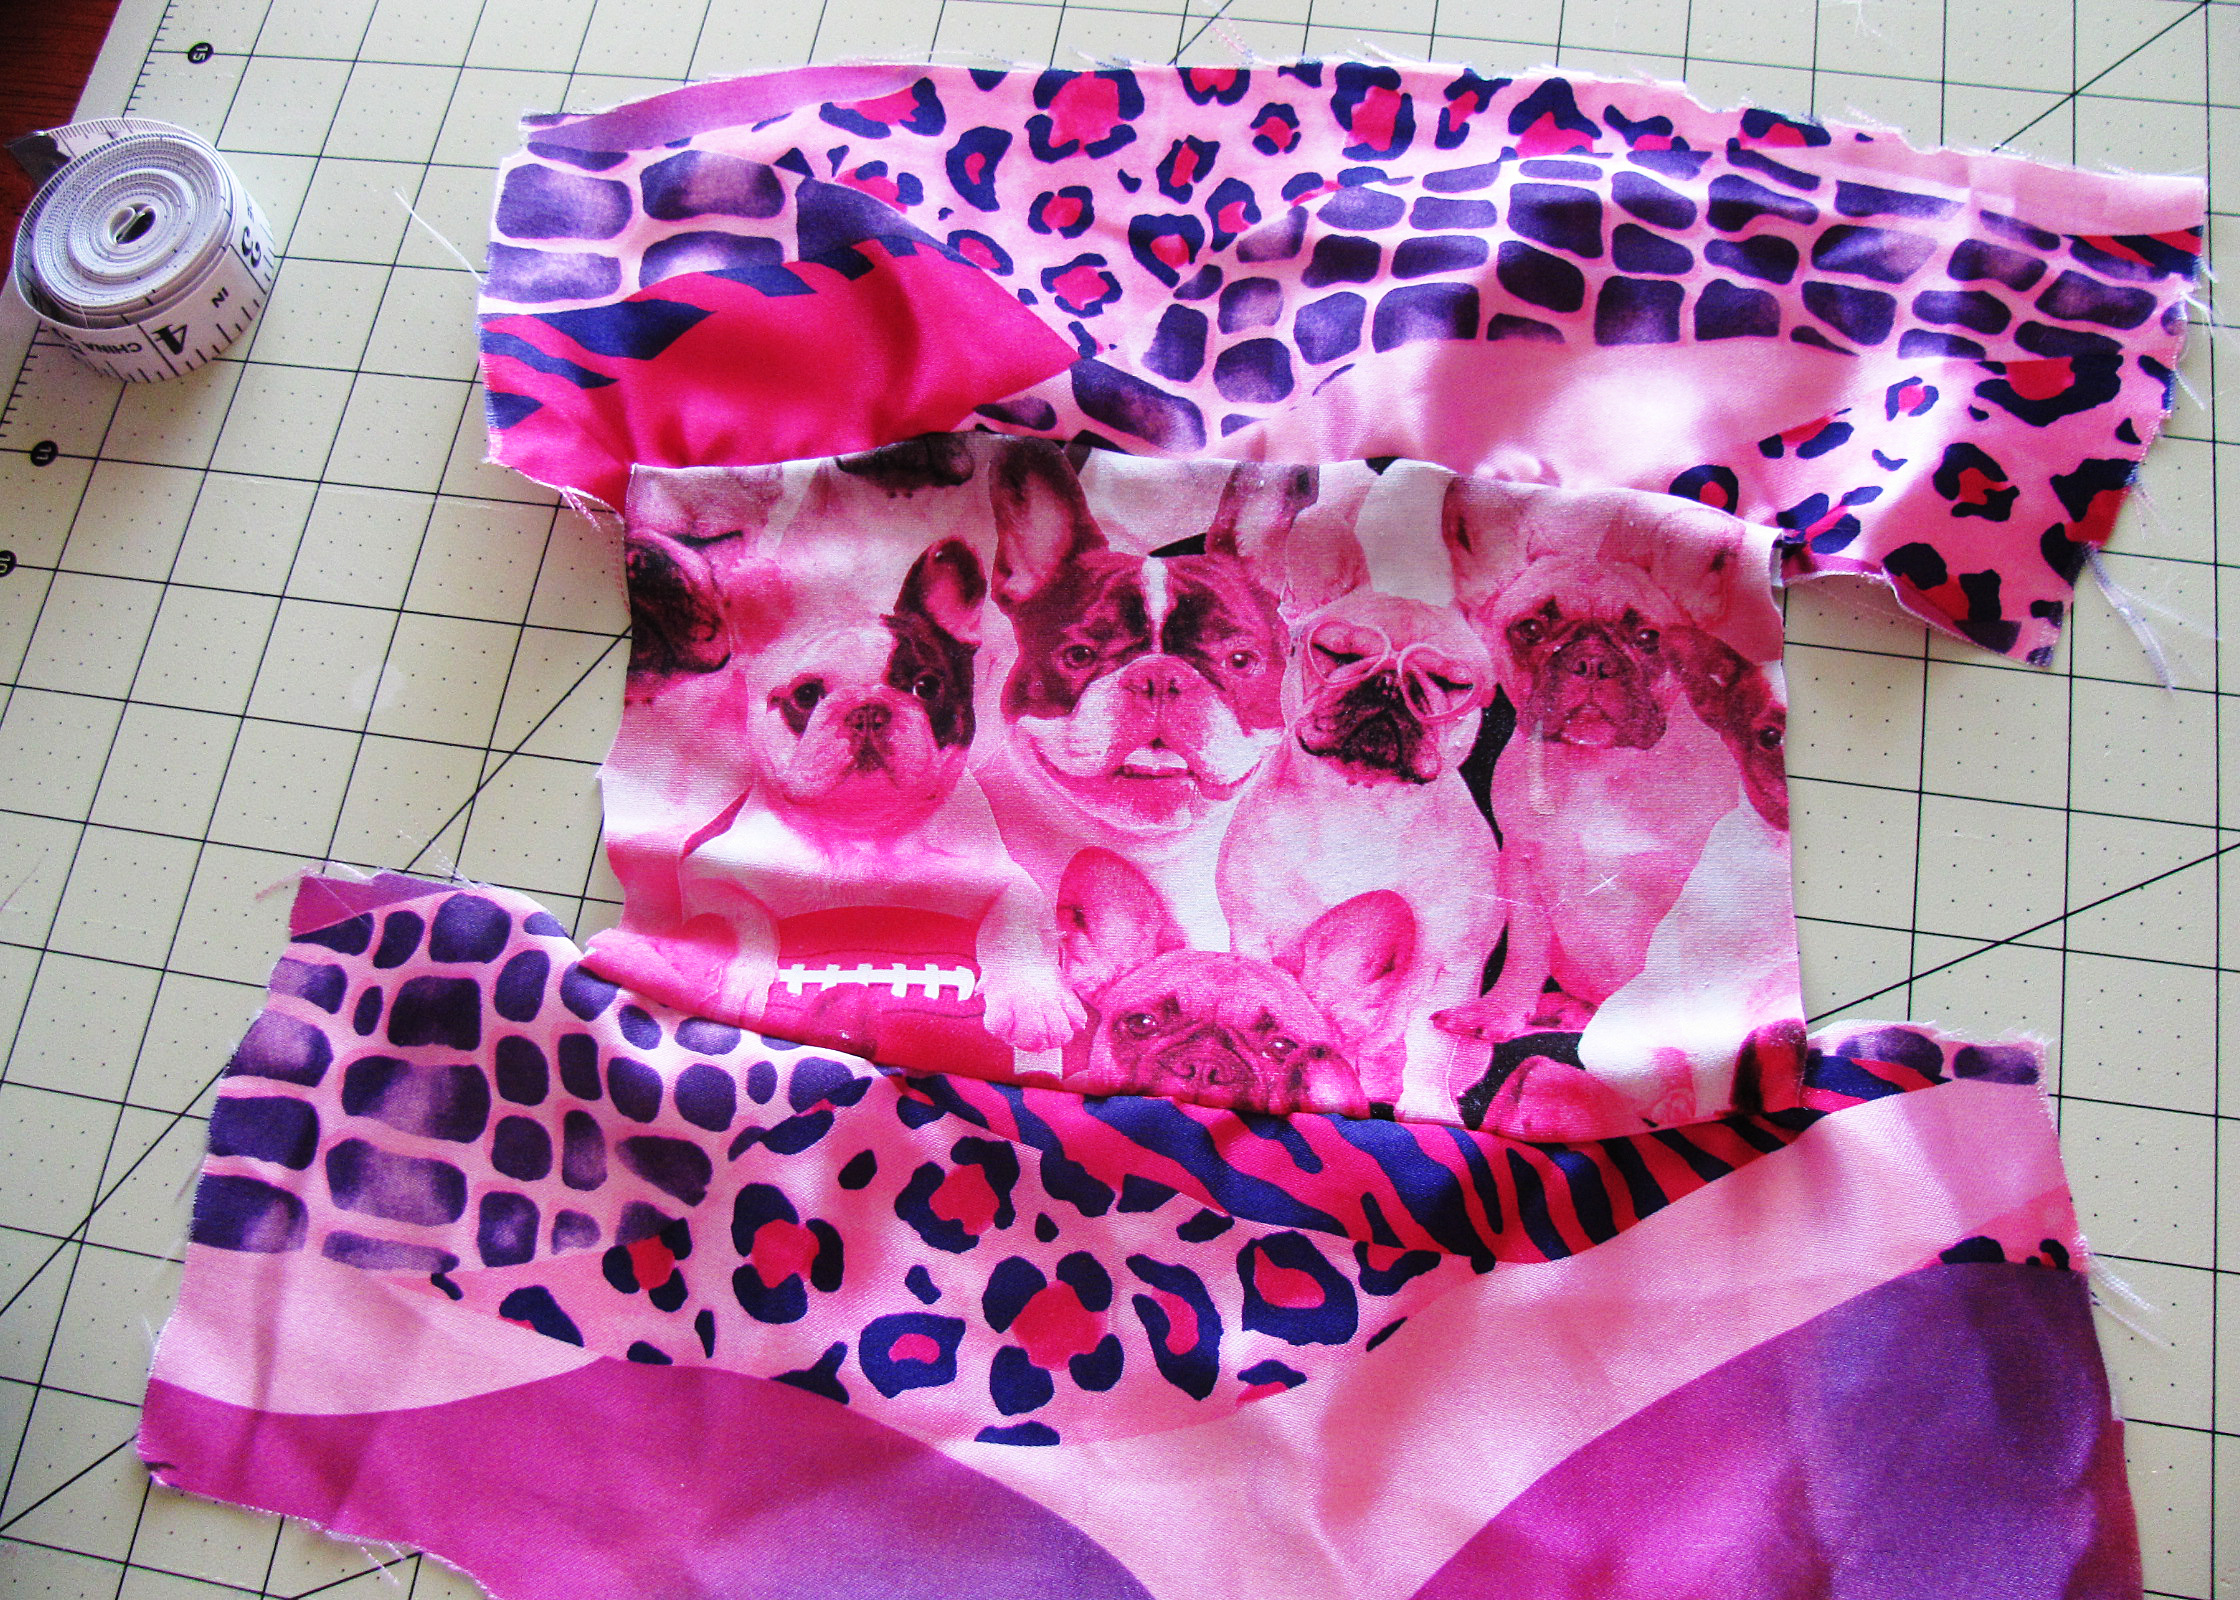
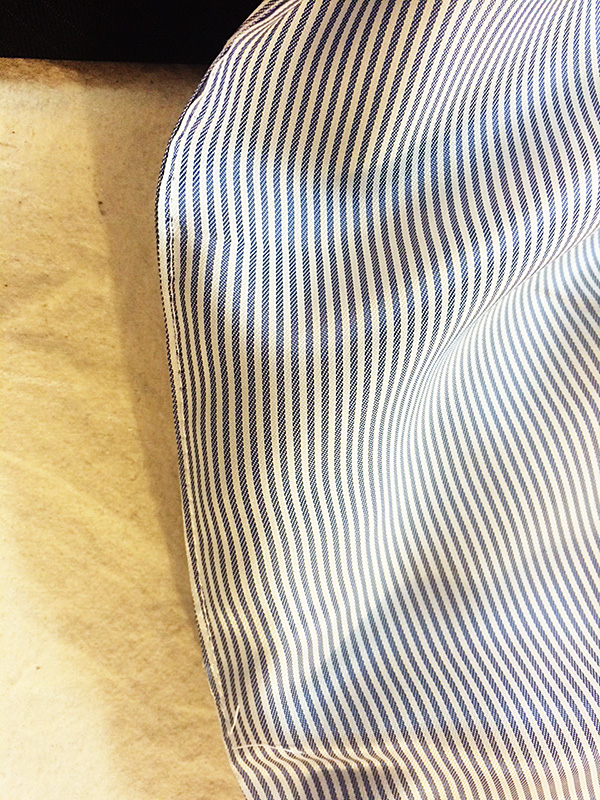
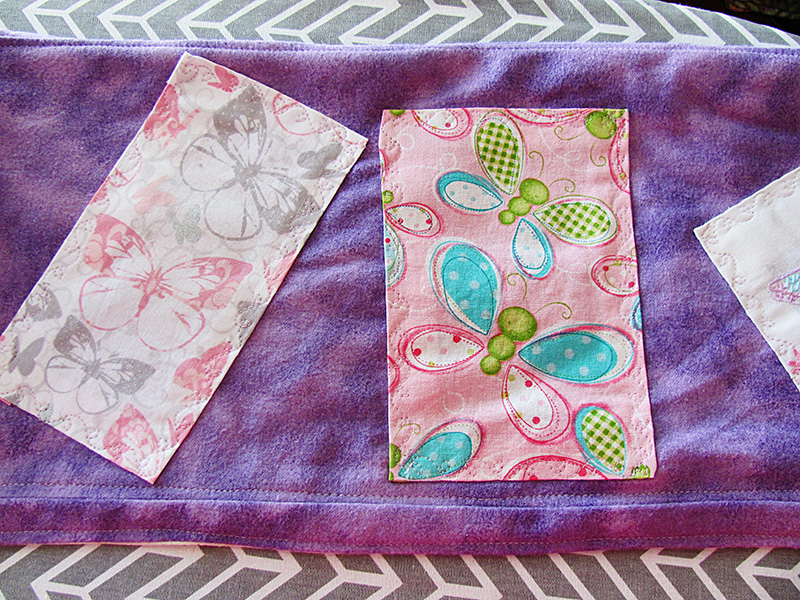
1 – 13″ L x 13″ W Leggings (side 2)
1 – 5″ L x 8″ W Leggings (side 1)
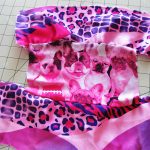
2 – 4″ L x 13″ W Pink/Purple Material (side 1)
2 – 6″ L x 3″ W Pink/Purple Material (side 1)
1 Zipper, Cut to Fit After Pillowcase is Finished – measuring for zipper after pillowcase is assembled helps ensure the zipper isn’t too short
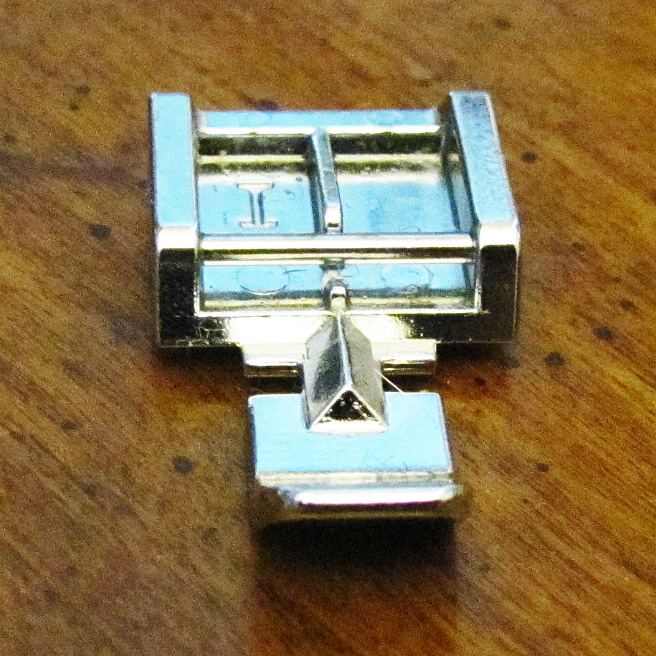
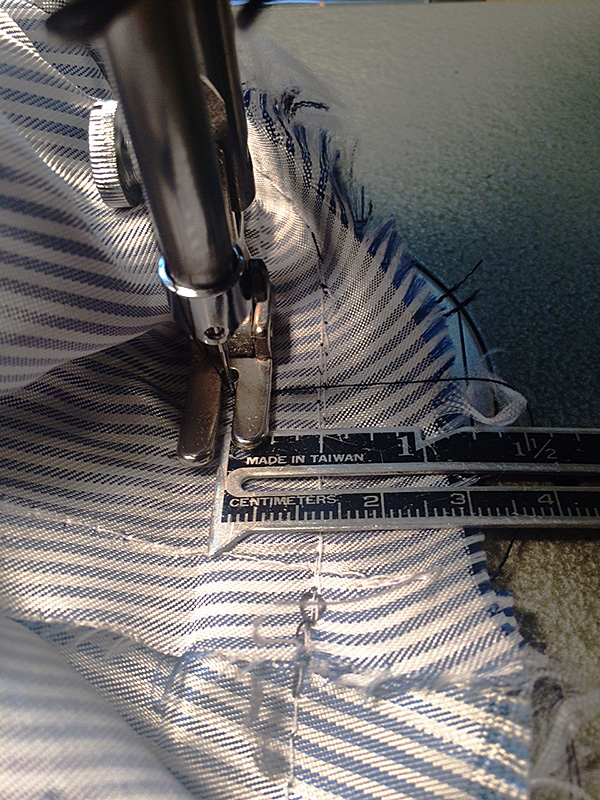
1 Zipper Foot – to use when sewing on zipper
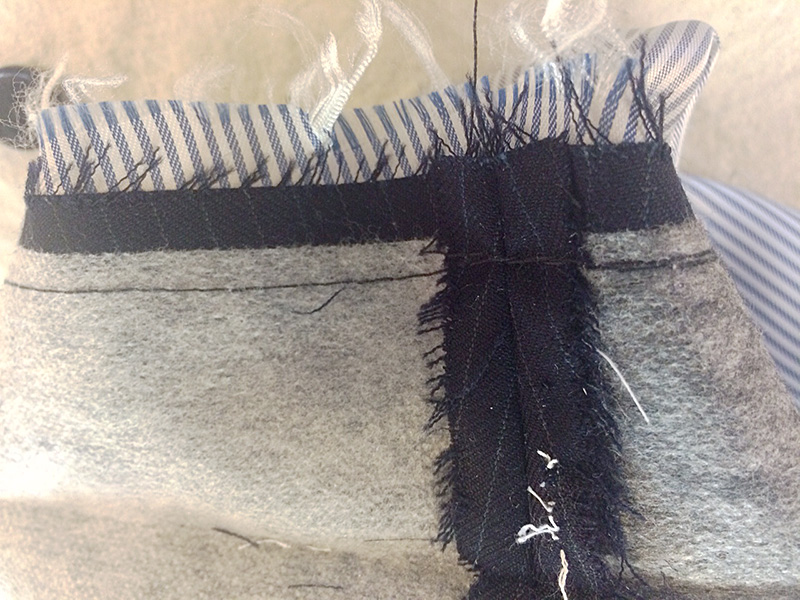
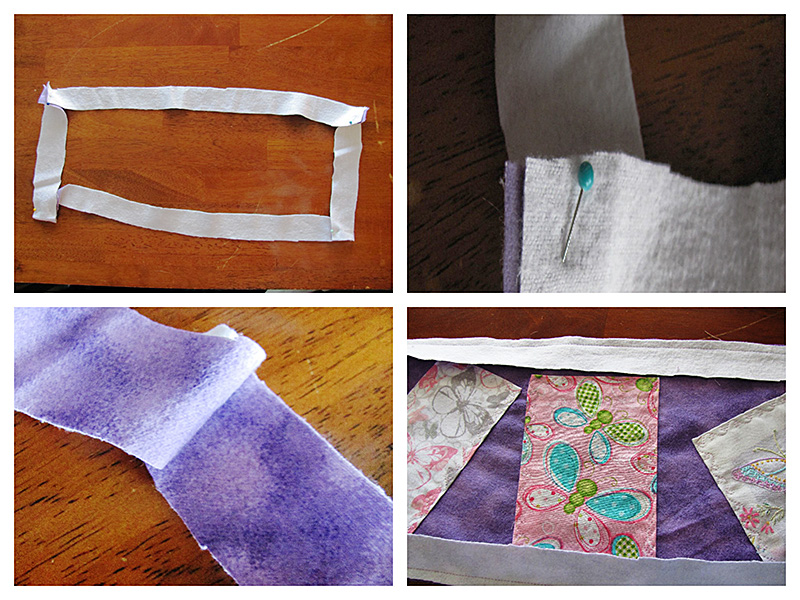
- Sew top strip to top of side 2 Leggings, right sides together. Repeat for bottom strip.
Step 1
- Sew right side strip to right side 2 Leggings, right sides together.
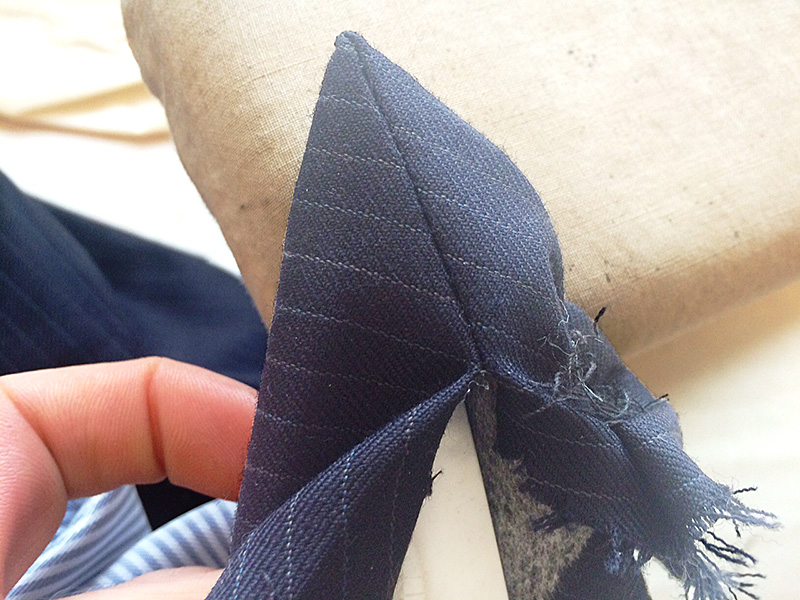
- Sew top of side strip to bottom of top strip. Make sure corner with Legging is sewed shut.

Attaching sides.
- Sew bottom of side strip to top of bottom strip. Make sure corner with Legging is sewed shut.
- Repeat steps 2-4 for left side strip.
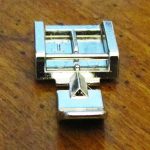
Zipper foot.
- Sew side 1 and side 2 right sides together on three sides only. Leave one side open for zipper.
- Trim corners. Turn right side out.
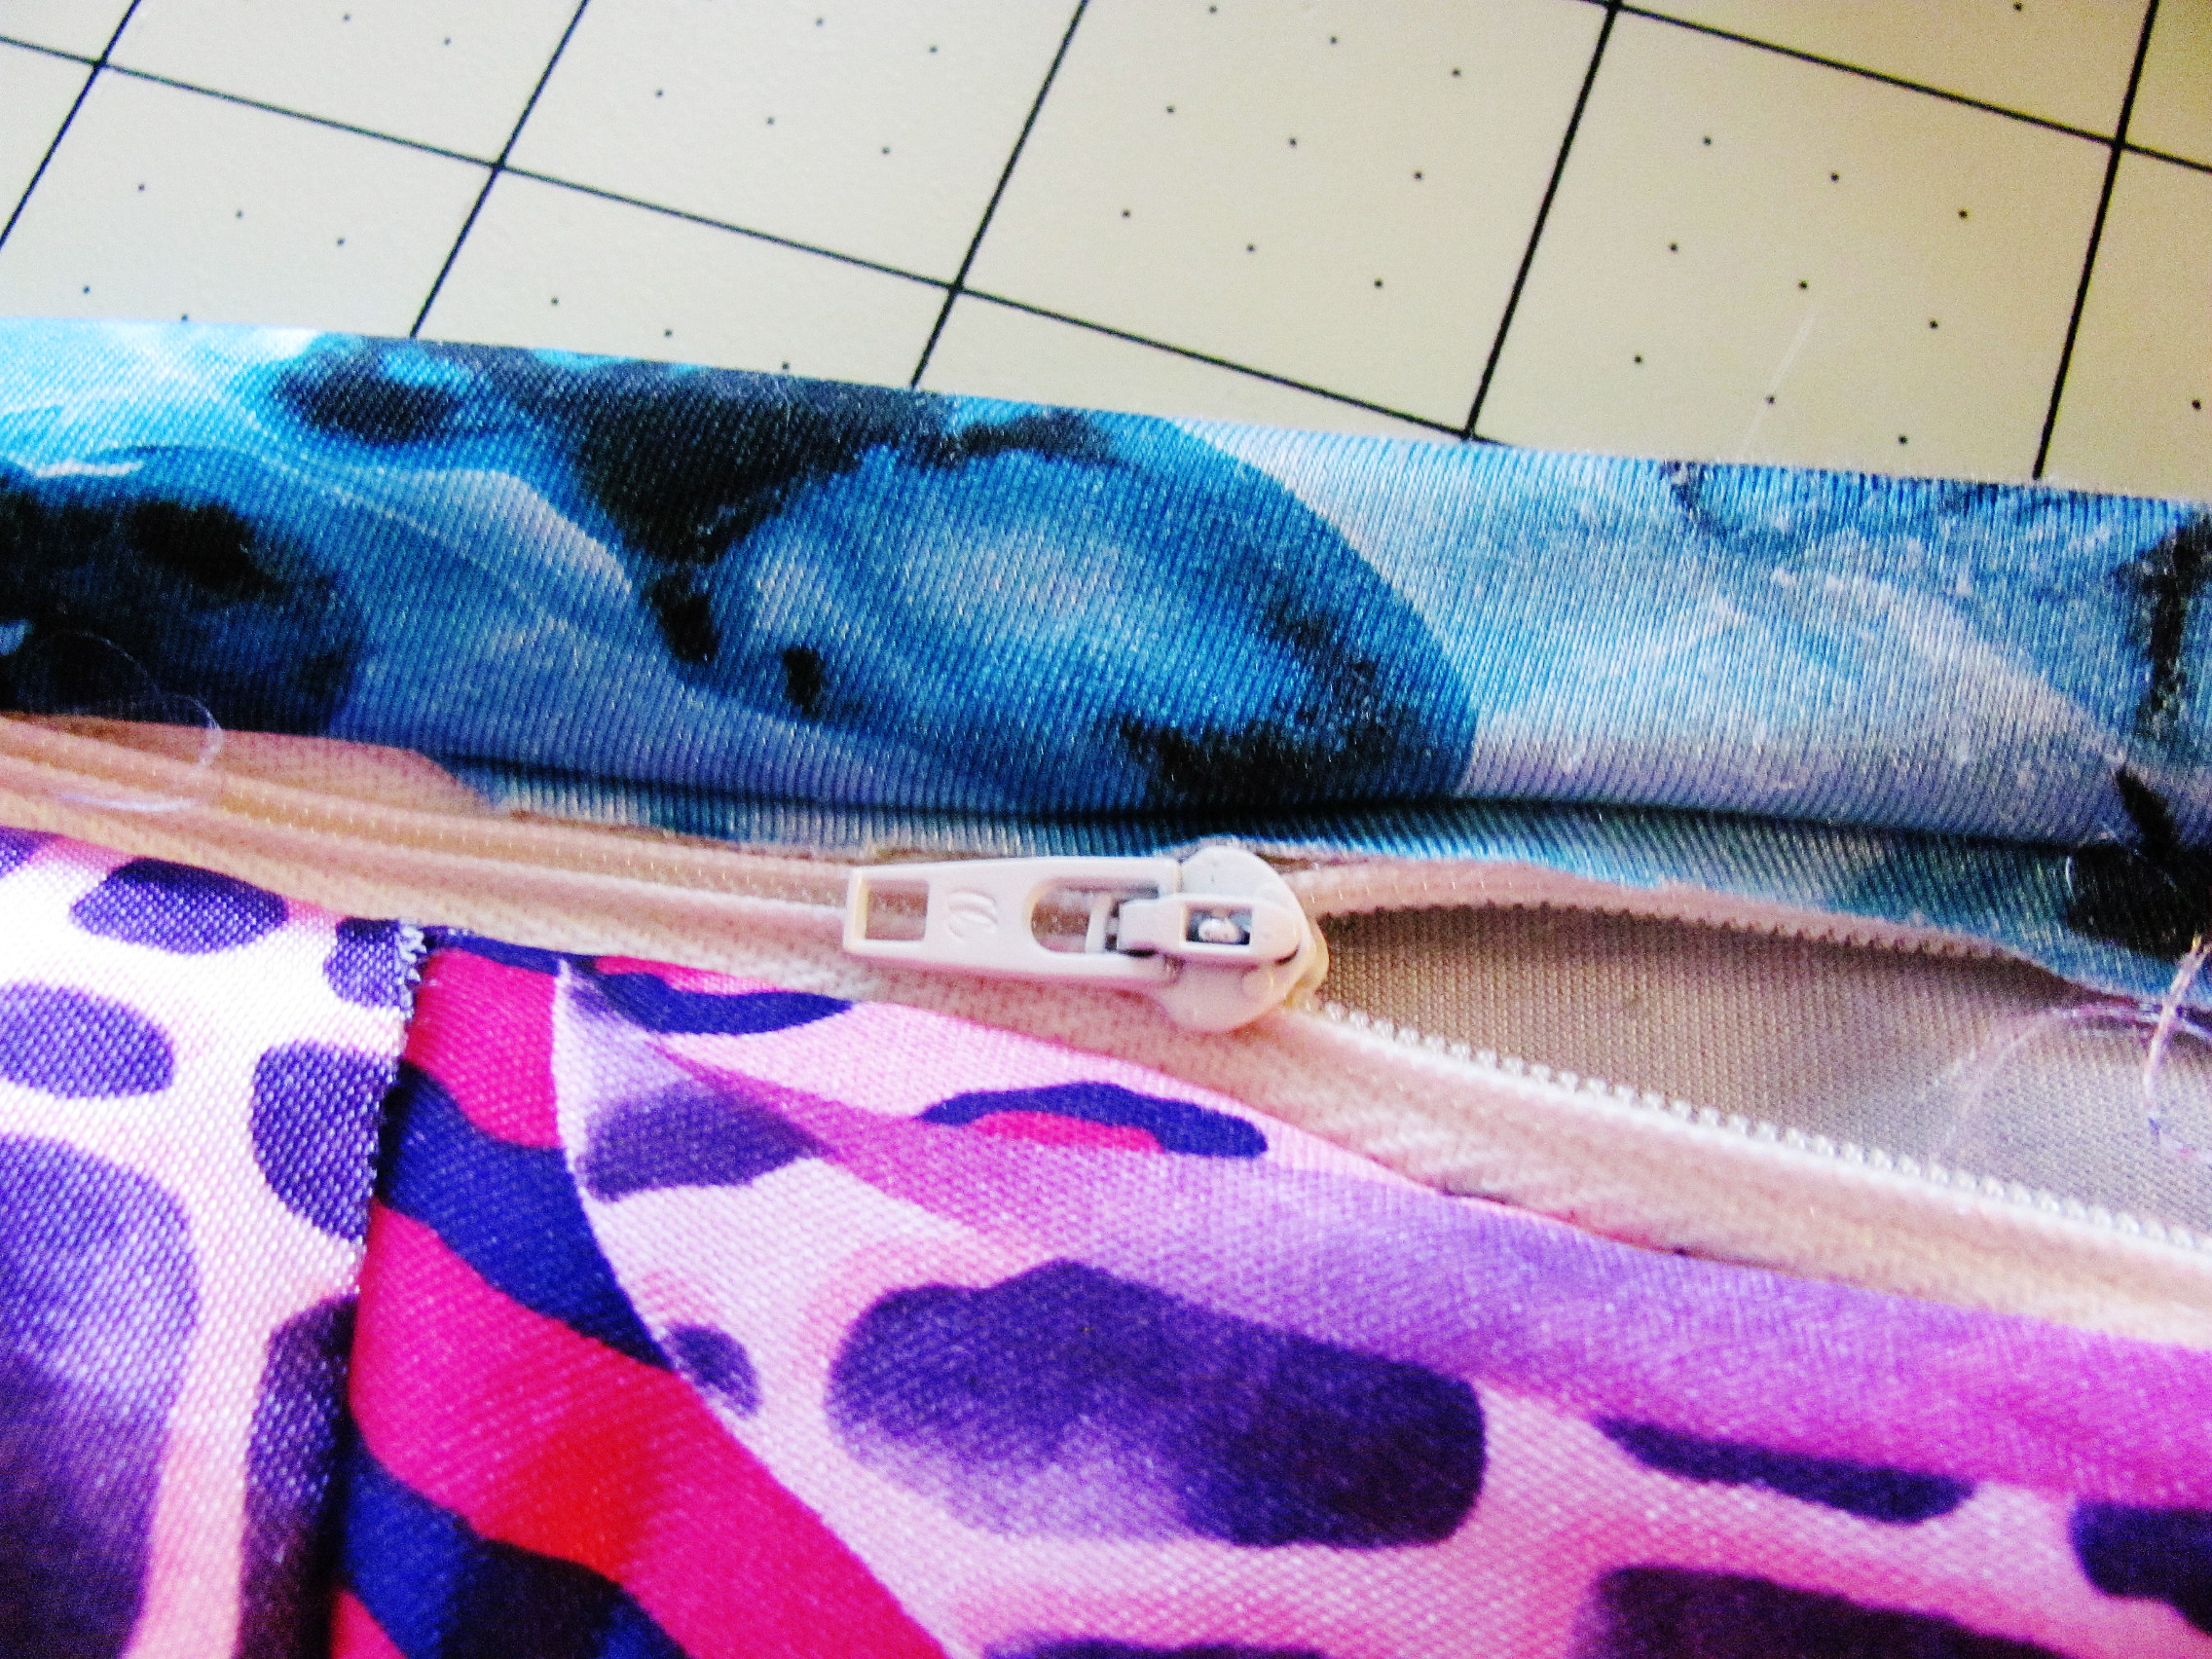
- Place open side of zipper on one open end of pillowcase and extend zipper to other end. Cut zipper about 3/8″ – 1/2″ past end of pillowcase. In this case, my zipper measured 12″. I usually buy longer zippers and keep several on hand so I can cut to fit for any project.
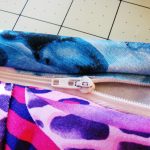
Finished zipper.

Attaching the zipper.
- Sew across zipper end several times to make sure the bottom of the zipper never unzips all the way.
- Switch to zipper foot on sewing machine.
- Unzip zipper.
- Place under side of zipper to right side of pillowcase, teeth side outside. Non-tooth side should be end to end with right side of pillowcase. Zipper will be upside down. Pin and sew.

Naptime!
- Do the same for the other side of the zipper. The placement will be the same, with the underside of zipper to right side of pillowcase, non-tooth side matching end of pillowcase.
- Stuff pillow inside the pillowcase, zip up, pop on the bed and take a nap!