Last time, I wrote about the art bug biting, and I’d like to continue with that theme this week. Why? Because when he does bite, it’s relevant to uncover what form of the virus you were infected with, and any particular interest you can bring into that hobby or artistic area.
Everyone isn’t involved with every artistic pursuit just because he or she was bitten by said art bug. Whereas one person might be a wonderful painter, another might excel at photography. One person who is awesome at sketching might be terrible at music, while a musician might not be able to draw a believable landscape. For this post, I’ll refer to this as the Artistic Division of Labor, or ADOL. Sound good? Okay!
ADOL can be driven by skill, in that someone might simply have a talent for a specific division. Maybe someone has been good at sculpting since his or her Play-Doh years, and that skill has grown in the years that followed. If such is the case, it wouldn’t be too surprising to find that said person was well-known among family and friends for that ability.
In other situations, eventual interest might lead to artistic pursuits, and that interest might be something a person has to explore to define. If that doesn’t make sense, hang on! I’m about to give you a real-world example—from my own life!
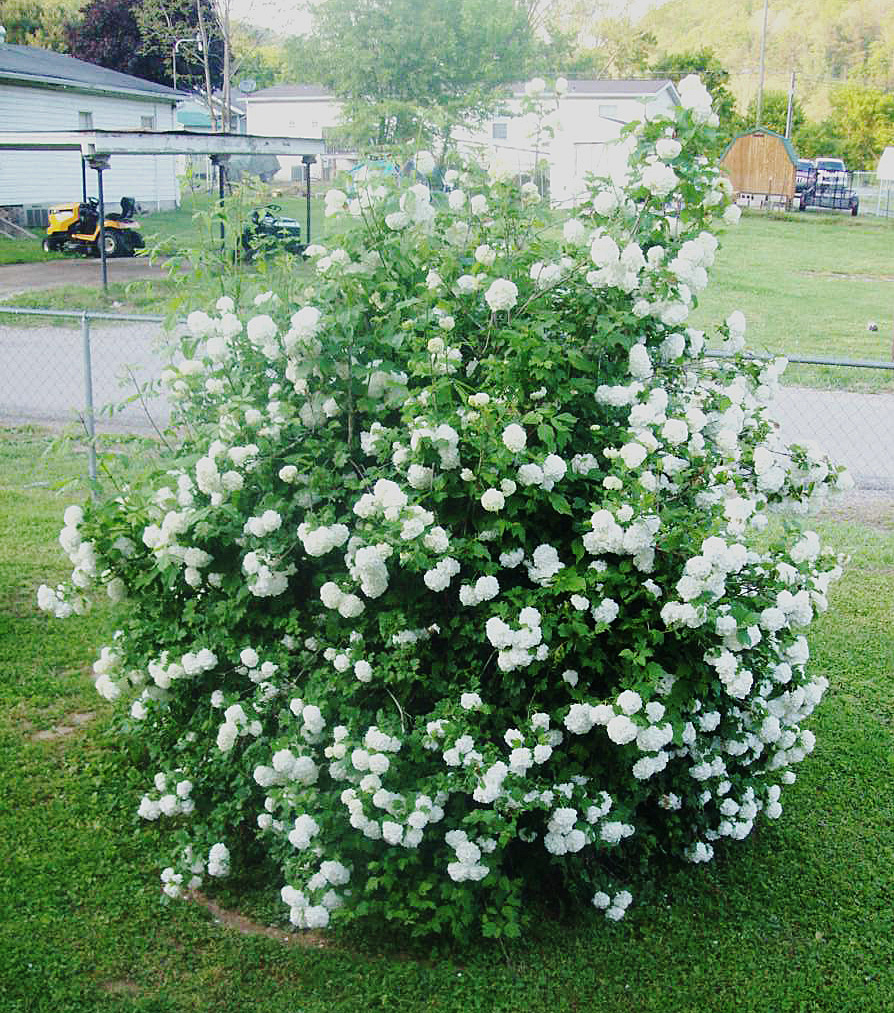
The inspirational snowball bush. So many flowers!
I remember picking flowers when I was younger, though they were admittedly mostly (if not completely) wildflowers. As far as actual gardening goes, one or two of the adults close to me at the time had some kind of flowers planted in a more deliberate fashion than renegade weeds springing up. Even now, my mom has this snowball bush in her front yard, which is flower-ish enough to make this post, and pretty enough when it’s in-bloom to catch my interest. Either way—whether wild or chosen—flowers were a part of my childhood, and I decided I was going to try my hand at flower gardening not too long ago. I got flowers from a store, planted them, watered them, and let them grow. And they were doing okay!
But I eventually realized I wasn’t interested enough in the gardening prospect to tend to it as much as a garden should ideally be cared for. Honestly, I don’t know that I watered the flowers at all after that initial amount, and there was little to no chance I was going to trim weeds away from them. At some point, I was told the weeds around them were moving—something that could be bad when you live in territory that has copperheads and rattlesnakes—so goodbye, flowers.
So far, what this situation amounts to is that I had a childhood interest that became an artsy pursuit I actually had the ability to see through, but didn’t have the focus to continue. The result of this predicament might seem simple: I could just give up on my flower-interest and try other ideas for artistic endeavors. The trouble though is that I still like flowers, even if I don’t have the desire to keep a garden healthy and catered to.
A possible solution then would be more along the lines of what I said earlier in this post. I could explore the topic to see if there was any flower-related ADOL that could hold my interest.
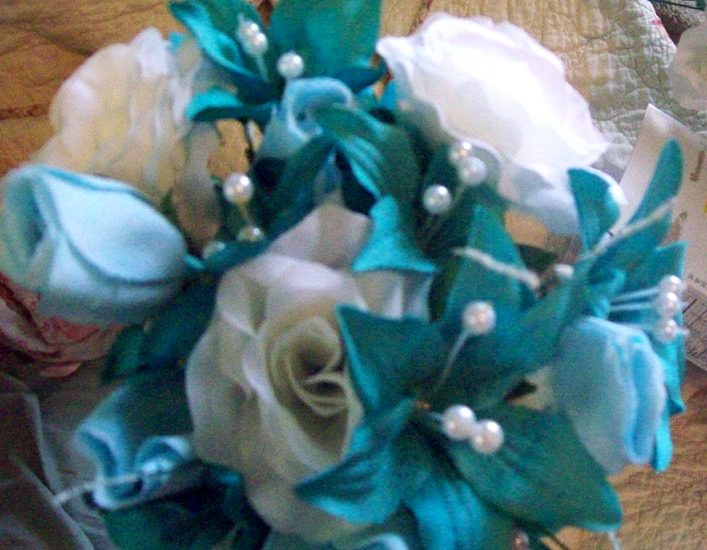
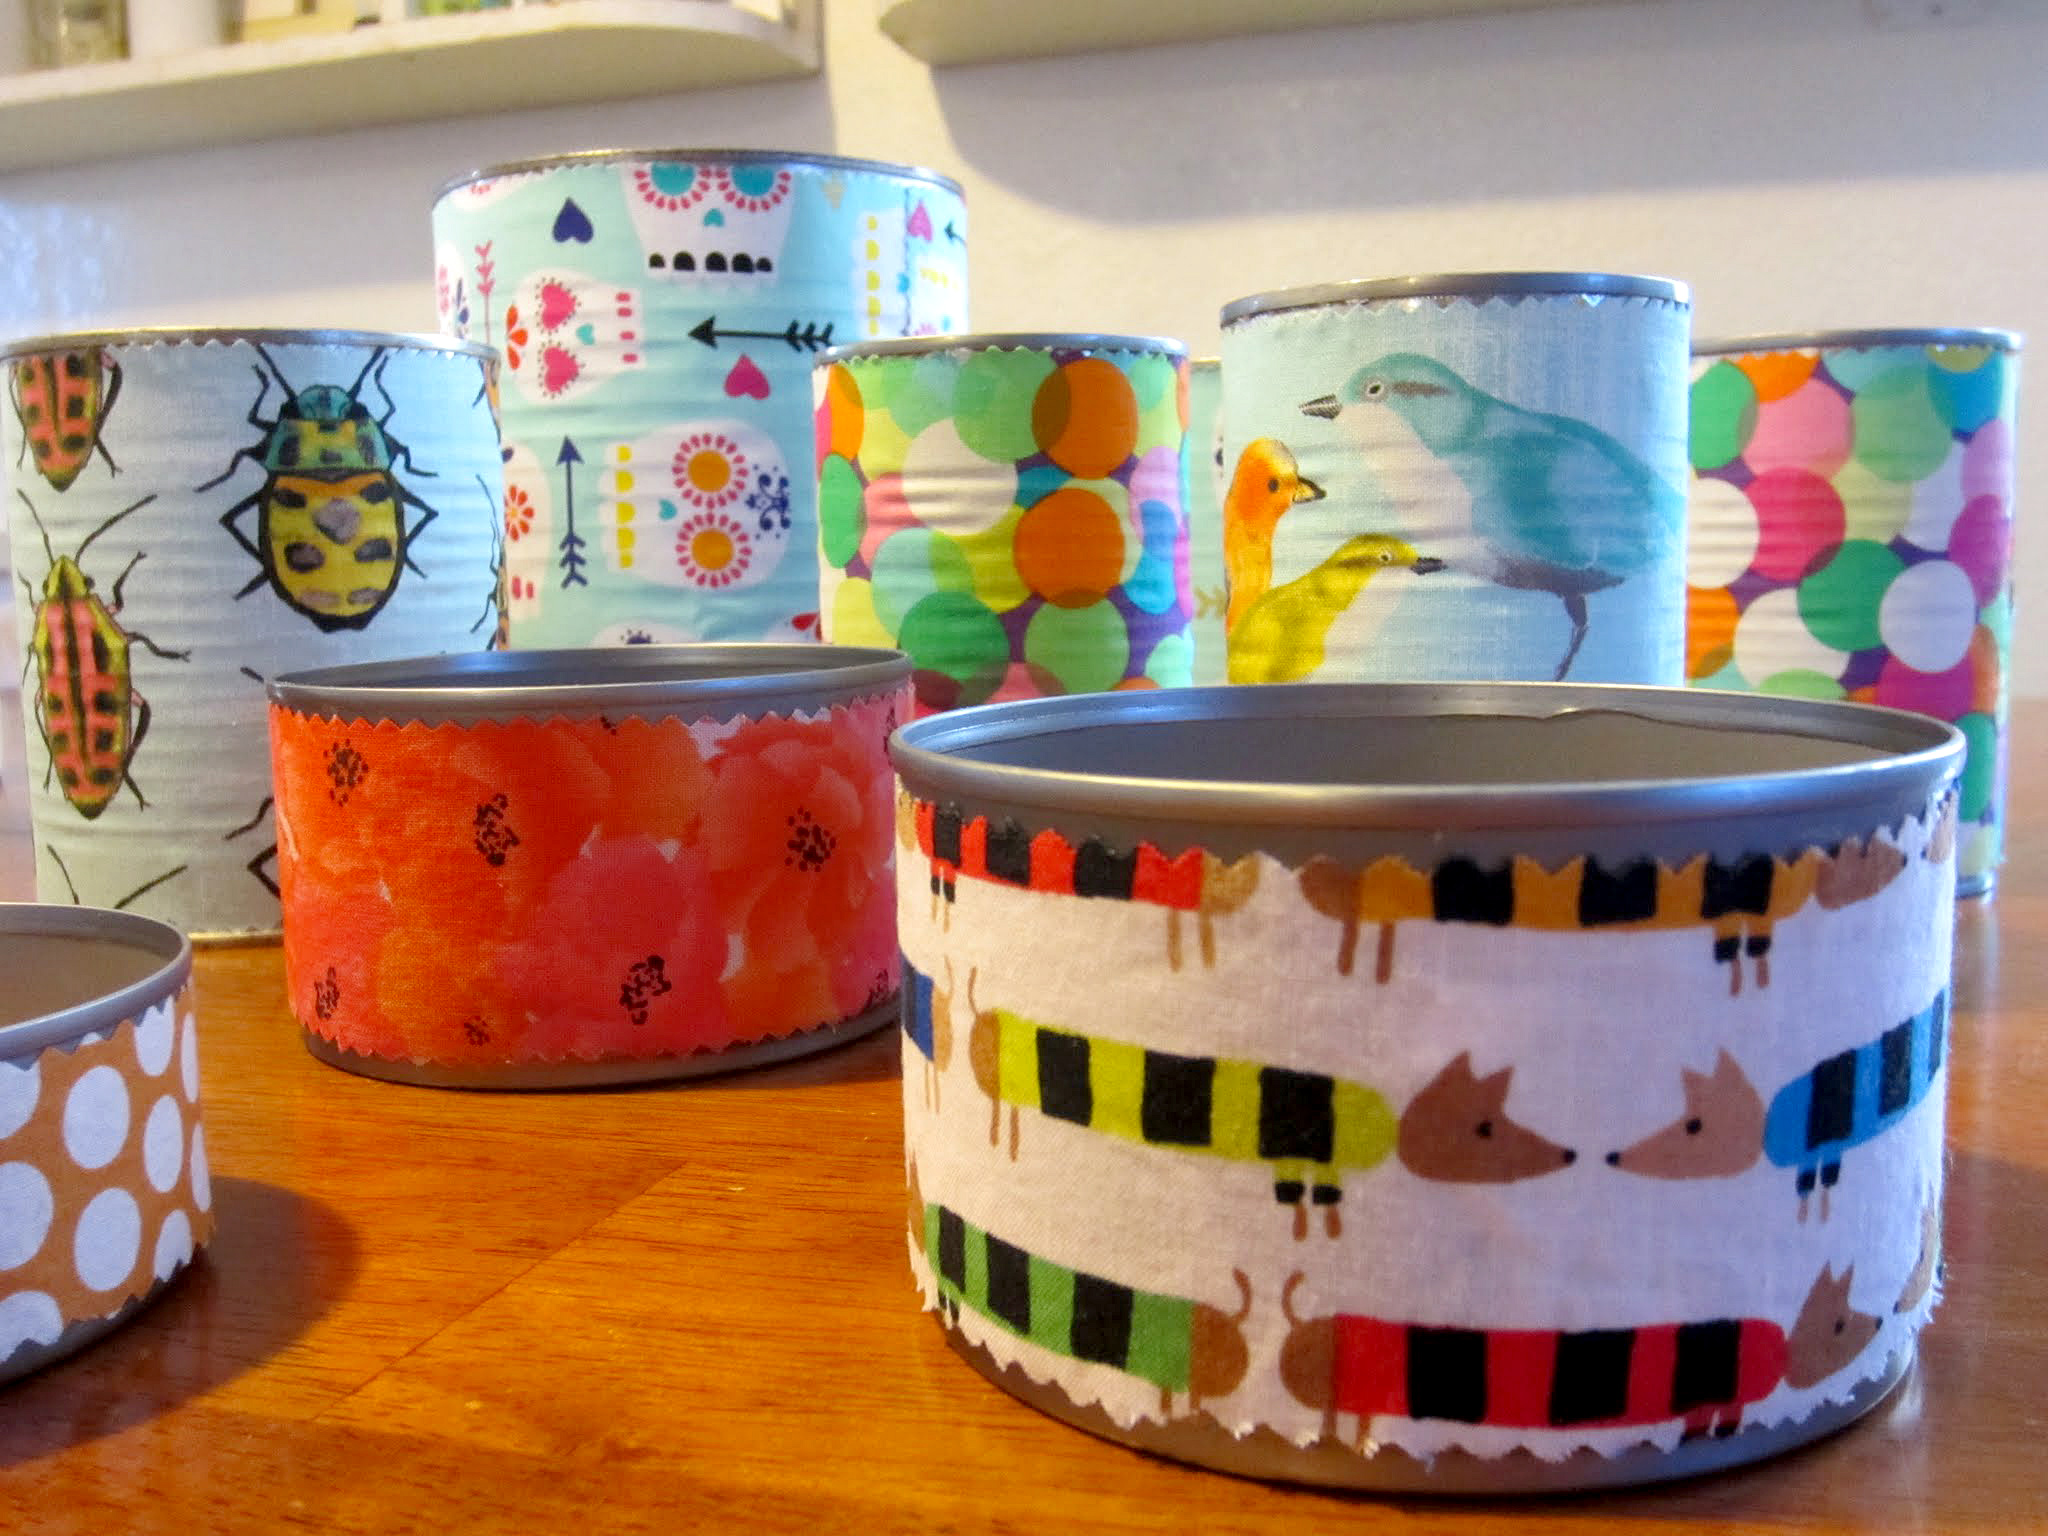
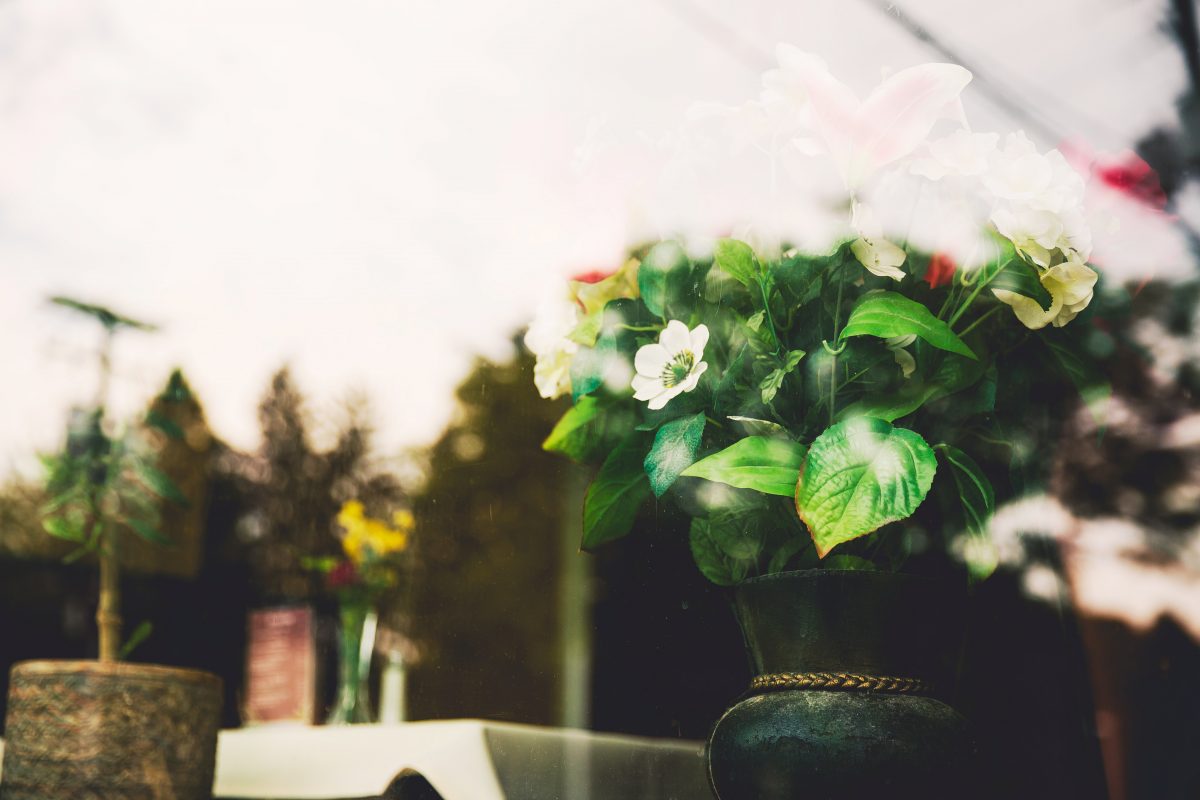
As I said in last week’s post, I tried my hand at floral arranging, and that was a fairly decent win for me. Overall, it was an ADOL I was kind of okay at, and one that could hold my interest enough to keep me involved with it. The idea has led into constructing floral arrangements for display outside of the house, as well as around-the-house projects that catch my eye. For instance, a broken down lamp could potentially use a little prettying up!
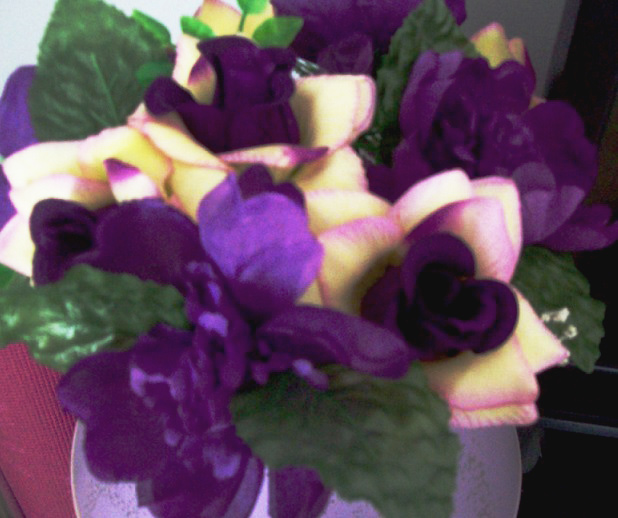
Is that a busted lamp? Or a new vase…
But that’s a pretty specific category, and if flowers are a particular interest of mine, that idea could surface in an ADOL that isn’t specifically built around floral arrangements and gardening. And they have! In fact, flowers have become a part of two of my primary ADOL pursuits: writing, and sewing/quilting. With writing, more than one set of lyrics I’ve written has incorporated flower and/or garden themes, including a song that a character of mine sings to his girl in Emblazed.
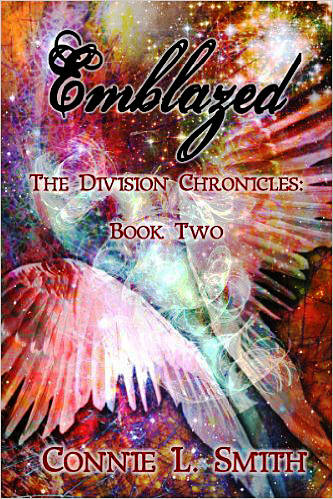
More than one set of lyrics I’ve written has incorporated flower and/or garden themes.
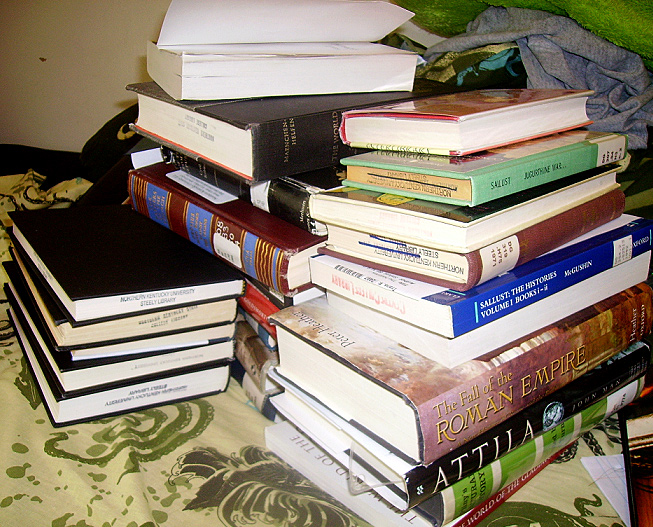
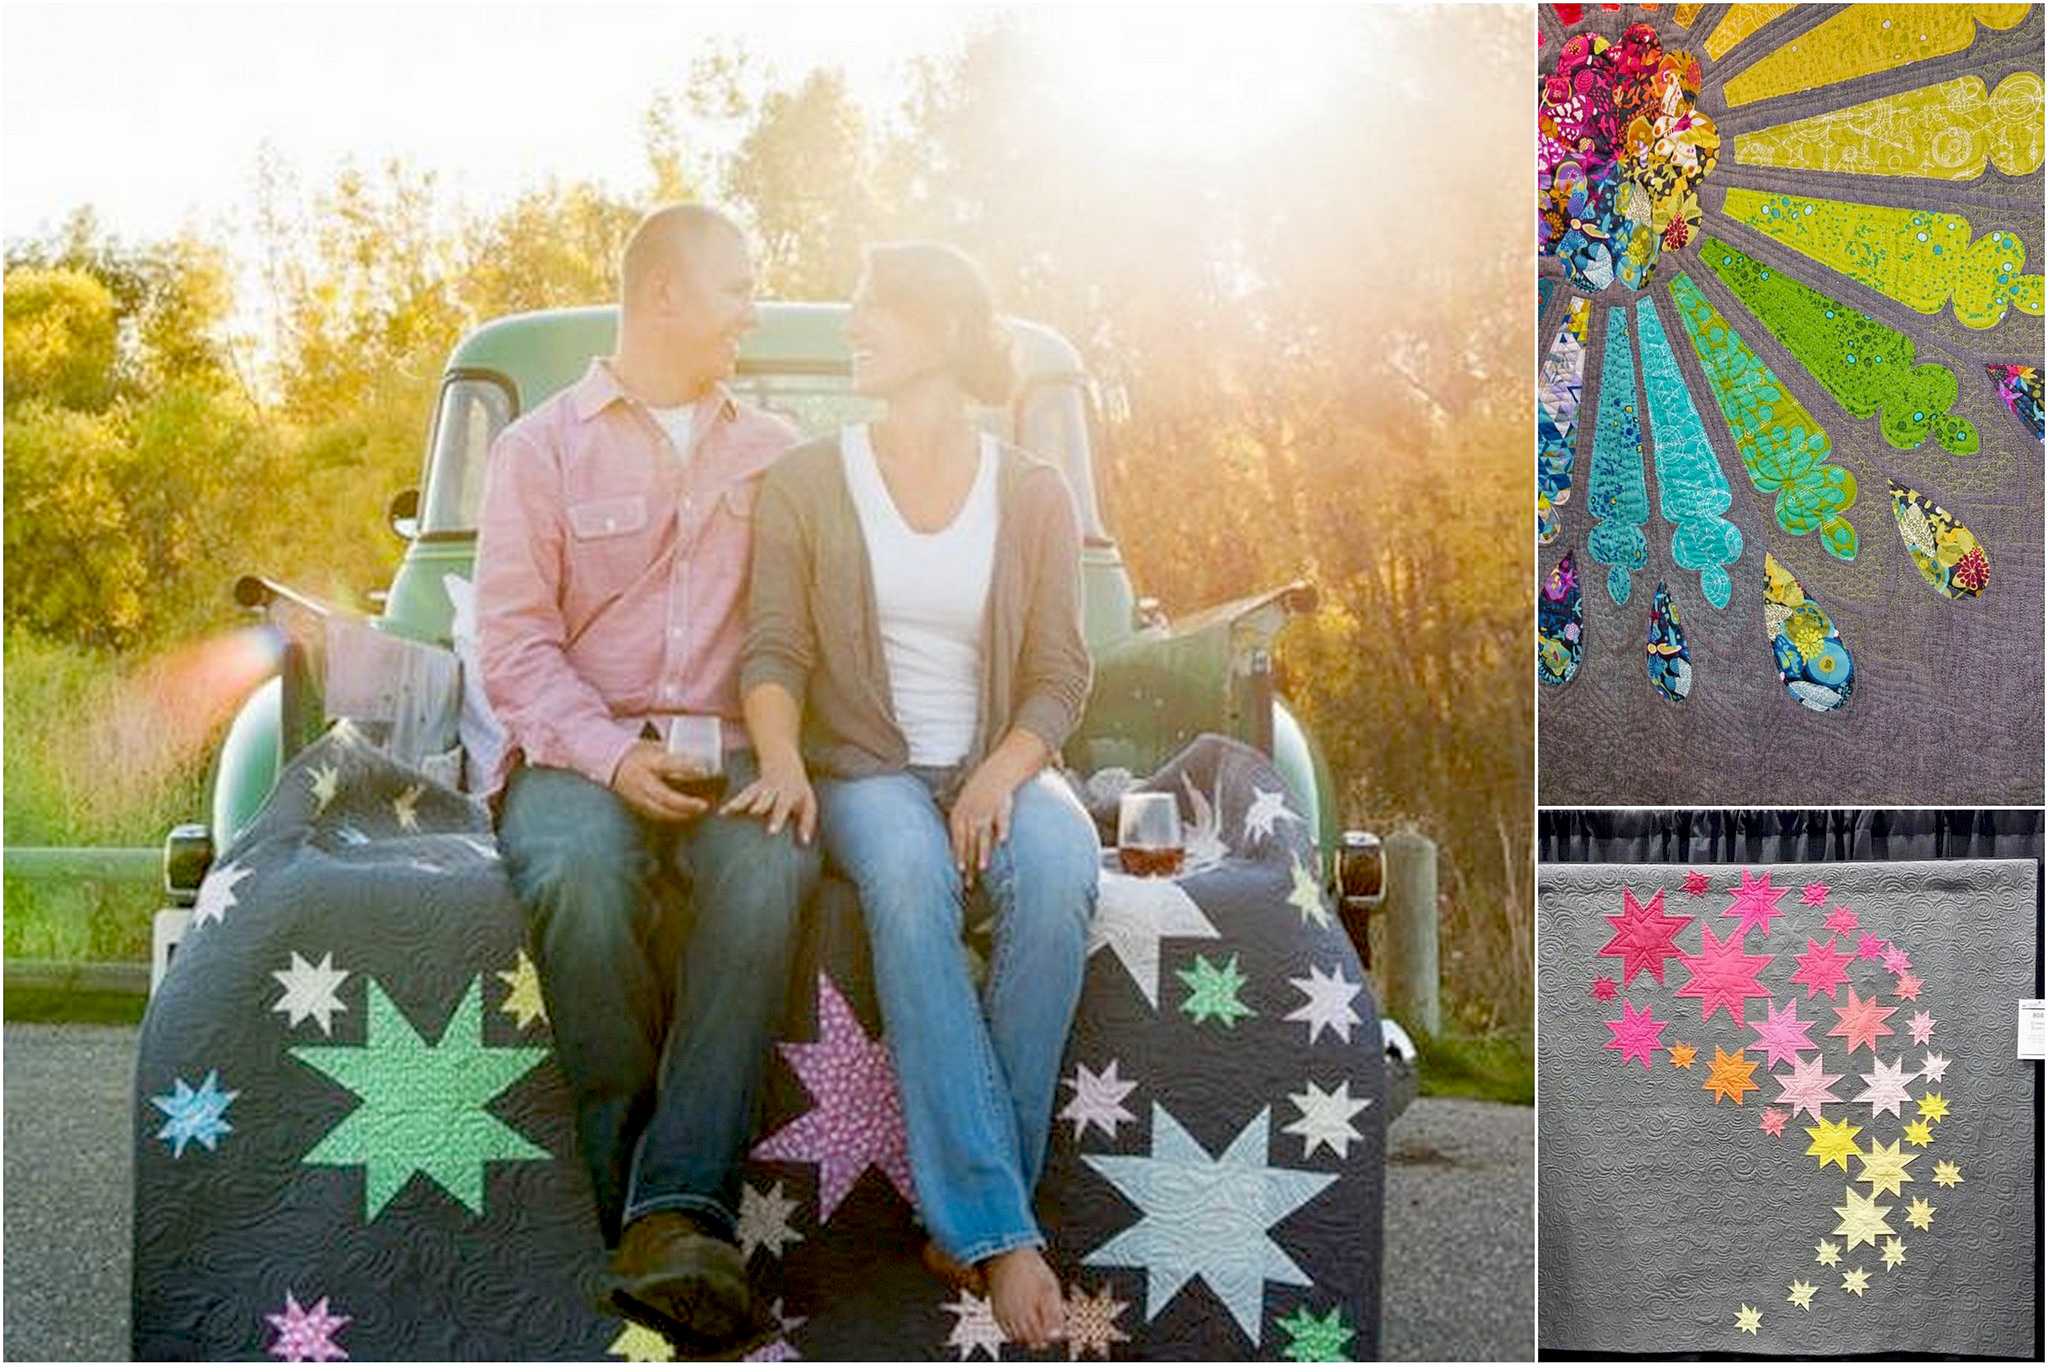
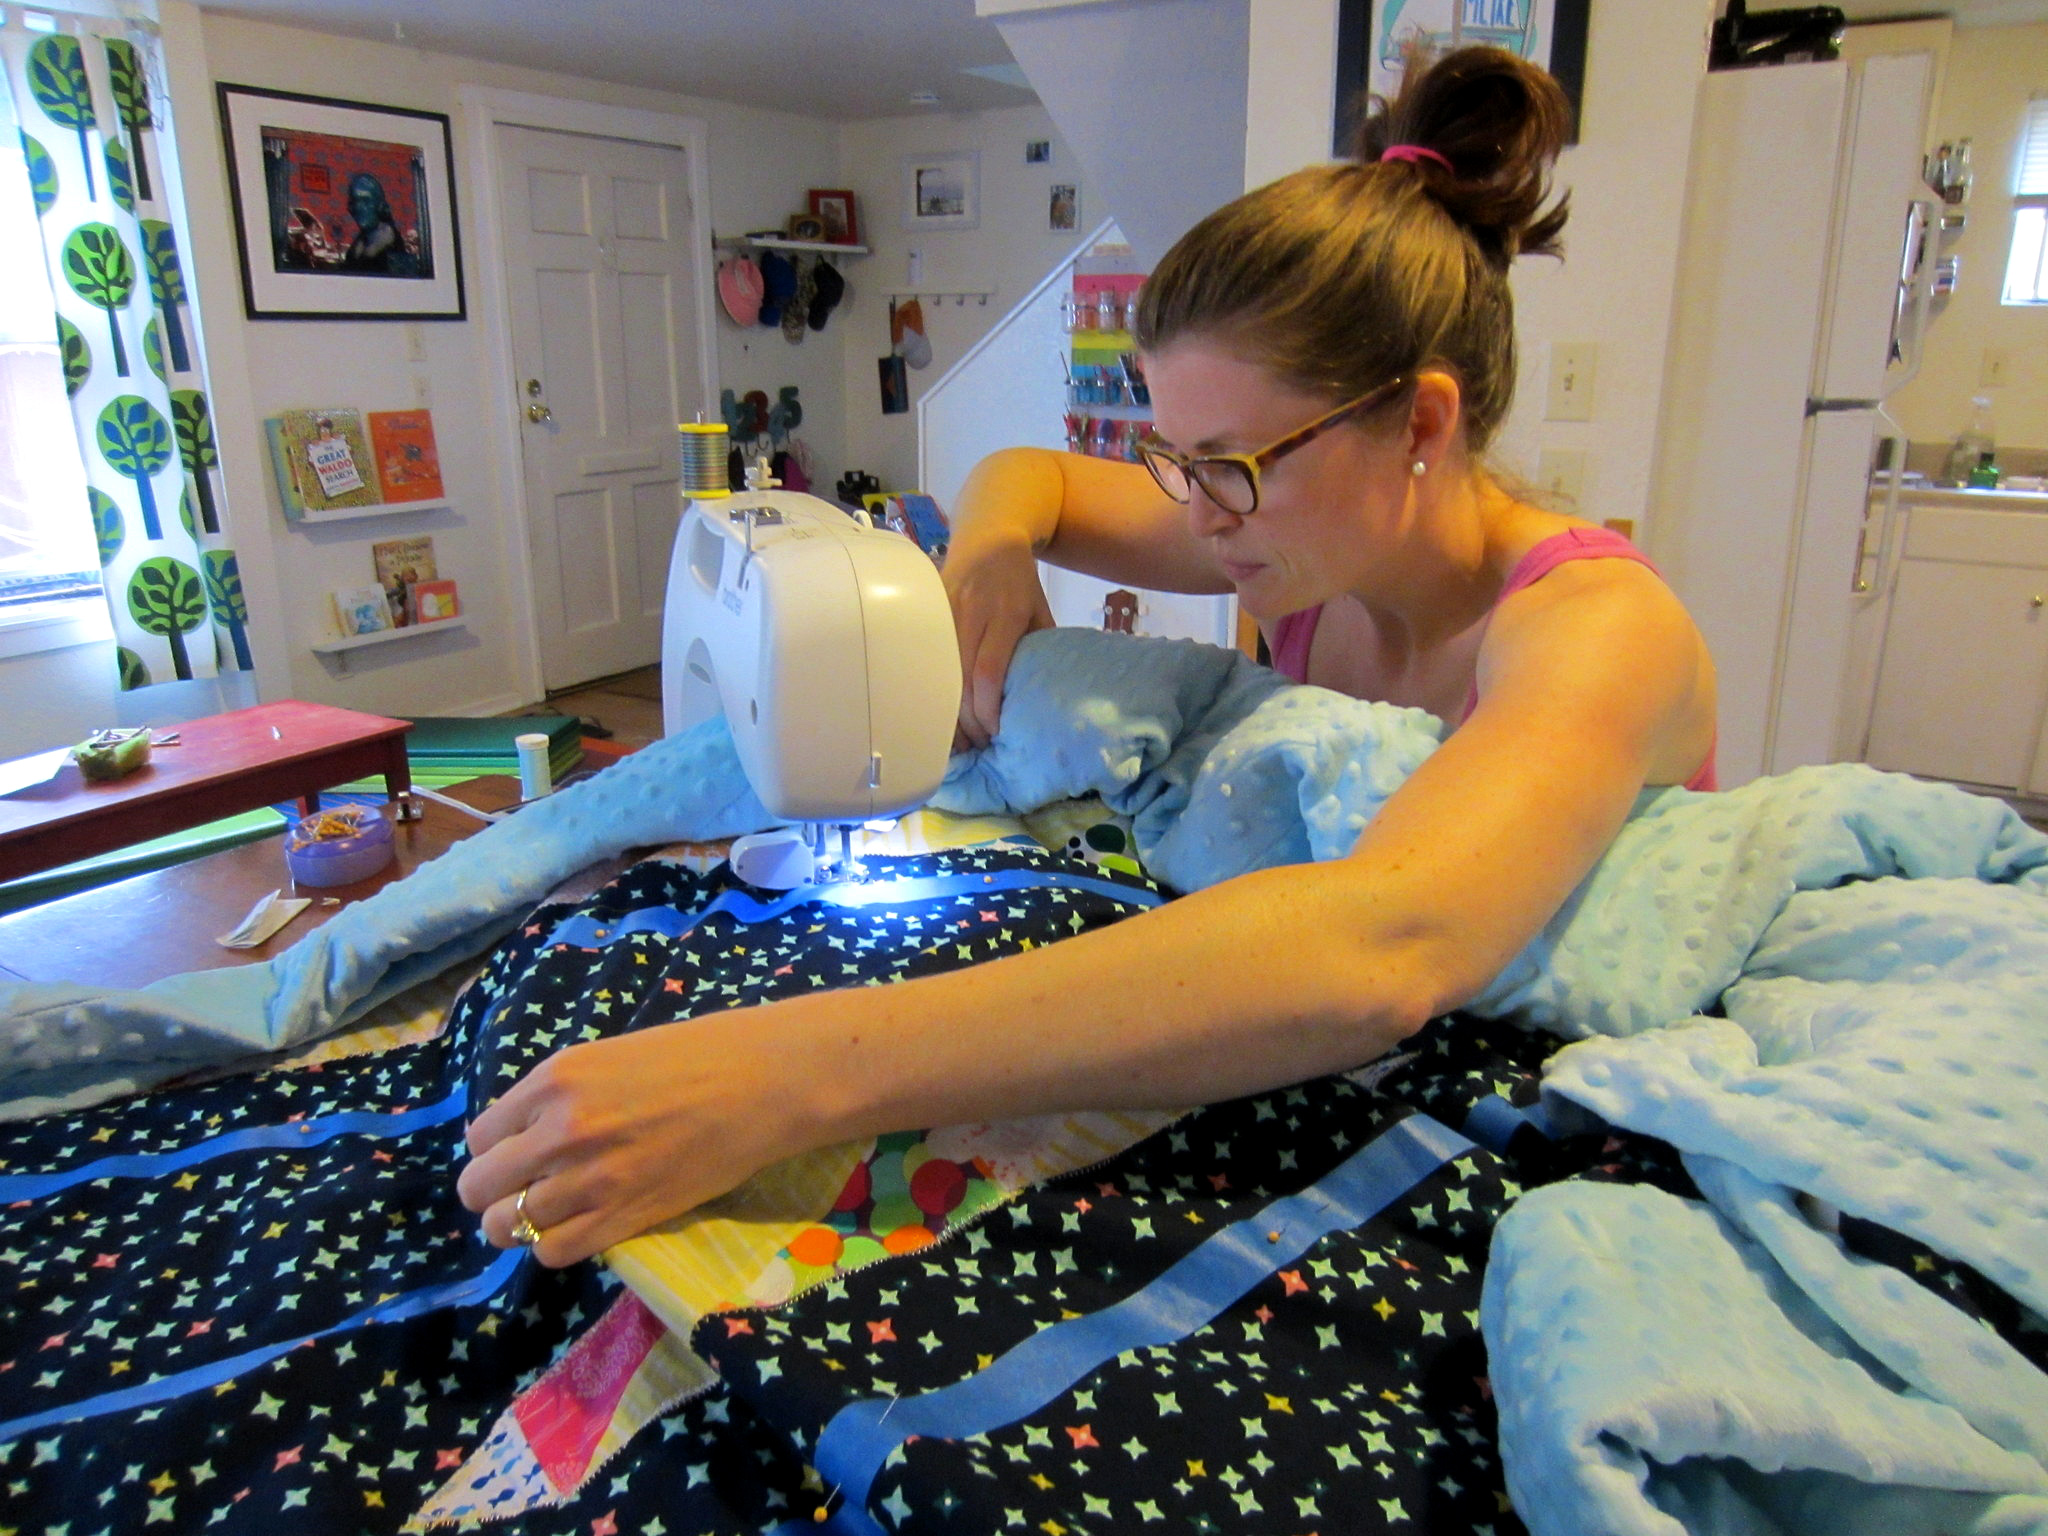
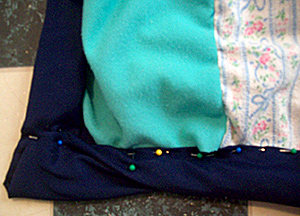
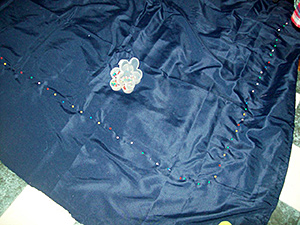
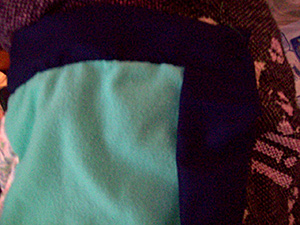
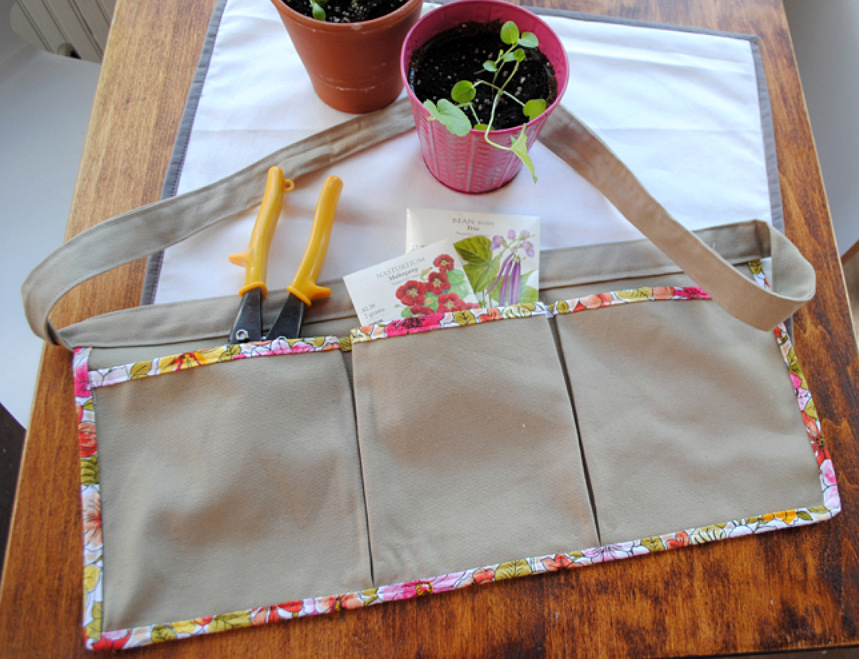
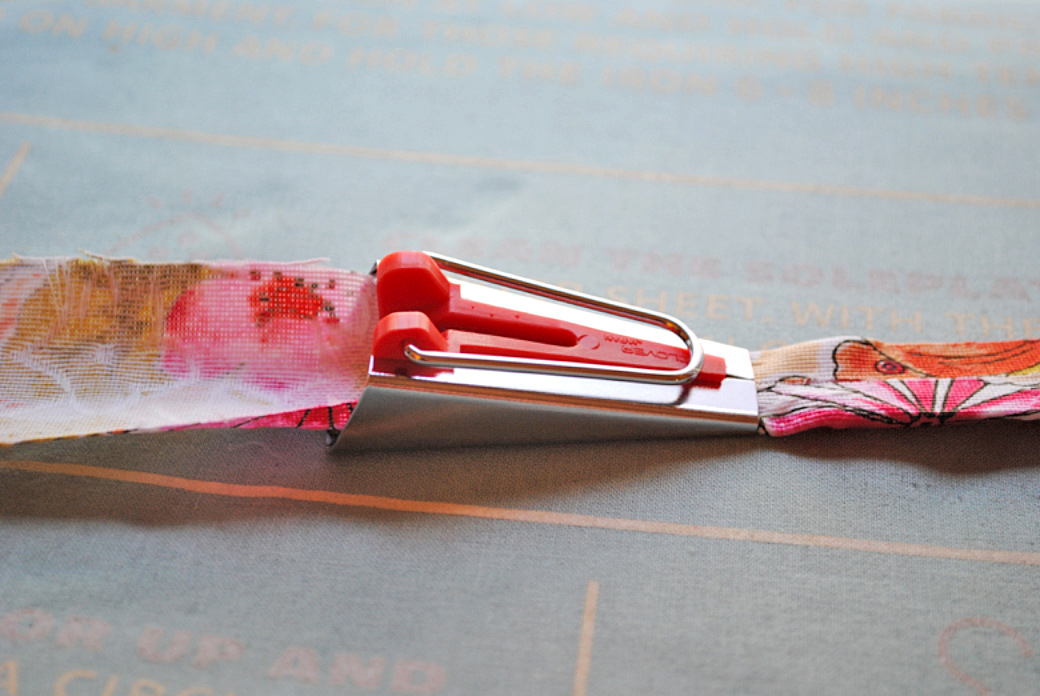
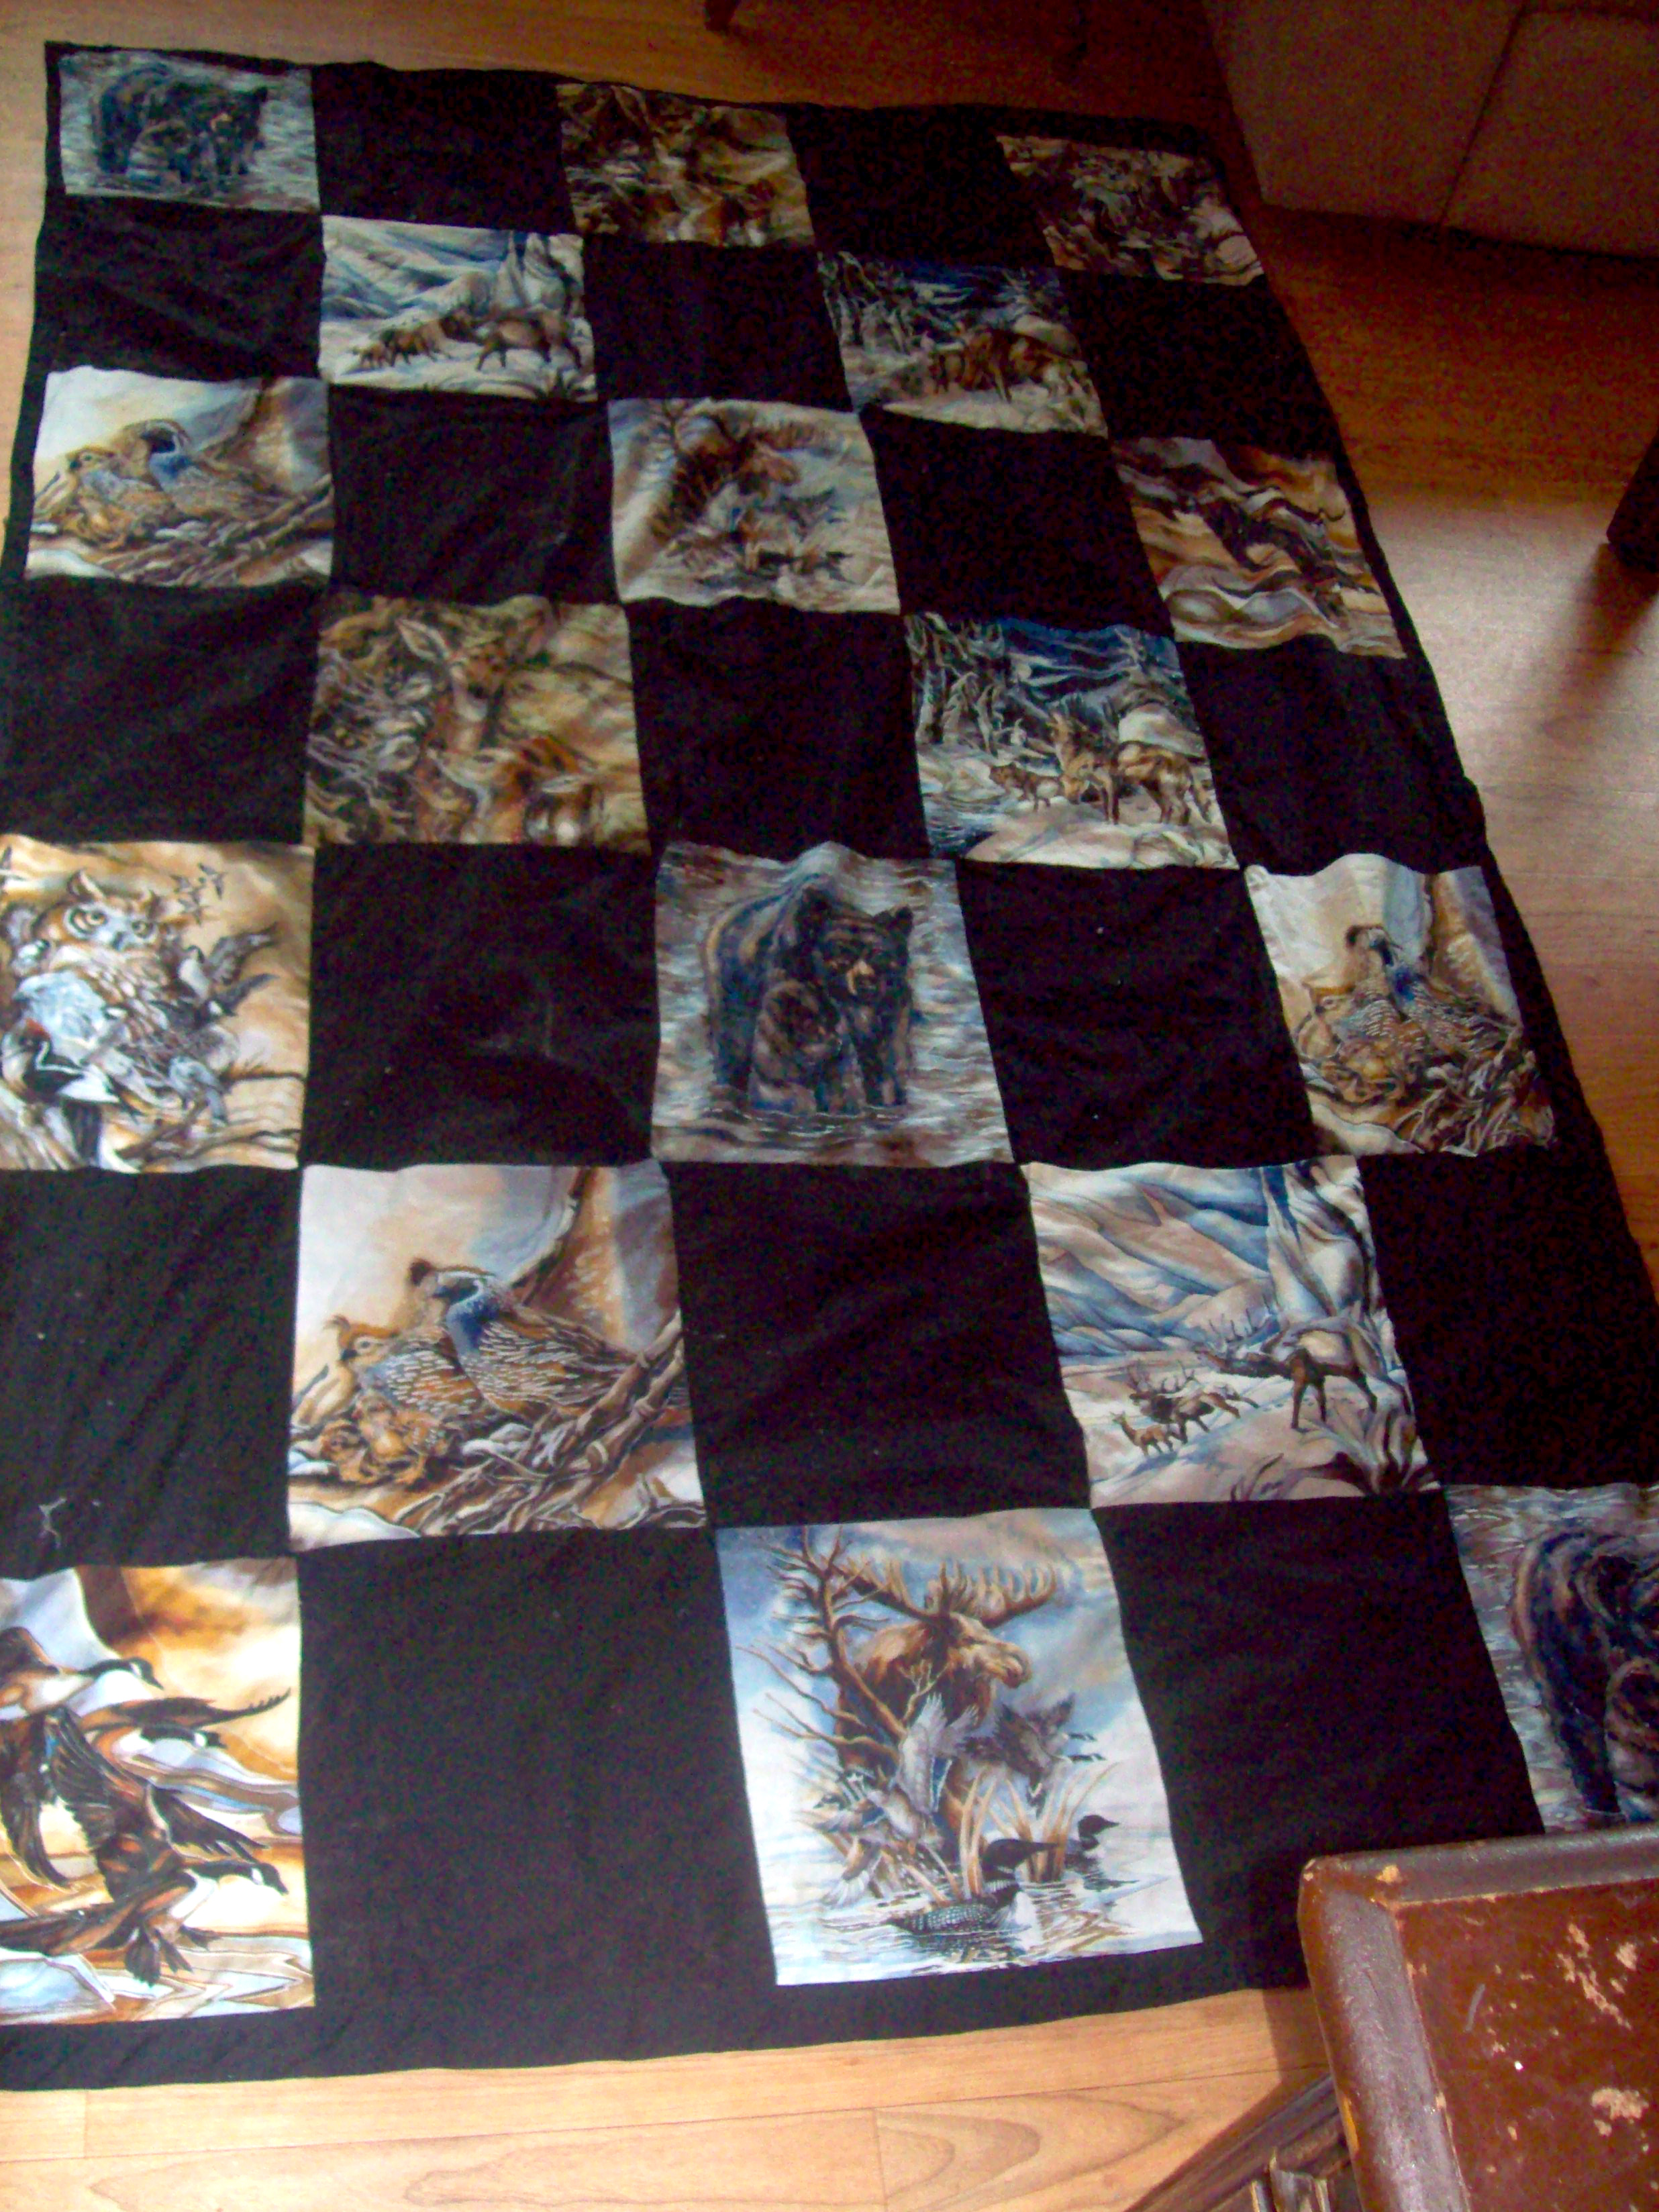
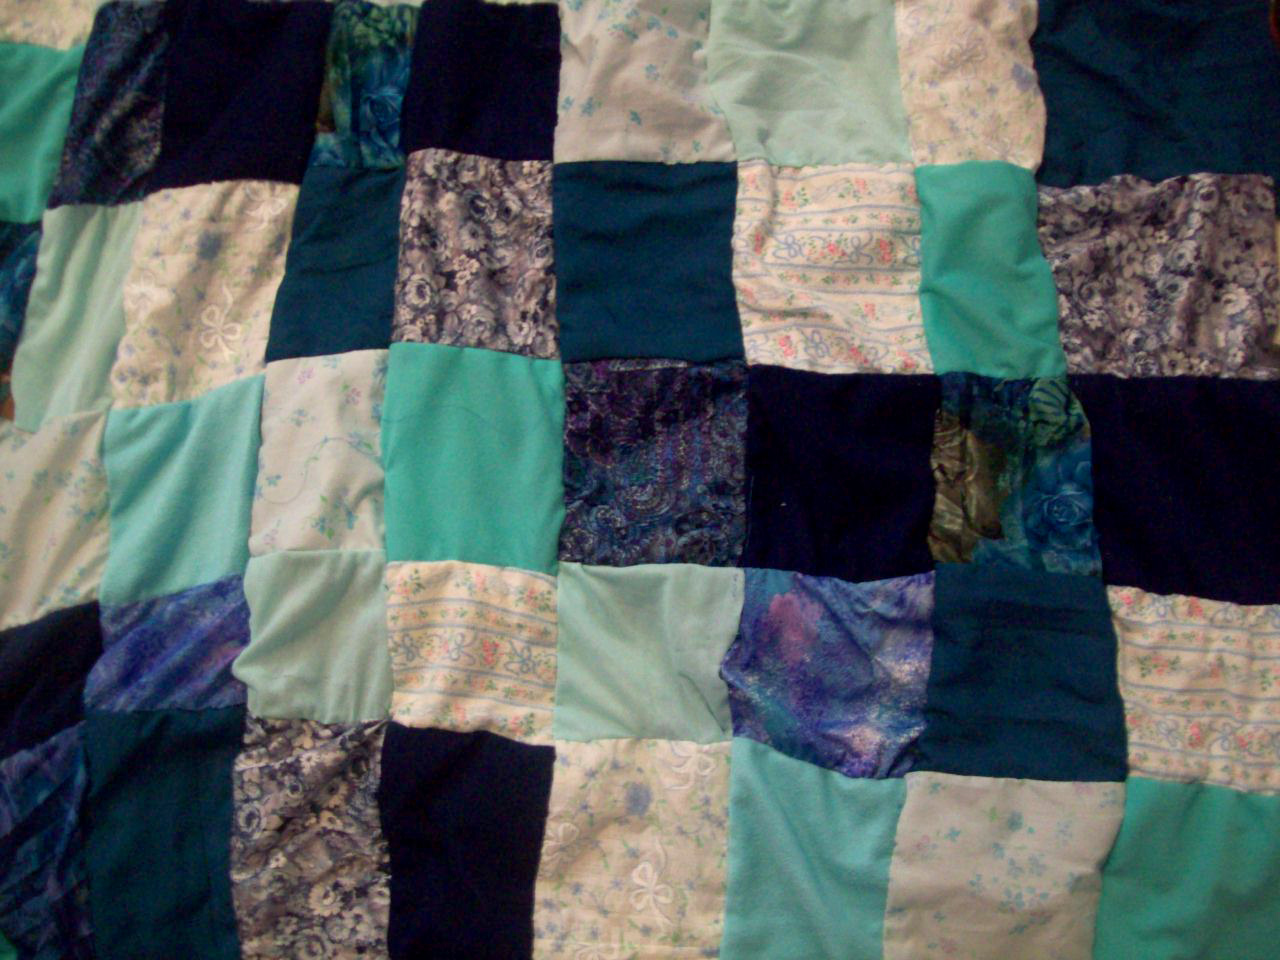
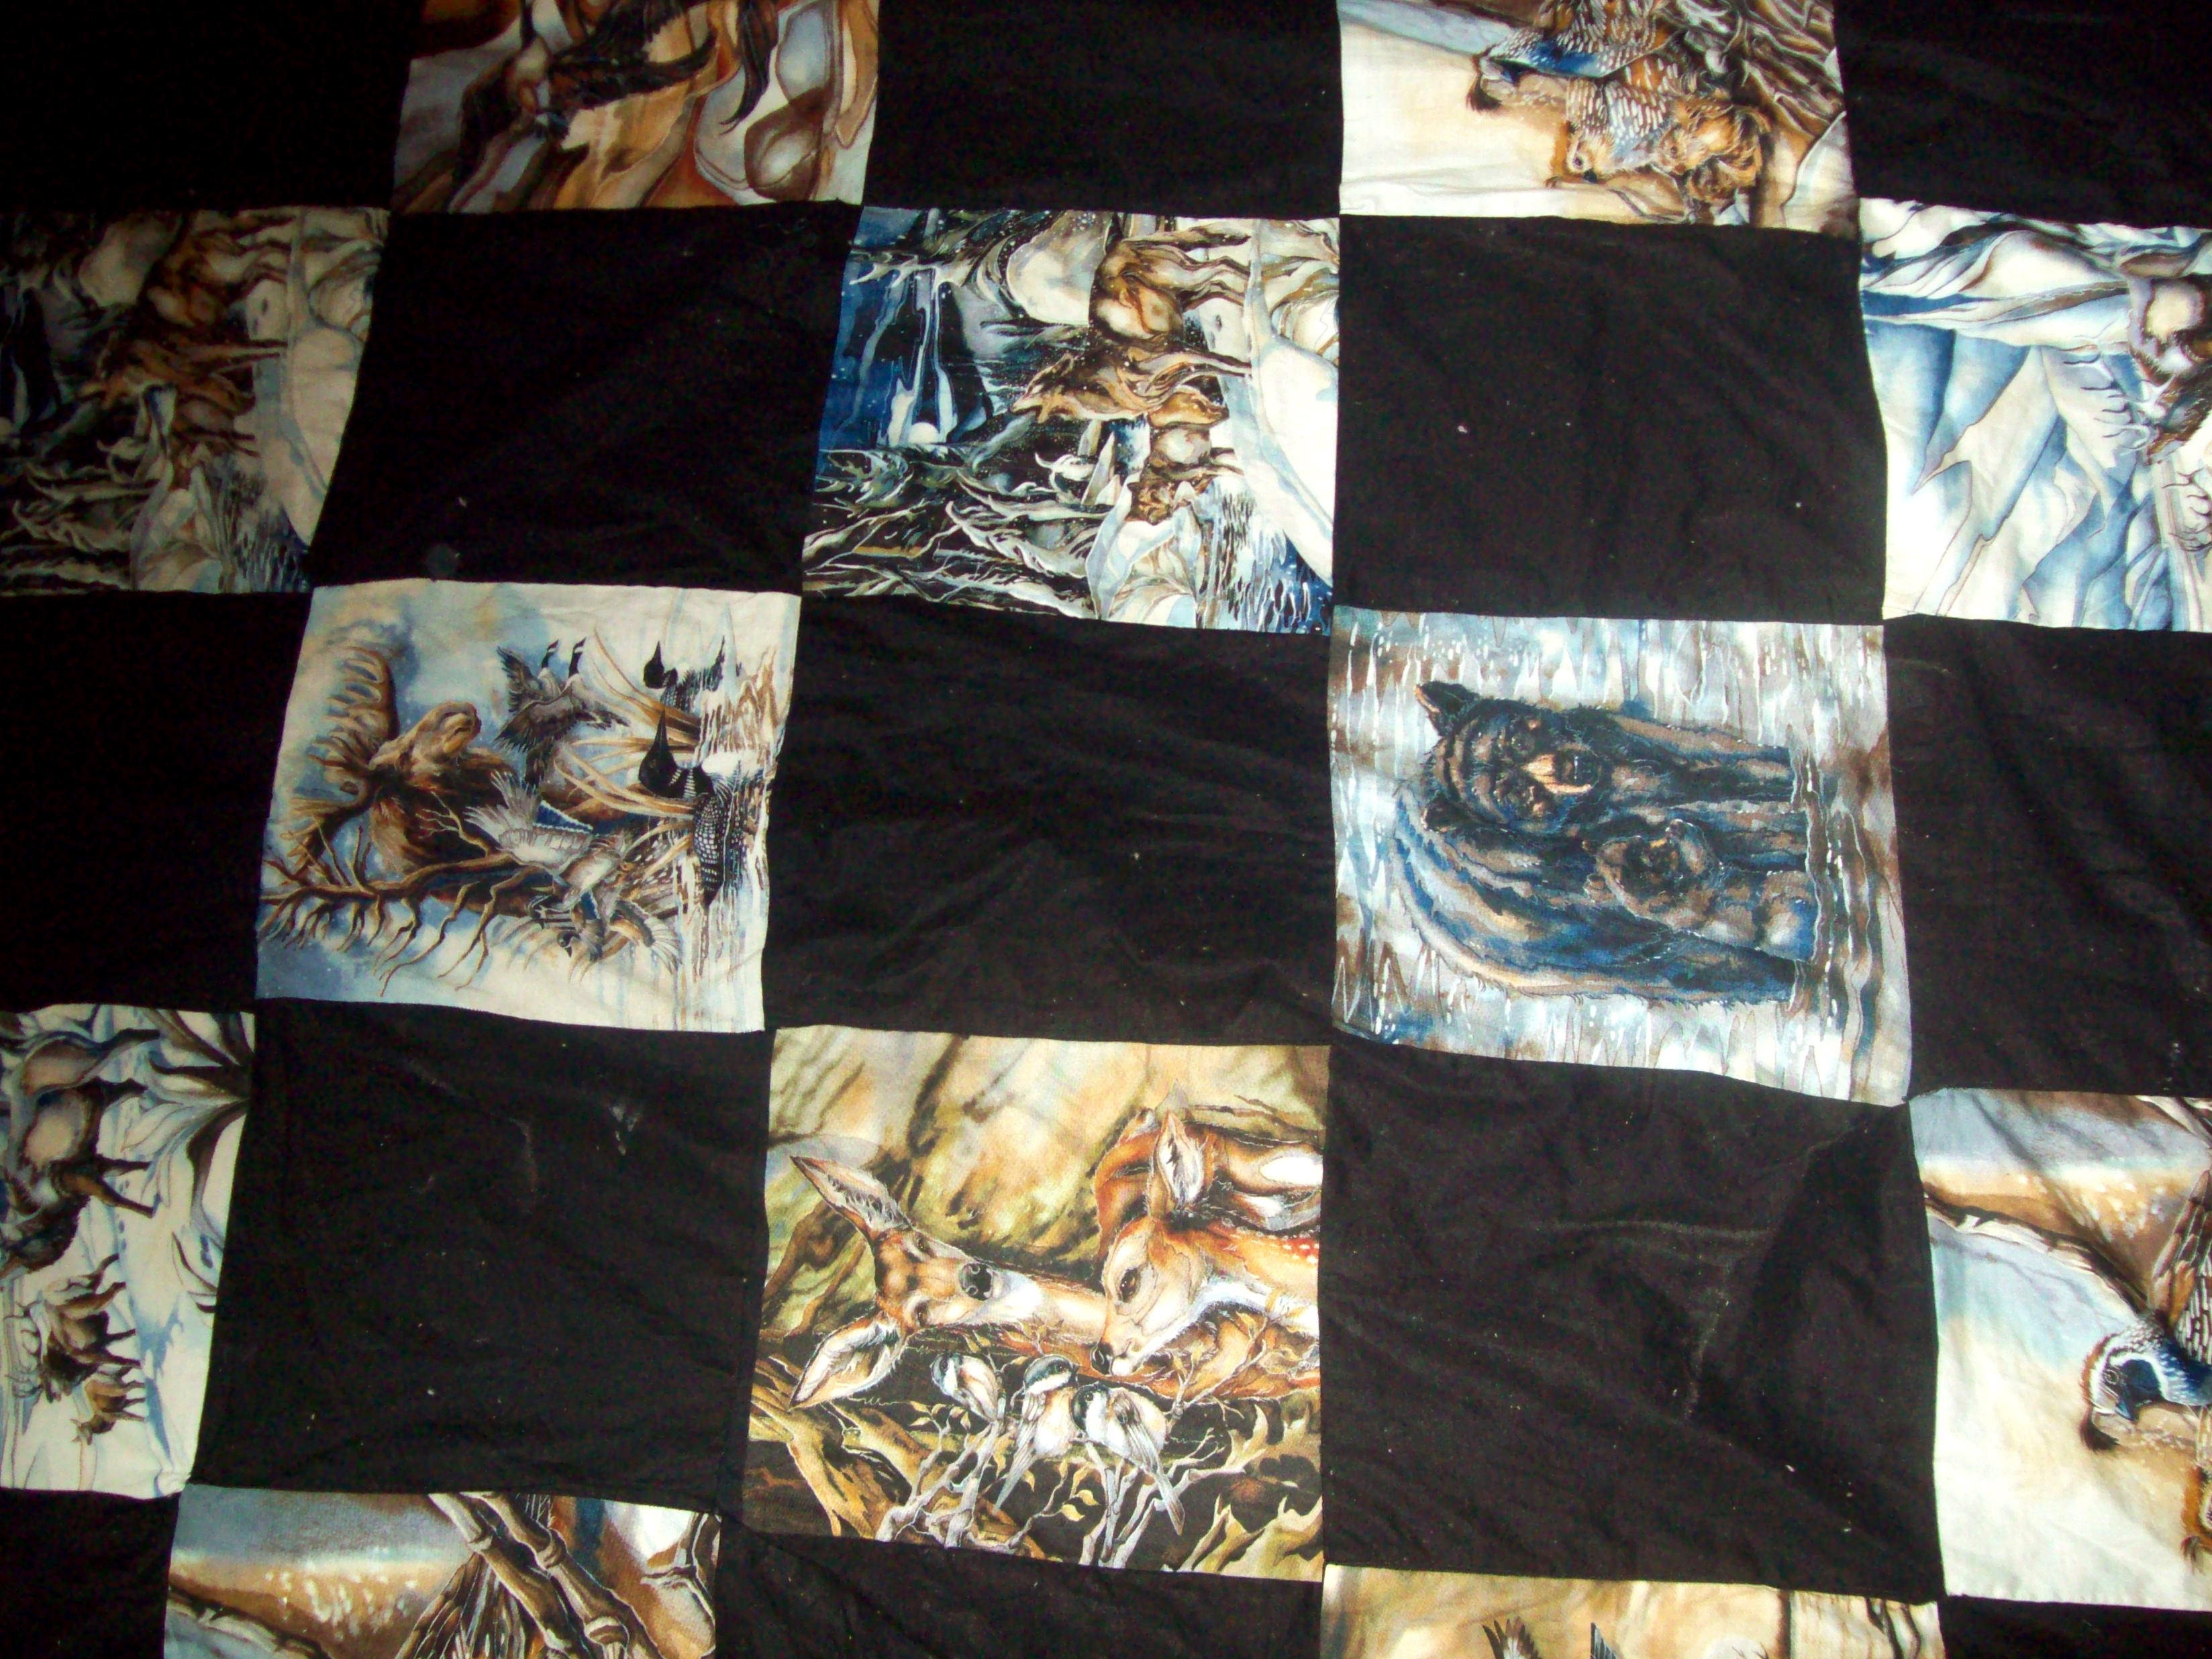
More importantly for this blog, floral options are available in sewing/quilting patterns, and of course there’s a number of fabrics that a person can buy with floral designs—which is okay with me! In fact, my current quilting project has had a floral arrangement design to it, in that every piece that’s been sewn on it so far has been a pattern that has some form of floral quality to it. The overall design, when all is said and done, will be floral-related from top to bottom (minus a potential border and back-overlap).

My current quilting project has had a floral arrangement design to it.
All in all, I may not have had the focus or interest to keep a flower garden going, but the world of art is so vast that there are plenty of ADOLs out there to try, and enough room to explore within each to come up with ways to utilize interests that maybe weren’t committed enough to make into their own hobbies.
Bottom line: If you’ve been bitten by the art bug, explore to find your ADOLs, and you can find ways to bring your interests into those ADOLs — even if they seem more fitting for another. For the flower-admirer who doesn’t garden, paint pictures! Make floral quilts! Do floral arrangements! Sculpt a flower! There are options to blend your interests into your art, if you look for them!