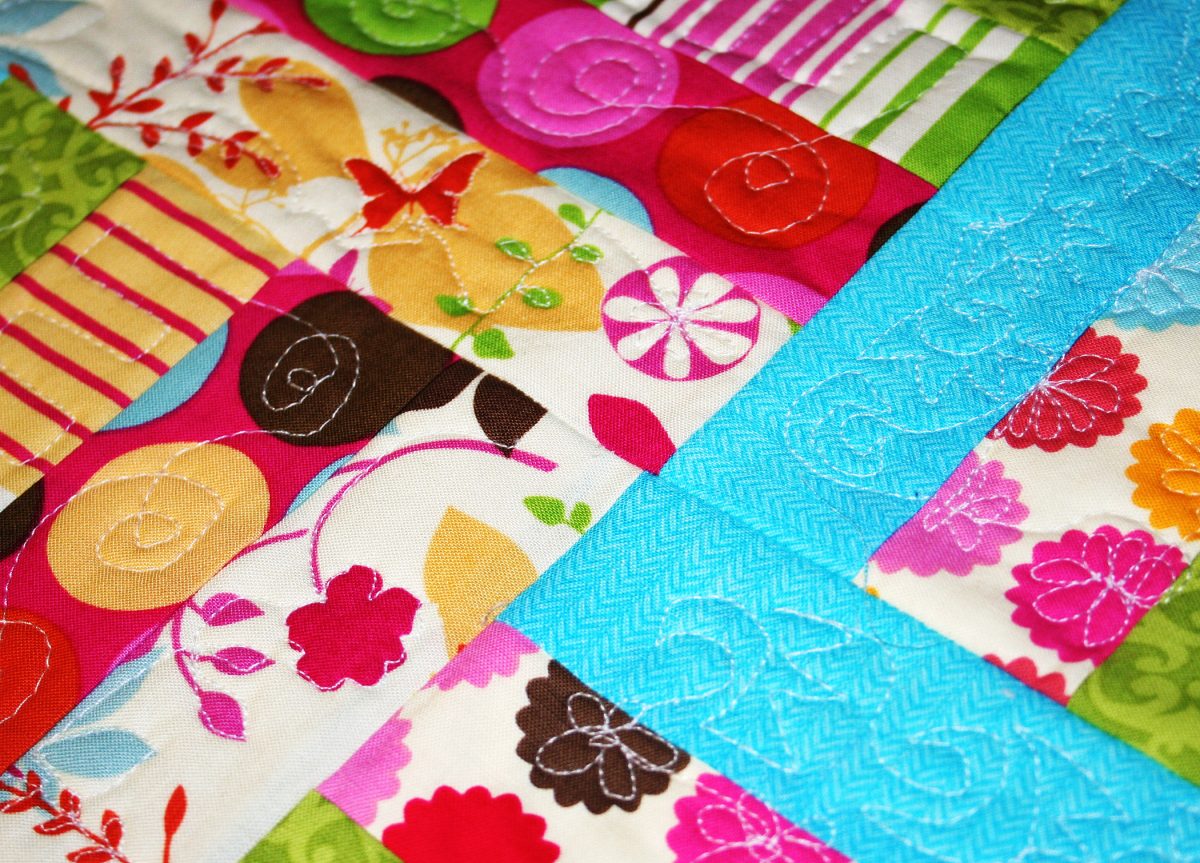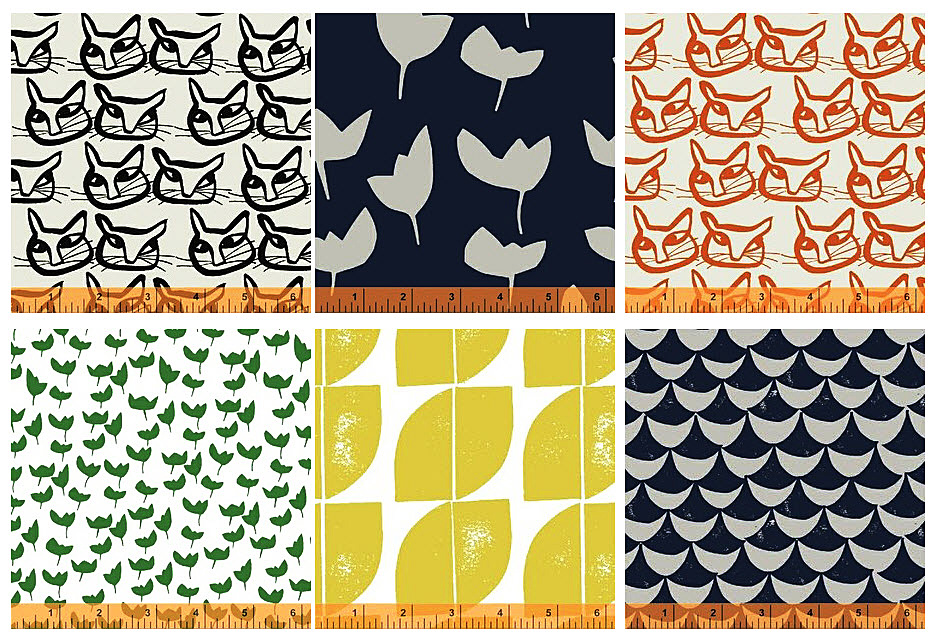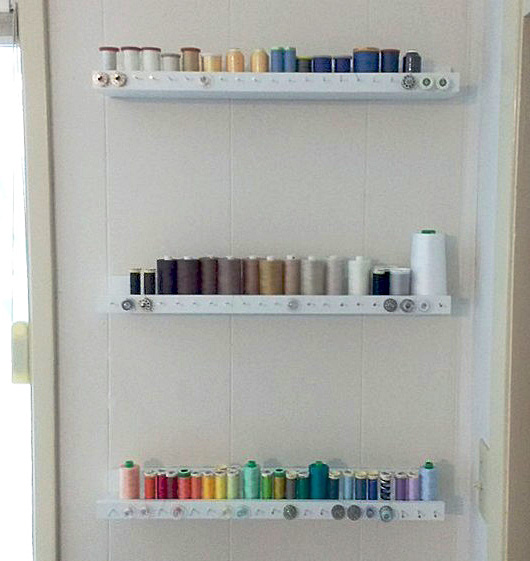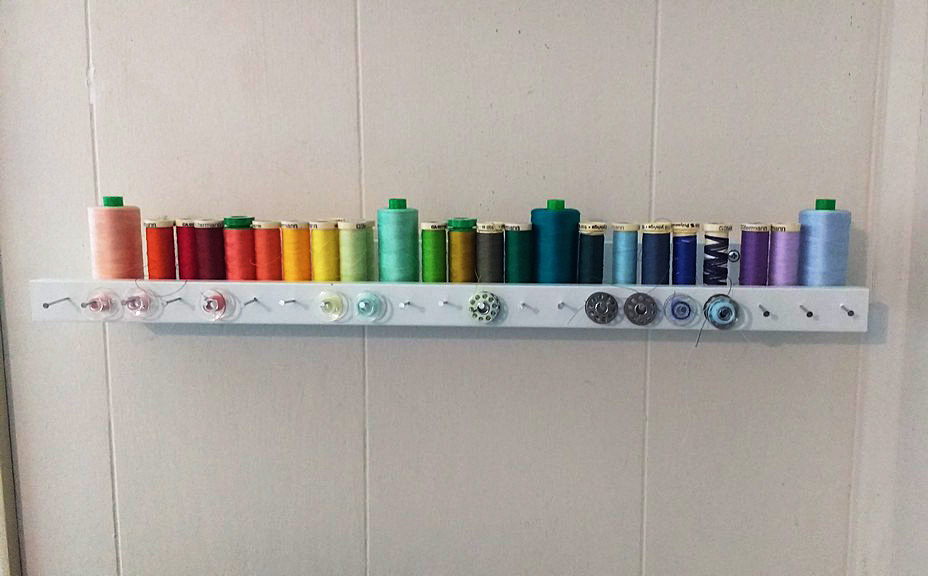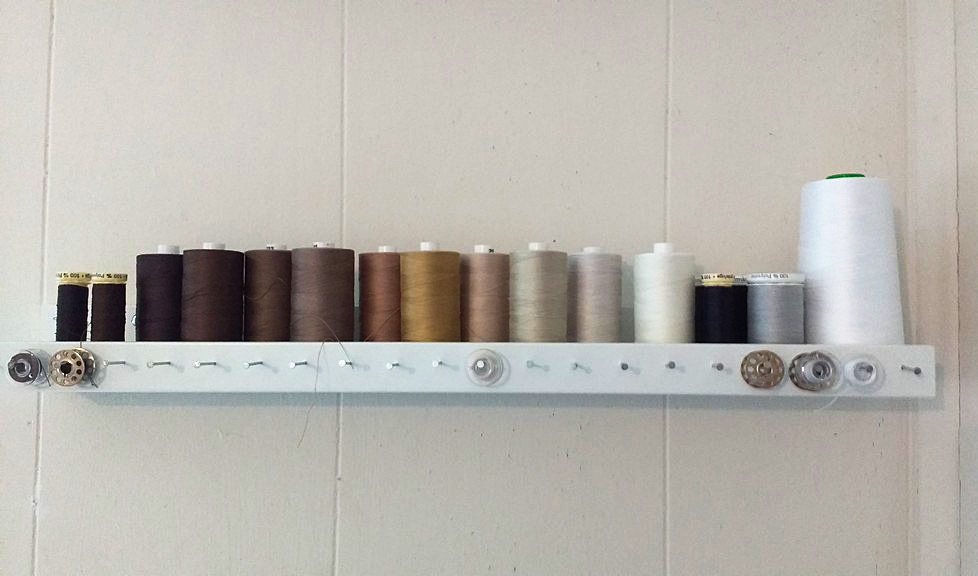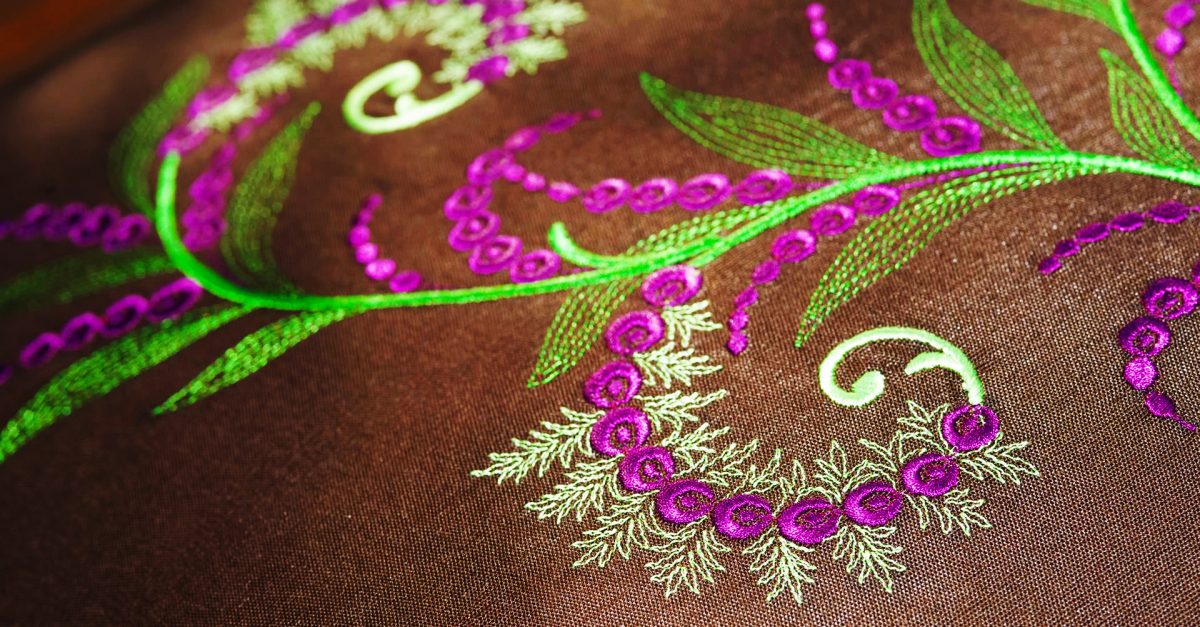
There is a wide array of embroidery software and design choices available
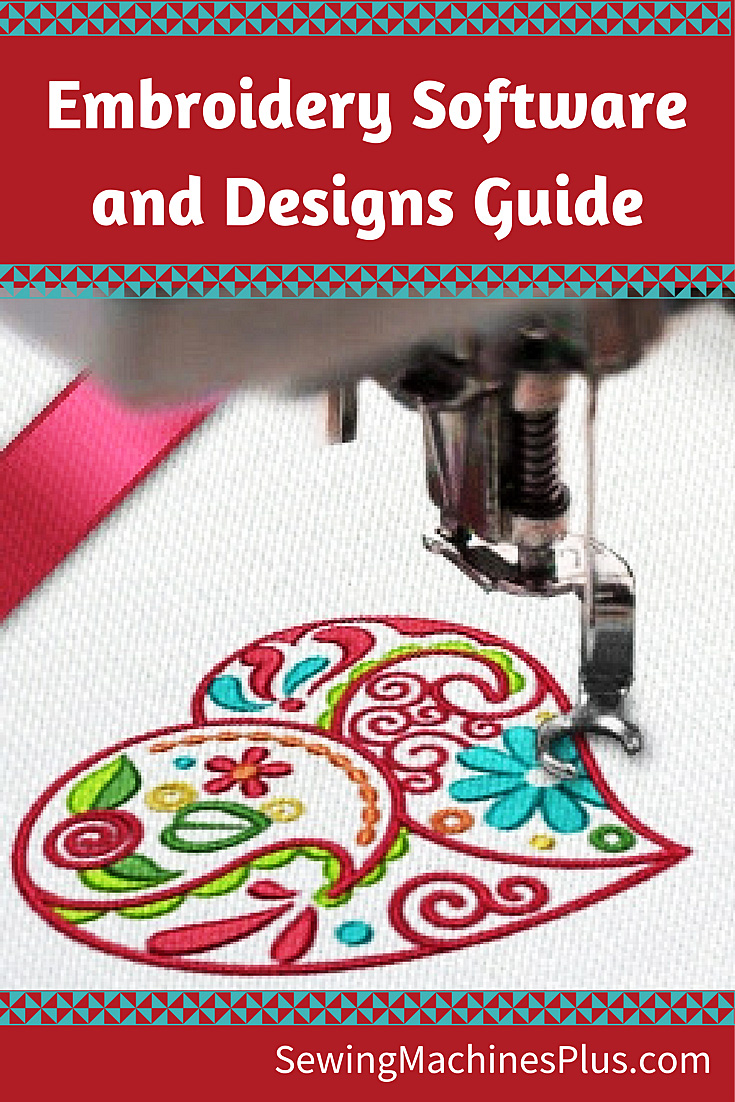
Embroidery Software Pin
When I shared an embroidery machine buyer’s guide last week, I did not touch on the subject of embroidery software and downloadable designs. That’s because you don’t need to buy any software or additional designs to start creating on an embroidery machine.
But once you have gotten comfortable with your machine, chances are you will want to expand your capabilities and design options by investing in more designs and/or software.
Without a good understanding of the different options, this subject can be just as confusing as choosing a machine. Let’s look at the different types of embroidery software and additional designs available in order to gain a clear view of the different types of software and other options available for extending your possible embroidery designs. Your choices include:
- Design collections
- Membership club
- Digital downloads
- Editing software
- Lettering software
- Digitizing software
- Thumbnailers
- Cataloging programs
Designs on disc
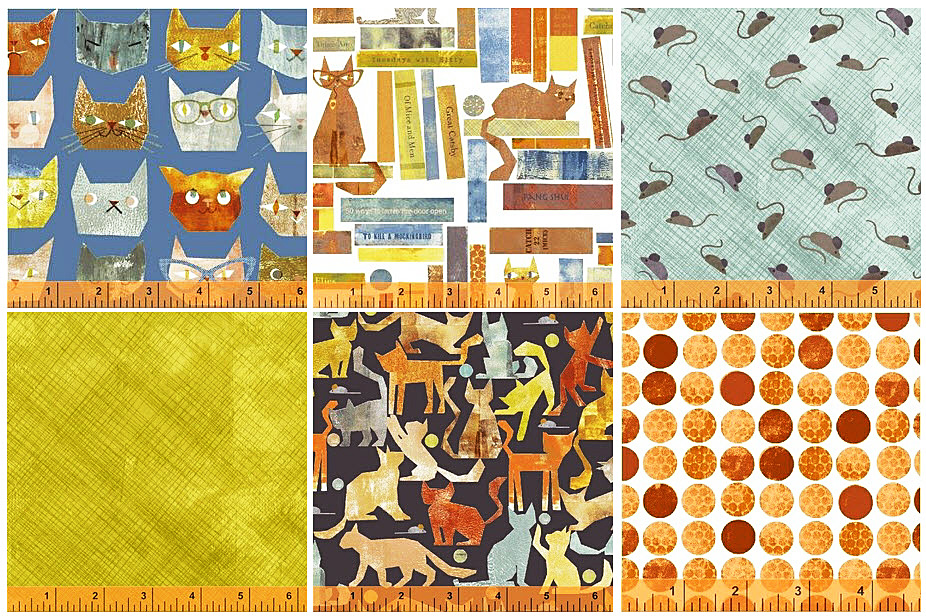
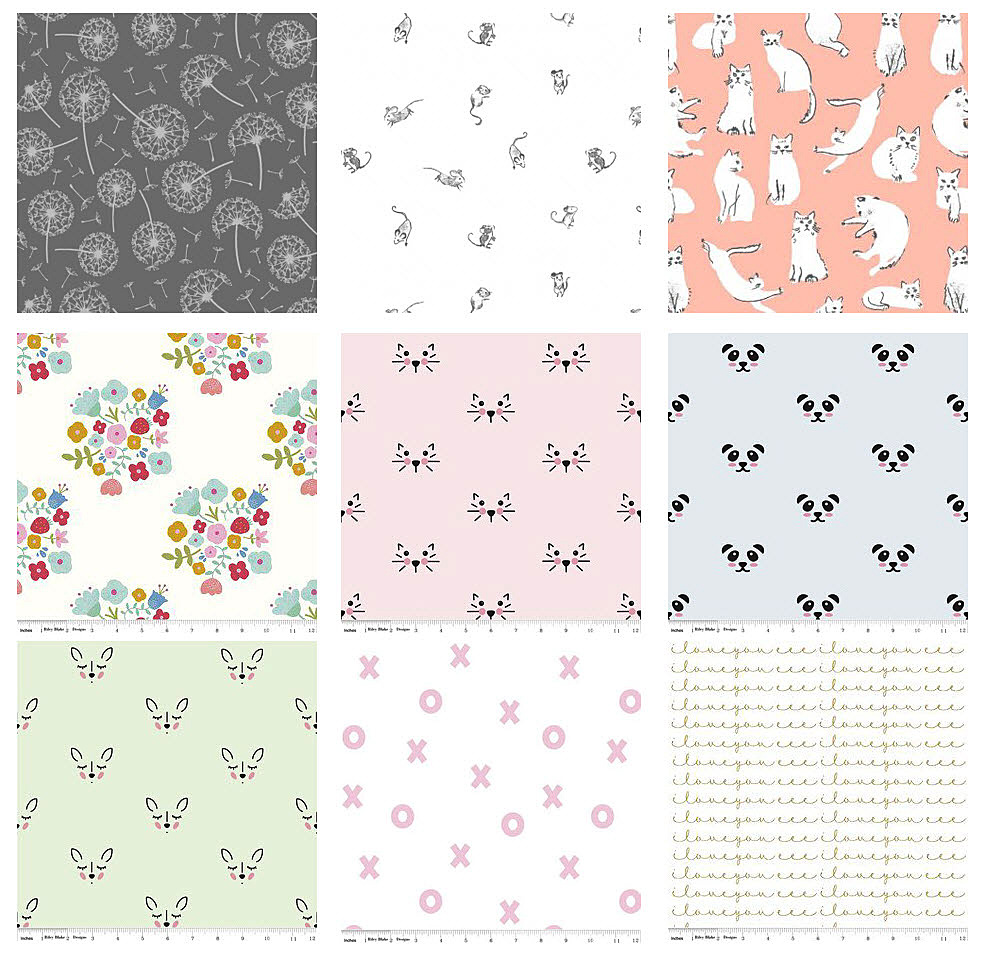
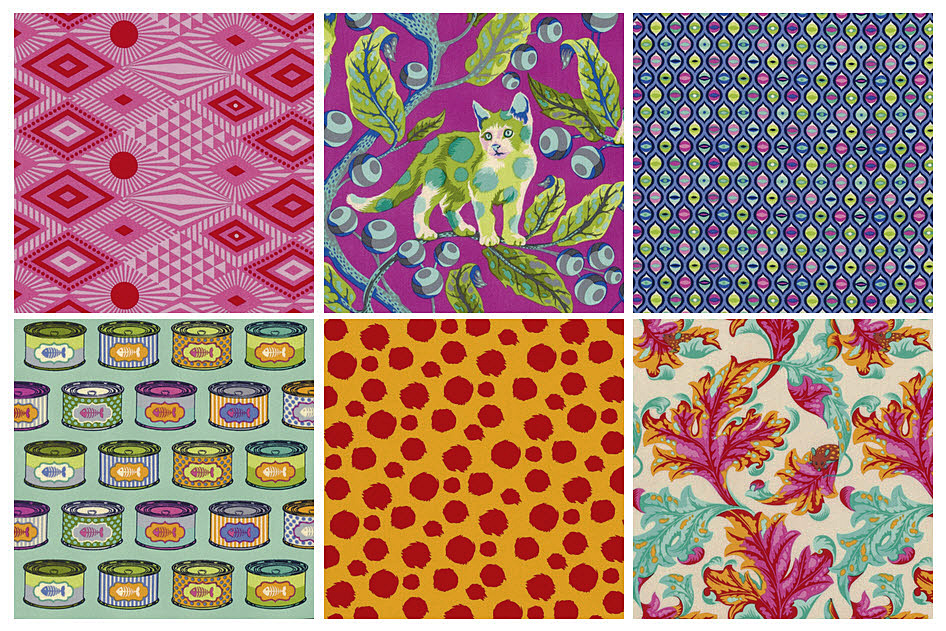
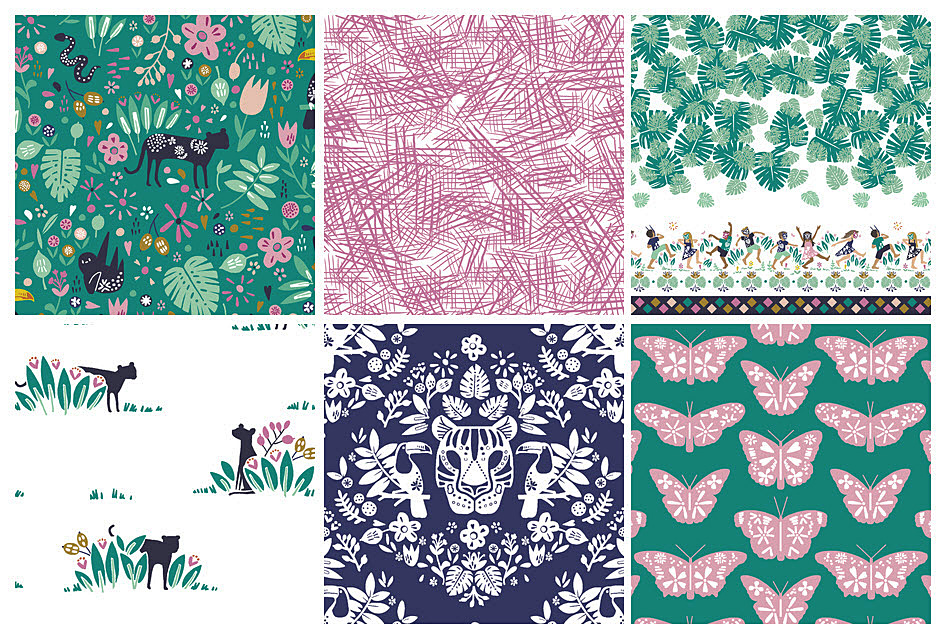
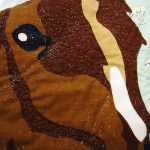
An easy investment to start building a larger library of embroidery designs is to purchase collections on CD-ROM. There are a ton of options to choose from in this category. Each will include many designs within a particular theme.
A great choice for these is Anita Goodesigns, which offers a huge collection of gorgeous designs. Sewing Machines Plus has fifteen pages of different Anita Goodesigns to choose from, including:
- Baby designs, from vintage to cartoon-style, and everything in between
- Holiday, seasonal, and religious motifs
- Animal designs, both whimsical and realistic
- Butterflies, dragonflies, and bugs
- Fruits, vegetables, and baked goods such as cupcakes and donuts
- Foliage and flowers galore
- Faeries
- Customizable designs for your sewing club
- Mandalas
- And plenty more

Anita Goodesigns Sun
These collections work for many different machine formats: ART, DST, EMD, EXP, HUS, JEF, PCS, PES, SEW, SHV, VIP, and XXX.
You may also like to check out design collections from Amazing Designs, Dakota Collectibles, Michelle’s Designs and Notcina.
VIP Club
Individual design collections on disc are an inexpensive way to start expanding your design library. But if you are like me, you will want them all! Buying all the individual collections separately would require a tremendous investment. But luckily, the folks at Anita Goodesigns realize that we will want them all, and so they made it easy for us to get them with their membership club.
The VIP club gives you ALL of the designs previously released, and then sends you the new designs that are released throughout the year. Plus, they include more member benefits, such as all the quilt and cutwork designs, as well. To read about all these benefits and extras, head over to the Anita Goodesigns Club page.
Digital downloads
You can find many designs online, through Etsy and elsewhere, available as digital downloads.
You need to know which file format your embroidery machine requires before downloading designs. Different machines require different formats and other formats are not compatible. For example, most Janome machines use .JEF files, Singer uses .XXX, Brother and Babylock generally use .PES format. Be sure to choose the correct format for your machine when downloading designs. However, if you own editing software, which we will discuss next, you can convert design formats.
You can find some free designs for digital download online. It is also possible to get premium designs for free. For example, Floriani includes a POP coupon code for a free design download on the label inside each package of their stabilizers. Once you collect ten of these codes, you can redeem them for ten design downloads. You will need stabilizer for all your embroidery designs. Floriani stabilizers are high-quality and are available in all types and weights. So the free download bonus packaged inside makes choosing these stabilizers a no-brainer.
You can also get five free Floriani downloads every month after you buy their Total Control software, which we will discuss soon.
Embroidery software for editing
Editing software will allow you to do many things, such as:
- Resize designs and recalculate stitches
- Merge designs
- Convert thread brands
- Colorize
- Add lettering, including large letters
- Convert design formats to the type your machine accepts
- Overlap designs
- Change or remove individual colors in a design
- And more
Editing software is available in a wide range of prices. Embrilliance Essentials is an awesome option that is super affordable and will allow you to easily do all of the above, plus more. This program works on both Windows and MAC operating systems, too.
Embroidery software for digitizing
If you want to stretch your creativity further and make your own designs, then you need digitizing software. This type of software will take a piece of clipart, a vector drawing, or other image and convert it into an embroidery design. Digitizing software will also convert fonts from your computer into letter embroidery. They can do lots of other amazing things, too; for example, you can use them to convert regular embroidery designs into cross stitch.
Many folks consider Floriani digitizing software to be the best. It is a super high quality all-in-one program which covers every possible editing and digitizing function. It also comes with the added benefits of having tons of tutorials and other help available online, and the five free design downloads a month that I mentioned previously here.
I prefer a different option, however. I’ll be going with the Artistic Suite and Artistic Premium upgrade for my own embroidery software, and here’s why:
The Artistic Suite and Premium software costs less and includes more. This software goes beyond embroidery and includes a slew of helpful applications for quilting, appliqué, reverse appliqué, fabric cutting, heat transfer, and making elaborate rhinestone designs. It is also useful for scrapbooking applications, and will make cut-outs from most anything, including paper, foam, and even balsa wood.
Artistic Suite does all these things as an editor, and the Premium upgrade adds digitizing capabilities. I’m amazed by everything I can do with these programs, and I can buy both of them without spending an arm and a leg! The Artistic program is available for both single needle and multi-needle machines.
Embroidery software: thumbnailers and cataloging
The Embrilliance thumbnailer is a little program that you won’t want to be without. And the price is so nice that there is no need not to pick this up right away.
This program collects all your embroidery designs into one place on your computer and lines them up as thumbnail images so that you can easily them all. Without it, you have to search and view every design individually, which can cost a lot of time and cause much frustration. But there is no need to waste any time or be frustrated at all when this solution is so simple. It is compatible with both PC and MAC.
There is another option for cataloging your designs into categories on your computer. That is Floriani’s My Design Album. This program is easy to install and will find all the various embroidery designs on your computer and compile them into one easy-to-find place. Then you can set up categories to find these designs more easily. The Design Album includes some editing capabilities as well.
Now is the best time to buy
February is National Embroidery Month, and Sewing Machines Plus is celebrating by offering big discounts on all embroidery equipment and supplies. So now is a great time to invest in additional embroidery designs and embroidery software. Take advantage of these great deals and expand your design library and capabilities today!