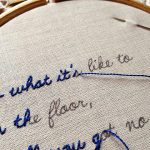
There’s not all that much I need these days. Often, I feel as if I have entirely too much stuff. A year and half ago, I bought my apartment in New York City moved from Brooklyn (where I had lived for fifteen) up to Harlem.
There’s not all that much I need these days.
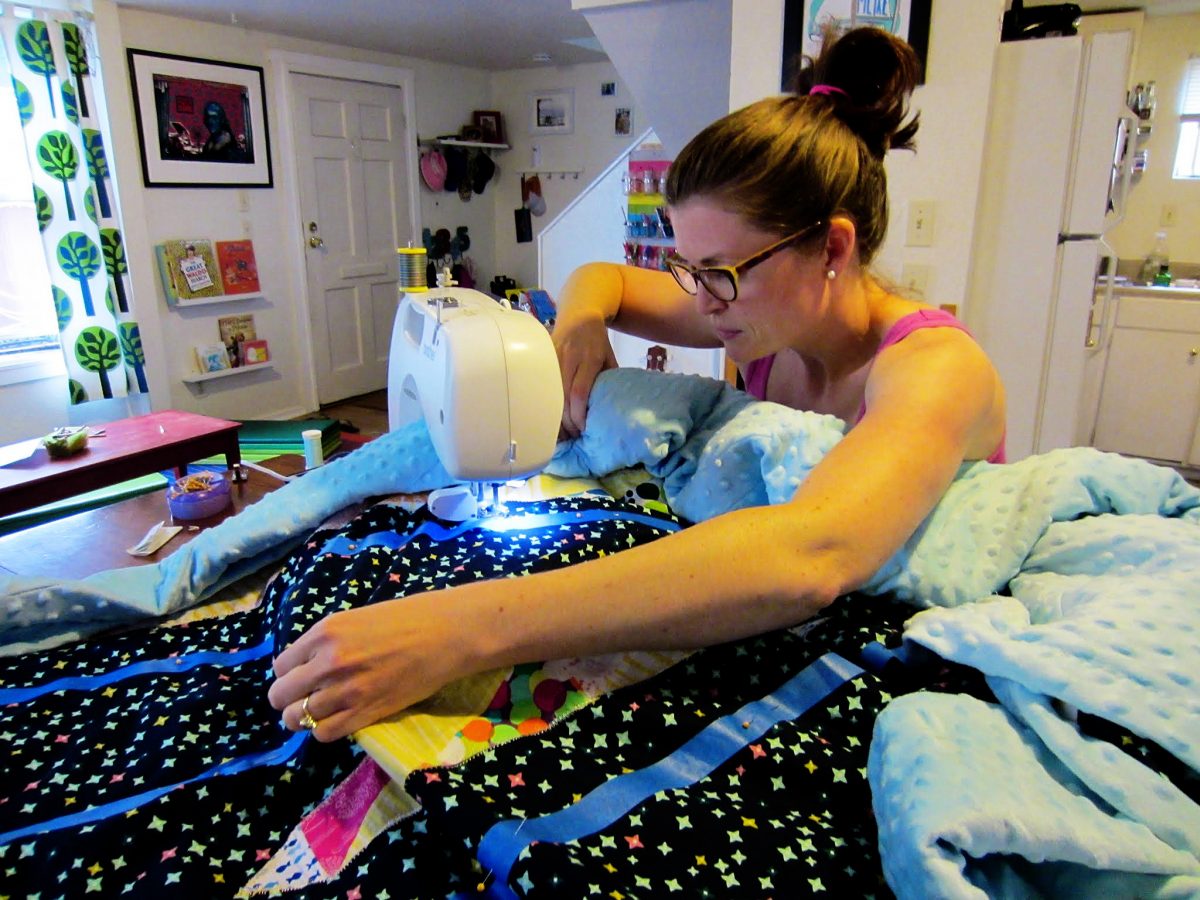
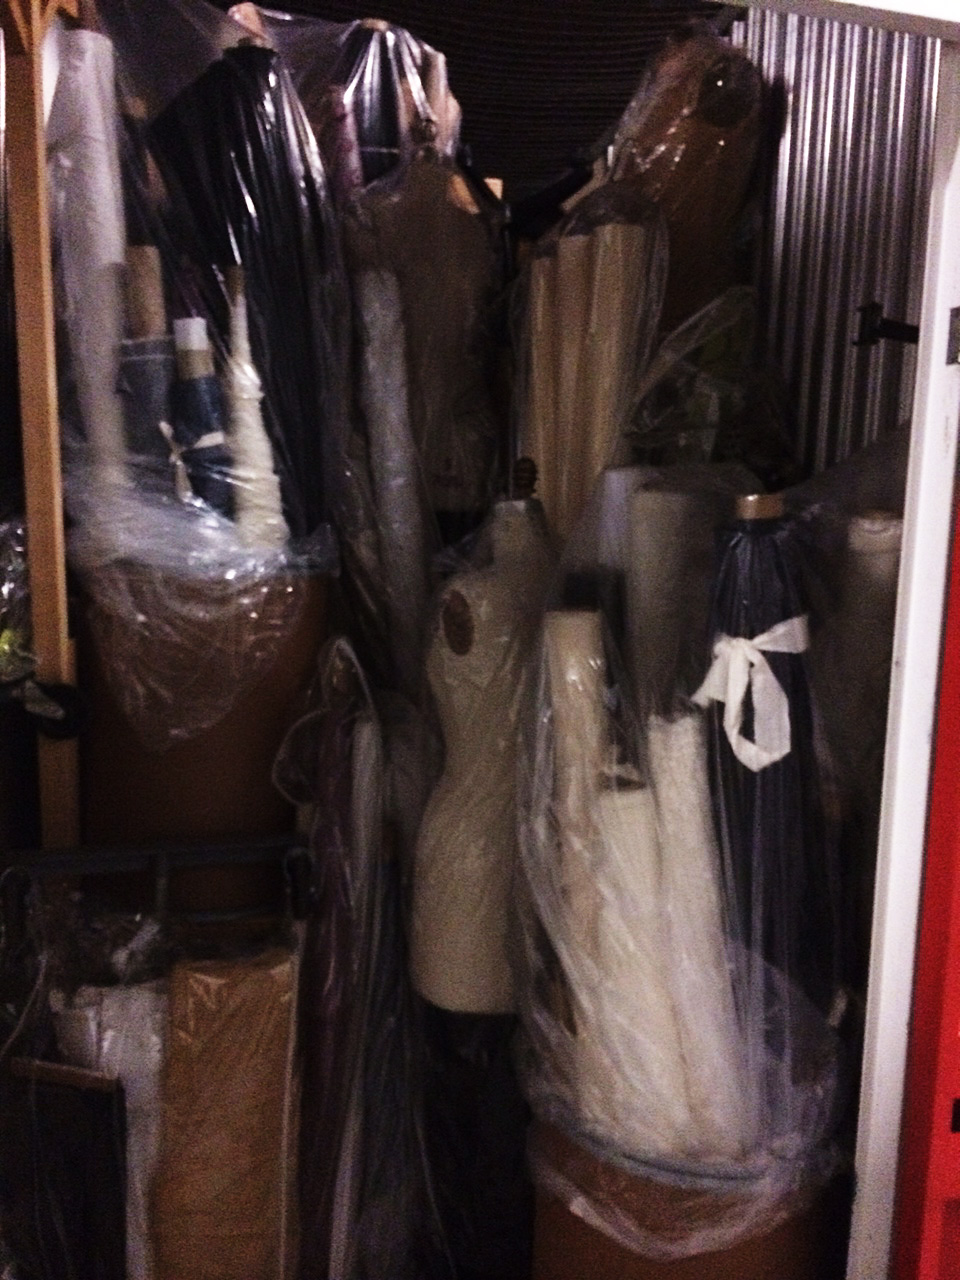
I had accumulated a lot of stuff in those fifteen years and almost half of it seemed to be sewing related. This wasn’t even counting the storage space I had. Storage spaces are quite common in NYC as the apartments are notoriously small and no one ever seems to have enough room to keep all their stuff.
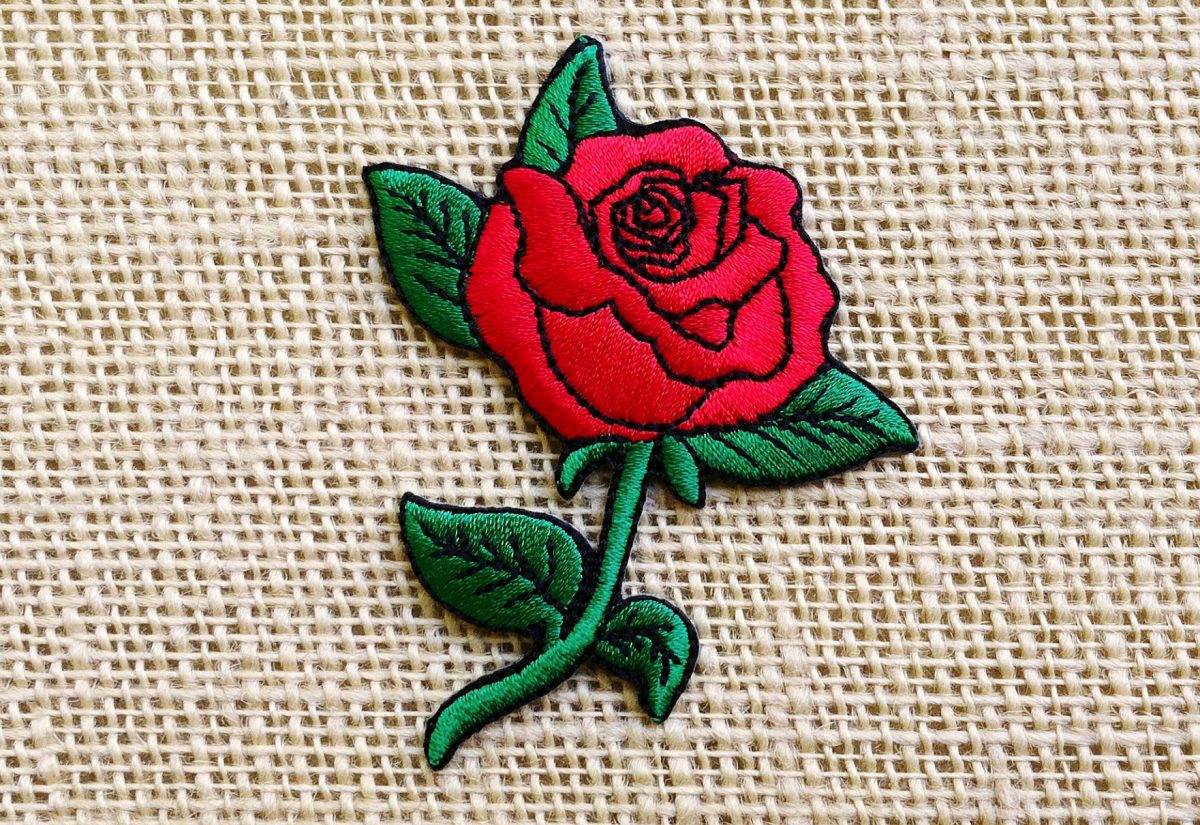
I literally had more fabric than I could ever, ever, use in my lifetime.
It’s not a problem
I decide that instead of moving all of my stuff, I was gong to get rid of some of it and I was going to empty my storage space so that everything I owned actually fit in one 800 square foot apartment.
I managed to get everything I owned to fit in one 800 square foot apartment.
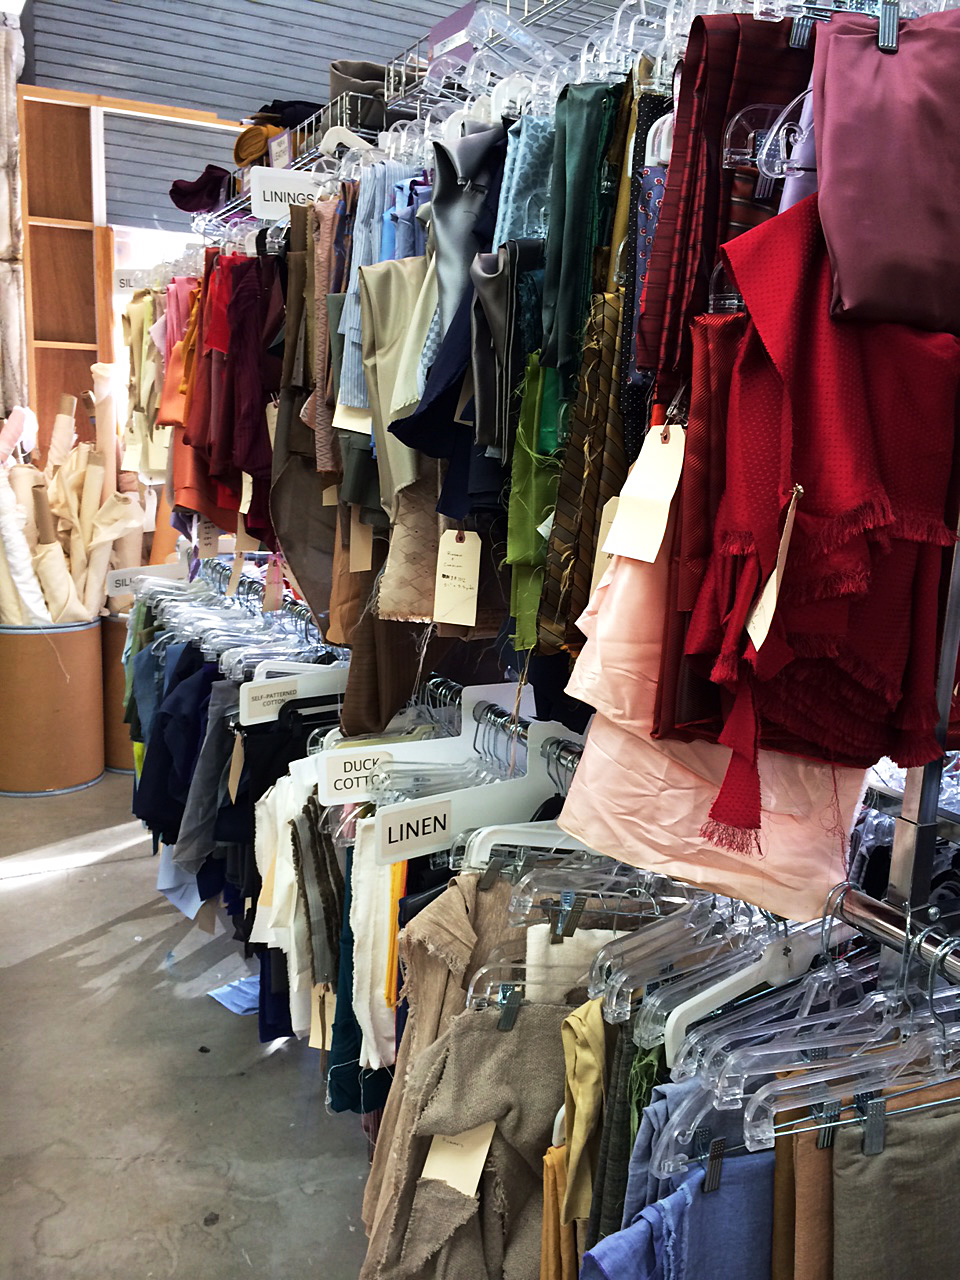
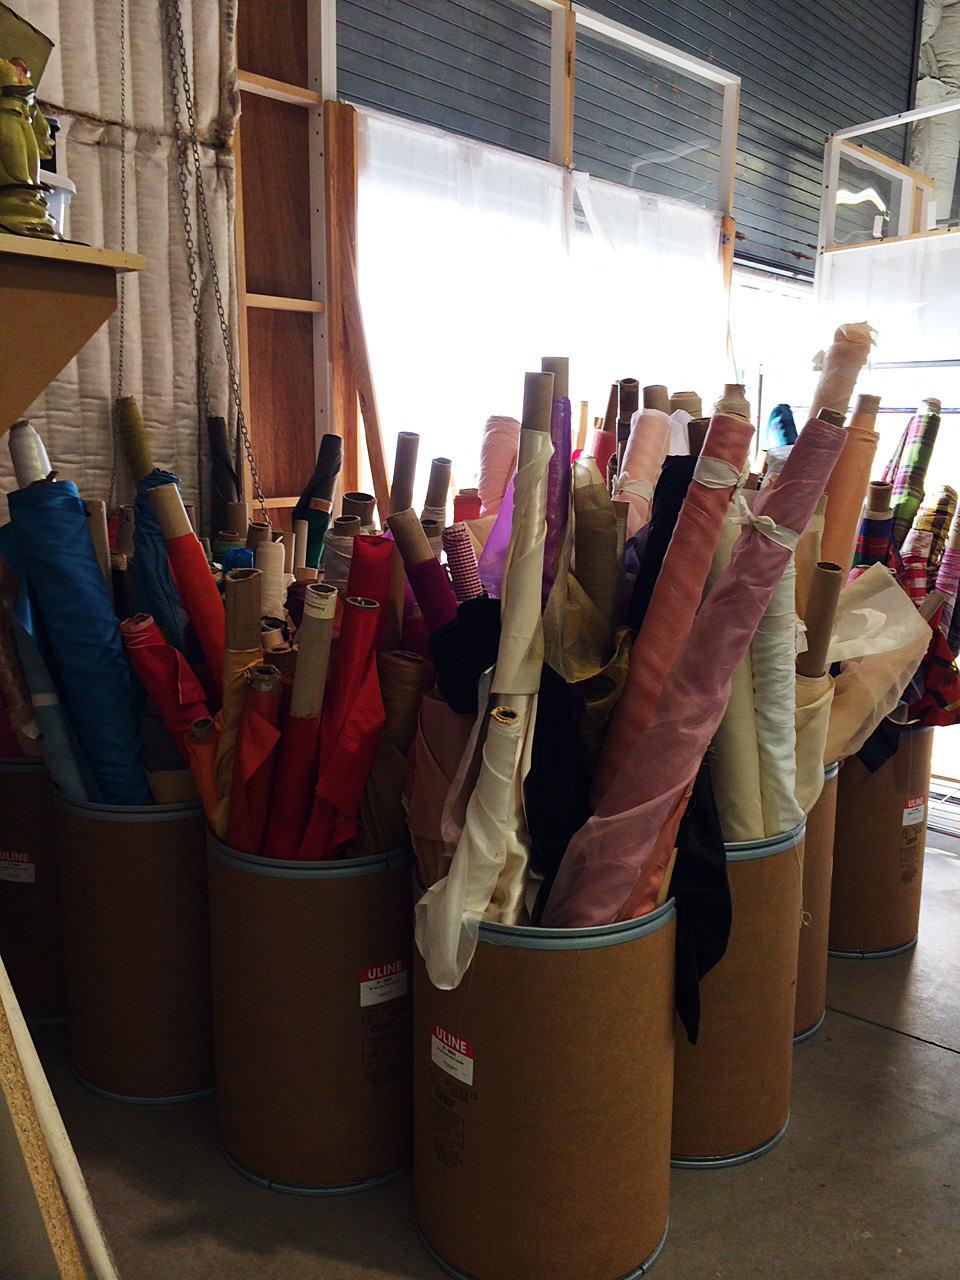
It took some doing but I managed to accomplish this task. The biggest challenge was figuring out what to do with all the sewing related things. I really didn’t need fifteen pairs of scissors, four bins of bias tape, an entire box of rick rack and eight foot by ten foot cubicle packed to the ceiling with box after box of fabric.
Good places to donate fabric to are universities or schools with arts’ programs or assisted living homes.
Of course, I kept some things. I do, after all, possess that fabric-hoarding tendency that most tailors and pattern makers do. But I literally had more fabric than I could ever, ever, use in my lifetime – even if all I did for the next thirty years was sit in my apartment and make things. I kept the truly special stuff, the pieces that I might never be able to find (or afford) again. But the bulk of it I donated.
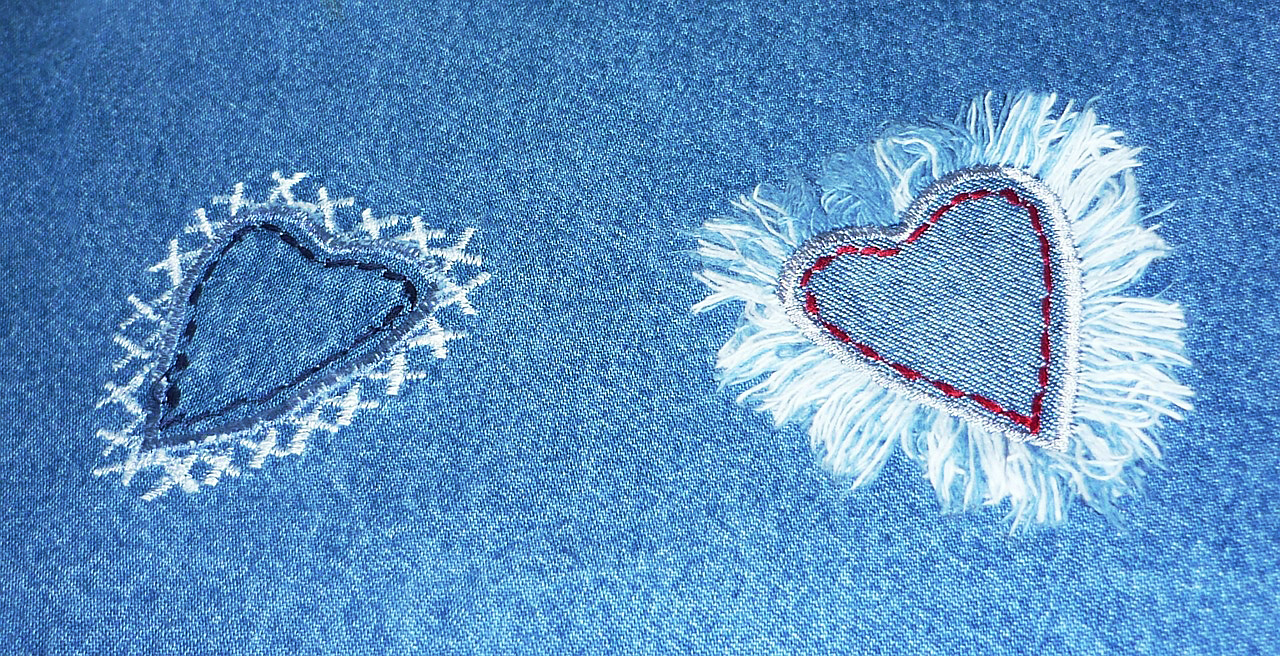
Giving back
Good places to donate fabric to are universities or schools with arts’ programs or assisted living homes. Even some prisons accept fabric donations.
One of the best organizations like this in New York City is Material For the Arts. They accept unneeded items from businesses and individuals, and make the donations available for free to nonprofit organizations with arts programming, government agencies and public schools. If you have a large donation (like an entire SUV full), call ahead to schedule a time to drop off.
Some other places that accept fabric donations are GrowNYC and Quilts of Valor.
The Humane Society and the ASPCA will take linens and clothing for bedding and bathing animals – especially towels.
GrowNYC used to take bags of fabric scraps of any size (that’s where most of the small scraps from Boardwalk Empire ended up) but their website now says they only want large usable pieces.
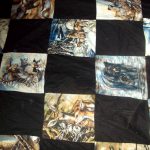
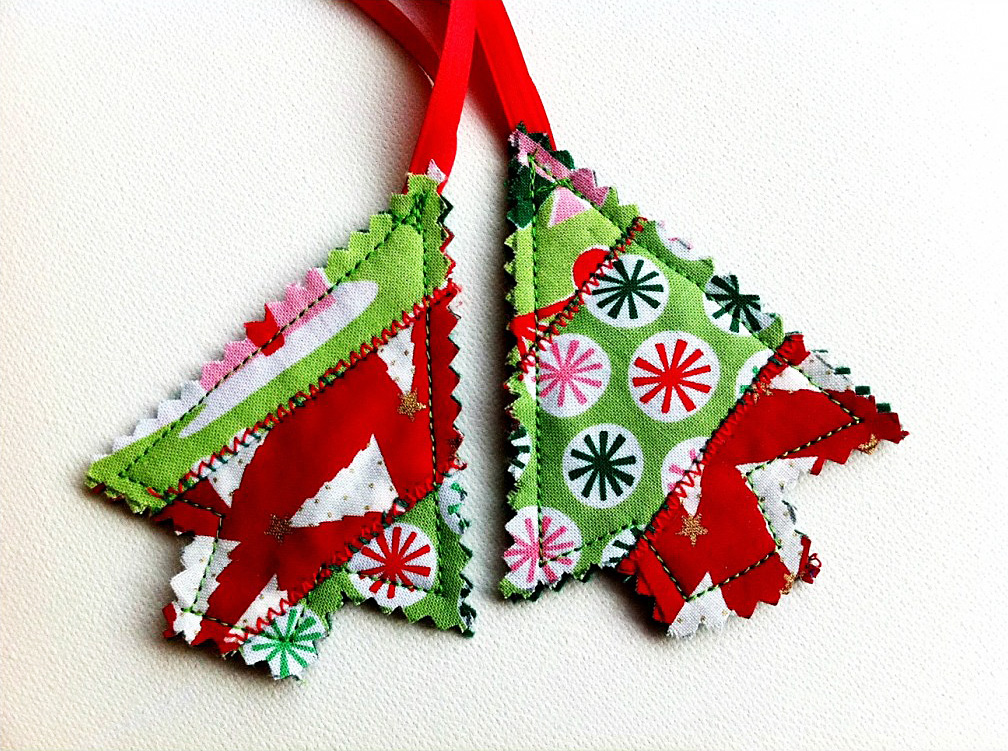
Quilts for Valor makes quilts for service members and will take most remnants as long as they are clean and free from oil stains & the like.
A few companies that offer take back and reuse options are:
- Design Tex can provide ship-to information for recycling or reclamation of many of their upholstery, panel and drapery fabrics.
- The Nike Reuse-A-Shoe Program recycles the rubber, foam and fabric from any brand of used sneakers into padded flooring.
- The Patagonia Common Threads Garment Recycling Program recycles Polartec fleece, Patagonia organic t-shirts and Capilene Performance Baselayers into new Patagonia clothing.
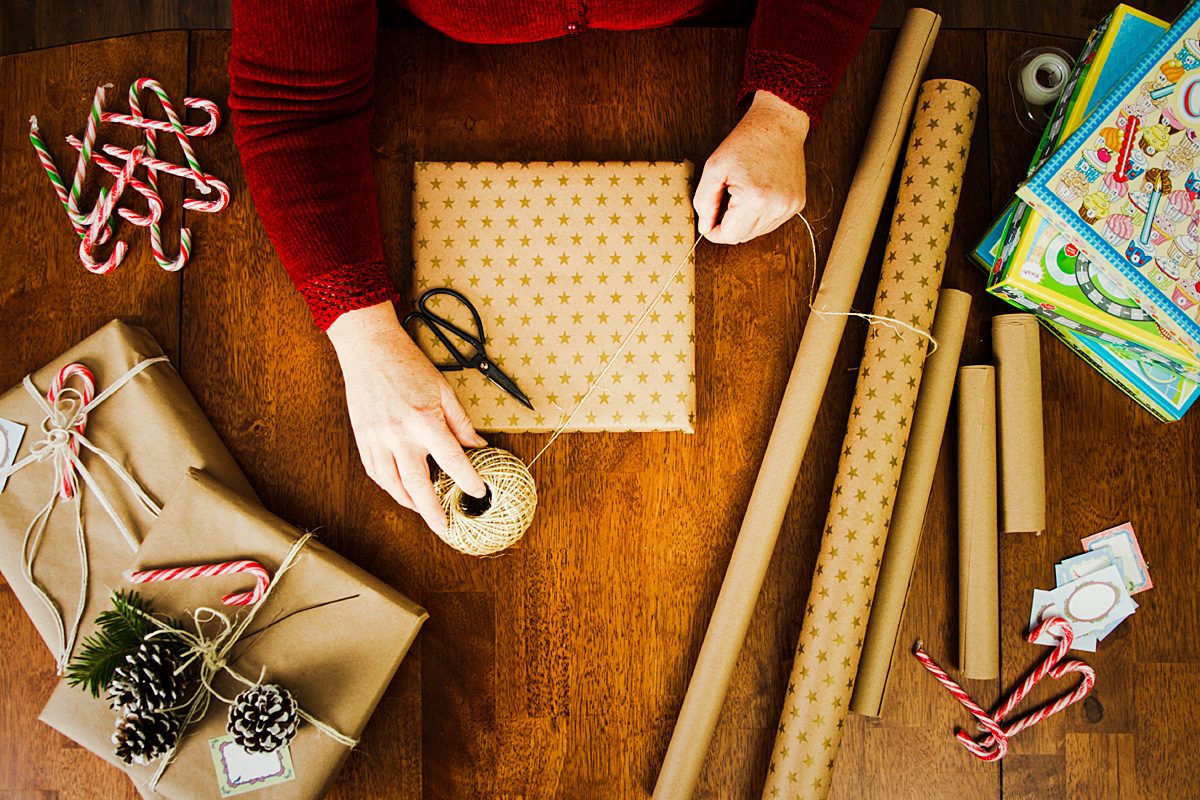
If you’re doing some clearing out of your fabric stash this season, there are lots of opportunities to send your unwanted textiles somewhere they’ll be wanted. Please donate.
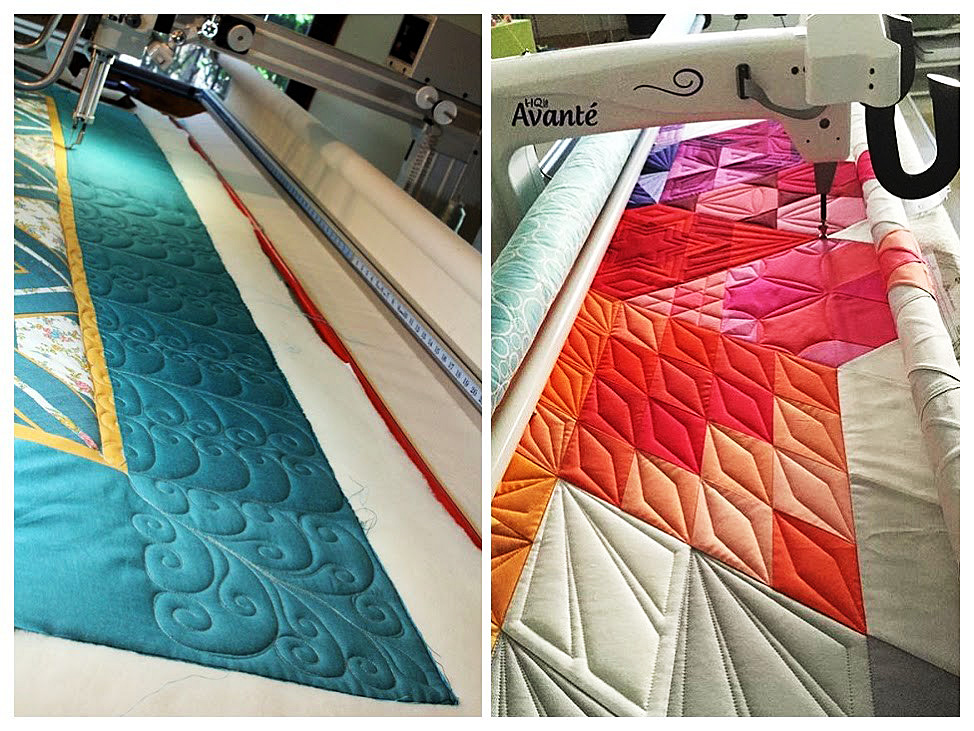
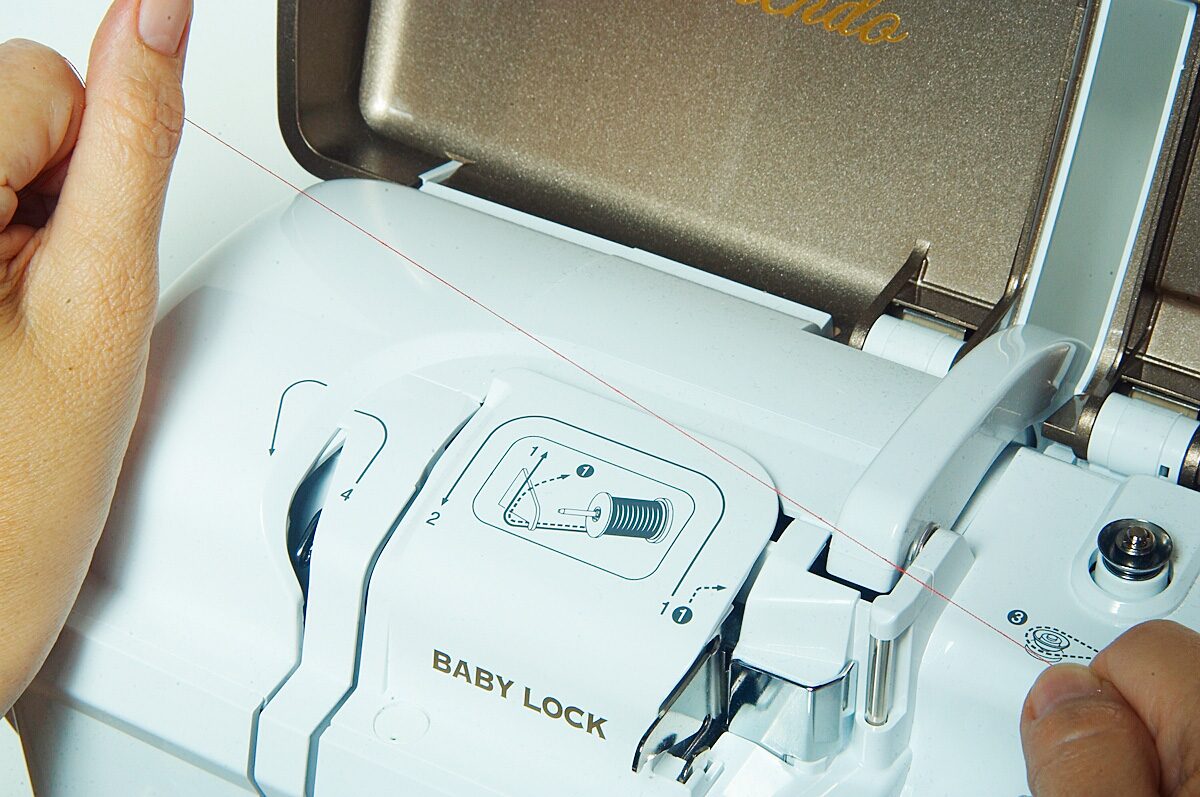
I do have to confess though, that there is one sewing related thing I’m hoping to purchase in the next year: A Juki MF 7923 Coverstitch Machine.
I figure I’ve donated just about enough fabric and other supplies to make room for a new machine.
And so the cycle continues 🙂