I remember being a child in a store when my mom was deciding to buy another child a toy sewing machine. I was too young for it, making it what could’ve been a dangerous option for me, but that didn’t mean I wasn’t jealous of the other child who would get the sewing machine!
Fast forward a couple of decades or so, and my brother asked me if a toy sewing machine he was thinking about buying would work. My response was something like, “No, they never do.”
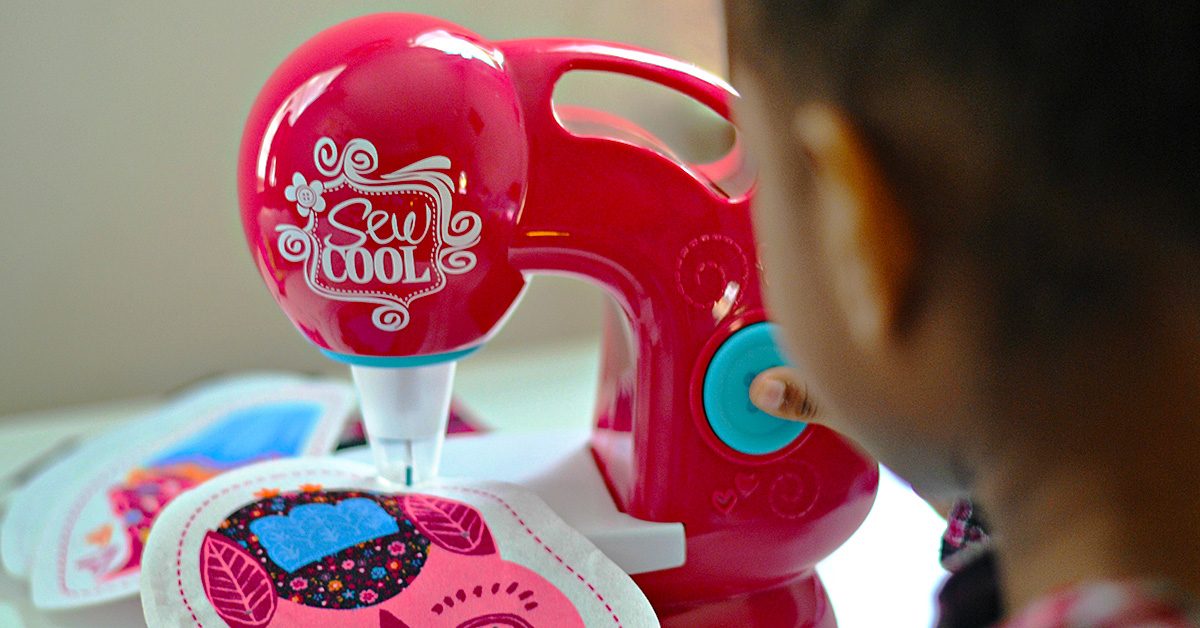
Toys are for kids
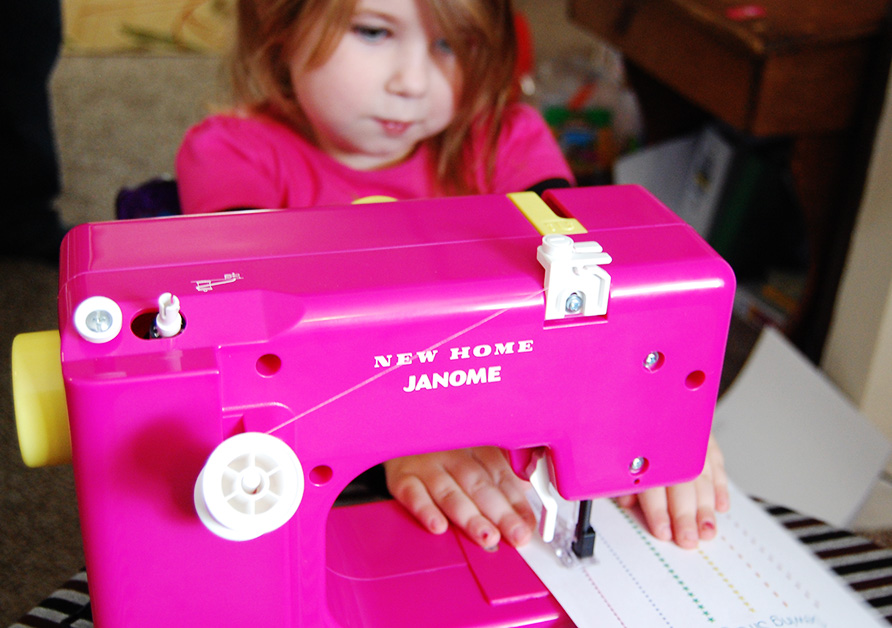
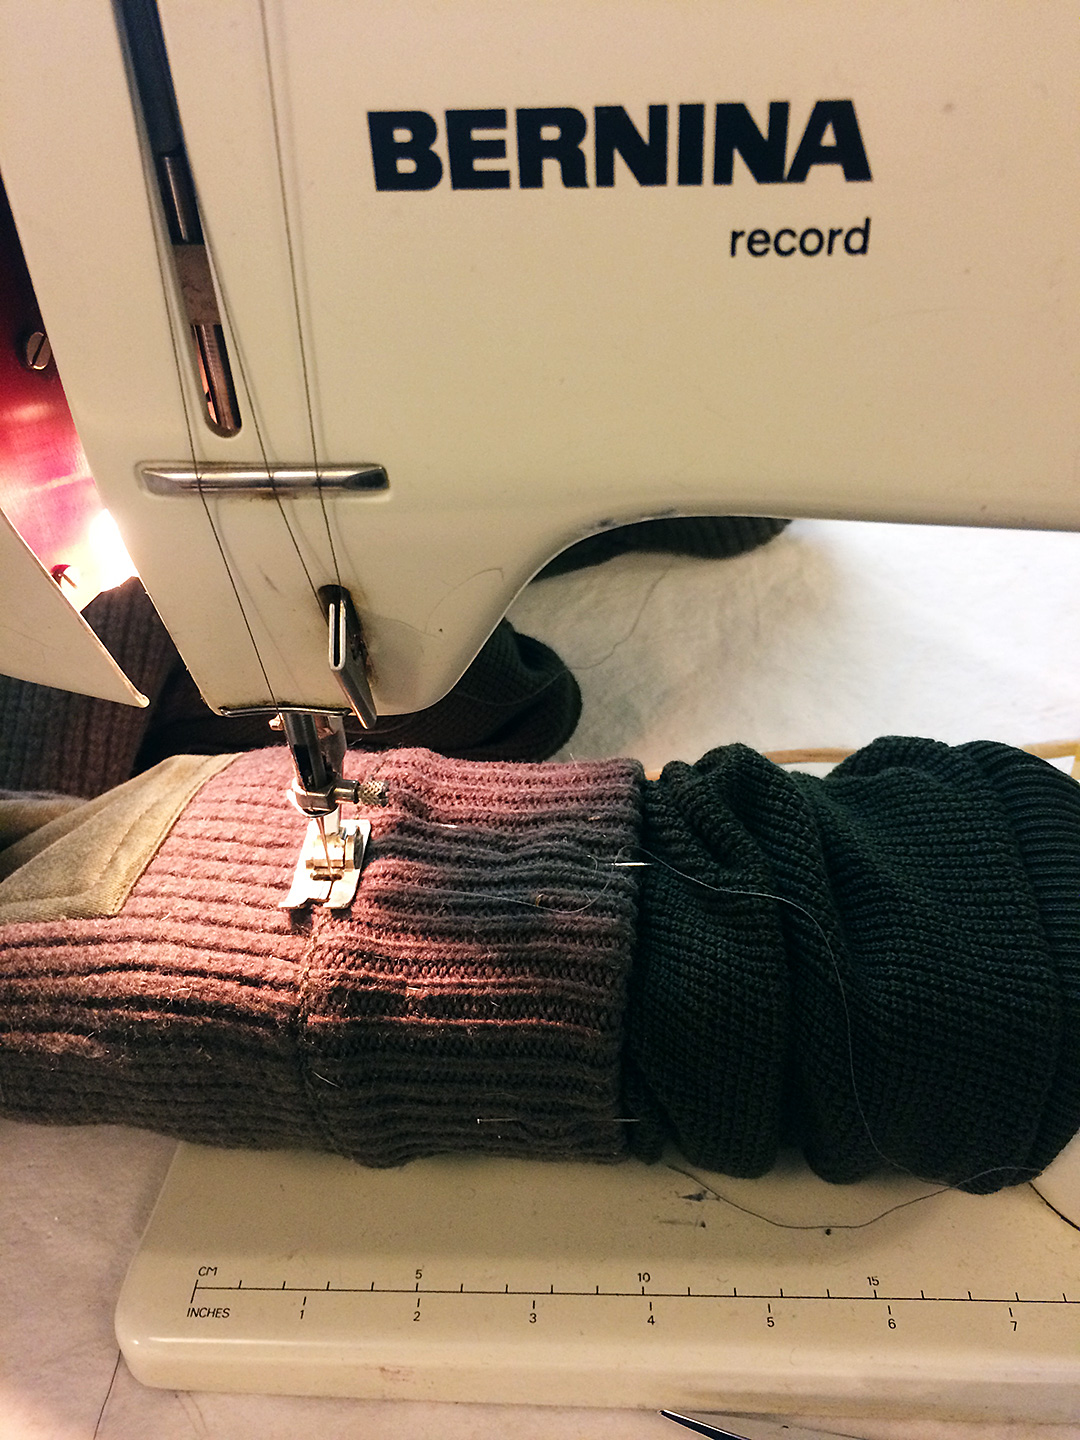
In a world of game systems & electronics, toy sewing machines that may or may not work are still on the shelves.
This might be a misconception on my end of things in assuming that toy sewing machines will be, simply put, less than adequate. In fact, one or two of them probably do at least basically stitch together the small projects they come with. But it’s led to a question in my mind that I’d like to explore for a bit. That question is why sewing continues to be an intriguing prospect as the years roll by, to the point that in a world of game systems and electronics, toy sewing machines that may or may not work are still on the shelves. Even for adults, sewing can be seen as a throwback hobby, so why is it so appealing that a younger generation would still add a sewing machine onto their lists to Santa along with the latest Wii and the most impressive riding toy on the market?
Pass it on
Here’s a pass-it-on quality that goes along with sewing.
Well, for one thing, there’s a pass-it-on quality that goes along with sewing, and as children, we were kind of prone to looking at what our parents were doing for inspiration. It’s no surprise this tradition passed on to today’s world if you think about things in that context. Our great-great grandparents may have needed to create their own clothes, blankets, etc. in a world that was very different than ours, and even when society changed enough to start negating that need through things like the division of labor, there were still probably little eyes looking up at the quilters and such who continued their crafts in spite of the changes, maybe out of genuine love of the endeavors. That generation could’ve kept the tradition going for another group of young eyes to latch on to, on and up to recent times when little eyes are looking at that little sewing machine that looks so much like the one at home.
Invaluable skills
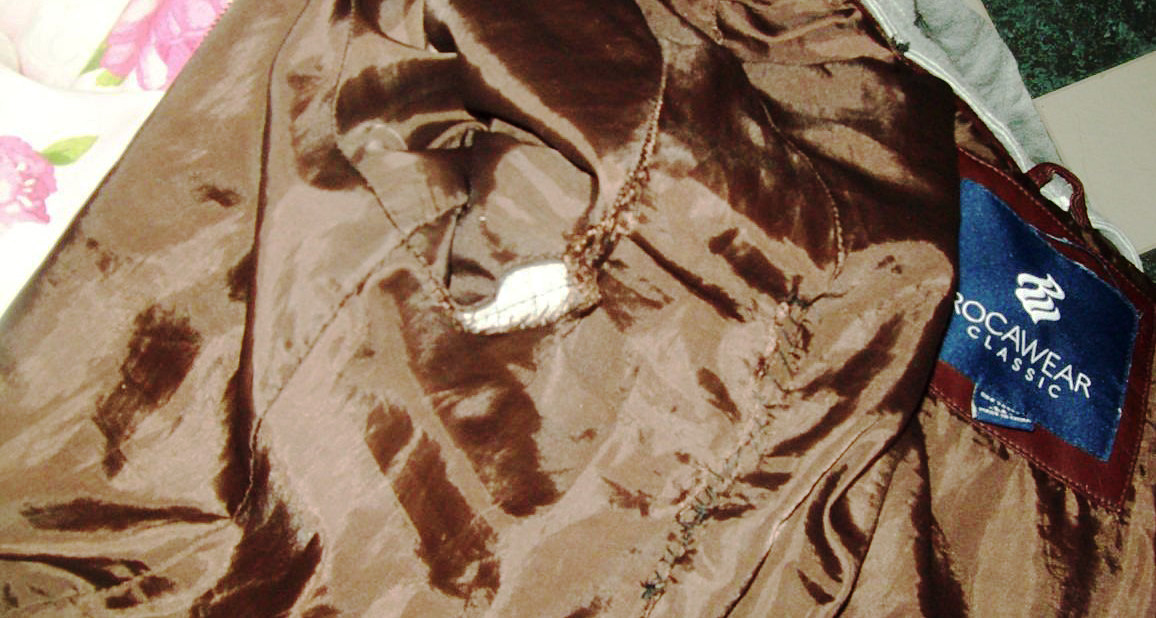
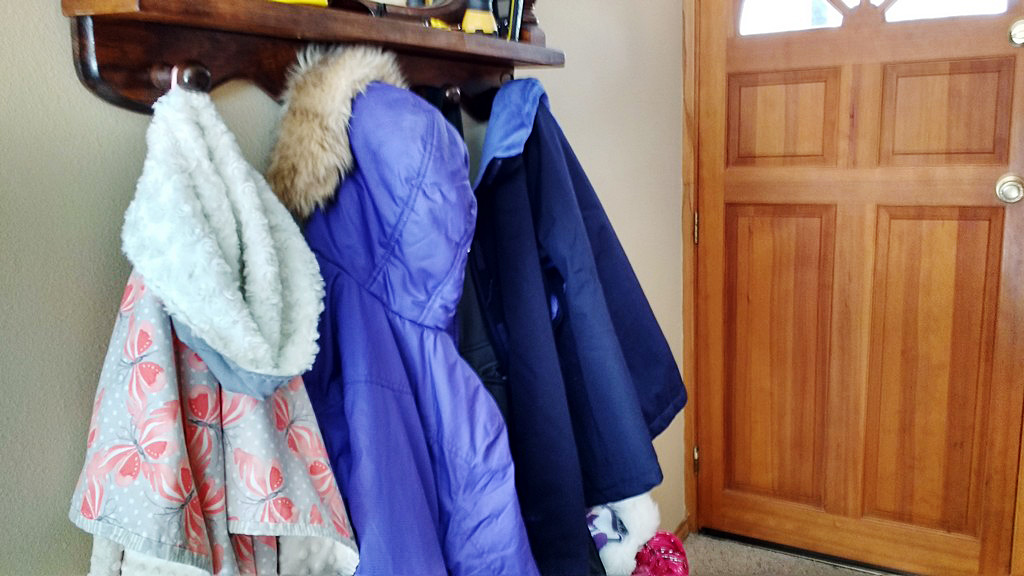
Sure, you can pay a seamstress to sew the rip in your coat’s lining, but in the long run, being able to sew that lining yourself saves money.
It’s also practical! No matter who you are and what you do, you’re probably going to need something mended at some point in your life. Not only does this increase the odds of those little eyes seeing sewing in action, but it provides usefulness to the hobby that makes it a logical thing to learn. Sure, you can pay a seamstress to sew the rip in your coat’s lining, but in the long run, being able to sew that lining yourself saves money. I admit that most kids probably aren’t diving into the sewing world with money in mind, but being able to contribute with such a grown-up task could be appealing to them. Don’t believe me? Try baking a cake in a room full of kids and see how many offer to help!
A family that sews together stays together
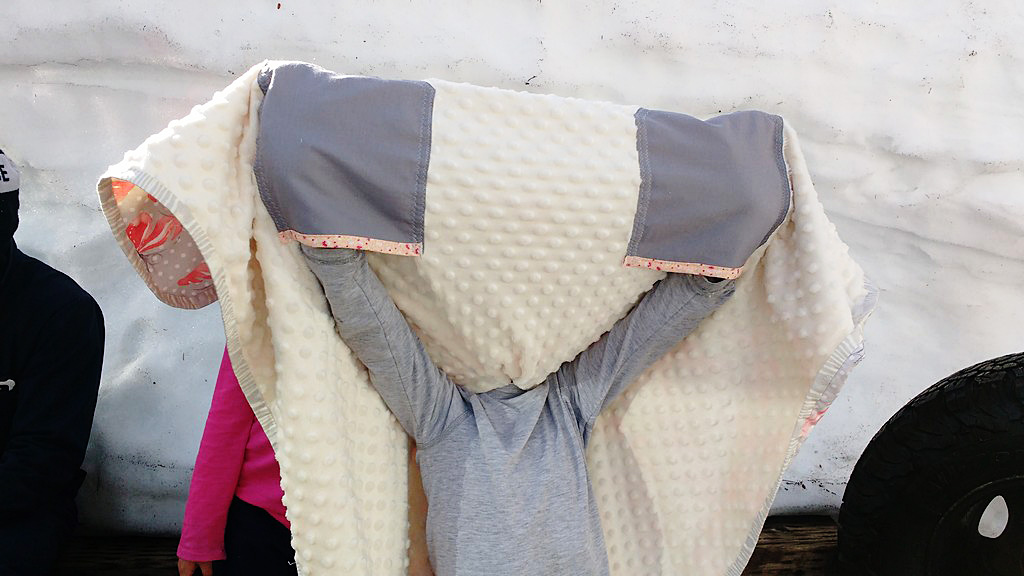
Sewing, as it happens, has the added bonus of being so convenient that I can sew & watch my superhero movies at the same time!
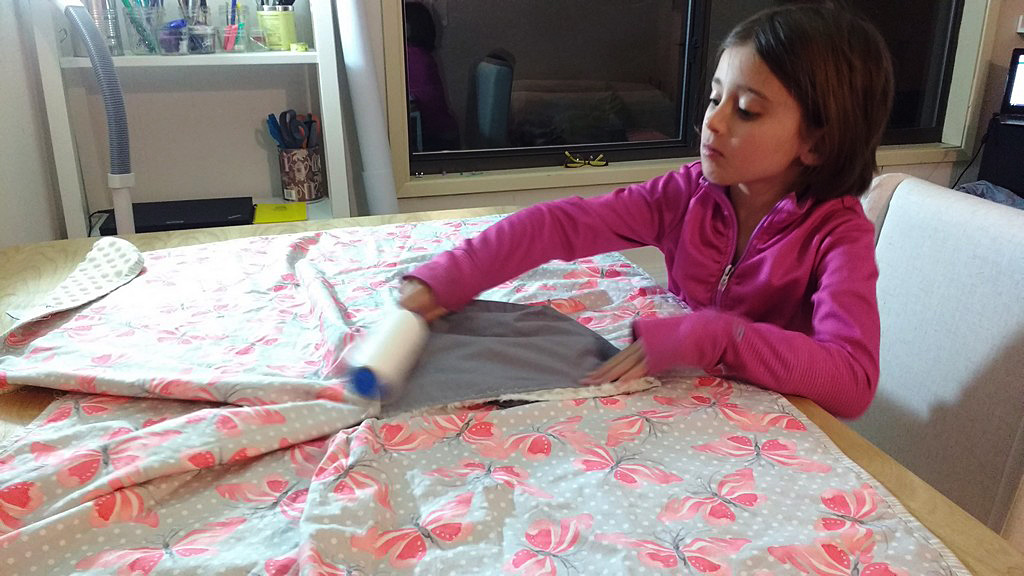
Sewing, as it happens, has the added bonus of being so convenient that I can sew and watch my superhero movies at the same time! Because of this convenience factor, it can be an endeavor that comes with good memories and feelings for children. Think about it. If I were making a rag quilt, I could sit with my nieces while a cheesy cartoon played and fray the edges for the quilt. It’s a hobby that allows time for them, and that’s a detail that a child could easily appreciate. With those kinds of good feelings and that pleasant context, picking up a sewing interest isn’t that shocking!
A generational tradition
On the flipside, parents, grandparents, aunts, uncles… We might appreciate the interest as well. Why? For one thing, it’s creative, which helps a child expand in imagination and think outside of the box. The little sewing enthusiast could construct a final product that really took time and effort, and that pride could be something that proves fulfilling enough to warm the nearby adult’s heart. Another appealing detail for the adults buying these toys and encouraging the interest is that sewing is a relatively safe activity for a child who’s reached an appropriate age. Clearly, you shouldn’t hand a three-year-old a sewing needle, but an older, more mature child would be able to dive into the hobby with little worry over injuries.