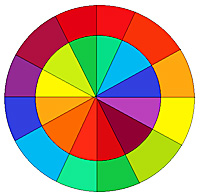
I have always had a fascination with brightly colored things. The beauty of the sun shining through the trees, through the clouds, and even through the window gives such a warm feeling and the appreciation of nature and our surroundings. I especially love the beauty of stained glass windows in the ancient churches and buildings in Germany and Italy. The sun shining through the color seemed to draw me into the grace of the house built so long ago and so carefully maintained as to not disrupt the aura it was intended to project.
One time, not so long ago, I was intrigued by some pictures that were like stained glass, but made with mostly irregular blocks and random shapes of fabric.
Pojagi
Sometimes referred to as “Bojagi”, this is a highly improvisational project to do what you feel!
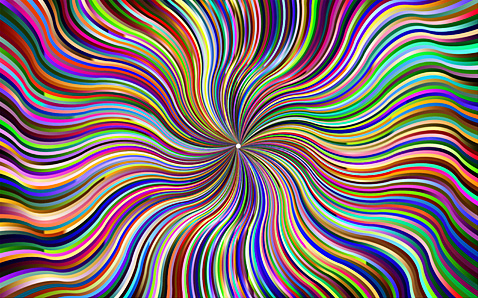
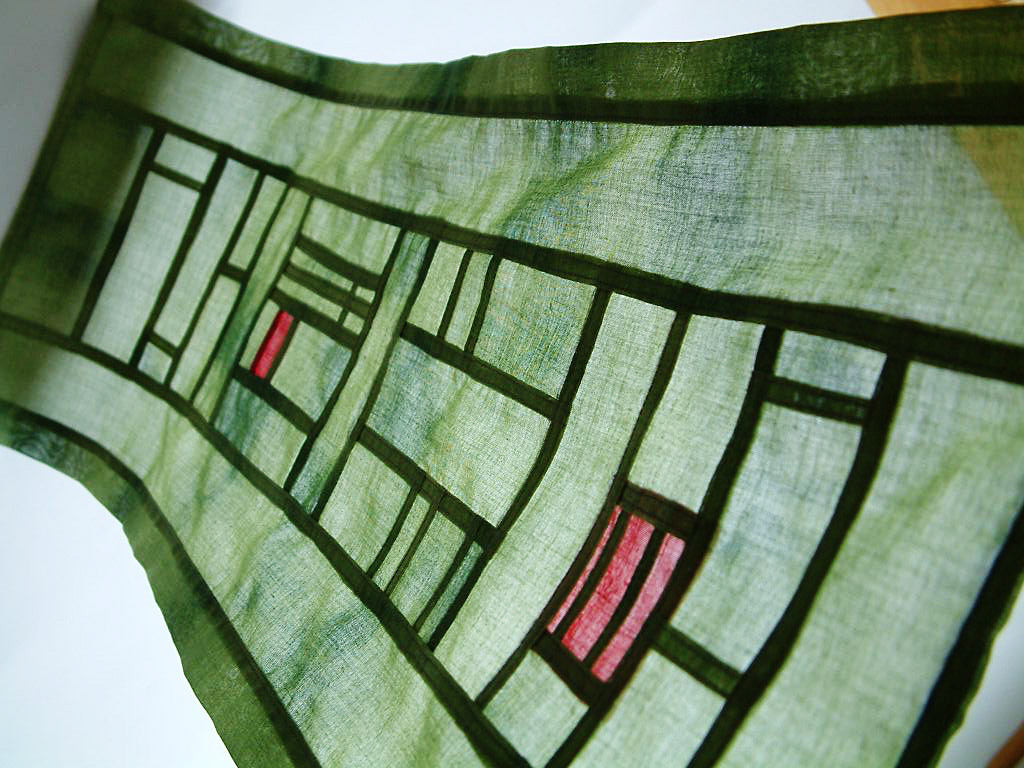
Light can be seen through the block which shows outlines of the seams around them, as well as diffused color of the fabric in each block. The interesting part is some were made with one color or neutral colors, and as I researched, I found many others were pleasing to the eye with multiple colors.
The art form I was seeing was called “Pojagi”, which was started about 2000 years ago in Ancient Korea. Pojagi was made by hand stitching fabrics like ramie (which is similar to hemp or (linen), cotton, and silk formed into 14” squares to wrap and carry things. Even today, it is said the Korean parliament uses Pojagi to transport documents.
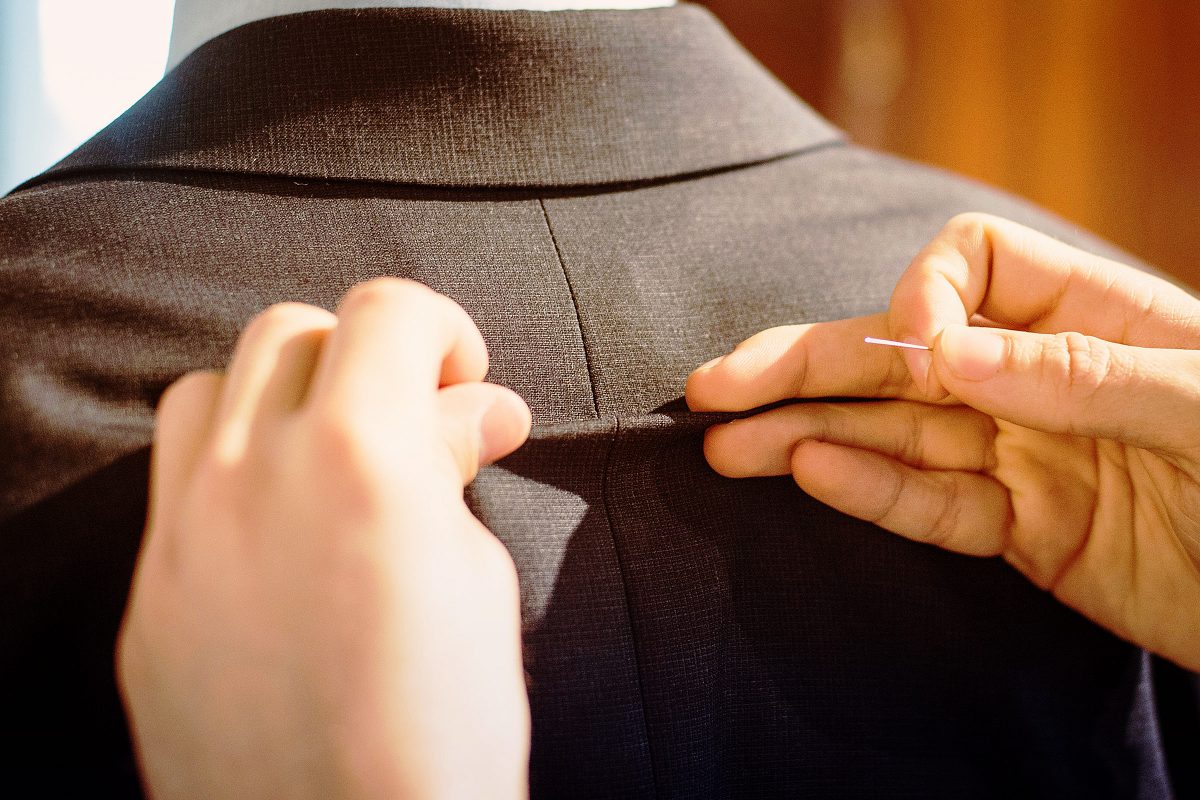
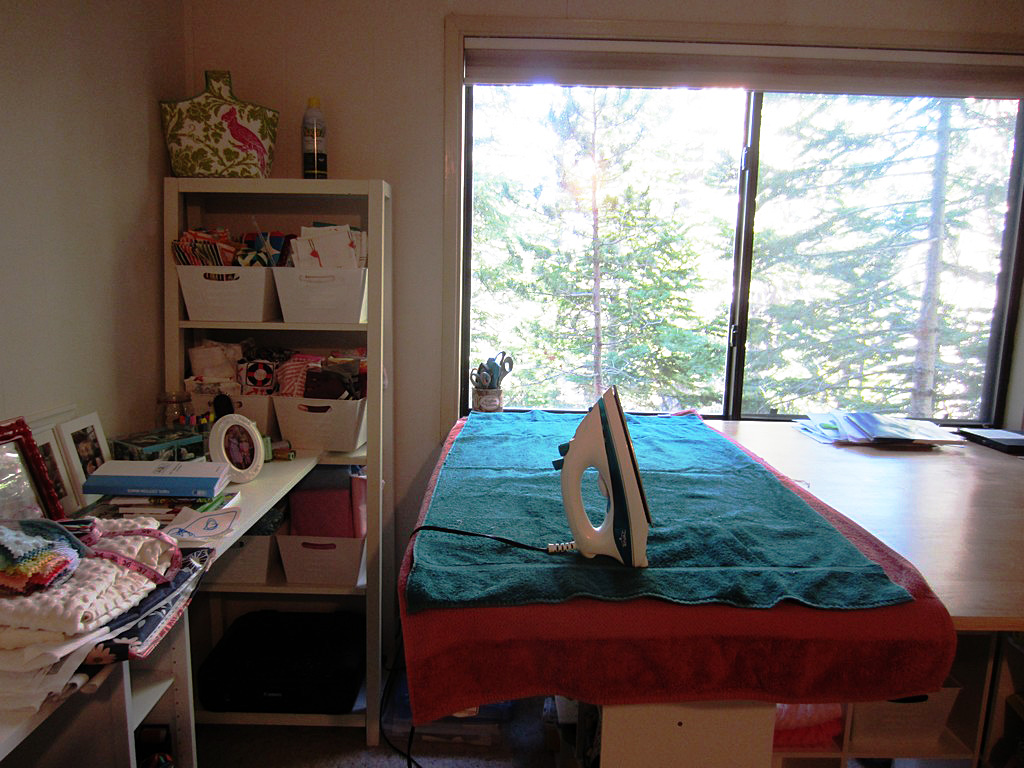
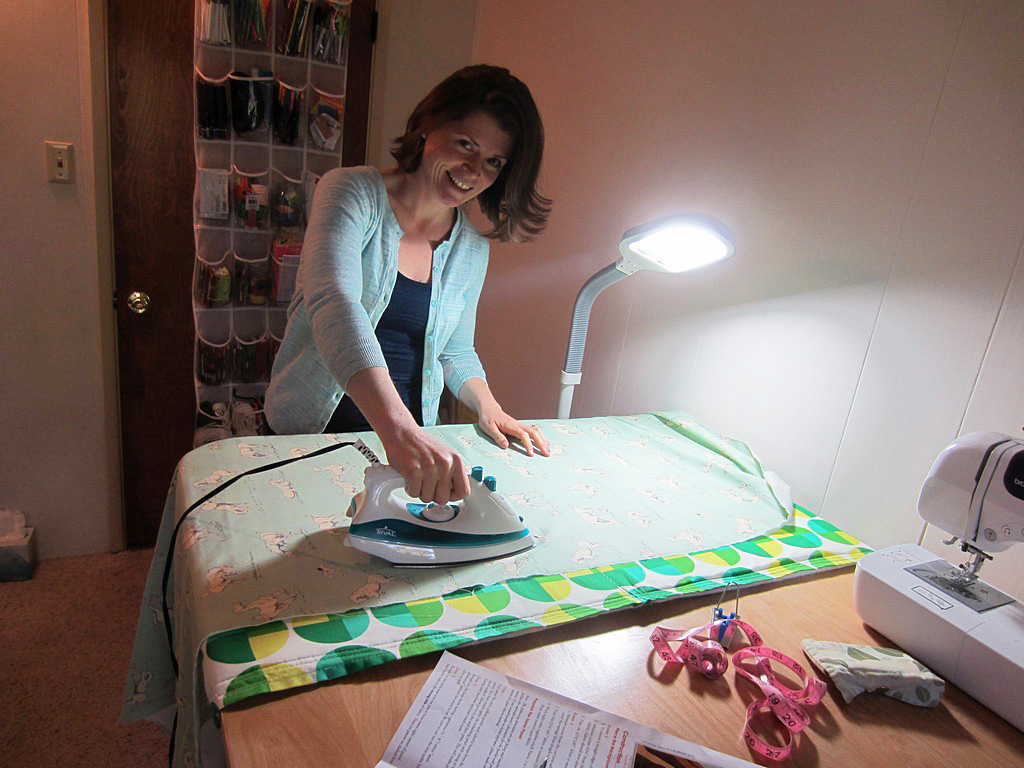
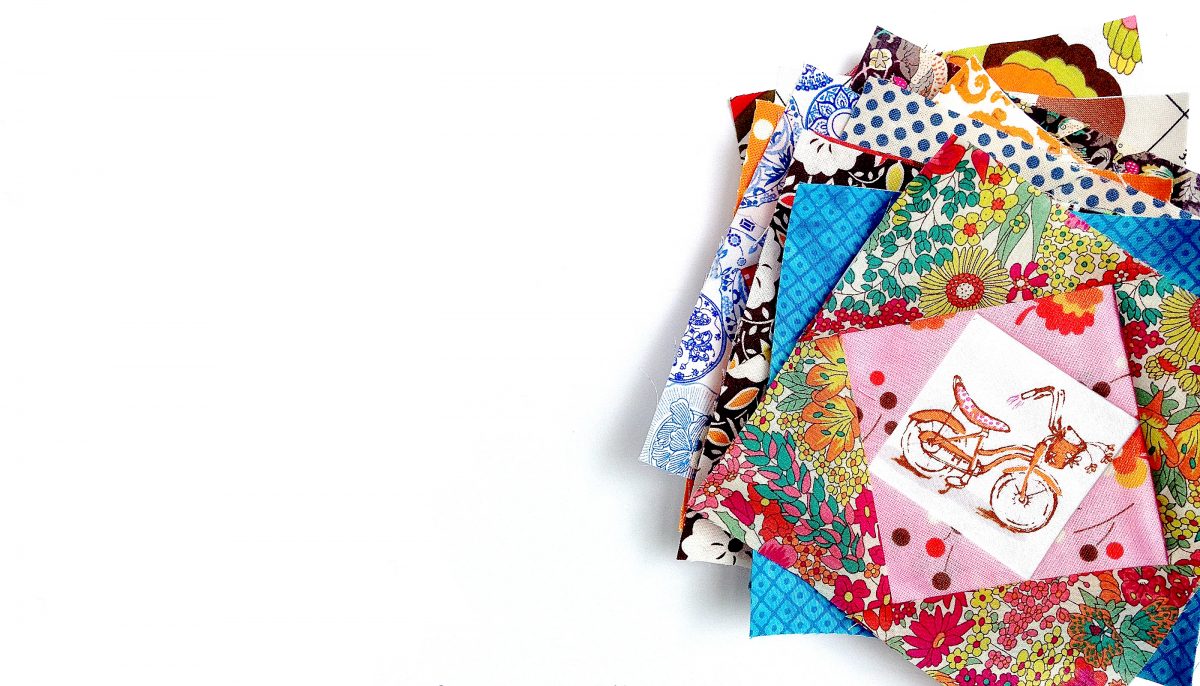
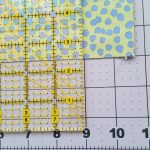
Tools of the trade
Women took old clothes and repurposed them into these wrapping cloths. It was a highly creative way to do improvisational designs from old clothes, scraps, and multiple fabrics, using only what was available to them. They would turn down the fabric from the top ¼ inch and crease it with a Clover Hera Tool.
I was interested to learn that a Hera tool was a sharp piece of hard plastic, that when pressed on fabric, makes a visible crease on both front and back of the fabric. How convenient would that be rather than measuring with a ruler and ironing that edge?
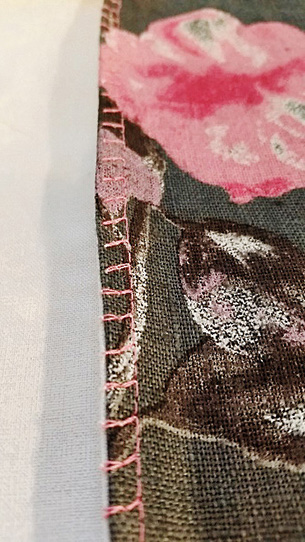
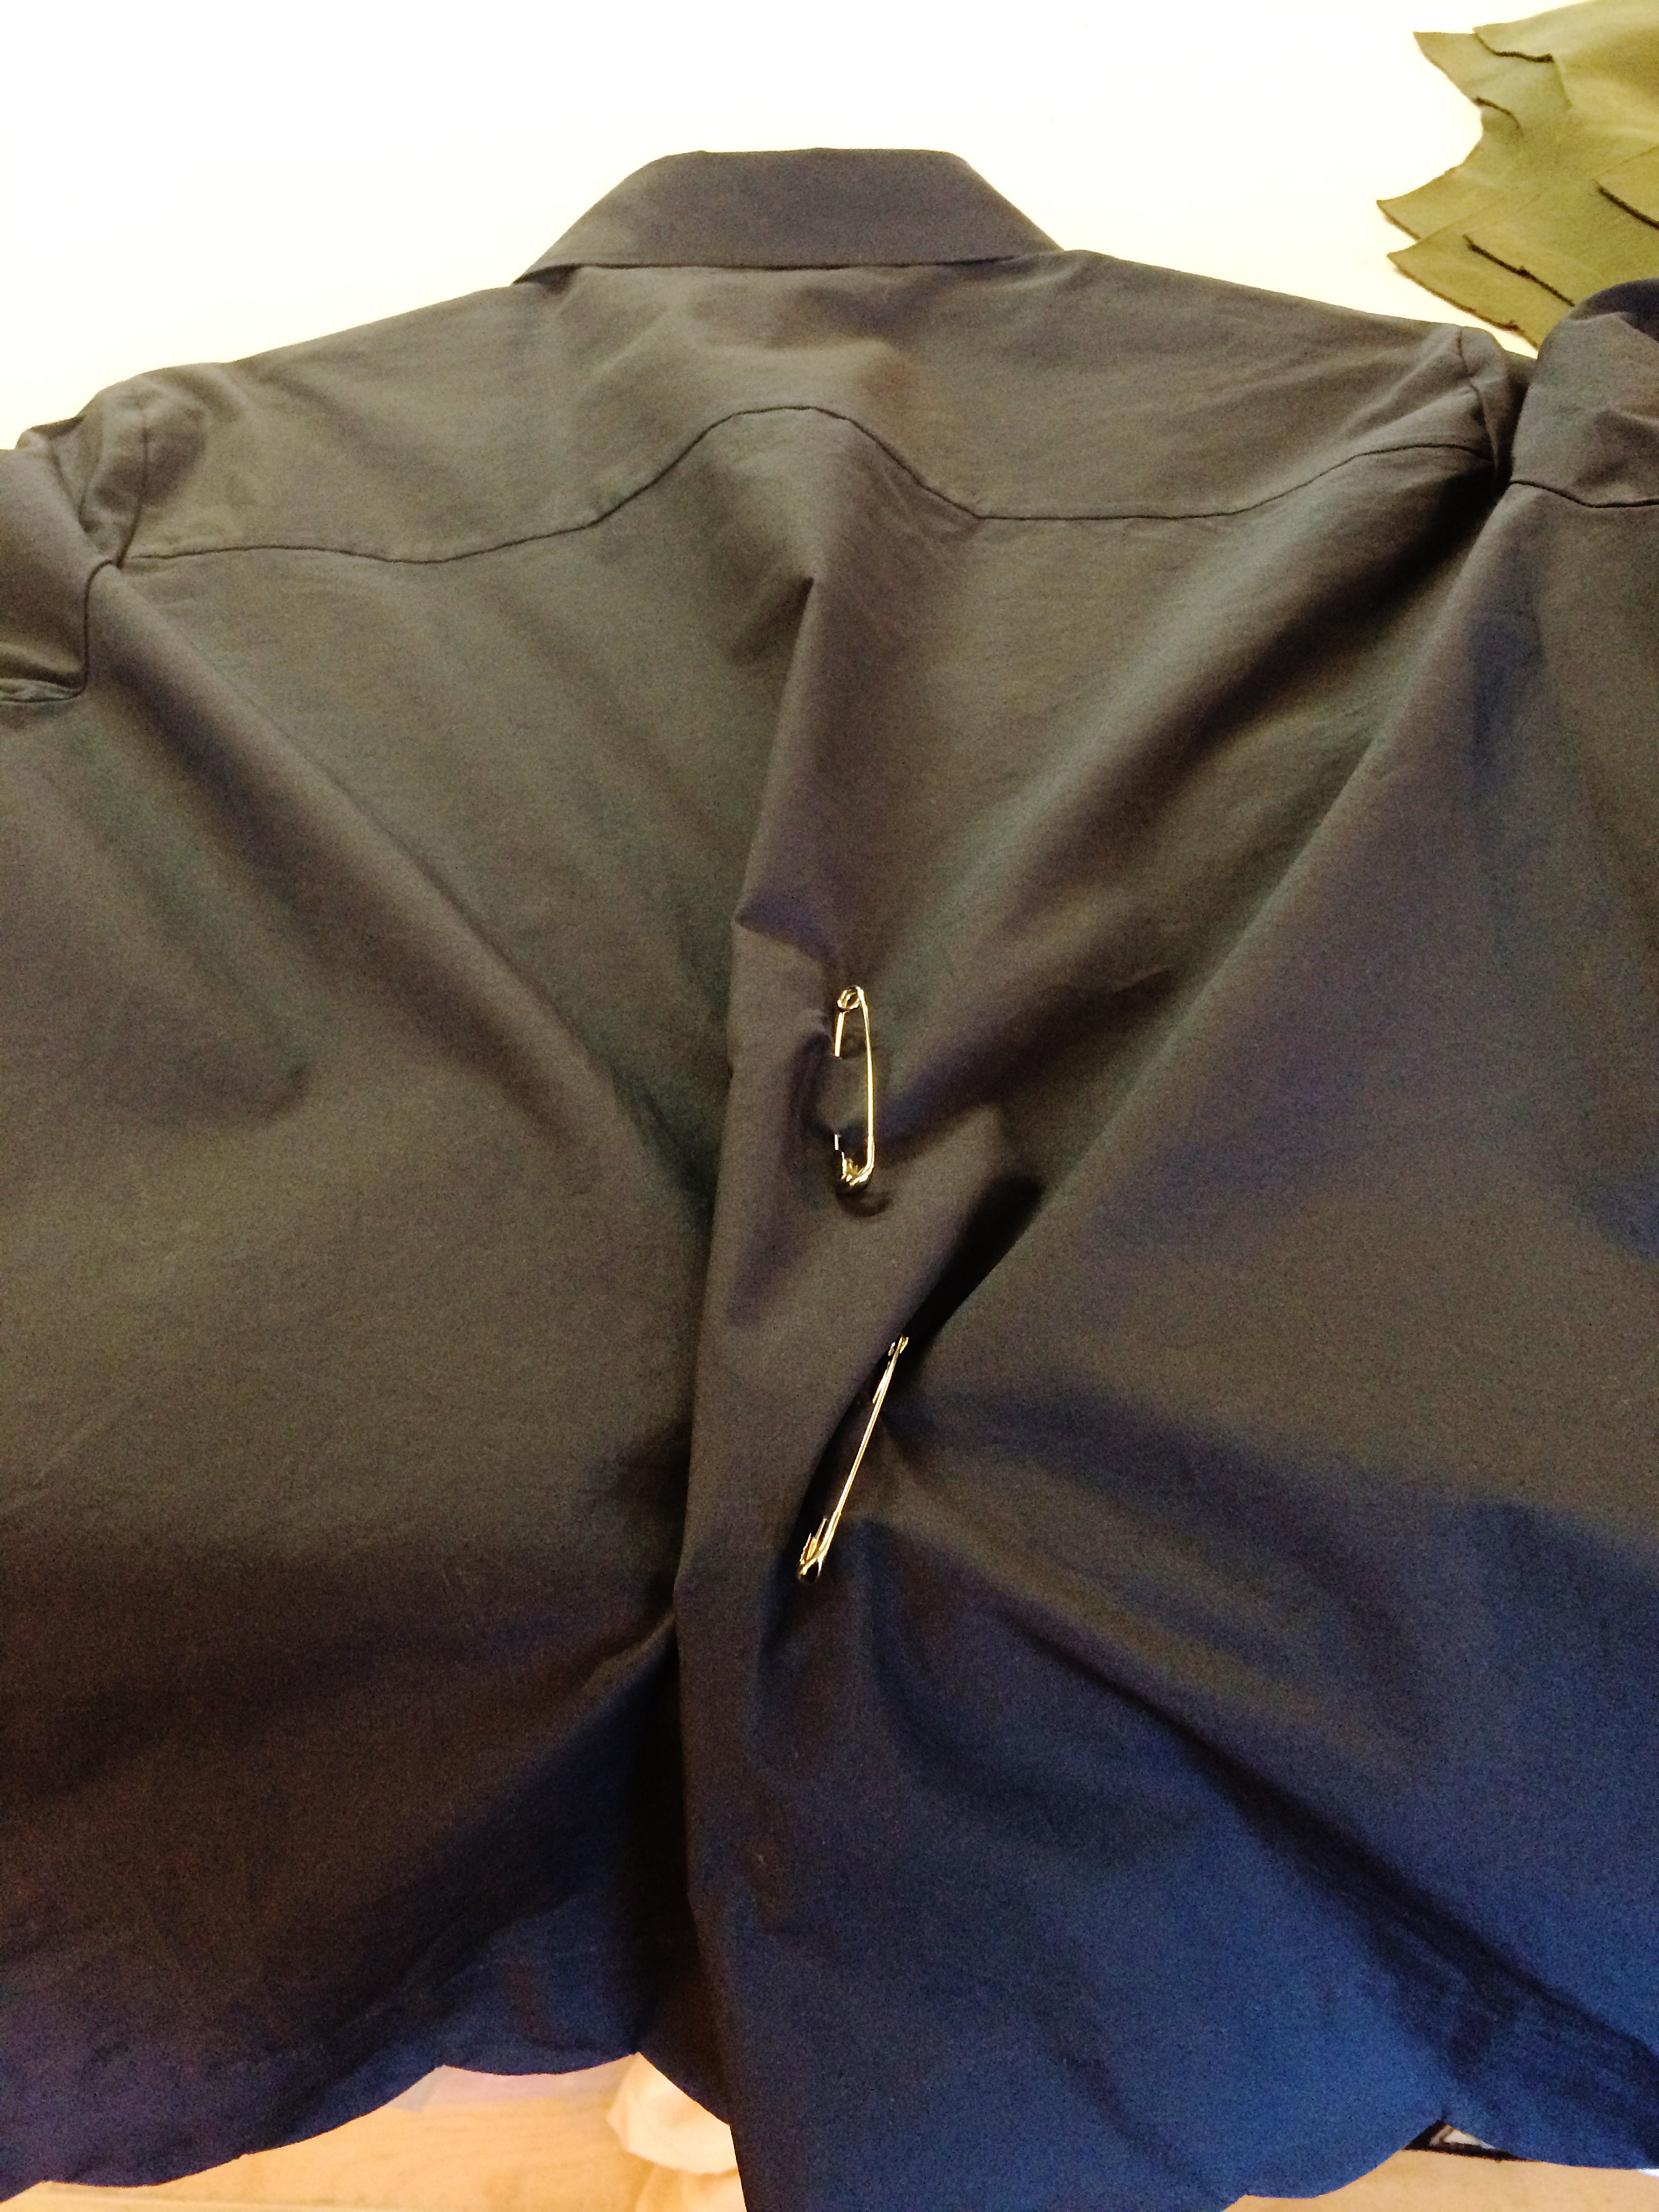
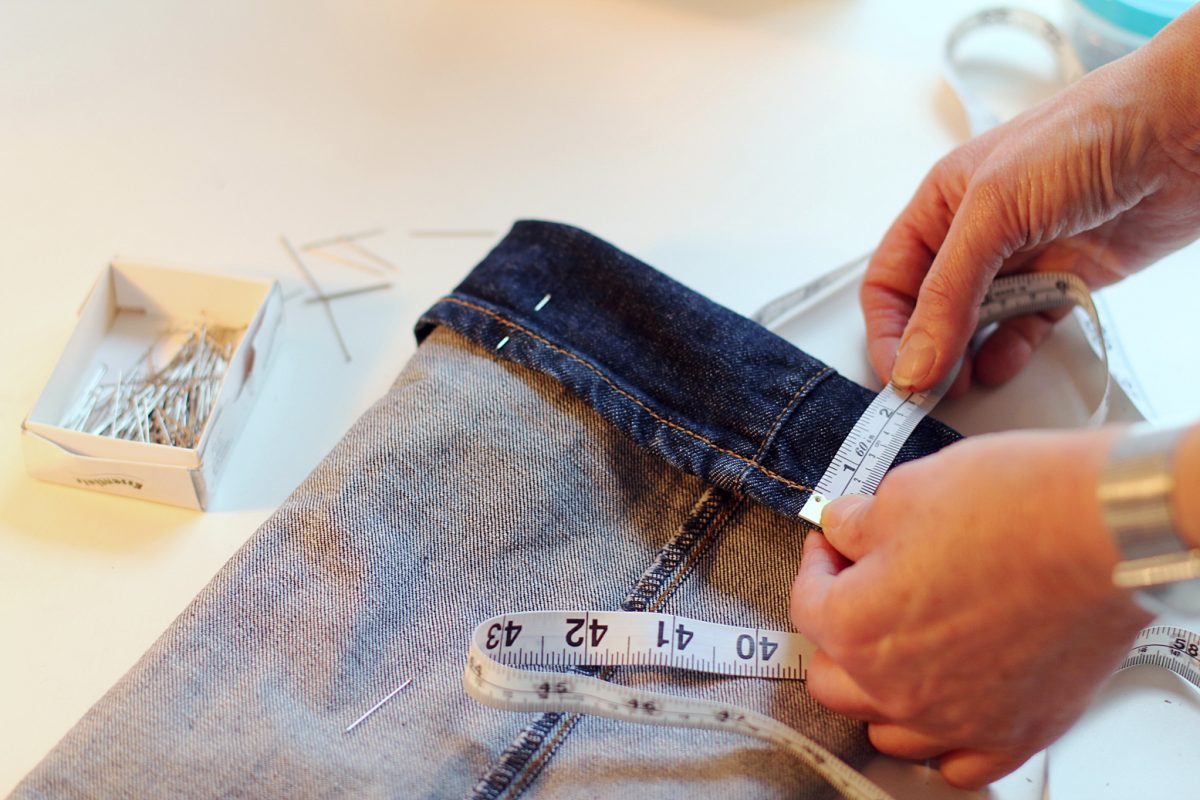
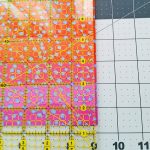
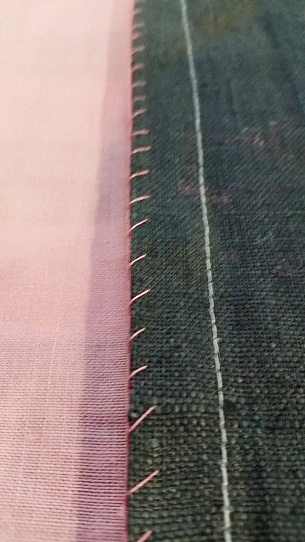
The left side is machine stitched with an Overcast stitch. The right side is hand stitched. Both have no raw edges showing on either side.
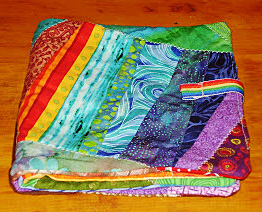
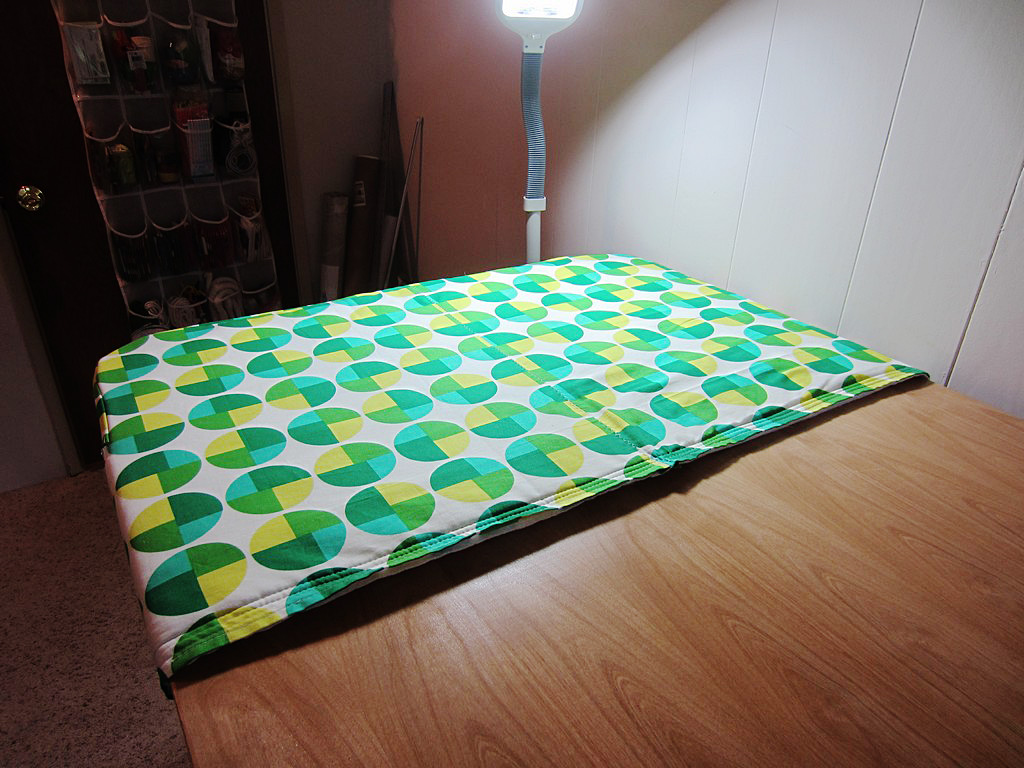
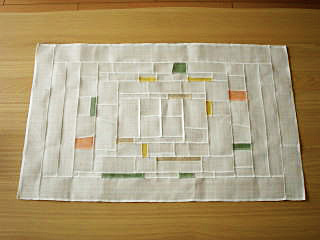
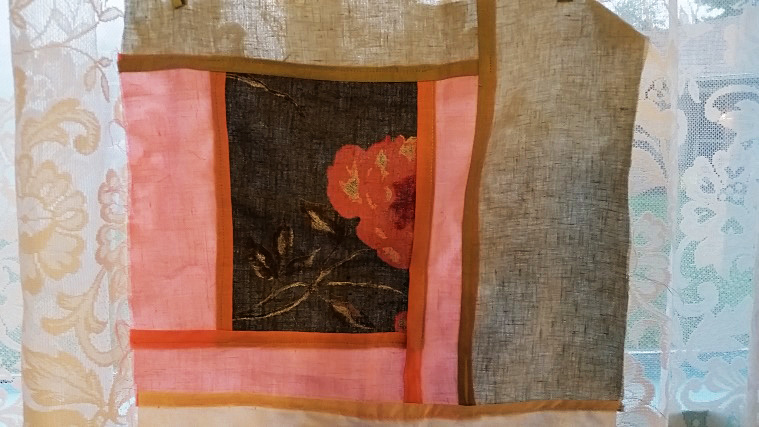
This example is a “work in progress” of mine. I started making panels to cover a closet opening, and quickly decided I needed more fabric than I have. So it is one more thing I have on my project list to complete.
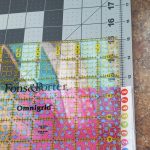
When the crease was made all the way across the fabric piece, the top is picked up folded inward and hand stitched. Then hand-stitching is done along that fold. From the side, the seam is folded down toward each other. The result is what we call “Flat Fell Seams”. The best way to describe them is they are a row of 2 seams with no fraying edges, finished both inside and outside. (Like the seams on your jeans!)
Although it was used by all economic classes in Korean history, Pojagi had categories based on the fabric and who the recipient of the cloth would be. For instance, a princess would receive a lined Pojagi possibly made with silk, where as a commoner may be something coarser like ramie or hemp. They were called different names by type as well.
Modern use
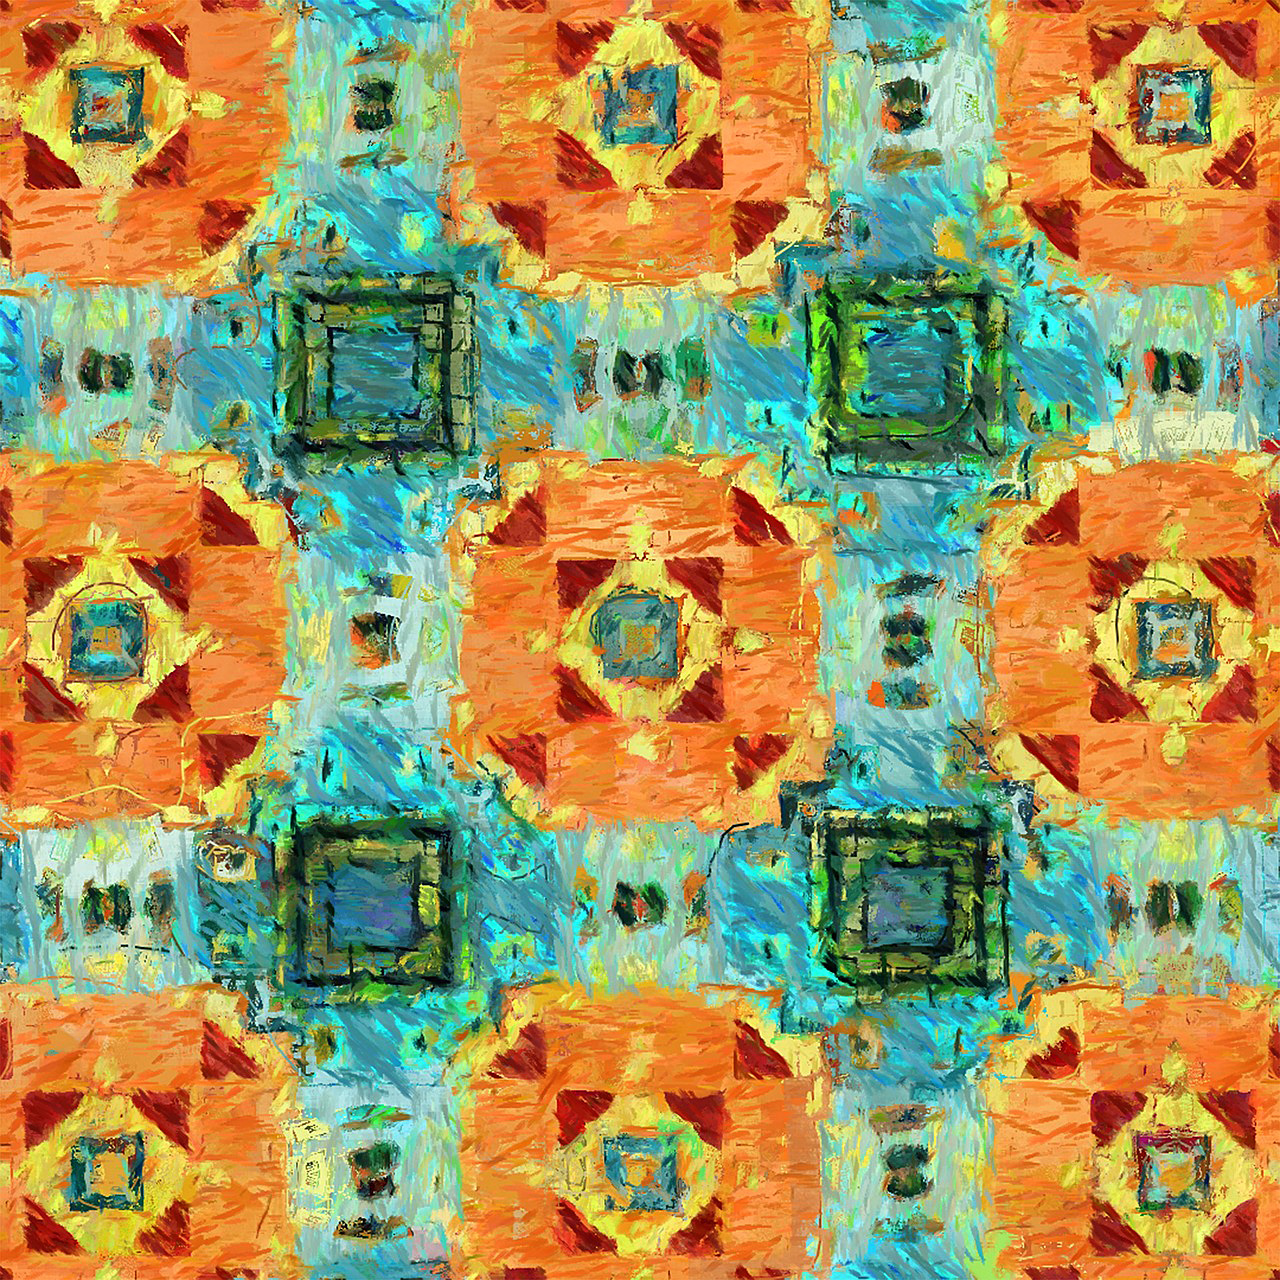
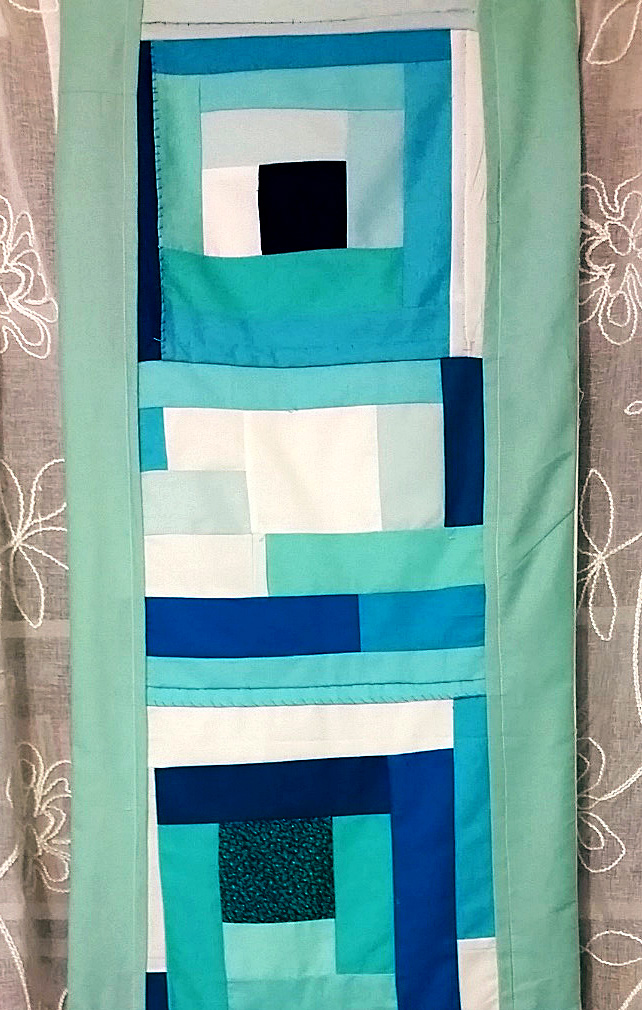
This is a portion of my closet screen hung in the window. I love that you can see the flat fell seams like outlines around the fabric, and the soft colors showing the fiber. There is lace behind that panel so it is makes it interesting!
Today, pojagi is used as screens, curtains, wall hangings, or sometimes fabric sewn on top of each other, irregular shapes and sizes, even repurposed clothing. Pojagi is a great improv project to do whatever design appeals to you.
No measuring and using scraps, even sometimes fabric sewn on top of each other, irregular shapes and sizes, pojagi truly brings out your creativity. It takes time to sew by hand, however, sewing by machine made me feel that I was cheating myself of the real Korean experience. I did complete this one panel for my closet, however. It is lined at the back with cotton duck type material for strength.
I hope you will be inspired to research this unusual art form and make a square or two. You may decide the freedom of expression is something you were missing all along.