I have a freebie calendar hanging on my wall. Well, actually, I got the calendar in the mail from a business that I’ve done quiiiiiiiiiiiiiiiiiiiiite a bit of shopping through, so I guess “freebie” might be a stretch. Maybe “reward” would work better? Though if they wanted to reward me, cheesecake might’ve been the better option…
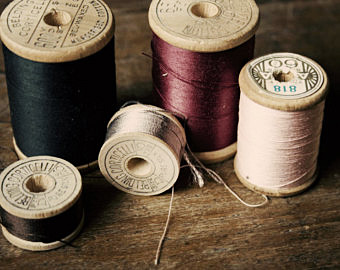
In any event, the calendar has random holidays listed, like July’s “Thread the Needle Day.” Personally, I’m not sure I ever knew that there was such a thing as a day set aside for something as small as threading a needle, but hey! If the calendar says it, let’s go with it!
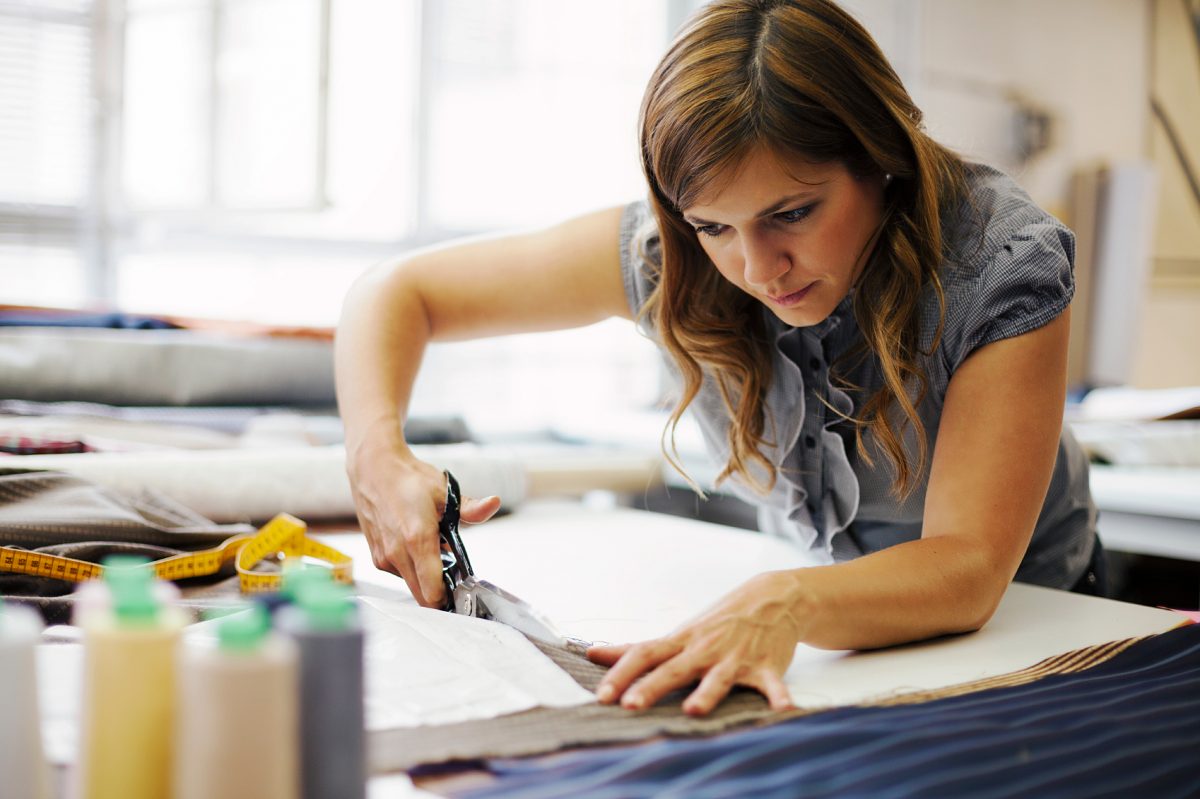
Threading the needle is an action related to a topic that’s somewhat un-nice for me. That un-niceness isn’t because I can’t thread a needle, but the very idea of needles can be a bit daunting to me—and not just because I may or may not have a tendency to accidentally stab myself with needles and straight pins. Blood, sweat, and tears might be a bit more literal for me in that regard than for other people!
The issue I’m bringing into the conversation today is the fact that there are SO MANY needles, and I end up sticking to a preferred one. I couldn’t even tell you what size my current sewing needle is. It was just selected by my preferred method of sewing needle selection, which is basically something like this:
“Which one is gonna be the easiest to get the thread through? Maybe this one? Okay, that’s my needle!”
Effective, no? Well, the process hasn’t left me in too dire straights as of yet, but I’m inclined to believe that there’s supposed to be more to choosing your needle than that one tiny factor. I suppose though that I’m a person of habit, and I use needles and thread without really considering the other factors that should potentially go into selecting those kinds of elements.
I’m a rebel sewer like that, I guess? Or maybe the reason is something a lot less shades-and-leather-jacket sounding. Maybe I just don’t know those other factors, and I’m too lazy to figure them out.
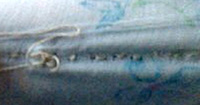
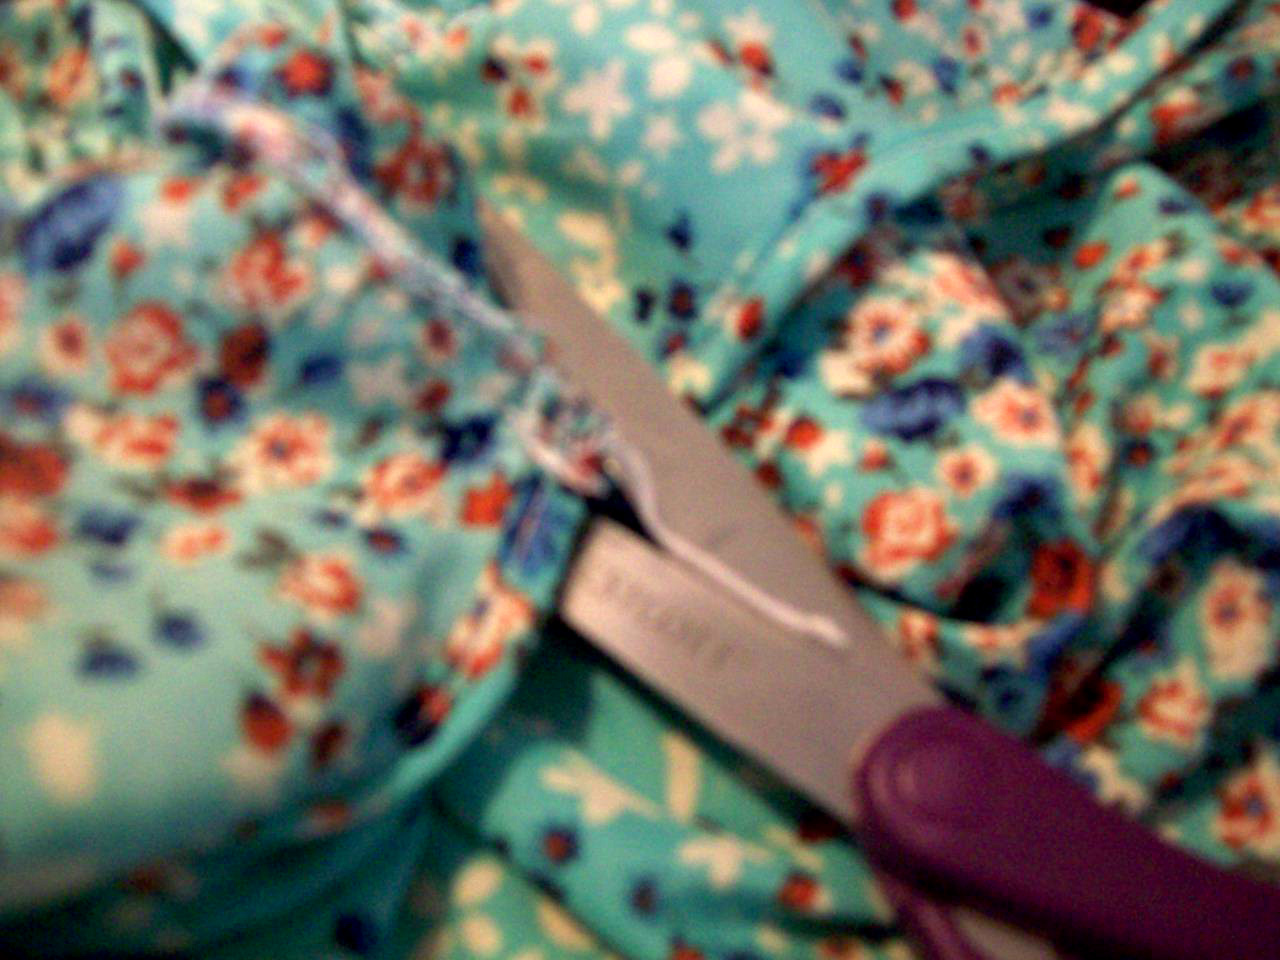
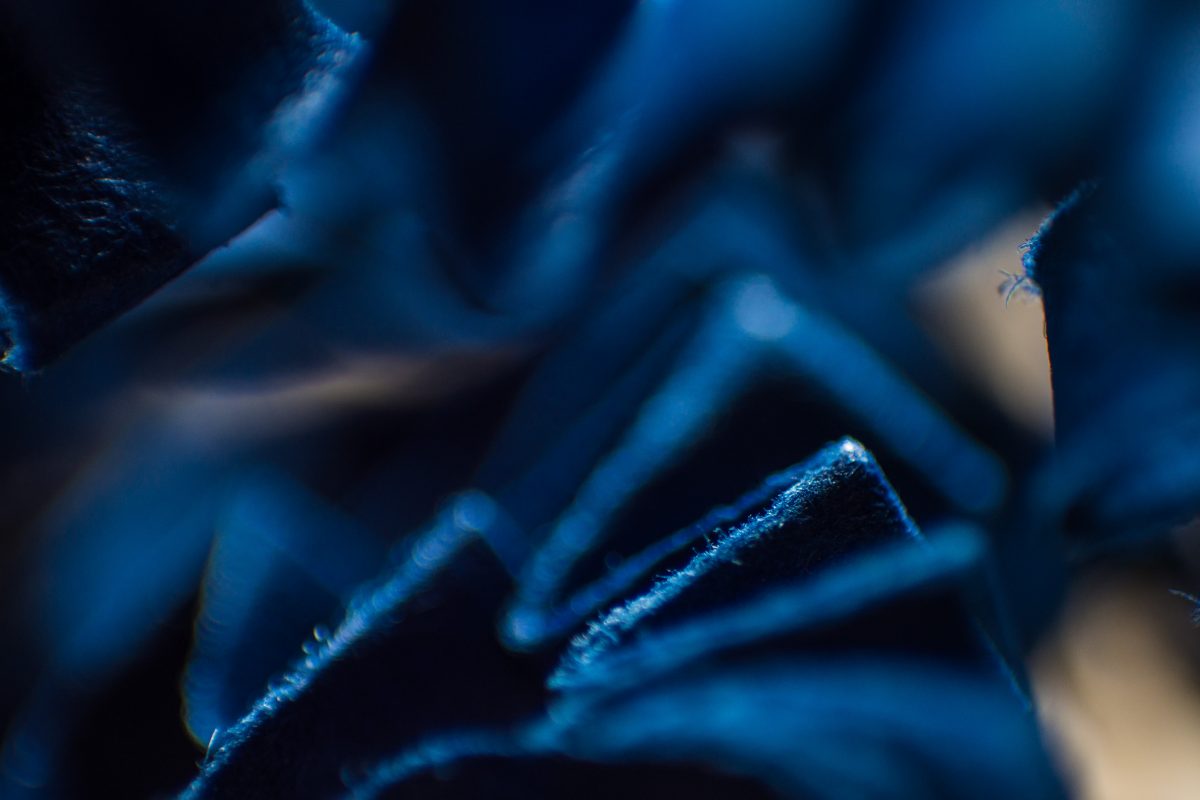
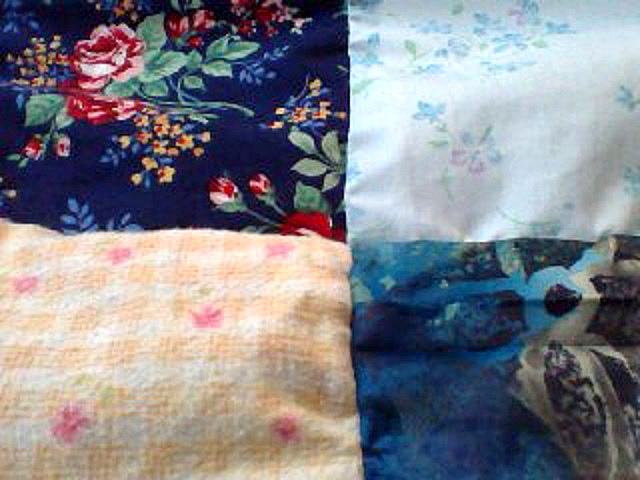
Large holes in used fabric.
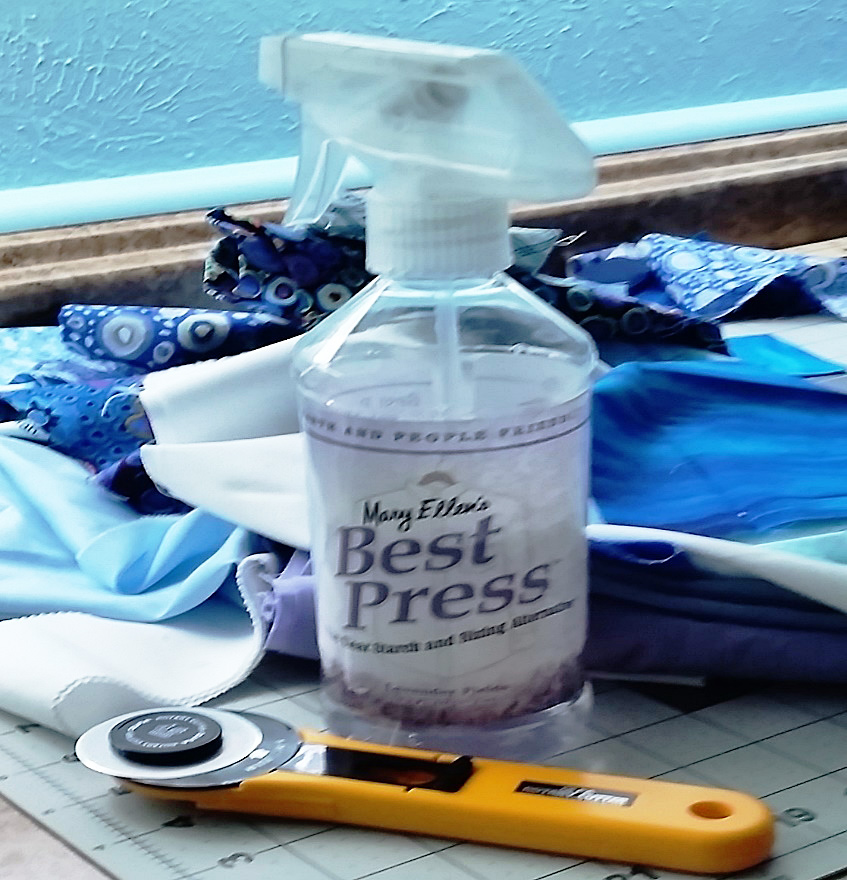
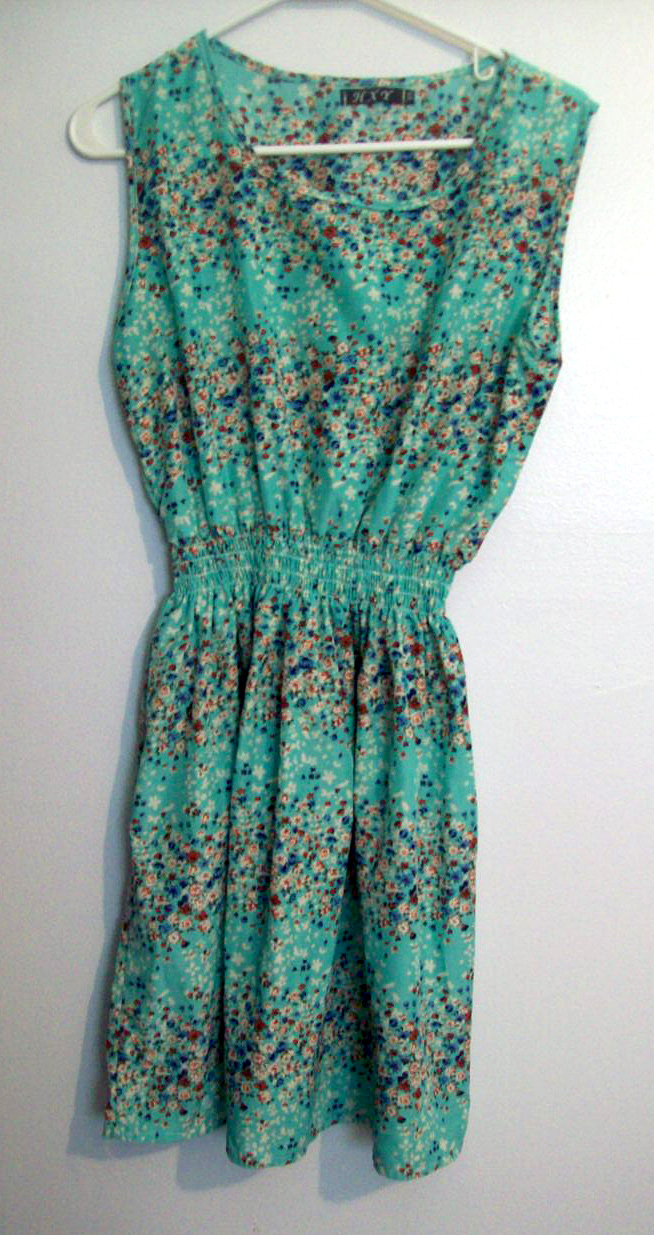
Which is bad, because while the flaw hasn’t left me in too dire straights, as I said earlier, it is the possible culprit as to why some of the thin fabric on my current project has visible holes that seem larger than they should be where the needle and thread went through. That thin fabric, by the way, also happens to be used since I’m making this quilt out of old clothes. Especially for a project as tedious as this one, maybe I should’ve been more careful about how I chose my sewing needle. The material is fragile from use, and having fabric damaged in the process of making a quilt or blanket before it ever becomes that quilt or blanket is disappointing.
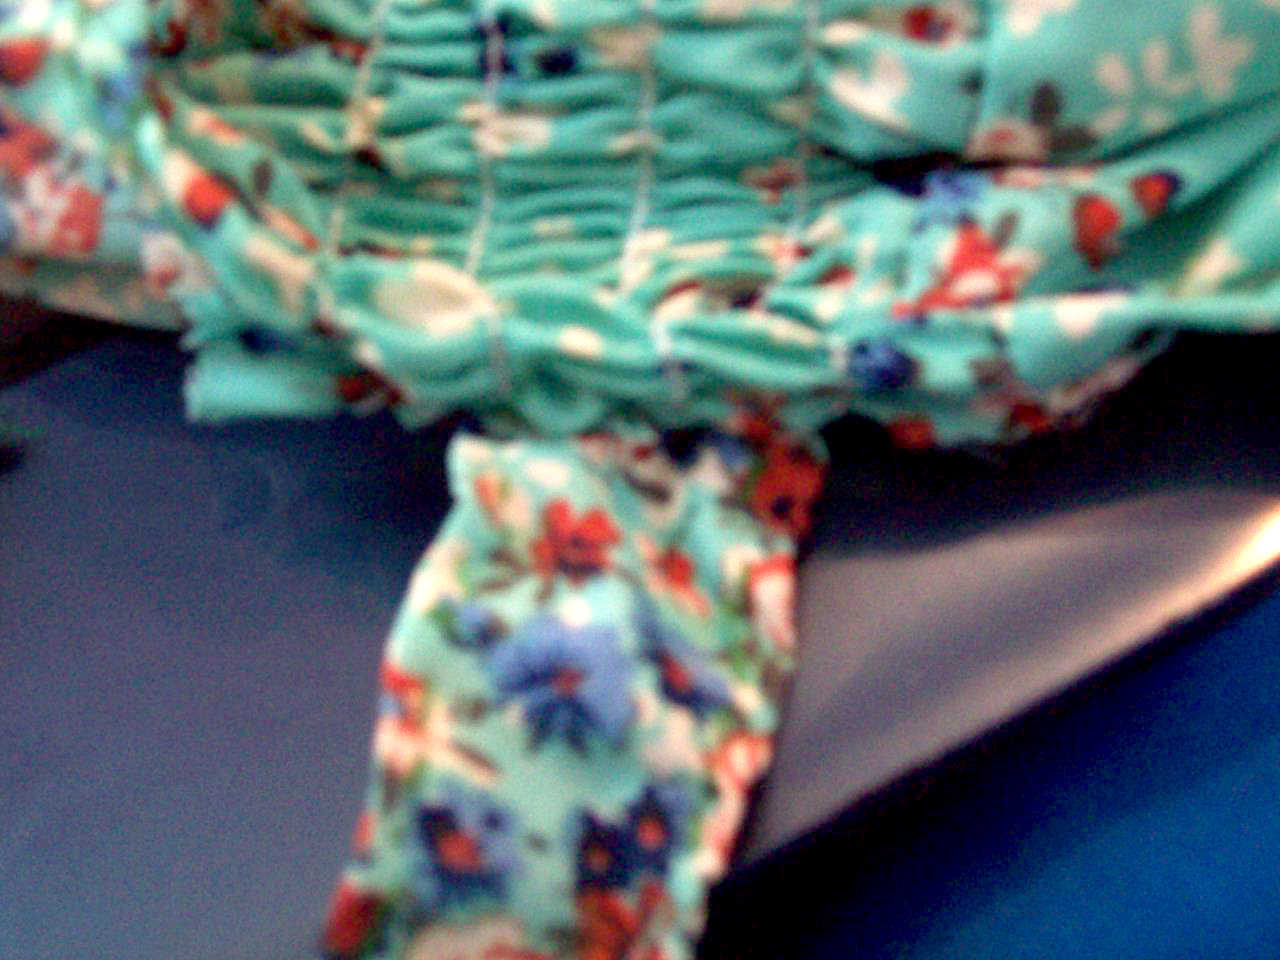
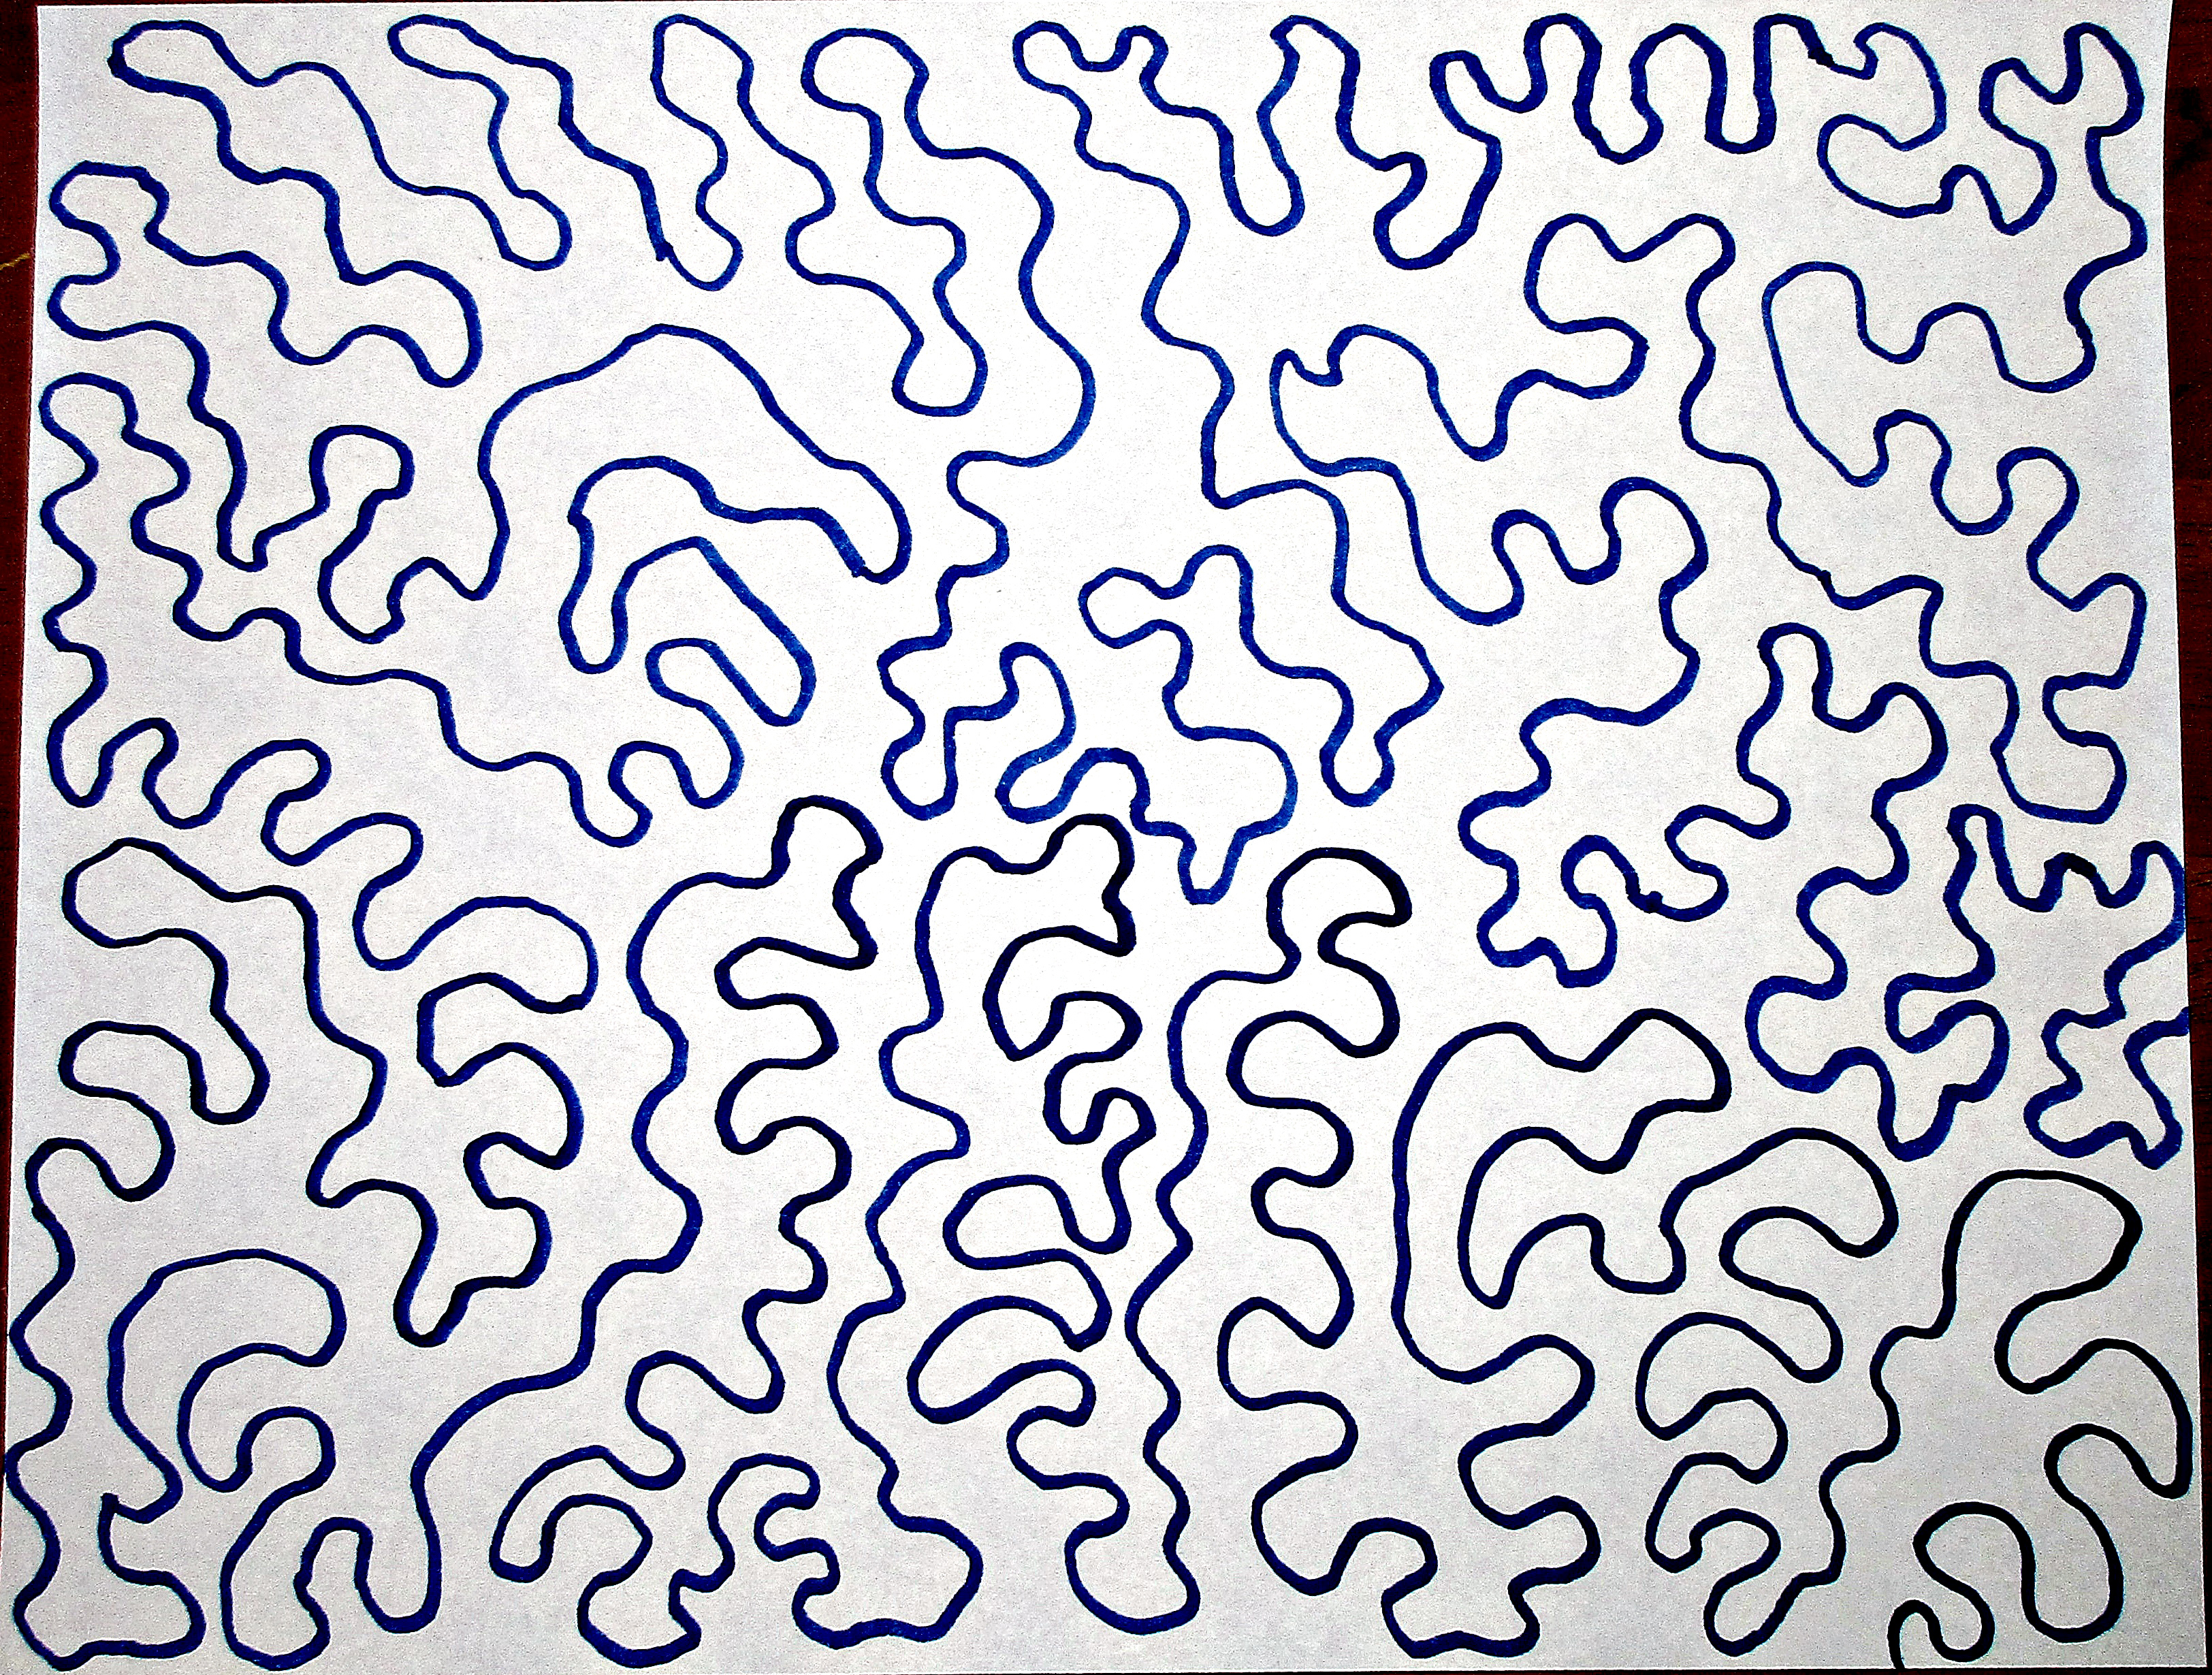
Look how well some of my corners are turning out this time!
On a side note though, look how well some of my corners are turning out this time! The change is directly connected to that online class I shared on my last post, so you might want to check it out (Kesser, n.d.)! You live and learn, I suppose, and what I’ve learned since my last blanket/quilt project has helped me better put together this one. Maybe that I-need-to-be-more-careful-about-needles thing can help on me the next project in like manner. Then, perhaps someday down the road, I can have a quilt or a blanket that doesn’t have such easily avoided mistakes! Maybe it’s one lesson at a time, one realized mistake at a time 🙂
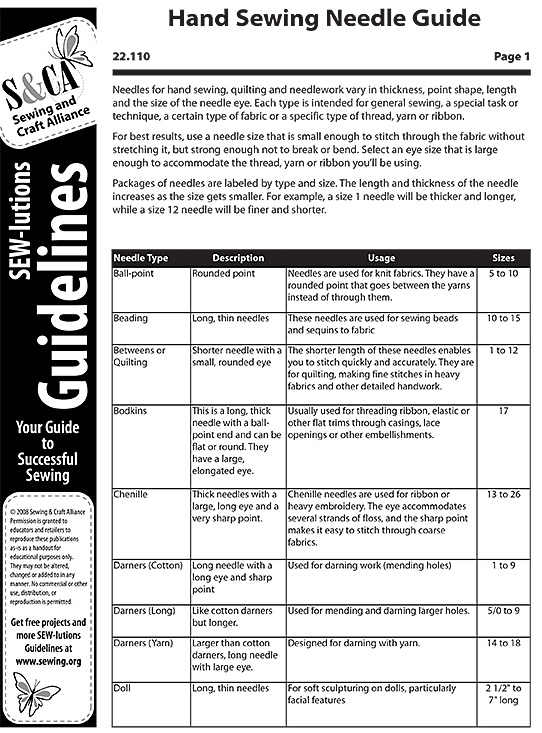
SEW-lutions Guidelines: Your Guide to Successful Sewing
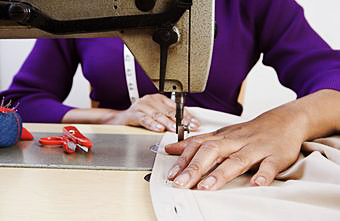
Luckily though, like with learning about my sewing machine without the printed instructions, there is assistance online to help me with this needle selection problem. One source is this PDF file that takes a hand-sewer through certain kinds of needles that could be used for projects.
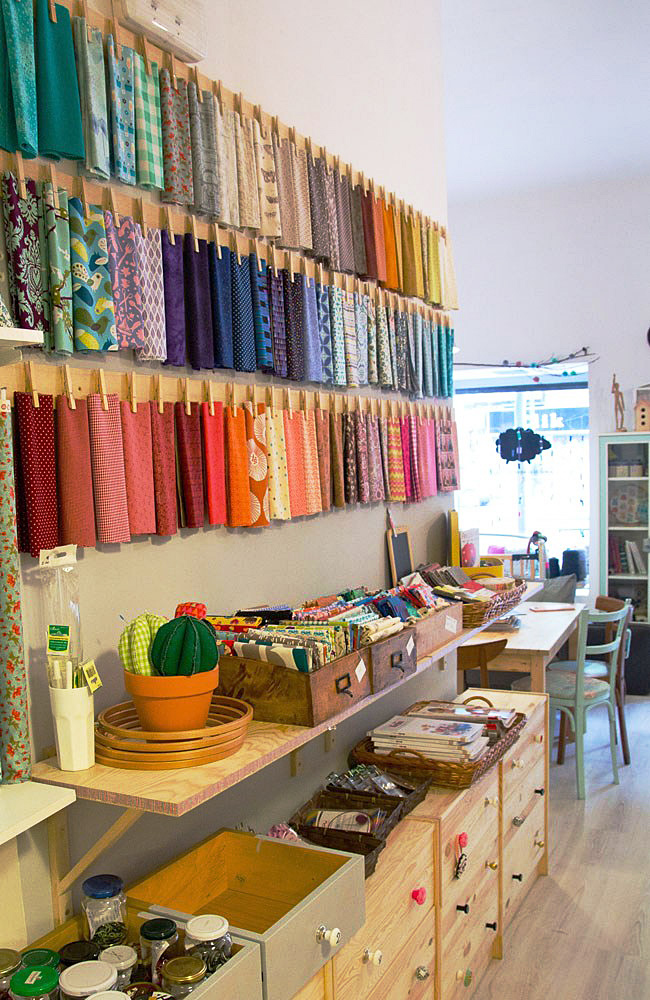
Another idea would be to visit a sewing shop, the really nice kind with people who are willing to help and are capable of helping customers with these sorts of issues—instead of the one that I currently use (that will remain nameless because I’m thoughtful like that) where I might do well to find someone to cut some fabric for me. I’ve actually heard about a local shop that I could try, and if I do, I’ll try to remember to take mental notes—with exquisite mental penmanship—for a later post about my first-ever, non-department-store, non-online, sewing-material-and-tools-buying experience!
All in all though… Thread the Needle Day? Maybe I should celebrate Learn Your Needle Day first even if I have to pick a random date and assign it that name myself! If anyone has any tips for this process, be sure to leave them in the comments! I—and maybe other readers—would appreciate the input!
I guess a moral of this post’s story could be that not everyone knows everything about a subject, and sometimes a bit of research could go a long way in helping to make our projects the best that they can be. Like I might have said about my sewing machine on an earlier post, if I don’t know my tools for the craft well enough to accurately use them, I’m putting myself at a disadvantage. I can’t apply the most effective techniques, so I can’t expect the most professional results. And it takes *me* to do my homework to learn those techniques. So, dear self, do your homework on sewing needles! Then next Thread the Needle day, you could have a party hat and streamers. And that piece of cheesecake the store didn’t reward you with.
What about you guys? Do you have a particular area in sewing or quilting that just seems daunting to you?
Reference:
Kesser, G. (n.d.) “Piece, Patch, Quilt: Basic Quiltmaking Skills.” Craftsy.com. Retrieved from www.craftsy.com/project/course/piece-patch-quilt-quiltmaking-skills/369