Overlocker / Serger Vs Coverstitch Machine -- What's the Difference?

Overlocker/ Serger Vs Coverstitch Machine — What’s the Difference?

Overlocker/ Serger Vs Coverstitch Machine -- What's the Difference?

Overlocker/ Serger Vs Coverstitch Machine — What’s the Difference?

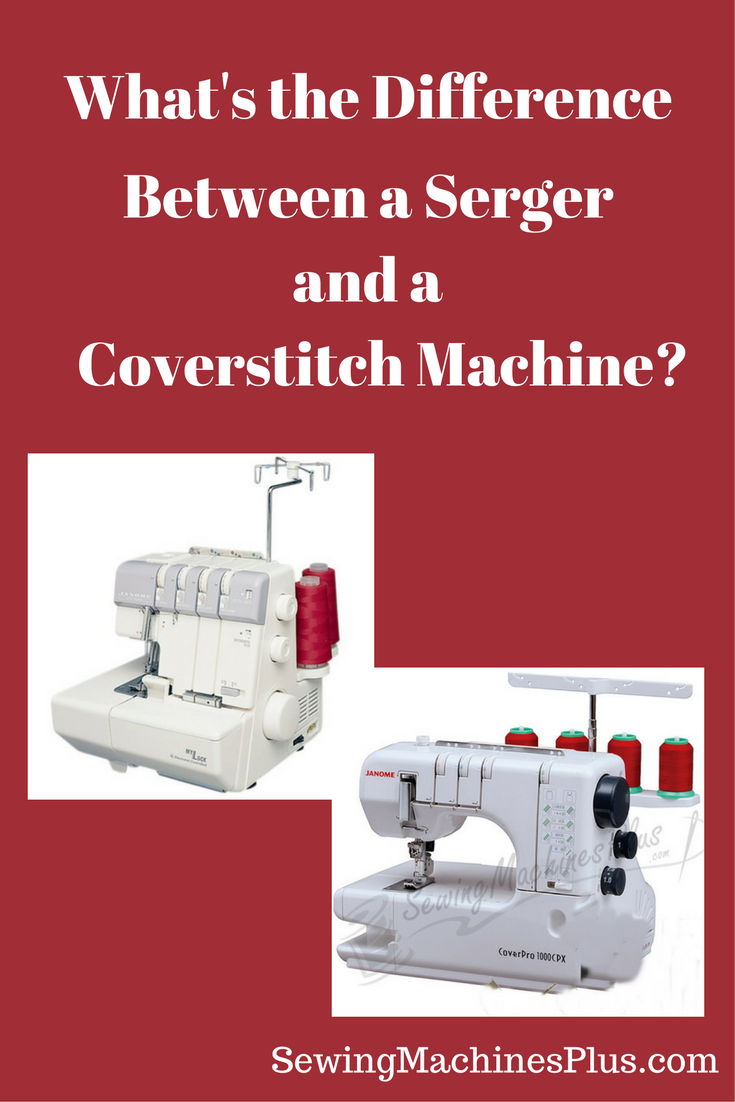
Serger vs. Coverstitch Machine — Do you need both?

What is the difference between a serger, an overlocker, and a cover stitch machine?

Serger vs Coverstitch: The Serger / Overlocking Machine

A serger and an overlocker are different names for the same machine. Americans generally refer to these as sergers, and nearly everyone else refers to them as overlockers. A serger performs an overlocking stitch, which is really more like knitting than sewing.

Overlocking, or serging, trims and binds seams so that the fabric can not unravel. It professionally finishes the insides of garments. There are rare occasions when one might use a serger to embellish outside seams or to finish hems, such as with rolled hemming, but in general the serger or overlocker is used in construction rather than finishing.

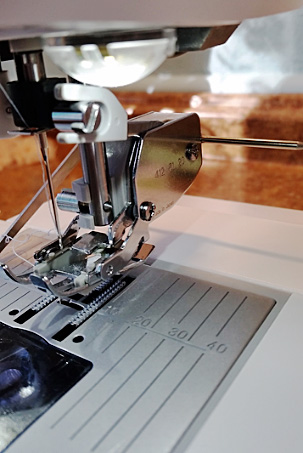
The serger is quite a different machine than a sewing machine, and requires threading of three or four pathways, including two loopers. These loopers accomplish the knitting involved in the overlock stitch. A serger also has knives, which cut seam allowances as it serges them. This machine does not replace the sewing machine, but works beside it accomplishing tasks no sewing machine can do.

The Janome 634D is my choice recommendation for the serger to buy. Here is my review of this model.

Serger vs Coverstitch: The Coverstitch Machine

A coverstitcher really takes all the trouble and error out of this otherwise tricky task.

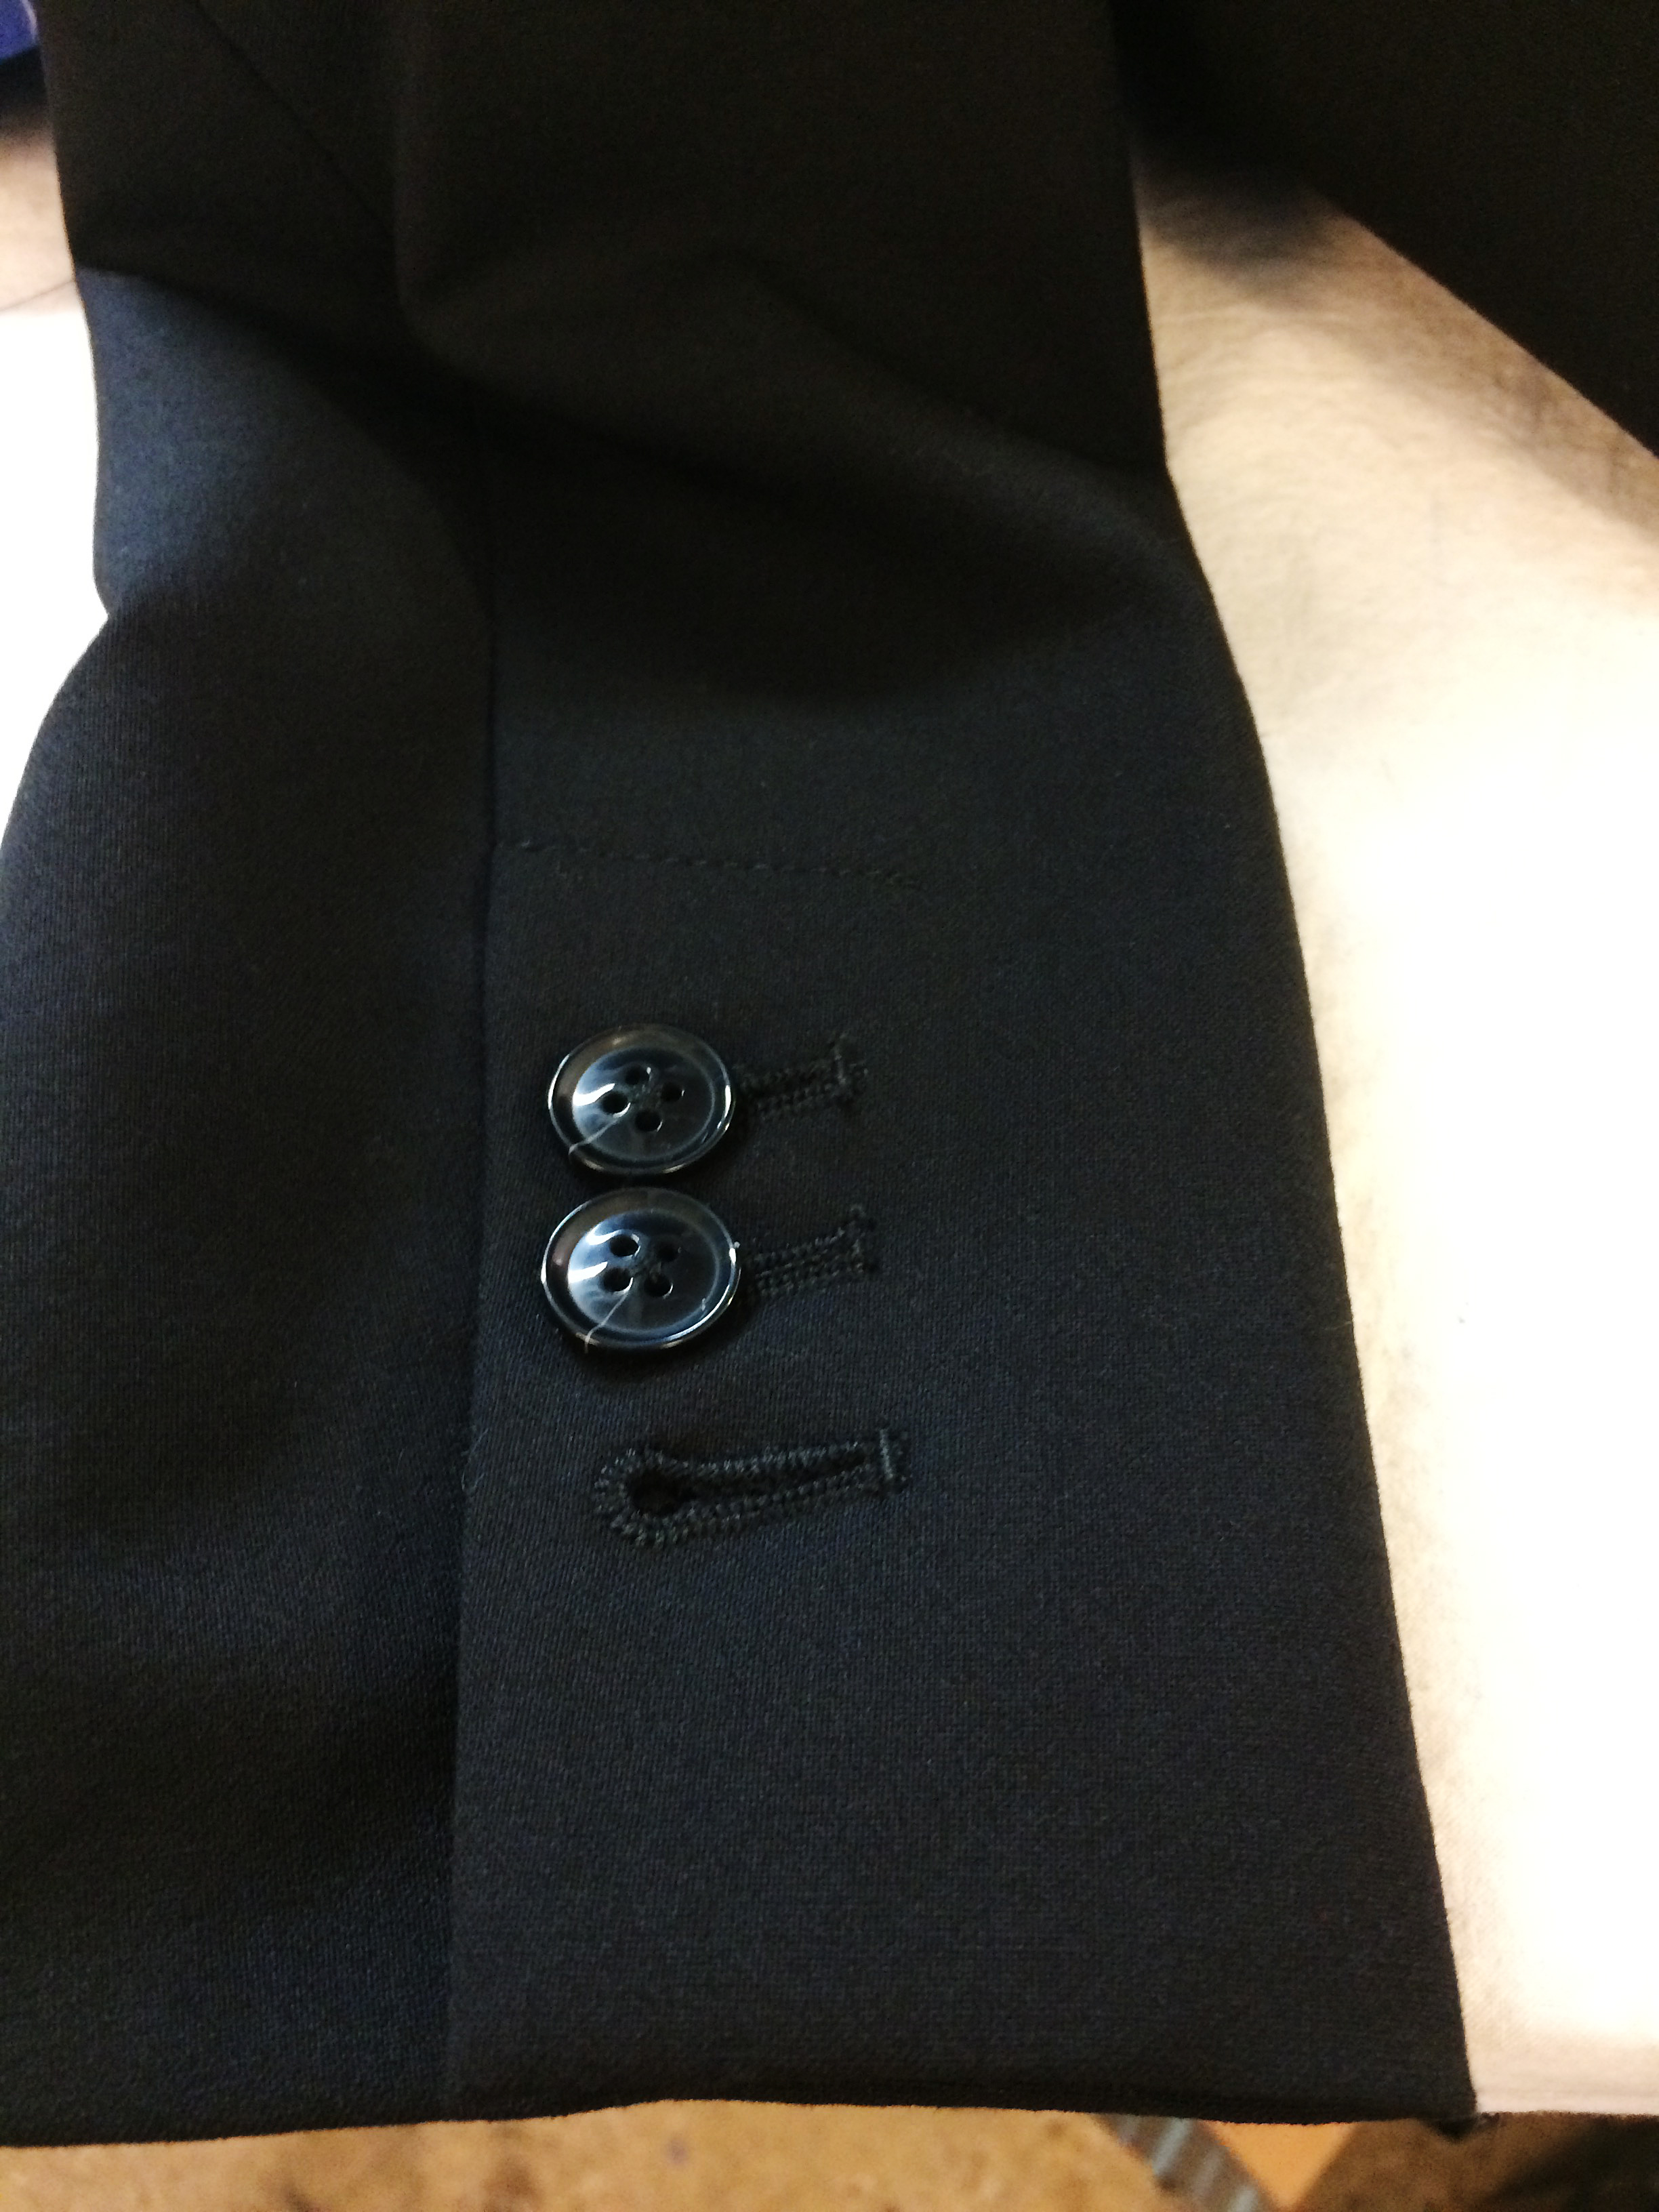
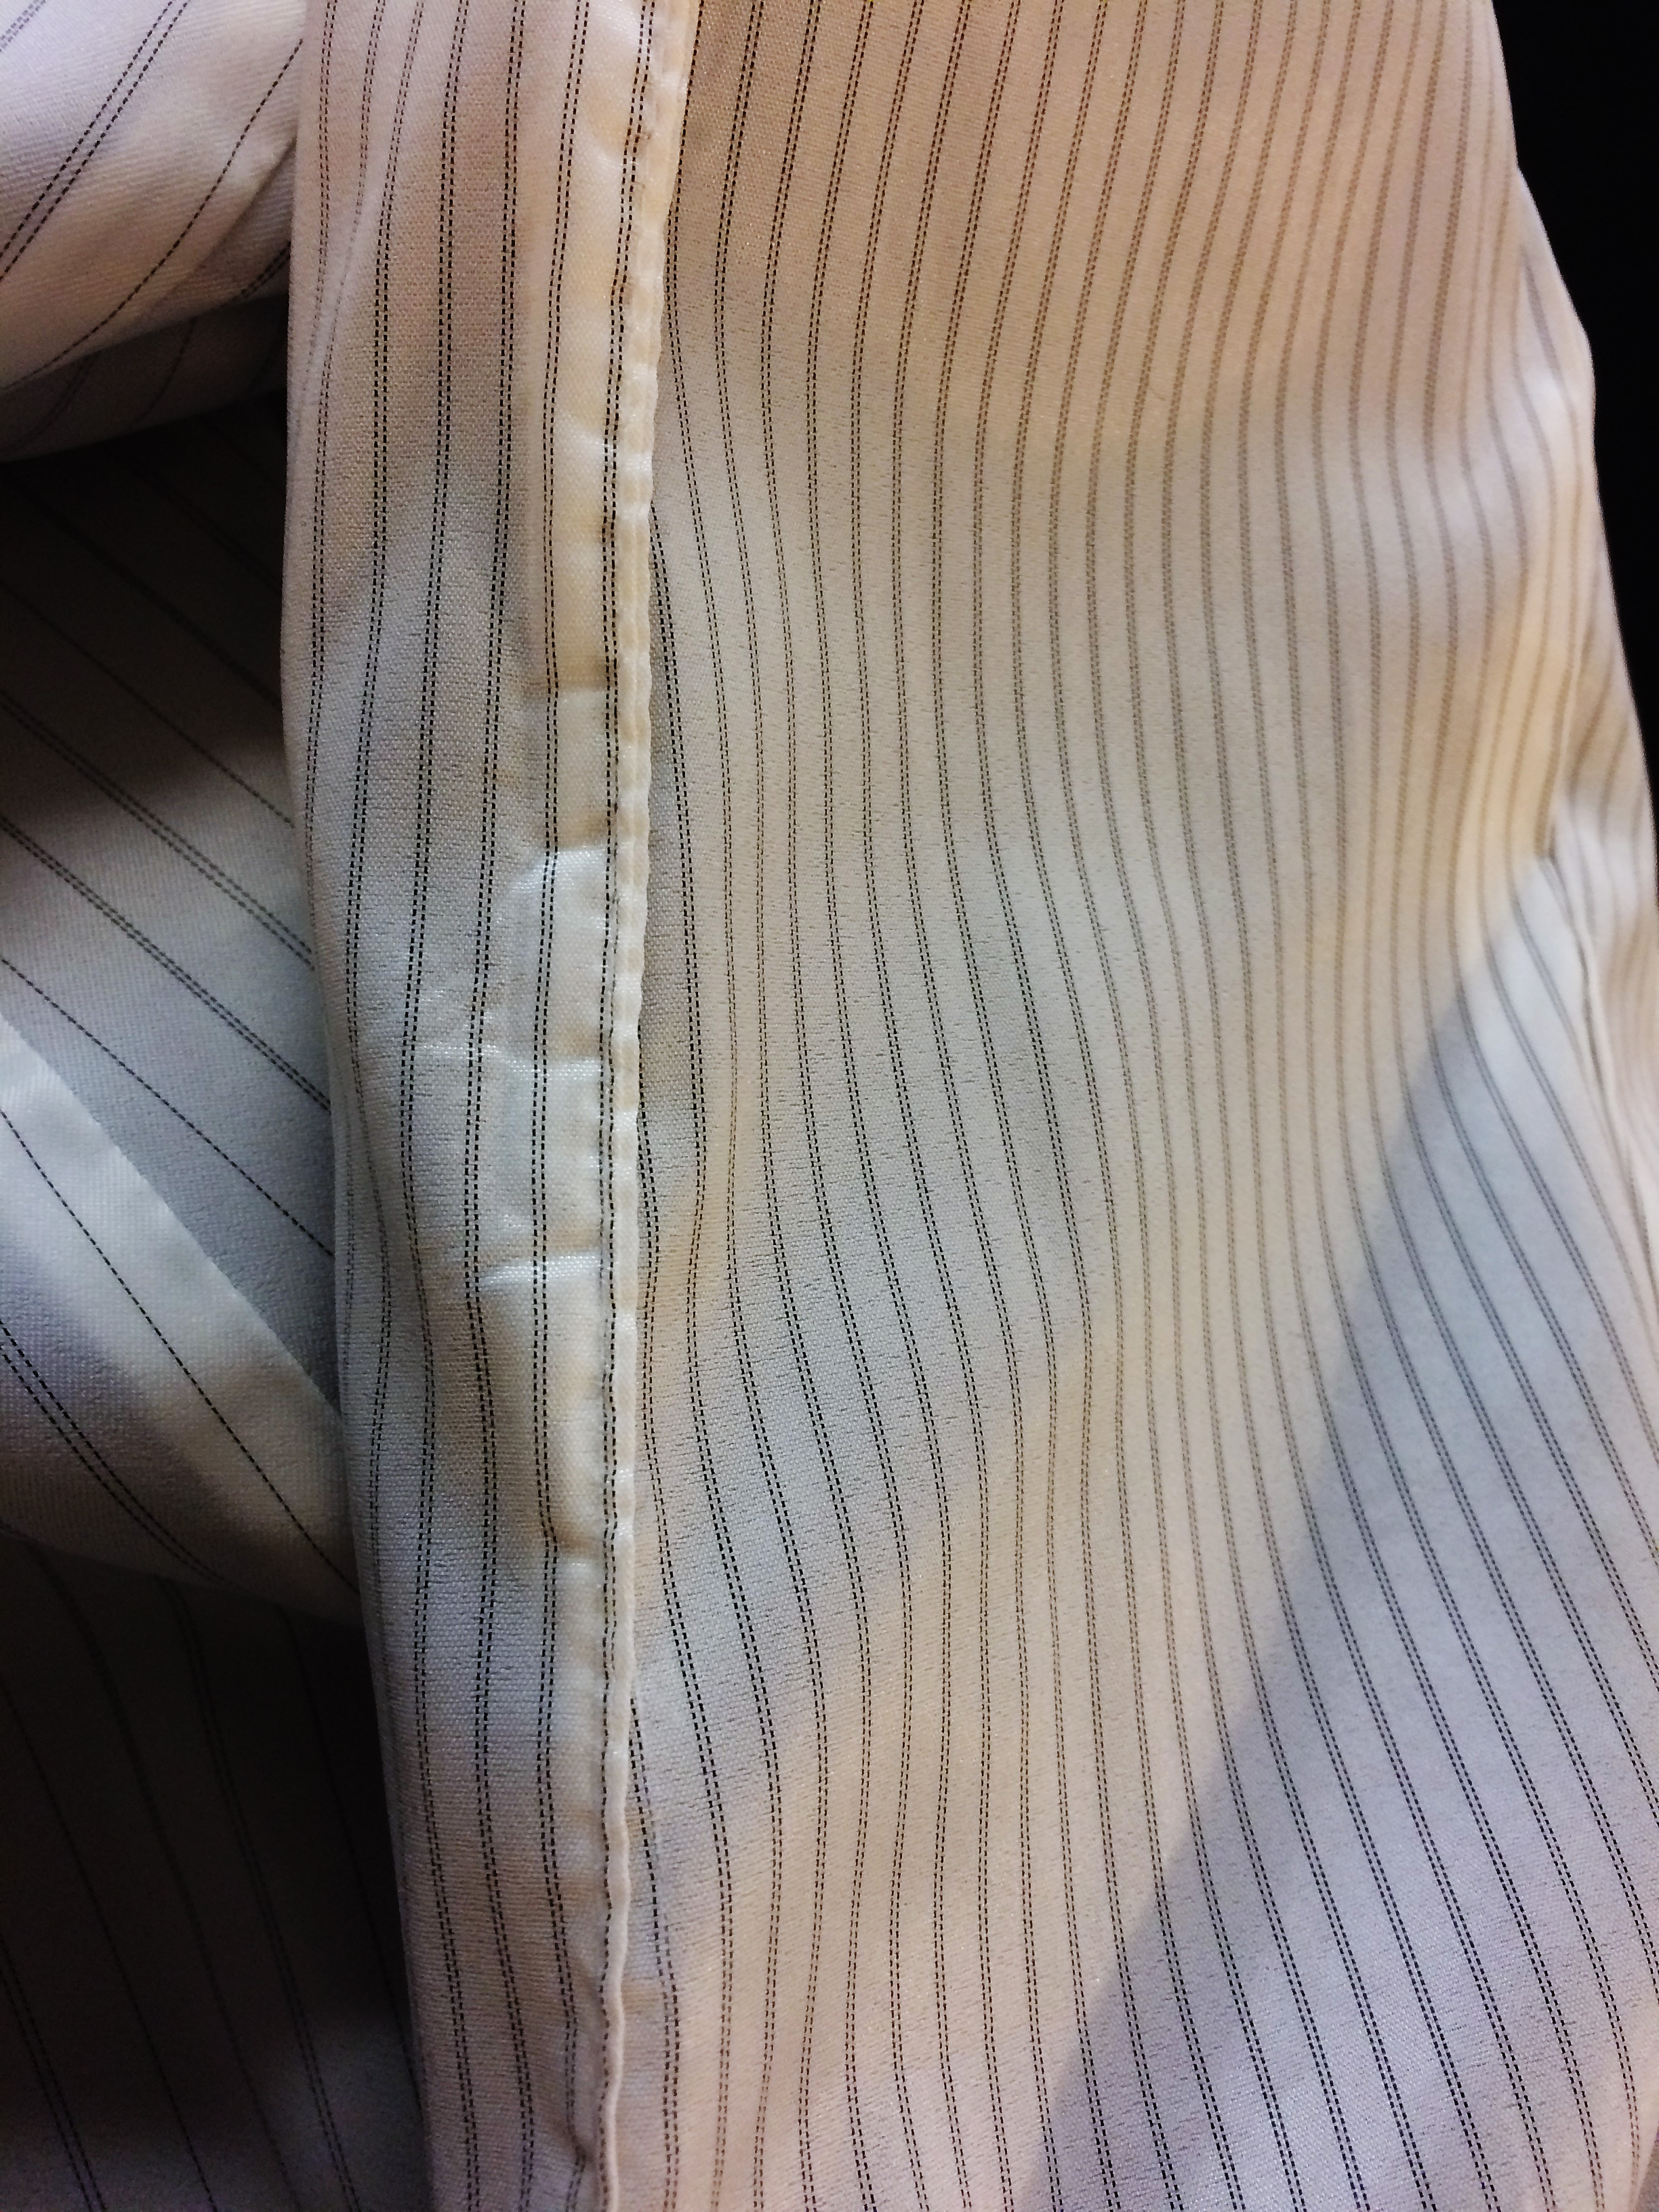
The coverstitch machine is the star of the machine line-up for finishing tasks. A coverstitch machine beautifully finishes hems on most types of garments, especially knits. Many would-be seamstresses shy away from sewing knit garments because sewing stretchy fabrics using a sewing machine alone is decidedly tricky. While a serger is certainly helpful (some would say essential) in sewing with knits, nothing is as helpful for working with knits as a coverstitch machine. These sweeties allow knits to be turned and hemmed beautifully and quickly, with a stretchy seam that will not break.

For me, hems are perhaps the most difficult task in garment sewing, but the only reason I feel this way is because my machine arsenal has not previously included a coverstitch machine. A coverstitcher really takes all the trouble and error out of this otherwise tricky task. And speaking of tricky tasks, a coverstitch machine can also attach lace, elastic, or other trim to any garment in a hurry, again with a stretchable seam that will not break. It can even take the trouble out of attaching bindings.

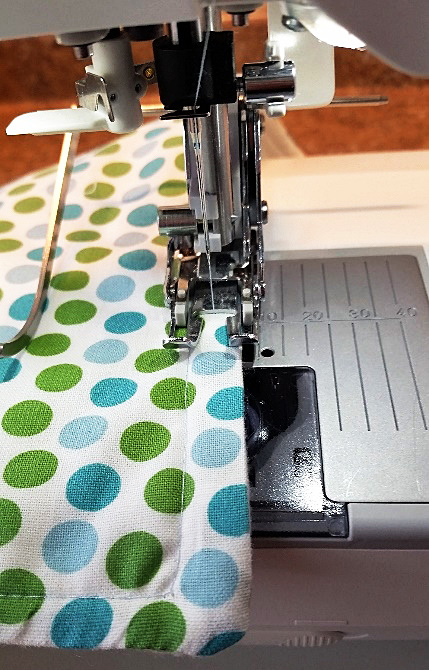
When looking at the serger vs coverstitch machine, a coverstitch machine looks more like a sewing machine than a serger does. And a coverstitch machine is similarly uncomplicated. A coverstitcher only has one looper, and it doesn’t have any knives. This makes the threading of a coverstitch machine straightforward and easy to do. You may leave the coverstitch machine threaded and waiting to perform its hemming whenever you need it. I love the simplicity of a machine that can sit patiently waiting to perform its job beautifully and quickly. Having a coverstitch machine waiting to hem garments means you will actually make garments, rather than being daunted by the trouble of hems!

Coverstitch Machines: Simple yet Versatile

A coverstitching machine is versatile, despite its simplicity. With most, you can use one, two, or three needles. There are also a couple of different configurations that you can use with two needles, to make narrow or wide rows of hem stitches. A single needle can be used to knit the chainstitch, which is a beautiful stretchy seam. A chainstitch can be used for both utility and decorative effects.

I recommend the Janome 1000CPX CoverPro as the best coverstitcher to buy. As I have said before, I really trust Janome. I prefer this brand as being the best value for user-friendly, high-quality machines.

You can begin using your coverstitch machine immediately, and use it often, without ever needing to buy attachments or extra feet. However, you can get the most from your coverstitcher and do lots of things with different attachments.  A clear foot is nice to have. You can get a binder attachment which will neatly attach binding to most any project. You can also buy cording and gathering feet, a pintucking bar, a feller, belt looping folder, and more. None of these are necessary, although you will really appreciate having a clear foot.

Serger vs Coverstitch: Combo Models

One choice when thinking about the serger vs. coverstitch machine is to buy one machine to perform both functions. For folks without the room for multiple machines, there are combination models that will perform both overlocking and coverstitching.  This may be a sensible choice for you, rather than buying two machines.

I recommend this choice only for someone with quite limited space or budget; my preference is to have separate serger and coverstitch machines if possible. That’s because it is more expedient to have each machine set up and ready to do its job. Then you can just move back and forth quickly between the two machines as you need each. This is easier than having to reconfigure a complicated serger when moving back and forth between tasks. I’m told it really only takes a moment and is an easy chore to do, however. I know many sewists love their combo serger/ coverstitch machine and use it regularly for both tasks.

A combo model is a good budget choice for people who want to make garments and need both overlock and coverstitch capability, without spending a lot of money.

Be aware that this choice is a compromise. A serger with coverstitching capability won’t have a free arm. This feature makes a separate coverstitch machine a useful joy for hemming. Nor can combo machines perform as perfect an overlock or coverstitch as separate machines will. To get the best of both worlds, buying a separate serger and coverstitch machine is the way to go.

Serger vs Coverstitch: You Need Both!

So now you know that it is not a question of which machine to choose, serger vs. coverstitch machine. To beautifully and professionally produce and finish quality garments, you need both. You can choose to satisfy this need with a complicated serger that performs both functions. Or you can satisfy both needs with a separate serger and coverstitch machine. Either way, upgrade your machine arsenal and uplevel your sewing by including overlock / serging and coverstitch capabilities to your lineup. You and your wardrobe will be glad that you did!

Overlocker / Serger Vs Coverstitch Machine — You want both!

How to Quilt a Quilt

How to Quilt a Quilt

In English, the word quilt is both a noun and a verb. You can make a quilt, and you can quilt one. When I was first learning about quilting, several times I tried the search phrase ‘how to quilt a quilt’ but I rarely got the information I was looking for. I’m hoping this post will find its way to others who were looking for the information I couldn’t find as a new quilter.

It took me awhile to discover all the methods of quilting and I’m still learning more to this day. If there is another technique you are aware of that isn’t in this article, please share in the comments!

Quilting by hand

The two methods of finishing a quilt sandwich (the term for the classic three layers of a quilt: top, batting, bottom) by hand are hand tying and hand stitching. Quilts have been around since the dawn of time but for a large portion of our recorded history they were highly functional, as opposed to decorative, or a form of art or hobby. Hand tying and hand stitching were quick and effective ways of completing a quilt sandwich.

Hand tying


Images via Quilting in the Rain, WikiHow, Selvage Blog, Craftsy.

Images via Quilting in the Rain, WikiHow, Selvage Blog, Craftsy.

Hand tying or tufting a quilt is a method of spacing out knots every 4” to 8”across a quilt’s surface. While a square knot is the most common method of tying, quilters can get as creative as they like, using a Sheath stitch, for example, or other forms of embroidery knots.

Hand stitching


Images via Jennifer Causey, Shiny Happy World, Tied With a Ribbon, and The Sewing Directory.

Images via Jennifer Causey, Shiny Happy World, Tied With a Ribbon, and The Sewing Directory.

Even after sewing machines began to be used for creating quilts, hand stitching remained the preferred method for finishing a quilt for a long time. Today even modern quilters love this method and value the hand crafted look it gives finished quilts.

Machine quilting


Machine quilting with a walking foot. Image via charlottekaufman.com.

Machine quilting with a walking foot. Image via charlottekaufman.com.

Machine quilting generally comes in three forms, quilting done with a walking foot, free motion quilting (FMQ), and long arm quilting (a variation of FMQ).

Walking foot


Images via charlottekaufman.com.

Images via charlottekaufman.com.

While a regular foot can be used to finish a quilt, walking feet are preferred because of their method of allowing all three layers of the quilt sandwich to travel evenly under the needle at the same time. The only limitation to quilting with a walking foot is that the needle always moves forward so you must move the quilt on your own and unless you have a machine with a long neck, and this can be cumbersome. I’ve been eyeing this Janome at Sewing Machines Plus because of how much neck room it gives. Oh to quilt with such a lovely machine!

Free Motion Quilting (FMQ)


Images via Charlotte Kaufman of SewSewSewYourBoat.com.

Images via Charlotte Kaufman of SewSewSewYourBoat.com.

Free motion quilting (FMQ) is a ton of fun. In this style of quilting you can move the fabric in any direction you’d like as you sew. This allows for beautiful curves and detailed designs that a walking foot just can’t give you. A special foot is connected to the presser foot and you must lower the feed dogs of your machine in order for FMQ to work. Here are some examples of my own FMQ. You would be very hard pressed to do this kind of work with a walking foot.

Long Arm Quilting


Images via Free Range Quilter and Schnigschnag Quilts and More.

Images via Free Range Quilter and Schnigschnag Quilts and More.

Long arm quilting is when a sewing machine can do FMQ on a large scale. In long arm quilting quilts are put on a frame and the quilter than moves the neck of the machine over sections of fabric at a time to create gorgeous and intricate designs. These machines can be prohibitively expensive for some but many long arm quilters find that by offering their services to other quilters they quickly pay off the cost of the machine. Sewing Machines Plus offers monthly payment plans and financing if you are thinking of getting one of these gorgeous machines. I’ve looked longingly at this King Quilter and this Juki Long Arm.

—————————–
Charlotte Kaufman is a writer and sewist in Mammoth Lakes, California. She specializes in marine and home interiors and continues to fall more and more in love with quilting. You can follow her at charlottekaufman.com.
Getting In

Getting In

Whenever I tell people what I do for a living (Tailor and Pattern Maker for film and television) they inevitably say one of two things.

“Wow. How did you get into that?” or “What a cool job!” Sometimes acquaintances will ask me if I can talk to their niece or son or daughter’s friend or cousin or something and give them advice on how to ‘break into’ the business.

I’m never entirely sure what sort of advice to give. As Hunter S. Thompson said (or maybe didn’t say depending on who you ask),

The TV business is a cruel and shallow money trench, a long plastic hallway where thieves and pimps run free, and good men die like dogs. There is also a negative side.

There is some truth in that Hunter quote. Especially now when the major networks are increasingly concerned with cost and ratings and everyone wants to do more (and more) with less money. Period television is quite popular right now. The only problem with that is that period television is hard, perhaps the hardest genre.

“But, why?” you may ask, “It looks like so much fun!”

The Devil is in the details

Here’s the thing: period TV is expensive. You have to dress every single background actor and actress as well as the principals. On shows such as Law and Order, often the background (BG) performers are wearing something selected from their own personal closet. What generally happens is that the BG will come to work with a few clothing options. An assistant designer will usually pick which of these options is best and that’s what the actor will wear. Most people don’t have closets full of 1920s or 1880s clothing so, on a period show, the entire costume is provided, fit, and altered. This takes more time and manpower which, in turn, takes more money.

TV is also fast – faster than filming a movie. Most shows shoot an episode in 8 to 10 days, with at least a day or two when they are shooting two episodes at once. (We call those tandem days.) Because of this, you never really get any down time. On a movie, there is most always a point where you’re over the hump – you’ve established all the costumes needed. Or you’re working on something where all the action takes place on the same day and no one changes their clothes. Then, all you need to worry about is multiples and the rest of the work is up to the set costume crew who keep track of continuity and make sure everyone looks how they should in front of camera.

Do your thing & do it GREAT

I guess if I were to give one piece of advice I would say to become really good at the thing you want to do. Then, figure out how to do it very quickly if needed. I may have said this before (I say it a lot) but there are lots of good tailors and pattern makers out there. What there isn’t a lot of are exceptional tailors and pattern makers who can also work really fast. If you want to work in TV and film that will definitely give you an advantage.

As far as finding TV and film jobs, talk to people, contact your city’s (or state’s) film commission. Word of mouth is still the best way to find a job in this business.

Mind your manners

And be nice to everyone, even if you think they have no ‘influence’ or are looking for the same kind of job as you are. You never know who knows who and you never know when someone might need help because they have more work than they can handle on their own.

Oh, and that “What a cool job!” comment… Some days it is and some days it isn’t. I can assure you there is nothing glamorous about it but, at the same time, it is also rarely boring.


Tree Skirts and Fabric Blocks

Tree Skirts and Fabric Blocks

I’ve had planned indoor picnics with my nieces for the sake of Valentine’s Day and Halloween.

I’ve had planned indoor picnics with my nieces for the sake of Valentine’s Day and Halloween.

Christmas is even closer than it was when my last blog about homemade, sewn gifts was posted, so it seems fitting to keep with the holiday vibe! Whether or not I mentioned this earlier, I’m a fan of holidays to the point that I’ve had planned indoor picnics with my nieces for the sake of Valentine’s Day and Halloween, so don’t be too surprised if you see a good number of holiday topics when the big ones roll around!

I’ve been browsing online to try and find an interesting Christmas project to check out, and I came across a concept that is really fitting this season: a tree skirt. You see, we have one, but we changed Christmas stockings this year. The new ones aren’t the best of matches to the old tree skirt, so we’re currently going tree-skirt-less for the sake of coordination. Basically, the idea of constructing a tree skirt is a logical notion for a Christmas project this year!

Let’s decorate!

I just use pieces of material one piece per section.

I’ve come across more than one option including a fancy scalloped one that caught my eye, but being the patchwork girl that I am, I was more drawn to a patchwork-looking design. As easy as the overall pattern might seem to some, the idea of creating my own blocks with multiple patterns is a bit daunting to me. Usually, I just use pieces of material—one piece per section—and I don’t know that I’ve ever tried to piece together my own block. For that reason, it seems reasonable to do some research before potentially diving into the process. As I’ve said before, doing research can make a sewing process smoother, and should I try this, I want it to go smoothly!

And maybe certain readers are in the same boat with me on this one—interested in moving into elaborate blocks, but unskilled in the technique. If so, keep reading! I’m going to hand over some general ideas that I’ve found that could help with the process!

Where to start…

Tip #1: Press your material! This is a simple step, though one that can easily go overlooked. Even if you want to just jump into constructing your project, taking the time to level out the fabric you’ll use can help in making sure things line up as they should. So before you sew the first stitch, break out that iron!

Pressing is also something to keep in mind during the process when you sew fabric together. If you connect two blocks of fabric, press that seam! As you connect more material, your blocks will be less likely to have random bumps or puffy spots because the act of pressing as you go will ideally have smoothed out troublesome areas before additional pieces get locked in. That kind of consistency—no puffiness where it shouldn’t be—can create uniformity. You can even get pressing sprays to help solidify the effect!

Around the block

Tip #2: Learn the basics of block patterns! Are you planning a four patch product? Nine patch? It helps to think about those concepts before you start piecing your product so you can plan the design and get an idea of how you’re going to structure your work. This might be particularly true if you’re planning a five patch product since basic mathematics will let you know that such a pattern does not divide evenly by two! There’s a technique for each of these blocks, and being aware of those techniques can help you through the process. You can find out more about those pattern options here.

Crazy square block.

Crazy square block.

Once you get comfortable with the more traditional and beginner-friendly possibilities, maybe you can work your way into something less typical, like a “Crazy square block” of material.

Color theory

The color wheel.

The color wheel.

Tip #3: Get to know your color options! One site recommends the use of the color wheel, and I think this strategy might be a good one. While aesthetics might be subjective, decisions on color are still something to take seriously before you begin stitching. This, I think, could be particularly true when you’re creating your own block from a series of fabrics. Instead of just having 50 or so segments of color on one product—one per block—you could end up with various colors per block, which leads into a whole lot of color-consideration territory!

If you want to go with a cool tone, for instance, how easily could you do a nine patch product with different variations of color per block—one for greens, one for blues… That example is a perfect illustration of why knowing your colors could be so important. If you don’t know too many shades of cool colors, you might not have the background knowledge that would help you create the cool color, nine patch work. Basically, if you want a cohesive final product of multiple fabrics per block, think about those colors while you consider your fabrics!

Measure twice, cut once

Tip #4: Be exact with your measurements! This one might be a bit obvious—or really obvious—but it’s worth noting. Not only should you make sure your blocks are consistent in size for the best possibility of a final product, but you should make sure the individual sections of the block are measured accurately. Doing so could keep embarrassing things from happening—like running out of fabric in your squares before you get to the end of a block or having excess. Either mistake could lead to the overall product looking off because every block wouldn’t have the same mistakes. If you want uniformity throughout, measure!

Even if Christmas is too close for this concept to result in a 2016 tree skirt, this is still something I can keep in mind for next year. In fact, new goal!

~ Make a home-sewn tree skirt. ~

I wonder if 2017 – me will hate all of these goals I’m tossing her way? If so, maybe she can appreciate it if there’s a by-hand product decorating the bottom of the tree next year!

Sewing Goals for the New Year

Sewing Goals for the New Year

This time of year I start to think about what goals I want to achieve in the upcoming year. I usually break them down into three categories. One, career. Two, personal life. And three, hobbies. Over the years, hobby goals have included everything from beekeeping to knitting. This year, I’m thinking about setting sewing goals.

Attempt Something I’ve Never Made Before

Sewing Goals for the New Year

My typical sewing projects are dresses and skirts or modifying existing clothing. I’ve also made a few home décor items like curtains and pillow covers. I’ve never done a shirt or anything with a button hole. I’ve never made a jacket or anything with super thick material. I have made a wedding gown, so I know I can take on complex projects requiring me to learn new things. Next year may just be the year I master button holes, or least attempt a shirt.

Find More Scrap Fabric Uses

I not only have my own fabric scraps, I also have scraps from my mother and great grandmother. If I was a quilter, I could make a fabulous memory quilt with all of it, but that’s not really my thing. For the upcoming year, I’d like to use up my scraps so that I can use the closet space for other things.

Organize Thread Spools

Right now, my spools are tossed in a plastic bin with a bunch of other sewing related supplies. I have a terrible time finding the colors I want and an even harder time untangling the threads from each other when I do find the right color. Next year, I want to get my thread organized in such a way that they’re easy to find and aren’t all tangled together.

Expand My Color Palate

I seem to always be drawn to the same colors in the fabric store. This means I wind up with a fairly monochrome wardrobe. For next year, I’m going to set a rule for myself about how much of any one color palate I’m allowed to purchase in an effort to force myself to expand my choices. Purple and blue are pretty, but so are all the other colors. And I do get sick of wearing the same colors over and over, so maybe this will help.

Buy a Fabric Board

I used to have this awesome cardboard mat that made it easy to lay out fabric and measure it against the lines on the board. It kept the fabric off the floor too. Sadly, it got wet at some point and became useless. I never got around to replacing it. Next year, that will change. I do miss the ease it provided as well as the solid surface. Because it was cardboard, I could pin the fabric to it so it wouldn’t slip around like it does on my wood floors or on the table top.

What are you sewing goals for the upcoming year?

Homemade Gift Tips

Homemade Gift Tips

It’s the month of Christmas, guys! Are you anywhere near ready? I have some presents still to buy, but to be honest, I might start planning one Christmas before the current one is over. Love of holidays? Crazy organization? Awareness of a budget? Maybe one, two, or all three things—maybe even a few more!—but the bottom line is that a good chunk of my Christmas shopping is finished. Yay, me!

I’m not so naïve as to think that’s the case across the board though! In fact, someone might be thinking, “Yeah, I need to work on that shopping list…” while reading this post. If that’s the case, stick around! I have some tips coming up that you might find useful!

Make it personal

I bought a used record online for about $10 & I don’t if I’d ever seen my mom so happy opening a present.

I bought a used record online for about $10 & I don’t if I’d ever seen my mom so happy opening a present.

In my experience, gift-giving can go best when you really think about the person instead of how much you want to spend or how impressive other people might find the gift. Example: My mom had been saying for years that she wanted a certain record—yes, record!—and one year it occurred to me that buying her said record could be a good idea. Why hadn’t I thought of it before? Maybe I was caught up on the it-has-to-be-new concept for a Christmas present? I’m not sure. Long story short though, I bought a used record online for about $10, give or take, and I don’t know that I’d ever seen my mom so happy opening a present.

If you think outside of the box instead of putting a series of labels on what you’re supposed to buy, it opens a door to a category of gift that will be the focus of this post: homemade. Who says you can’t give someone something you made yourself? Sure, you might not have bought it in a store, but you took the time to craft it with your own hands! Not only can it be a beautiful gift, but there’s a sentimentality to it that might be harder to achieve from something store-bought.

Decisions, decisions…

Still, as with store-bought gifts, it pays to think about what you’ll craft instead of flippantly deciding on something. With that in mind, here are a few tips for any of you who want to change up some of your I-need-to-buy-a-present items to I-think-I’ll-make-something choices, specifically gifts that need a needle and thread to create:

  1. Know your recipient! This could be key no matter if it’s store-bought or homemade. If you have an idea of the recipient’s personality, you could find it easier to plan your gift. Your friend who loves rockabilly, for instance, might love a purse made from material with a 50’s theme! Is another friend’s kitchen decorated in sunflowers? Then maybe a table runner made with sunflower-based fabric could be an option! If you can tailor your gift for the person you plan to give it to, the level of appreciation that person has might seriously increase!
  2. Manage your time. This one might be something to keep in mind for next year since Christmas is so near! But if you decide that homemade gifts are the way to go, don’t underestimate the idea of pacing yourself! Working on a dozen gifts in three weeks might be hectic. Deciding in January that you want to do homemade gifts for that year’s Christmas though would let you space your work out over months—and trust me when I say that pacing yourself can be a WONDERFUL idea!
  3. Consider your budget. Just because it’s homemade doesn’t mean it won’t cost some money! Sure, there are cheaper homemade options than making curtains, quilts, or clothing, but I’m talking about sewing here! Once upon a time, I decided I was going to make my mom a homemade quilt, and I might have ended up spending more on the supplies than I would’ve spent on a store-bought item. But I had a certain fabric I wanted to use, and it required more panels than I thought it would… The bottom line is you shouldn’t assume homemade automatically equals cheap, so if you need to work within a budget, still consider that budget! Should you realize the supplies you need for your projects are going to run too high, tinker with your ideas. Is there a different fabric you can use that’s cheaper, but still a good option? Can you scale it back—maybe make a throw instead of a full-sized quilt? A beauty of crafting your own gifts is that you can make those kinds of calls because it’s your creation!
  4. Browse. You might not be window shopping, but that doesn’t mean you can’t look for ideas online! Pinterest is a clear example of a place to find those ideas. In fact, I was inspired while writing this post, and you can now find my “Homemade Gift Ideas” board here! Even running a Google search can help you get the creative ball rolling by giving concepts that you can alter and tailor to your gift-giving wants. Though the overall idea might have come from someone else, the details—what fabric, what color, what size—can still come from you! You can find a series of sewn gift ideas here ! FYI, I love the cross-stitching lyrics one!

How about you, readers? Are you pro-homemade gift?

Country Cute Skirts with Patches

Country Cute Skirts with PatchesI’m a bit of a country girl. Plaid shirts, denim. I like them on me and love them on my boyfriend. Sometimes, though I want a denim skirt with a little more personality. Thankfully, they’re really easy to modify and cute-ify. If you’re a country girl like me and want to broaden a selection of your denim skirts, give some of these fun ideas a try.

Calico Swatches

What would a country girl be without a little calico in her life? The texture of the unbleached, low processed cotton pairs well with a denim skirt. And it comes in so many fabulous patterns and colors! If you’ve got some scraps from a previous project, this is a great way to use them up. If not, it’s a great time to go fabric shopping.

Find a denim skirt with a seam in the back. Cut the seam open part way. If it has a slit in the back, you can cut up from there and leave the slit after you insert the calico in the opened seam. The same technique works with side seams if you’d rather do that.

Patches

Patches are awesome! Not the plan square ones. The patches in the shape of animals and other cute designs. They’re super easy to use and create an ultra-unique denim skirt. For a long denim skirt, choose four to six of your favorite patches. For a short one, choose three or four. Larger ones look great along the bottom hem and smaller ones look great along the waistband.

Without ironing or sewing, place the patches where you think you’d like them to check the appearance. Once you’ve got the placement figured out, you can either iron them on or sew them on depending on the manufacturer’s instructions. For iron on patches, I suggest tacking them down with a few stitches in case the glue loosens.

Fabric Scrap Squares

Here’s a great opportunity to dive into your scrap bucket and create a cool country skirt in the process. You can either use these to create a skirt by themselves or lay them over an existing skirt you no longer want to wear in its current form.

Cut squares of your fabric scraps in various sizes. Lay them out and move them around until you have a look you like. When you’ve got that figured out, sew the squares together and/or sew them onto the existing skirt you’re modifying. If you’re not adding them to an existing garment, you’ll also need to add a length of elastic along the top to create a waistband. When you’re done, it’ll look like you’re wearing a patchwork quilt.

What other ideas do you have to create a country skirt using patches?

Tips on Sewing with Kids

Tips on Sewing with Kids

Do you have a child in your life that wants to learn how to sew? If so, encourage that curiosity and allow them to learn this amazing skill. While the process of learning to sew is technically the same for children and adults, there are a few things more to consider when teaching young children how to sew.

Do you have a child in your life that wants to learn how to sew?

Do you have a child in your life that wants to learn how to sew?

What is the right age?

Can your child read? Can they follow simple instructions? Many of my friends begin teaching their children around age 7-8, however children as young as 5 or 6 can sew if they have the right maturity level and fine and gross motor skills to use a sewing machine. If they have the ability to hand sew, they can probably learn how to use a machine.

Adjust things to child size

When my 6 year old daughter sews with me, I place the foot pedal on a bathroom stool so that she can reach it while she sews.

When my 6 year old daughter sews with me, I place the foot pedal on a bathroom stool so that she can reach it while she sews.

When my 6 year old daughter sews with me, I place the foot pedal on a bathroom stool so that she can reach it while she sews. Consider what chair you have them sit in and make sure they can reach all the pertinent parts of the machine, like the presser foot lever and the wheel.

Go over the dangers

Spend some time demonstrating how fabric goes through the machine and how the needle is in constant motion when the foot pedal engaged.

Spend some time demonstrating how fabric goes through the machine and how the needle is in constant motion when the foot pedal engaged.

The biggest danger is the needle of the sewing machine. Spend some time demonstrating how fabric goes through the machine and how the needle is in constant motion when the foot pedal engaged. Describe the few inches in front of the needle as a ‘no-go zone’ and consider putting washi tape in a small rectangle forward of the needle to remind them not to get their fingers near the needle. Also explain how the foot pedal and needle work together. If they play with the foot pedal without paying attention, they could catch their fingers (or yours) if you are in the middle of demonstrating something to them.

Practice on paper!

There are many printables available online that allow children to practice “sewing” by having the children sew patterns on paper.

There are many printables available online that allow children to practice “sewing” by having the children sew patterns on paper.

An example of a paper sewing guide for children from www.welcometothemousehouse.com.

That’s right. There are many printables available online that allow children to practice “sewing” by having the children sew patterns on paper. This technique is convenient because the needle’s puncture holes are visible and the children can easily see where they are not staying in the lines. It’s also wonderful for helping them master sewing curves.

Engage your learner

If your child has expressed interest in sewing, try to let them start on a project they actually want to make. This ensures they’ll be invested in the learning process and will make them that much prouder of their final product.

Here is my then five year old daughter showing off the rag quilt she helped to sew.

Here is my then five year old daughter showing off the rag quilt she helped to sew.

Here is my then five year old daughter showing off the rag quilt she helped to sew. She made this as a gift for a teacher at her school who was expecting a baby.

Have fun!

Don’t make this something that is stressful. If you, or the child, are starting to get frustrated, take a breather. Sewing is a wonderful skill. Don’t let their first memories of it be of anger or frustration.

What tips do you have for sewing with kids? Please feel free to share in the comments.

—————————–
Charlotte Kaufman is a writer and sewist in Mammoth Lakes, California. She specializes in marine and home interiors and continues to fall more and more in love with quilting. You can follow her at charlottekaufman.com.
My Feet Were Made for Walking

My Feet Were Made for Walking

Hi Everyone and Happy Thanksgiving Weekend!

Using the walking foot, means taking off the shank that supports the regular feet and inserting the walking foot unit and the backwards “C” clamp to the screw that holds the needle. Also, the bar inserted behind this walking foot holds down the fabric while the walking foot moves over the fabric as it sews.

Using the walking foot, means taking off the shank that supports the regular feet and inserting the walking foot unit and the backwards “C” clamp to the screw that holds the needle. Also, the bar inserted behind this walking foot holds down the fabric while the walking foot moves over the fabric as it sews.

Perhaps you have had the challenge of trying to sew stretch and non-stretch fabric together? I used to agonize over the idea when I can get two pieces of fabric, one a stretch bamboo and the other quilting cotton, and cut them perfectly the same measurements with my acrylic ruler, and rotary blade cutter, and pin them together matching all sides. When I put them in my machine, it always turns out, the stretch fabric is larger than the non-stretch when I have completed the seam. So, to resolve that, I have to measure the seam line with my ruler, and trim the stretch fabric to 1/4 inch seam line that matches the quilting cotton.

Just keep trimming

I have found that trimming that seam on the inside as perfectly even as possible results in great guide to top-stitch the outside after it has been turned. I also round off the corners rather than cut them straight before turning to the right side of the fabric.

I have sewn the first top-stitch row just using a Type A foot. The row (in progress) close to the edge is done with my walking foot. Using this, if I watch the edge of the sides, as they line up when stitched, my top-stitching turns nice and straight. SLOW AND EASY STITCHING! The bar on the left that stabilizes the fabric is adjustable as well.

I have sewn the first top-stitch row just using a Type A foot. The row (in progress) close to the edge is done with my walking foot. Using this, if I watch the edge of the sides, as they line up when stitched, my top-stitching turns nice and straight. SLOW AND EASY STITCHING! The bar on the left that stabilizes the fabric is adjustable as well.

Many of my projects are top-stitched either with a decorative stitch which is overcast or something that blends with the fabric design. Now with embroidery machines so popular, I seldom see people utilizing the great automatic stitches like those on my Husqvarna Viking 670. With 200 stitches available, one’s creativity can soar! Why not take advantage of it?

Top-notch-stitching

Top-stitching is tricky! To be perfect, it takes a consistent eye to guide the machine in the same place all the way around the project usually very close to the edge. Possibly, an edging foot for quilting may work well for ¼ inch spacing, (although I have not tried that). I most often use that foot to piece guilts. What I have found that does a great job is a walking foot. I use it to sew seams with the different stretch and non-stretch fabric. Again, I trim the seam before turning to the right side.

I also like to make wider stitches for top-stitching using a beautiful premium thread. My favorite is Cotton Mako Auriful, an Egyptian cotton made in Italy. It makes top-stitching look very professional.

I also like to make wider stitches for top-stitching using a beautiful premium thread. My favorite is Cotton Mako Auriful, an Egyptian cotton made in Italy. It makes top-stitching look very professional.

So, I hope you enjoyed learning about the “Walking Foot” today. I enjoy knowing that my products have the professional finishes that make handmade sewing equal to expensive alternatives. I would be happy to hear your comments or things you have discovered on your walk of sewing and fabrics!

Miter Me This

Miter Me This

One of the alterations I did last week for the television show Blindspot was lengthening the sleeves on a woman’s suit jacket for one of our actresses – a straight-forward and fairly simple task.

Or so it should be

Functional, cut buttonhole, unless you need to lengthen the sleeve.

Functional, cut buttonhole, unless you need to lengthen the sleeve.

This time, though, the alteration gods (and the clever designers at Banana Republic) were against me. The suit jacket had cut, functional buttonholes (three of them) on the sleeves. Not that big of a problem. I just needed to lengthen the sleeves 3/4″ and could get away with leaving the buttonholes as they were as the first hole was only an inch and ¼ from the hem.

No biggie

So, no big deal, I could still re-miter the corner 3/4″ below the original hem and not have to mess with the buttonholes. I might have to cut some of the seam allowance free from the bottom hole but it shouldn’t matter. I would still have enough fabric to do the miter properly.

I pulled both sleeves inside out to find the one with the top stitched opening. Women’s jackets normally just have one sleeve with the lining opening and the entire thing can be pulled through that hole and inside out. This is because, in most cases, the armhole lining isn’t attached all around the seam allowance as it is in men’s suit jackets.

I pulled my two sleeves inside out through the opening and started taking the hem apart. Much to my annoyance, I discovered that the miter corner had been trimmed so it was impossible to redo the miter at a longer length. I also needed to add more seam allowance to be able to lengthen the sleeve the amount I needed.

Take a step back

A simple alteration just got a bit more tedious. First, I dug into my fabric stash to find a wool similar to that of the jacket. In this particular case, the jacket I was working on was a dark brown and black tweed. The jacket was paired with black wool pants so I decided I could get away with using a black wool for my corner and added seam allowance.

I cut two pieces of black wool 2″ wide ( ¾+ ¾+ ¼ for each seam allowance. you need ¾ twice because you need the length for both the lining and the face fabrics) and 10″ long (this length doesn’t matter except it needs to be longer than the sleeve hem) on the bias (or diagonal). I also cut an addition 2″ wide by 6″ long bias piece for the corners.

Sleeve lining with topstitched seam (open up from here and pull everything through).

Sleeve lining with topstitched seam (open up from here and pull everything through).

The next thing to do after opening the entire sleeve hem up (don’t press, you’ll want to see the original seam creases) is to sew the black wool to the miter edge. Follow the stitching line from the original miter and make sure to leave additional fabric on both ends. Then, open the sleeve hem up so you can see the straight angles of the bottom and side edges. Draw straight lines to connect those edges, then trim.

The mitered corner.

The mitered corner.

Next, attach the 2″ piece to hem edge and trim any excess off the ends. At this point, I redraw my miter line. Measure down ¾ from the original hemline exactly on the fold line – that’s your cross line for miter. Use your old miter line as a guide for the proper angle. Sew the miter, press, and turn. Don’t cut. I use a wooden tailor point pressing block, a simple point turner, and generous steam.


Diagram on where to add fabric and redraw miter seam line.

Diagram on where to add fabric and redraw miter seam line.

Wash, rinse, repeat

Mark the ¾ down on the un-mitered corner and any sleeve underarm seams into your fabric extension so that you can match up the lining properly. Then, pin together your hem edges and sides. Sew. Repeat for the other sleeve, turn everything back right side out, and sew the opening closed in the sleeve lining.

The finished contrasting corner miter: (note: the suit jacket will be worn with black pants so the corner coordinates nicely).

The finished contrasting corner miter: (note: the suit jacket will be worn with black pants so the corner coordinates nicely).

Done. I now have a jacket with a cool little detail. Most people probably won’t notice it but if you happen to watch Blindspot and see it, let me know! I like it and my designer and actress like it, if only for the reason that the sleeves are the proper length.