There is something sort of Zen and comforting about it for me.
I actually kind of like ironing. There is something sort of Zen and comforting about it for me.
One of my first jobs in a professional theatre setting was as a dresser at the Alley Theatre in Houston, TX. Being a backstage dresser means helping actors get dressed (obviously), laundering actors’ costumes, assisting actors in changing their clothing really quickly, seeing in the dark, and a whole lot of steaming and pressing. The Alley does an annual production of A Christmas Carol every holiday season. Almost every main male character in the production wore a white cotton shirt that needed to be ironed before every show. One of my responsibilities was to iron the pile of white cotton shirts every day. Anyone who has ever spent a significant amount
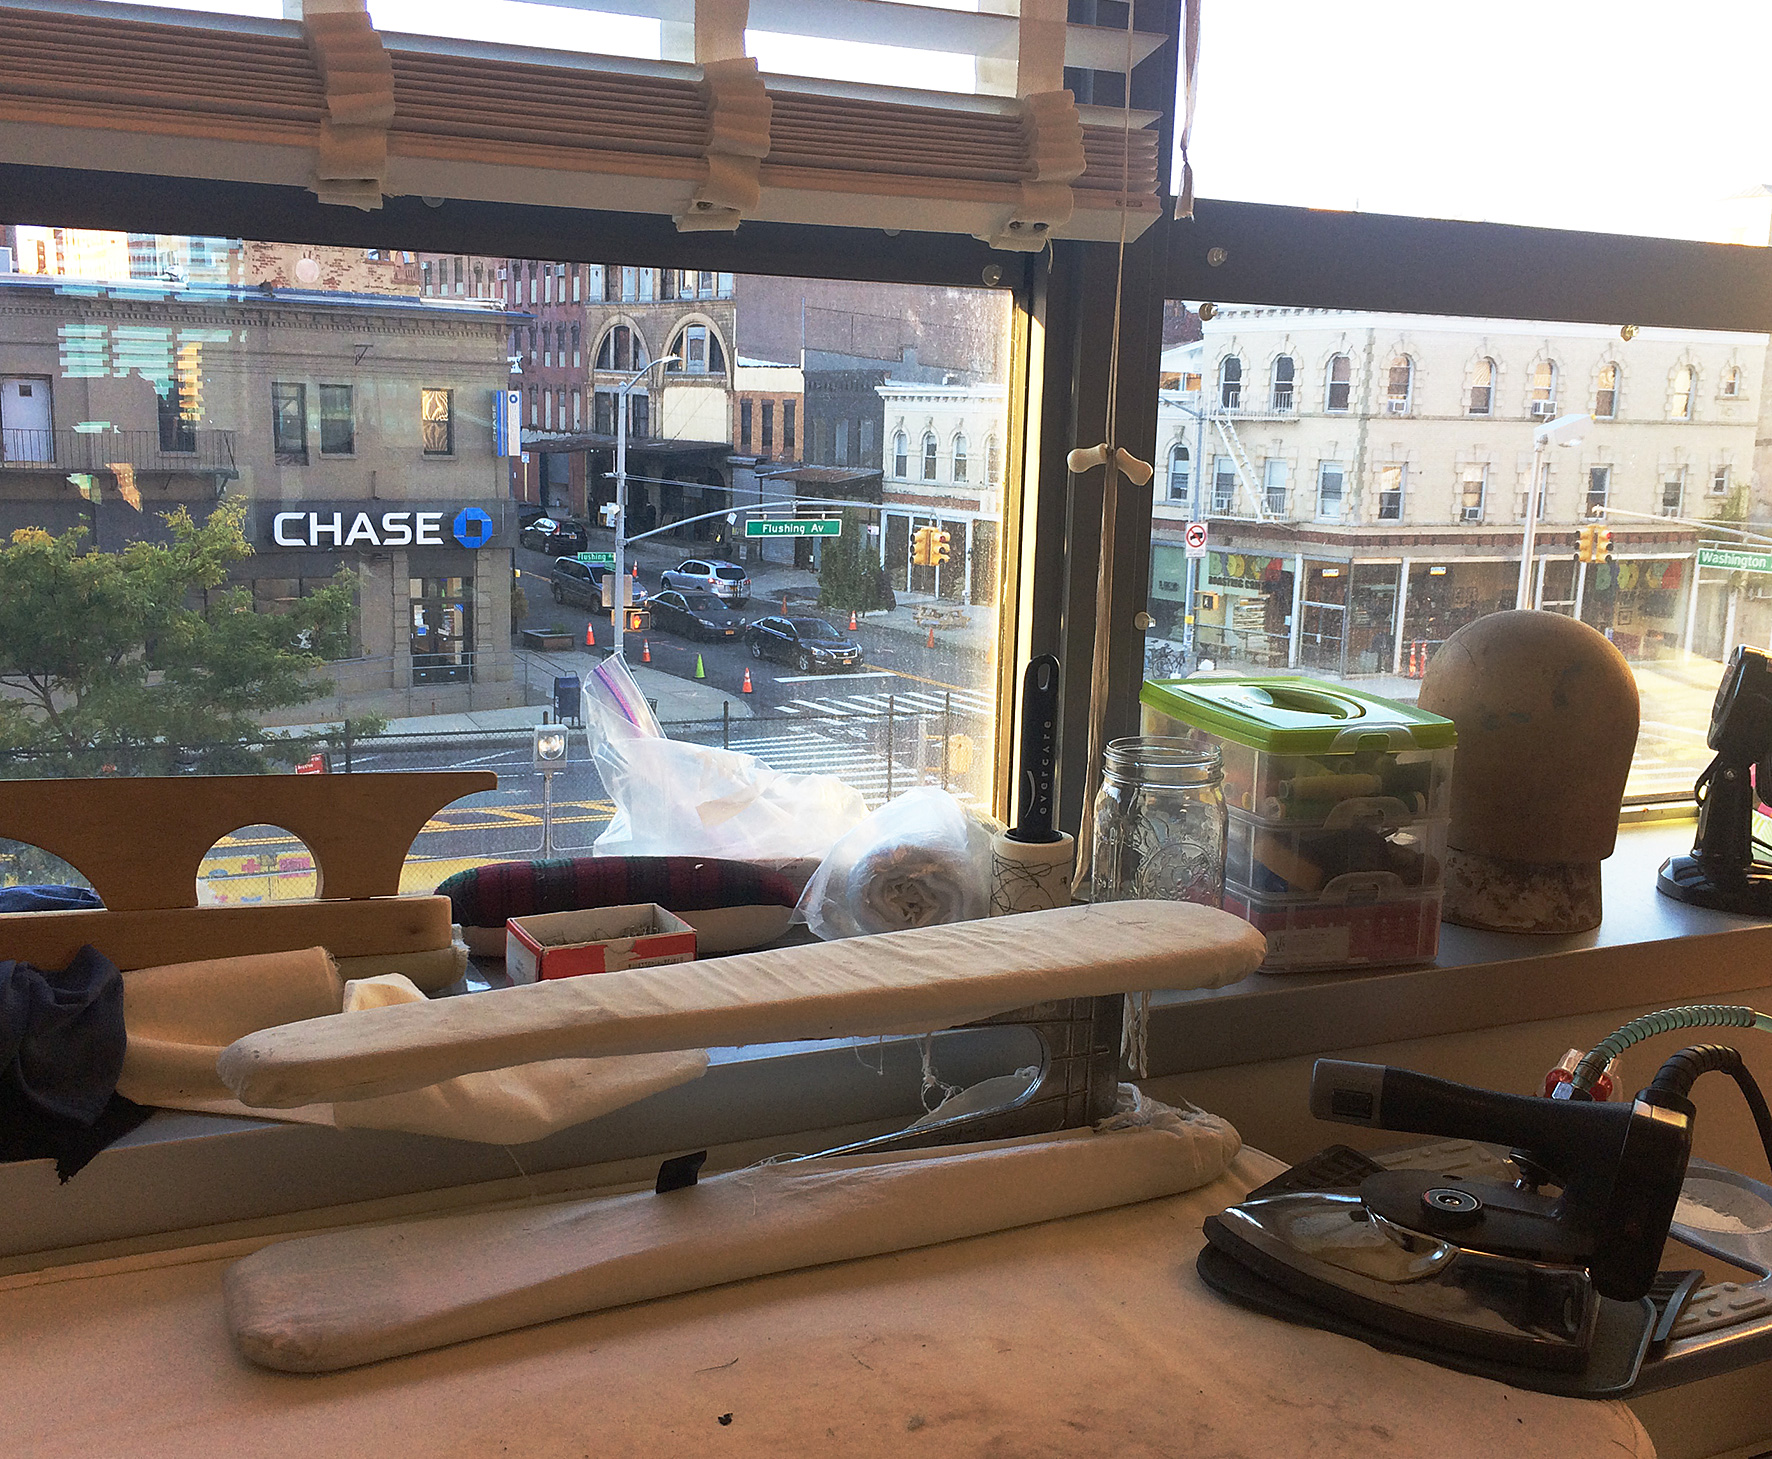
I pretty much always use a sleeve board.
of time ironing shirts has developed their own little system, order.
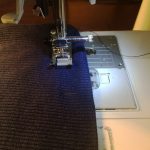
I do yoke, front, back, sleeves (no creases), collar. I pretty much always use a sleeve board. And a proper iron makes all the difference – whether you are simply ironing to get the creases out or sewing. Everything looks better with a good press.
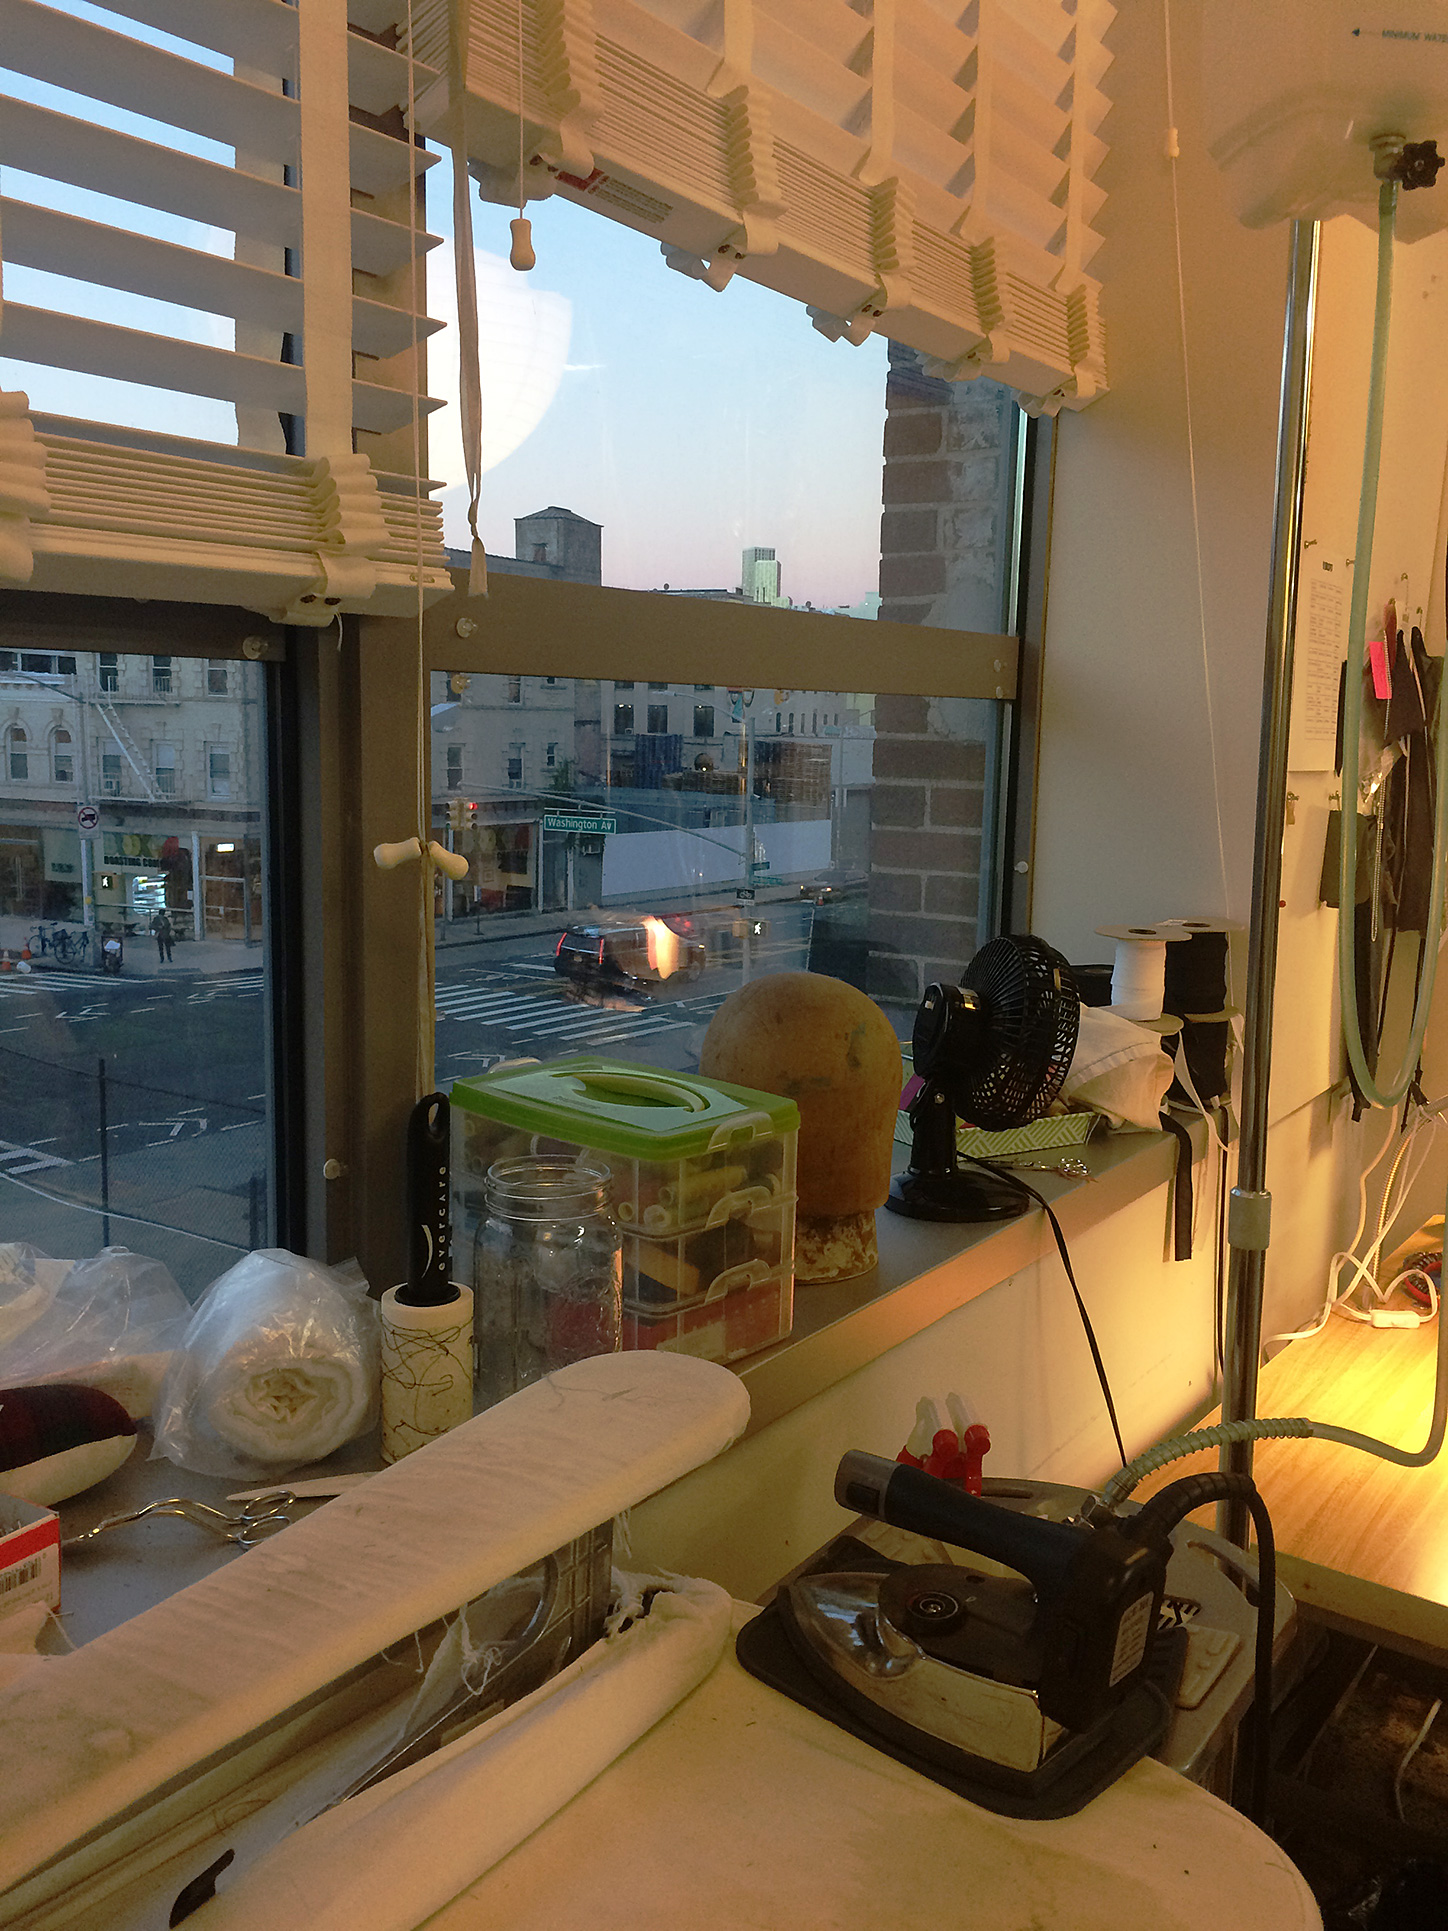
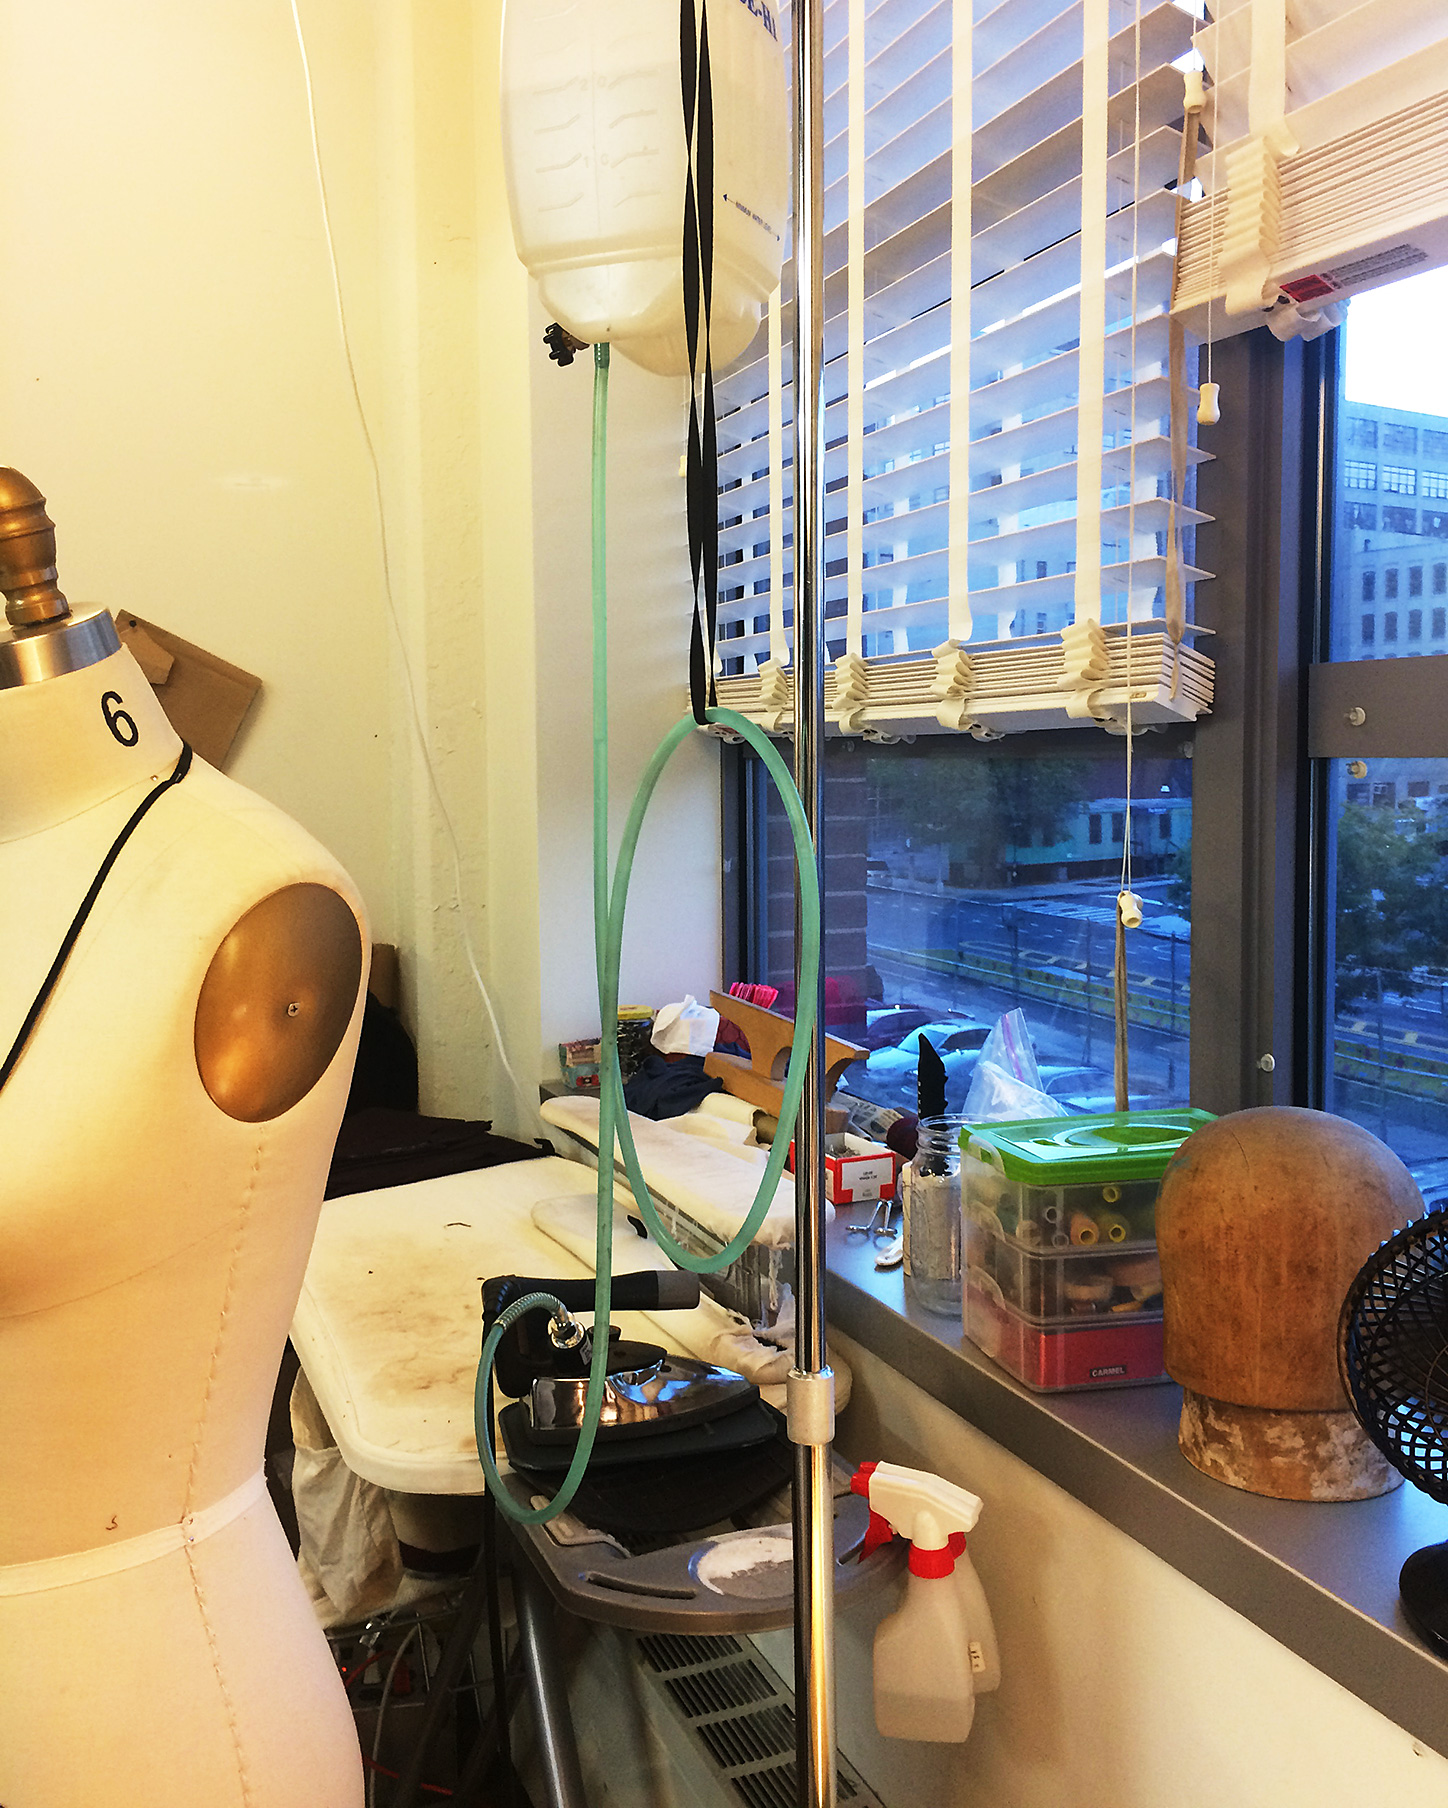
A gravity feed iron is the one with the plastic water bottle you suspend from above to feed water into to iron that heats it and converts it to steam. I’ve worked places that had nice custom wood ironing tables complete with a wood arm/pole on one corner to hang the water bottle from but an IV stand works just as well.
Reliable
Reliable makes a system of steam irons and ironing boards with reservoirs and poles attached that I’ve heard are very good though I’ve never used them.
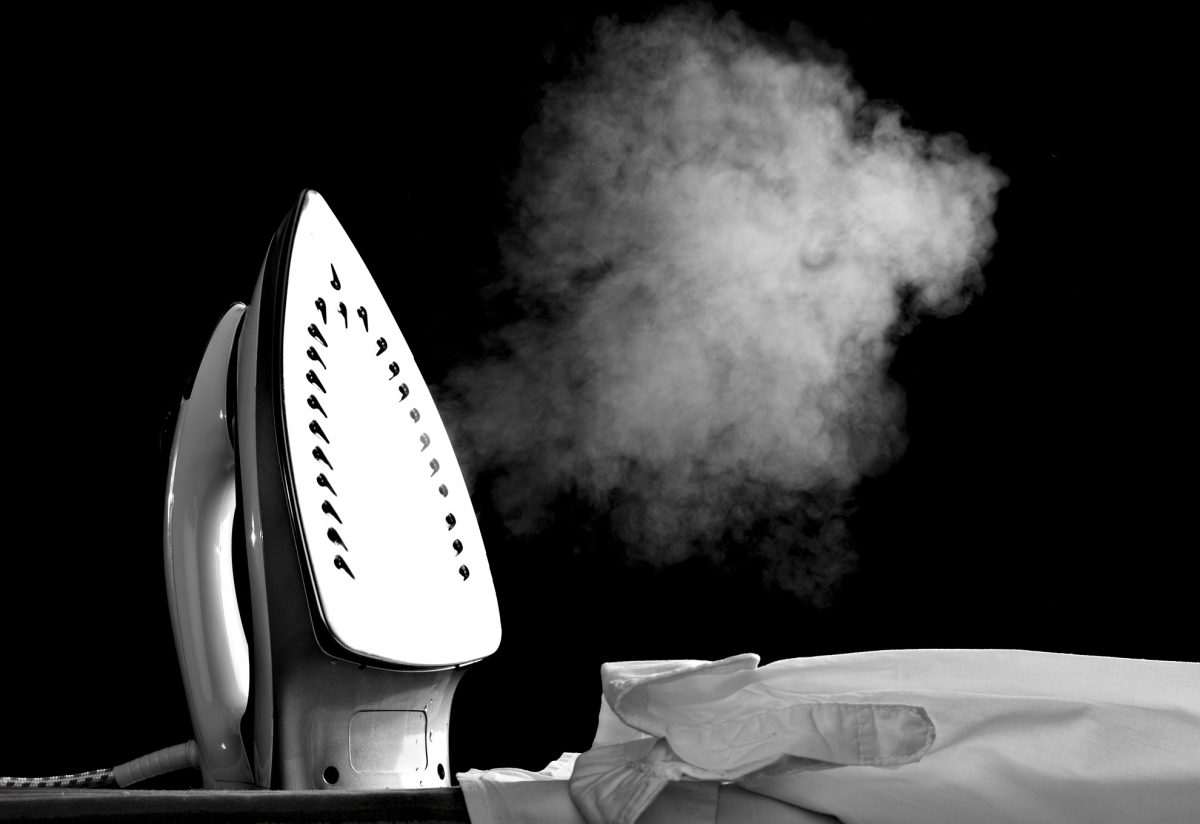
Gravity feed irons are heavier than other irons and made from actual metal. And they produce lots of steam. (I’m a big fan of steam).
Goldstar
makes an excellent, very reasonably priced, and durable iron. The thing about industrial irons is that they don’t have that annoying automatic shut off feature and are made to remain on for a full day. They tend to last for a long time (like 20-30 years) though you may have to replace the water tube that extends from the bottle to the iron (a $5.00 or so repair).
Pacific also makes a nice model.
The first professional shop I ever worked in had two gravity feed steam irons and, to this day, they are still my favorite iron.
Gravity feed irons usually come with blue de-mineralizing crystals that you put in the bottom of the water bottle. You can forgo the crystals though and simply use distilled water. I wouldn’t necessarily recommend using tap water but I will say that I’ve been putting New York City tap water through my industrial irons for years without issue.
The crystals, on the other hand, have been known to occasionally work themselves into the water feed tube and cause havoc. Just saying.
So what if you want a good steam iron but don’t have room, or the means, to hang a water bottle? The prevailing iron of choice on most wardrobe trucks I’ve worked on is the Rowenta Professional Steam iron.
It provides a strong burst of steam without the assistance of gravity: the iron rest and water reservoir are all in one. It does, though, have the automatic shut off feature which can be annoying when you have an ironing emergency (don’t laugh, it happens!) and you run to the iron only to find it cold as ice.
The Rowenta is also self-cleaning and flushes minerals and the like out so you can use tap water without thinking twice.
The Rowenta is a fairly durable iron but they do wear out if you use them ten hours a day every day for months and months on end. We may have killed about four of them the first season of Boardwalk Empire until we finally bought gravity feed ones.
As for portable, domestic irons, I have an old Rowenta of some kind that I dropped once and inadvertently broke the automatic shut off. It’s the one I drag along with me if I’m just doing a short one or two day job.