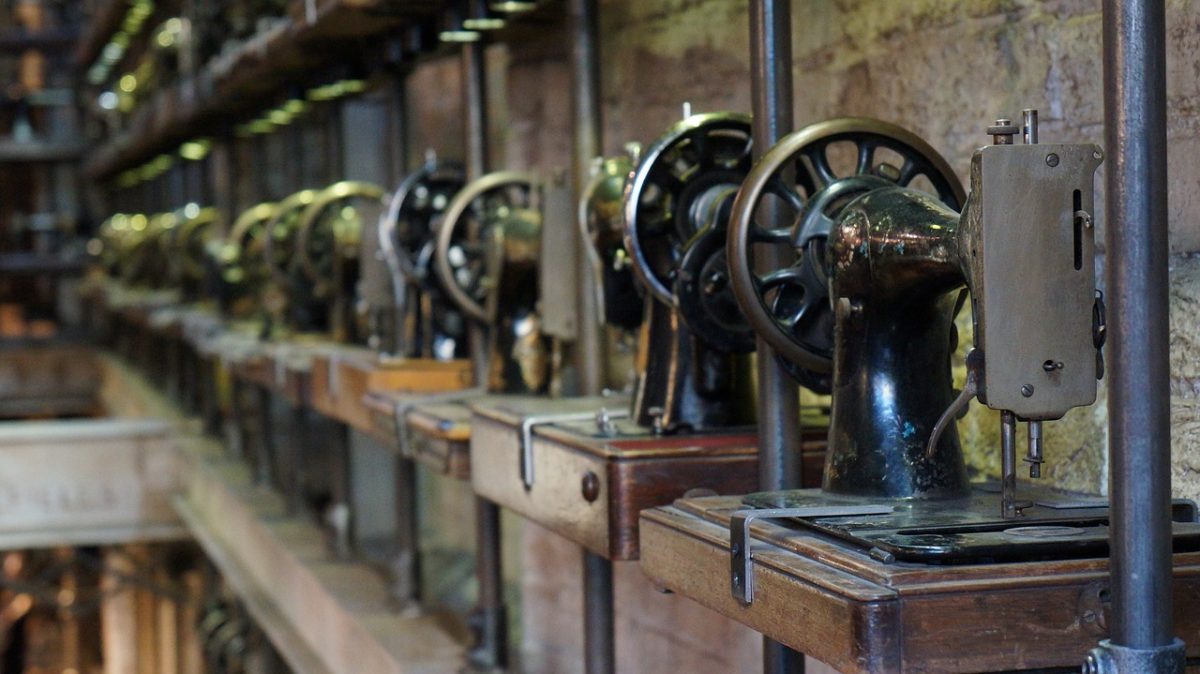
A subjective question, perhaps. In the cycling world, of which I am part, the number of bicycles is defined as x + 1 where x = the number of bikes you currently own. I suppose the same formula could be applied to sewing machine ownership. I’m continually fascinated by the scope and design of new machines and confess that, if I could, I would adopt one of virtually every machine I see.
Everyone I know in the film business owns at least one Bernina. For many, their Bernina is their prime machine, the one they use most often.
As a professional tailor and pattern maker in the film and television industry for about 25 years, I’m always on the lookout for a something that can make my job easier and more efficient. I, as I suspect most tailors do, have a small collection of machines that I consider my ‘go-to’s’, that I can’t imagine doing my job without.
1. Juki High Speed Single Needle Straight Lockstitch Industrial Sewing Machine
I have an old model of this machine, the DDL-555-4. The beauty of this machine is that it only does one thing: sew in a straight line. And it does it exceptionally well. Even my old model is smoother and more sensitive than many domestic machines. Five layers of denim or a single layer of chiffon emerge from the presser foot with no complaint and straight, even, stitches. I rarely even have to adjust the tension. And the Juki is fast. The newer models have a speed adjustment on the motors so if you want to start out a little slower you can.
Check out the current models, the DDL 8700 and the DDL 5550 N and go test drive one if you can. I think you’ll be able to tell right away that it’s a machine that will quickly pay for itself.
2. Brother lightweight Portable Machine
My SC 9500, which is similar to the CS-5055, is the most incredible inexpensive machine I’ve come across in my twenty some years of sewing. Not only is it lightweight enough to put in a tote bag and carry on your shoulder but it also sews like a champ. I use it most often for its pre programmed buttonholes and stretch stitching. In my experience, a lot of domestic machines produce less than ideal buttonholes. The Brother never falters: each buttonhole is perfect and akin in quality to those in manufactured clothing (where they use a machine that does nothing but buttonholes).
3. Bernina
Everyone I know in the film business owns at least one Bernina. For many, their Bernina is their prime machine, the one they use most often. I’ve yet to find a model, or hear of one, that doesn’t work well. I have an old mechanical model, which is still made in the form of a 1008. The advantages of a mechanical sewing machine lie in its durability and ease of use. I keep my old school Bernina mechanical on the wardrobe truck of whatever show I’m currently working on. I’ve had the same one for twenty years and its never ever failed me – despite years of being knocked around and asked to do impossible things like sewing through three layers of glued leather in an inordinate short amount of time.
4. Reliable Blind Hem Machine
A good blind hemmer that doesn’t snag or pull and is easily adjusted for varying fabric weights is essential to my tailoring work. The Reliable is just that, reliable. The setup is easy and the machine, though technically not a portable, does pack up nicely and can be transported to a work site.
5. Serger
There are so very many sergers to choose from. The first question to answer when choosing which one to buy is: what you will mainly be using the machine for? Do you need something to efficiently finish seams? Or will you be sewing entire garments with it? Do you want a machine that also does a cover stitch?
My favorite is the Juki Garnet Line MO-623 1 needle 2/3 thread Serger. The machine is dependable, smooth, easy to thread, and fast. The automatic rolled hem feature is game changing. As opposed to many machines where you need to change the presser foot, with the Juki, you manipulate the fabric with built in fingertip control.


