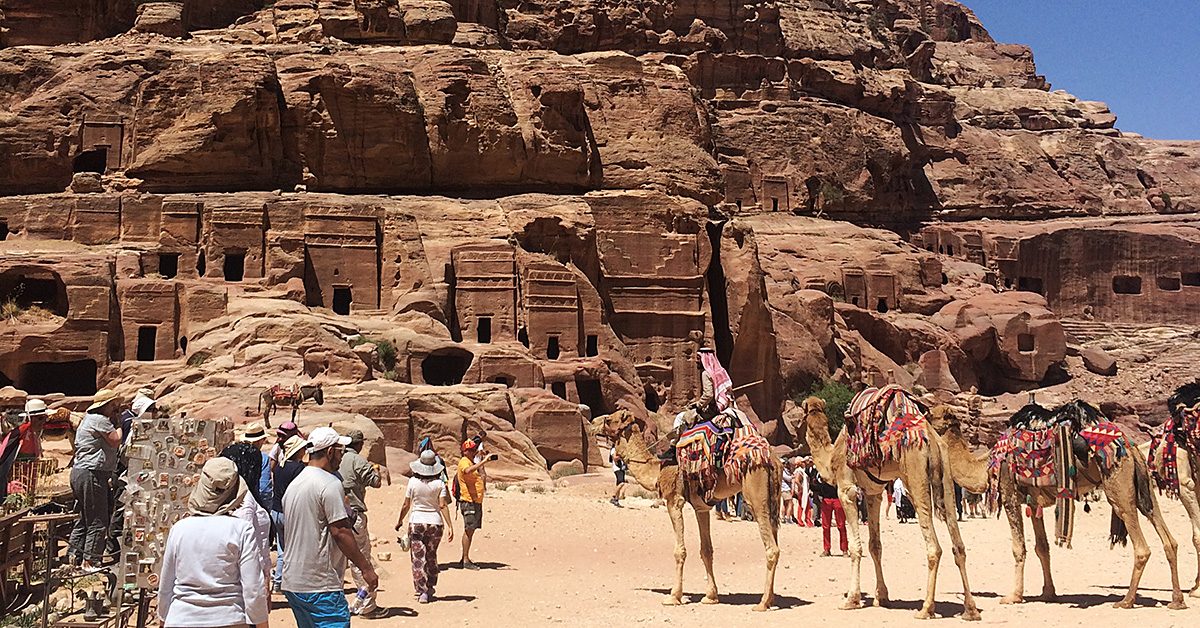
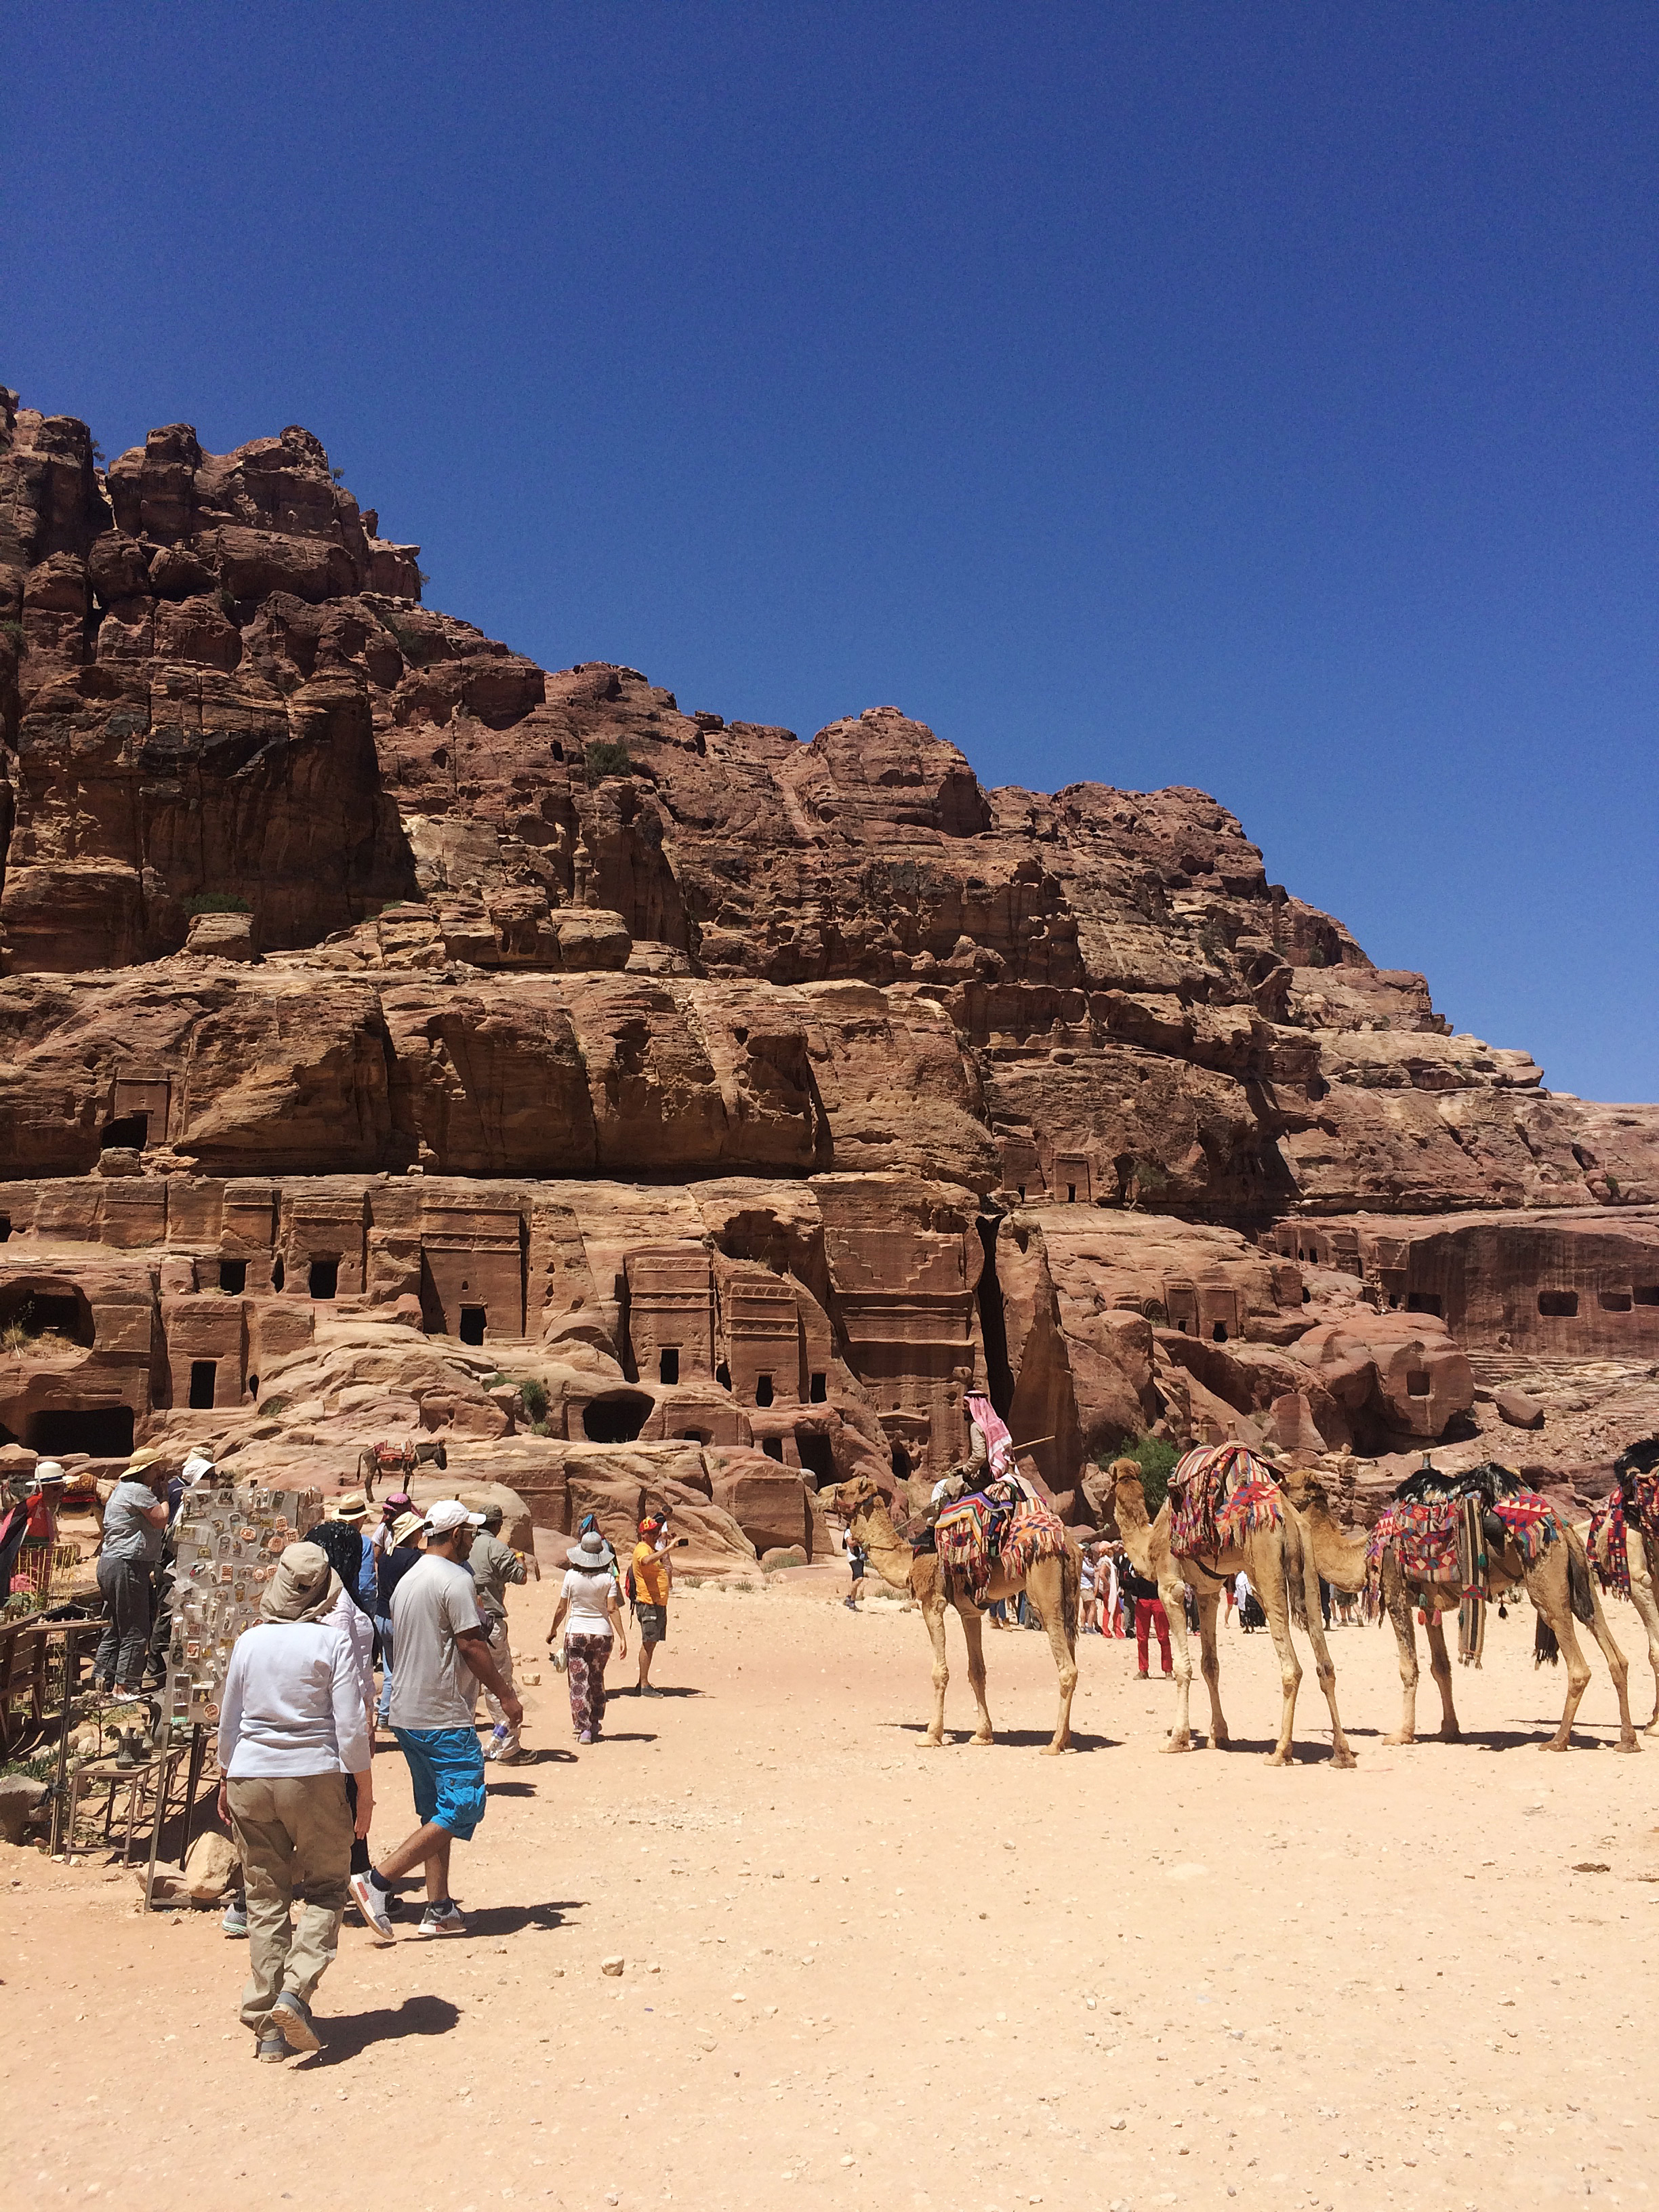
Camel fashion in Petra.
I just spent a week cycling from the Dead Sea in northern Jordan to the Red Sea in the south – spectacular views and a whole bunch of those ‘once in a lifetime’ experiences. Among other things, I spent a day wandering around The Lost City of Petra and a night in the desert in a Bedouin camp. The Bedouin are Arabic speaking nomadic people of the Middle Eastern deserts.
One of the most interesting things I noticed were the beautiful and unique fashion styling the Jordanian men displayed, especially in Petra. In the depths of that city, amongst all the rocks and caves and roman ruins, I saw where Johnny Depp’s Pirates of Penzance look was born.
Many of the young men lined their eyes with a dark substance made from the ash of a burnt tree and mixed with olive oil. As well as having a soothing humidifying affect, the mixture protects the eyes from the sun. It’s really a brilliant concoction. And it makes the lashes look especially luxurious. The camels, as well, were decked out in beautifully colored tapestries. The whole city of Petra was simply stupendous.
Desert fashion
As most cultures who live in a desert climate, Jordanian’s dress in clothing that covers most of the skin. The young men were most often in skinny pants of some kind and flowing tops, sometimes in layers. But the most fascinating and beautiful component of their attire were the creative and intricate ways they wrapped their head scarves – many of them were truly works of art.
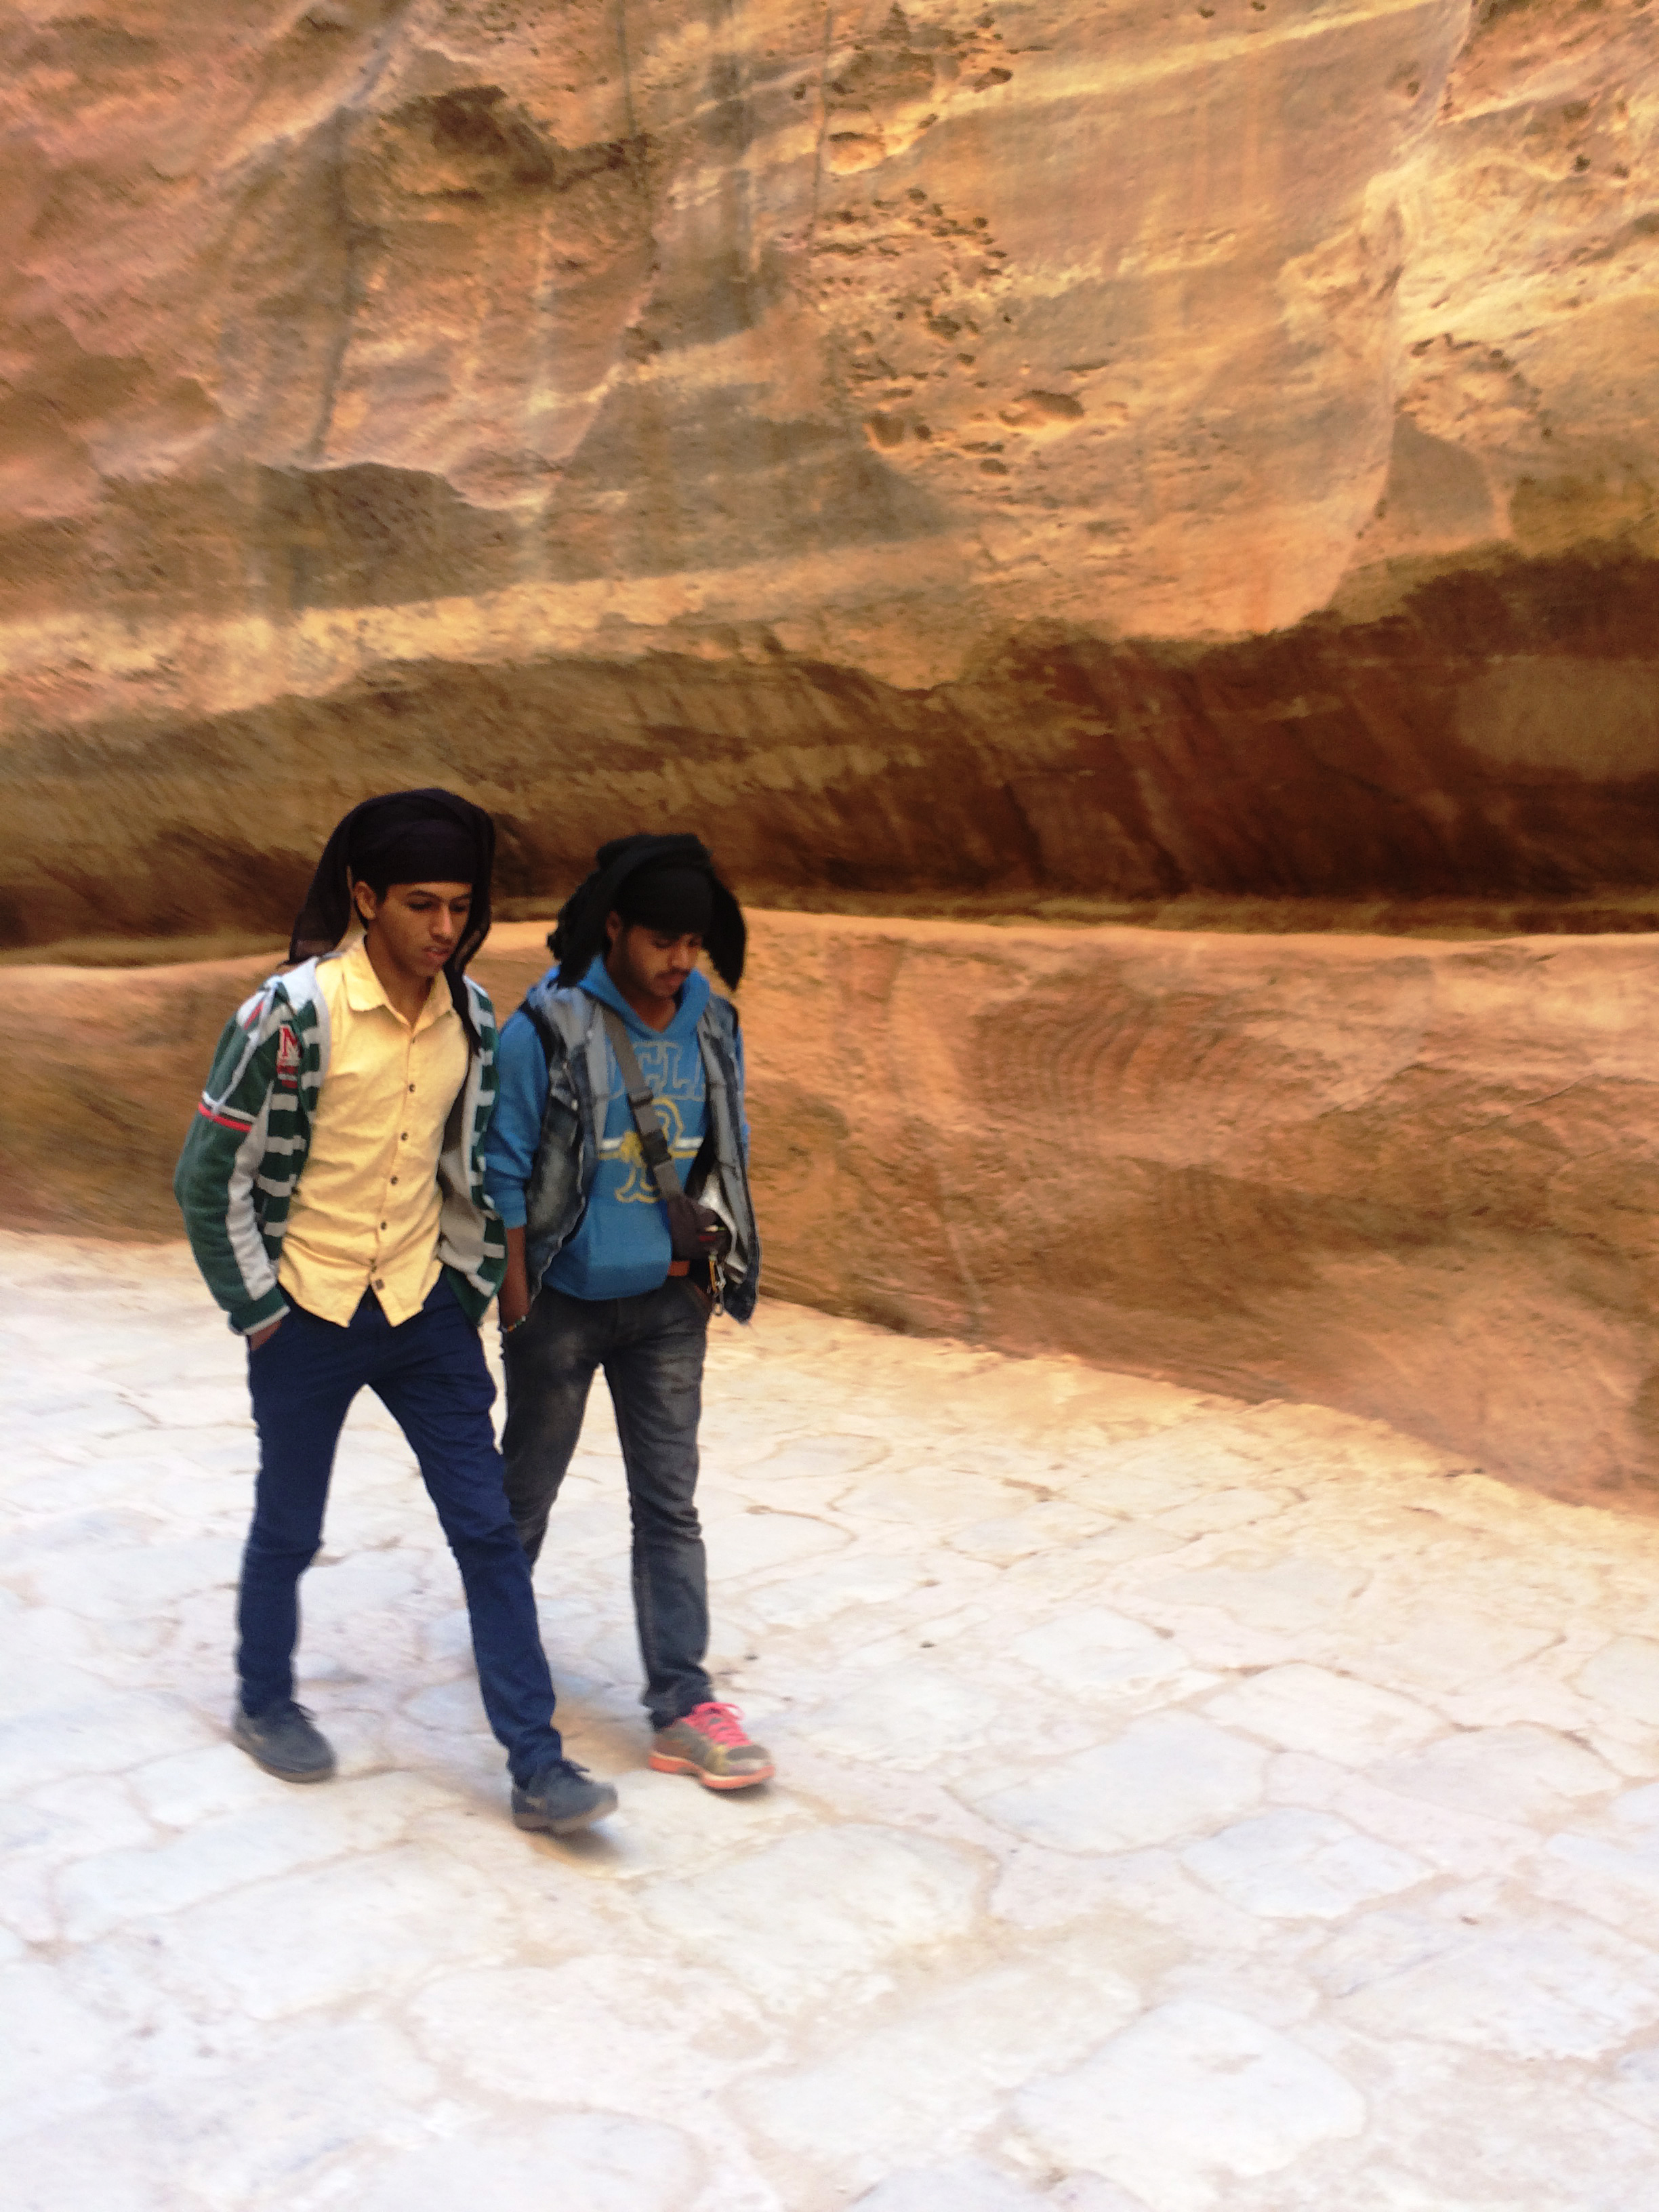
Young men in Petra.
I watched one gentlemen as he wrapped his, twisting and turning and tucking it in a series of complicated moves I couldn’t even hope to follow. When done, the scarf was piled high on his head in twists with two twirling pointed ends hanging down to his shoulders on either side. Some men implemented designs with one cascading side corner, others in the more traditional technique of shielding the back of the neck.
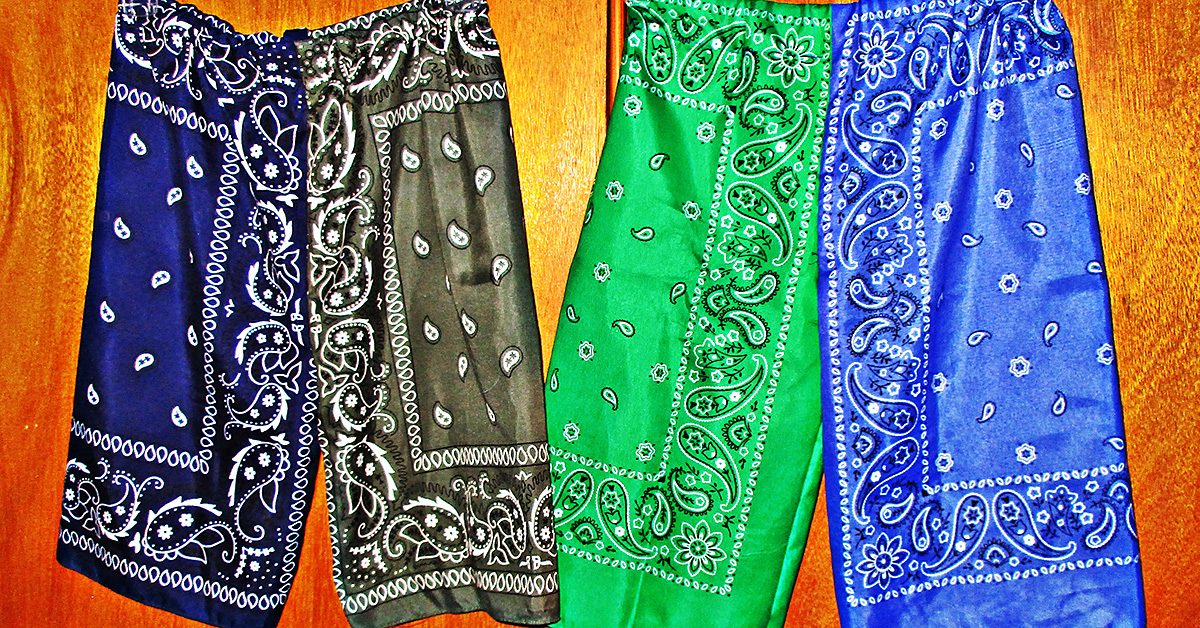
The scarves, or keffiyeh as they are called in the Arab world, were in various colors, though the most prevalent were the ones us westerners are used to seeing – the back and white checkered and red and white checkered varieties. This pattern is thought to have originated from an ancient Mesopotamian representation of fishing nets or ears of grain.
In Jordan, the red and white keffiyeh, also know as a shemagh mhadab, is associated with the country and its heritage. They have decorative cotton or wool tassels on the edges – the bigger the tassels, the greater the garment’s value and the status of it’s wearer.
My cycling guide, Anas, wore a black and white one that he told me was representative of his Arabic heritage. I asked him where to buy a traditional good quality authentic scarf, not one from tourist shop. He told me that downtown Amman was the place to buy them and that they would be cheaper there than in the stores catering to tourists. A scarf like his, with smaller tassels and no border, would cost anywhere from 5.00JD to 10.00JD. A fancier one with a border all around could cost up to 20.00JD. He also told me that men tied the shemagh in different ways for no other reason than how they were feeling that day. I love that.
(Just a note on currency: the Jordanian dinar is a pretty strong currency: 1.00 JD equals about 1.40USD.)
Making friends around the world
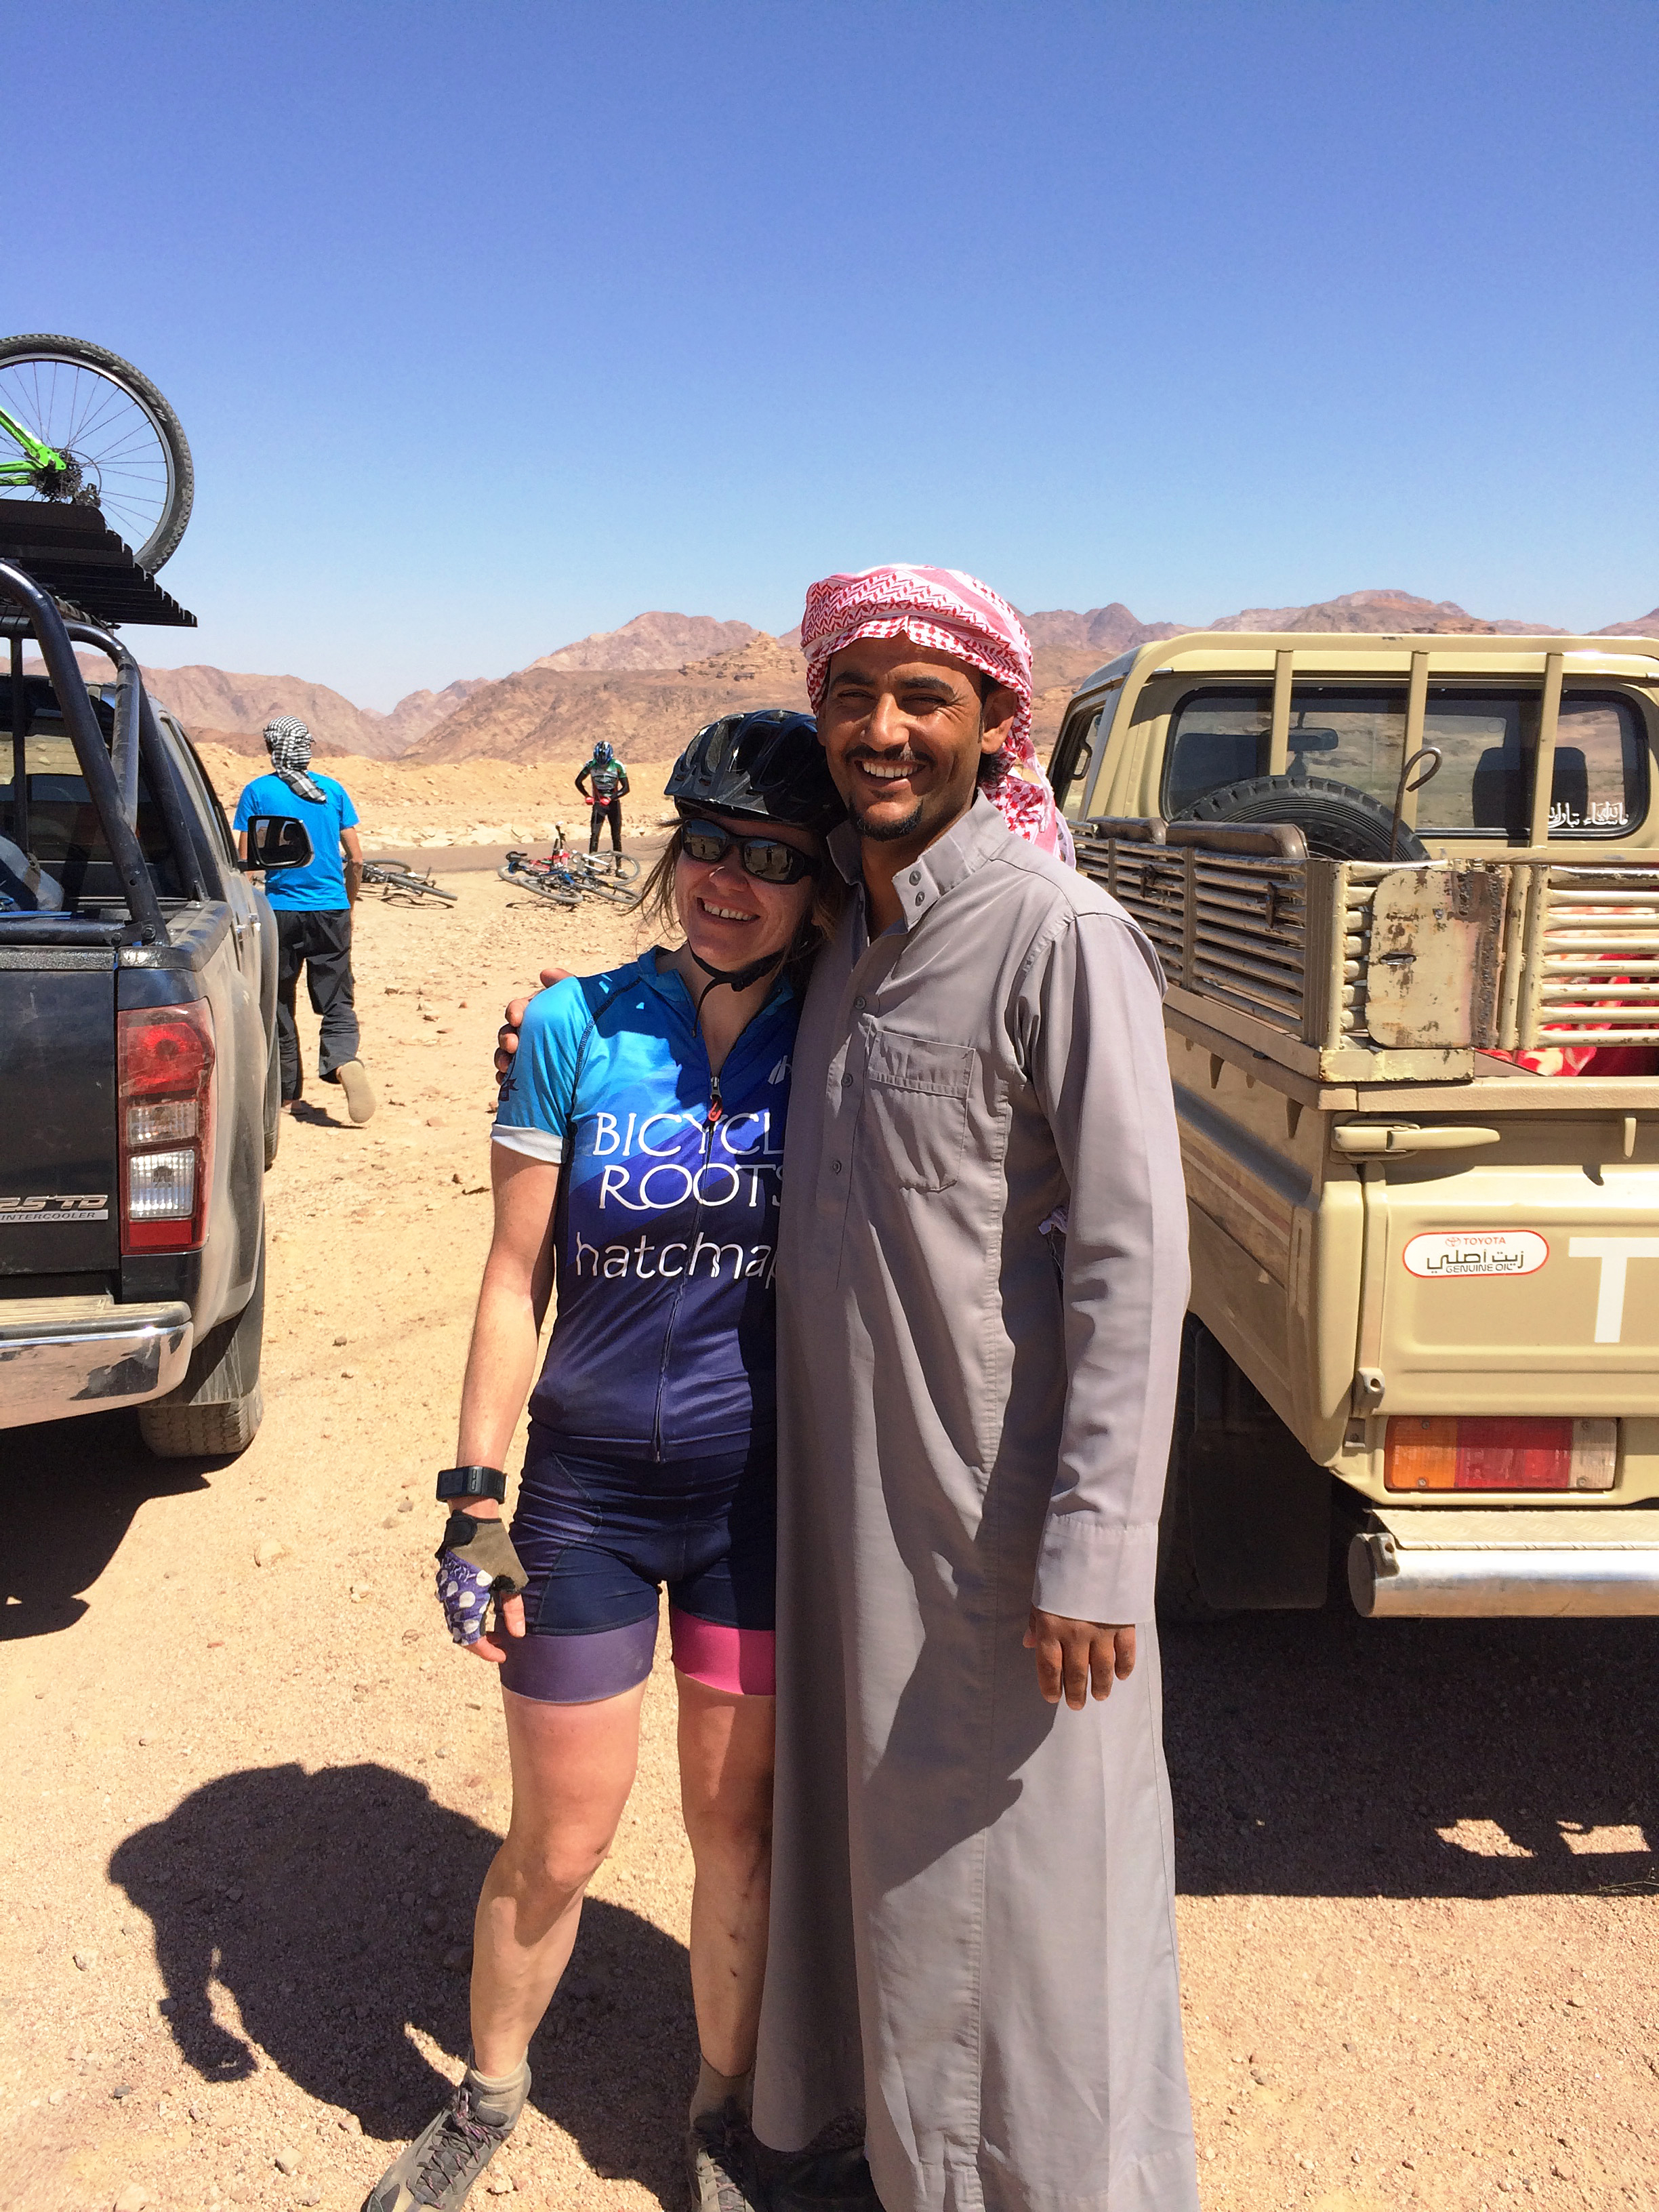
Me with a one of the Beduoin people.
I also loved the long garments worn by the Bedouin. They were most often dressed in light colored pants and a long matching light colored tunic (down to mid calf) with button closures on the front. They all looked extremely well put together. The long dress like tunic is called a thoab and is made of lightweight fabric. Under the thoab, the men normally wear a t-shirt and the long wide leg trousers called a serwal. I love how, though they all basically wear the same garments, there was still so much individual style and personality conveyed through their clothing. I think one of the most fascinating things about fashion is individual expression and how people are able to wear something in a way that allows their personality shine through.
I absolutely loved my time in Jordan. Everyone was extremely welcoming and hospital. Everywhere I went, I was greeted with, “You are welcome in Jordan.” What a truly wonderful thing.
I’m in Egypt now, writing this as I look out over the Red Sea in Dahab (I need a day of relaxing after cycling through Jordan). I know I promised to write about Egyptian textiles and the markets and I will. I’ll be in Cairo tomorrow trying out my bartering skills and will provide a full report next week.
Until then, take care and don’t forget to let your own personal style show through in whatever manner you desire.
Ma’is salama.