One of my regrets in life is that I never majored in art history. Ever since my high school humanities teacher introduced me to the world of architecture, painting, and sculpture, I’ve had a hard time shaking the interest in the subject. Sure, I majored in history, but the focus was more on rulers and wars than painters and art masterpieces. Shame, right?
Art can be a window into society that allows a distinctive look into the world it was created for, and it can be so arbitrary and open to interpretation that two people can garner two completely different meanings from the same piece. Regardless though, it’s still that window, and it’s still a peek into a time past if you look at the most historic works.
This looks familiar!
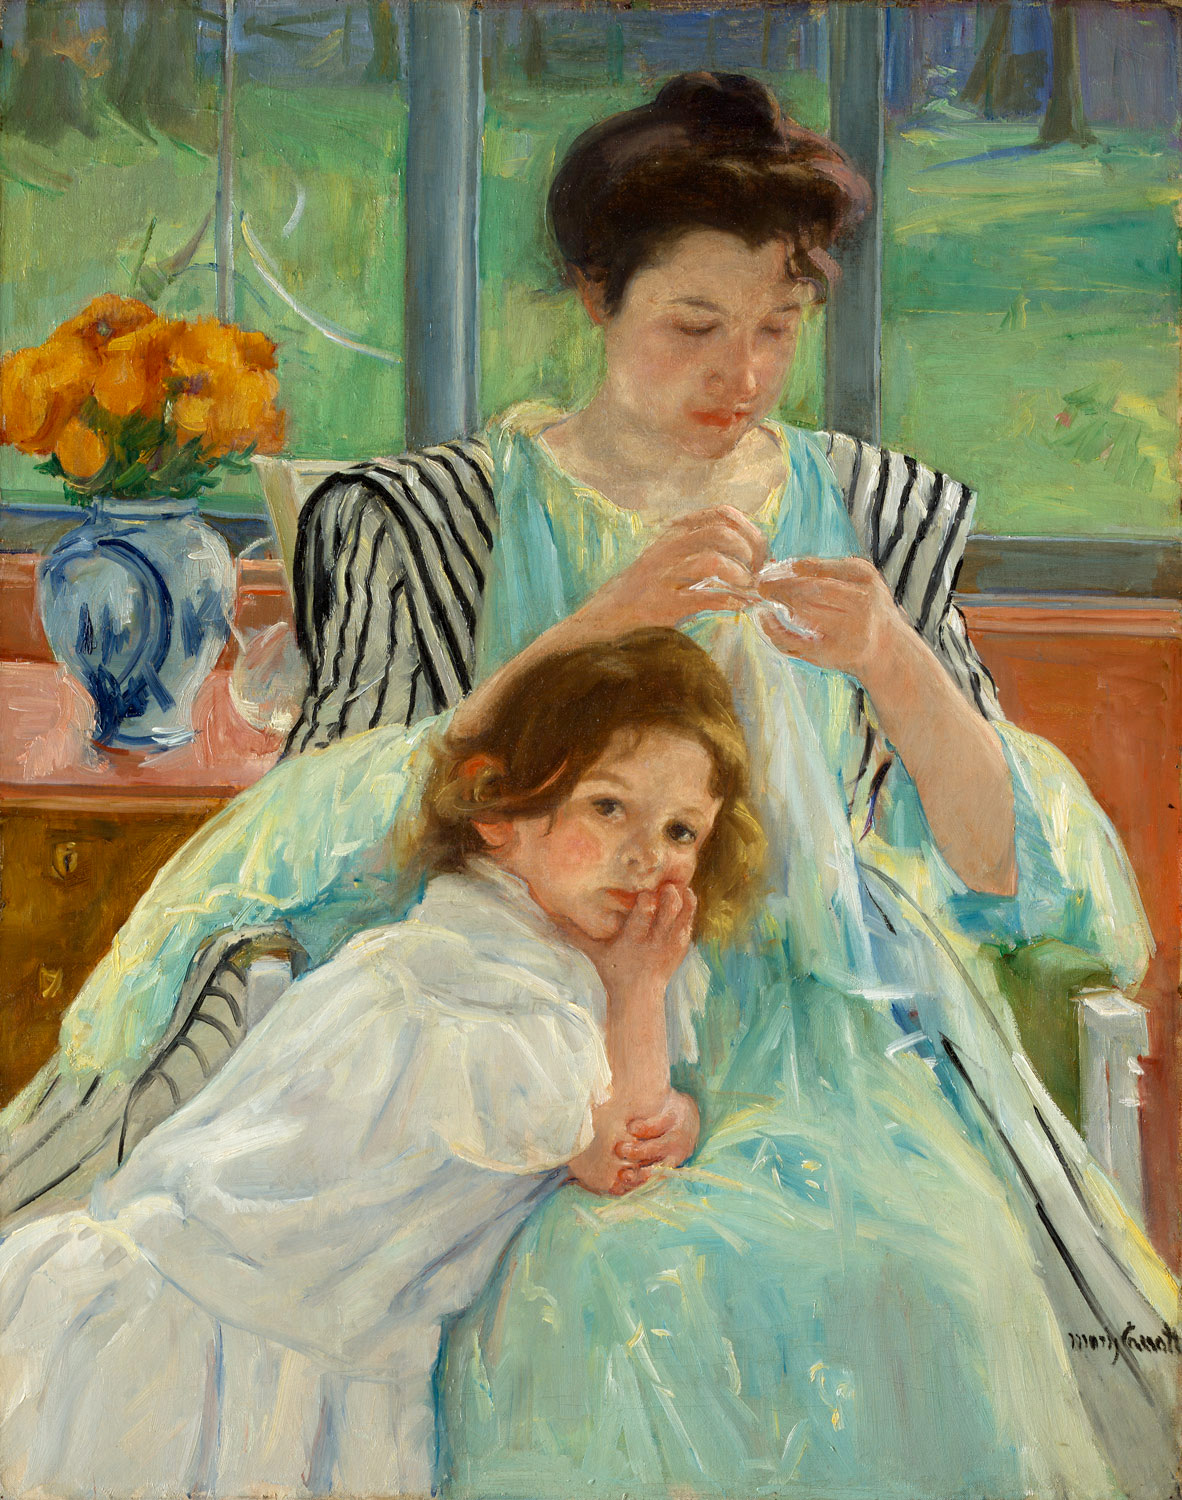
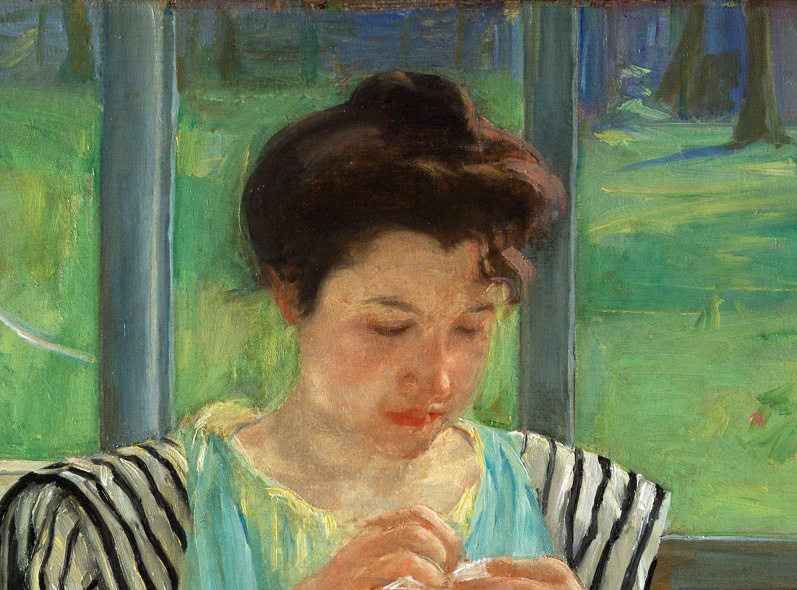
This post’s painting of choice: Mary Cassatt’s Young Mother Sewing.
I hadn’t realized until recently that sewing was such a theme in art from the last centuries. Apparently, painting an image of sewing — which, in itself, can be art — has been a goal in more than one artistic work. This concept intrigues me so much, guys! I’m interested in looking into these works and examining them with an artistic eye and historic mindset. What are the differences in these paintings, and what can be inferred from each concerning sewing in that historic context?
So, you might have guessed, I plan to explore some of these works on this blog! Those explorations won’t be every post since I think more of a mixture of post angles creates for a more engaging set-up, but here and there, look for a sewing-related work of art to surface — complete with analysis and description.
This post’s painting of choice: Mary Cassatt’s Young Mother Sewing
This oil on canvas painting is from 1900, and it’s a part of Cassatt’s exploration of the dynamic between women and children that reportedly began a decade before the completion of this painting. Given that the people in this painting are, in fact, a woman and a child, the connection is clear, but what does the delivery say about the circumstance and, specifically, sewing at the time?
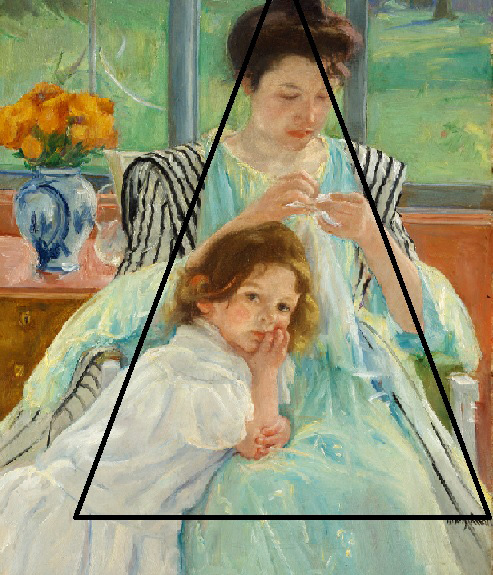
Take a pencil & draw a triangle around the main focal point of the work. That targeted area can draw attention directly to the focal point.
Well, first we can identify what the focal point is for this work, and that’s obviously the woman and child — both, as if they’re actually one object and inseparable. There is literally no part of this child that exists outside of the woman’s space if you include the dress she’s wearing. Attention is drawn directly to the pair because of the composition of the work, which incorporates the pyramid look that has so often surfaced in the art world. With this approach, basically, you could take a pencil and draw a triangle around the main focal point of the work, and that targeted area can draw attention directly to the point the artist wants you to notice.
Because this painting was from a period that explores the woman-and-child relationship, there’s really no surprise in the detail that the woman and child are the focal area. In fact, the overall imagery of the woman and child dominate the painting so strongly that the detail that the woman’s sewing is almost background material within the focal pyramid.
More than meets the eye
Unbalanced section.
So what does this background trait say about the importance of sewing in the work?
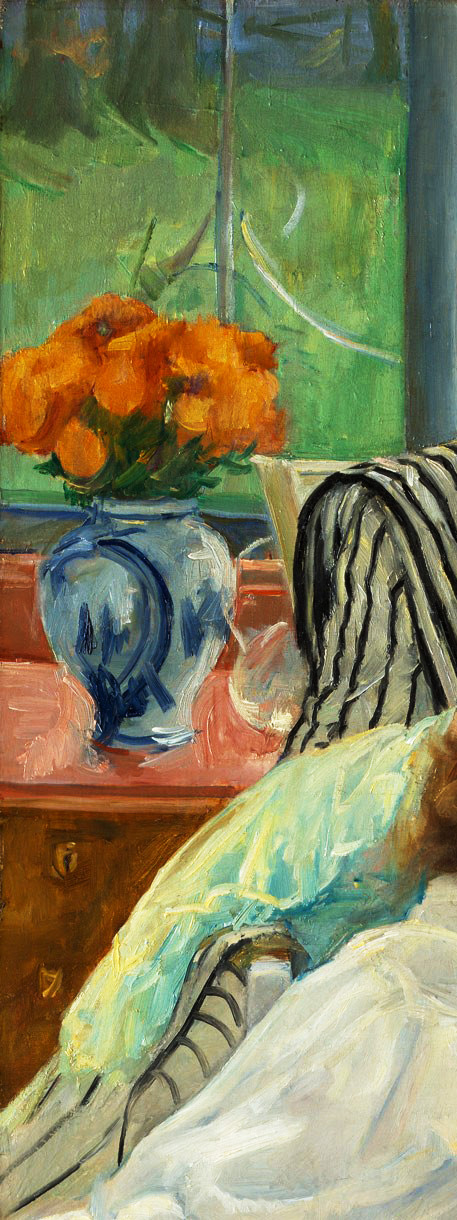
I think it shows sewing as something that was simply a part of the taking-care-of-children theme rather than something that was being done out of love for the pastime, and if you consider the balance of the painting, that theory gains merit. Everything outside of the pyramid is more or less balanced, from the trees outside to the windows, except for the fact that there’s a series of items that show up on the same side of the painting as the child. The table, vase, and flowers are variations of that balance, and they tip the importance scale more in favor of the child — which happens to be away from the sewing.
She’s tunnel-focused on that sewing project as the child leans over her & stares outward.
Hidden messages
Still, even if sewing is only being shown as a means to care for the child, it’s worth noting that the woman doesn’t look unhappy while sewing. Her brow isn’t crinkled in any way that shows frustration, and her lips aren’t overly drooping in a frown. Rather, she’s tunnel-focused on that sewing project as the child leans over her and stares outward. Perhaps then the sewing message to be inferred from this work is that sewing was just another piece of the puzzle, and the woman in the painting is capable of seeing to that task perfectly — and without visible frustration — while still keeping the child as the primary priority.
This would fall in line with the notion that Cassatt was exploring that woman-and-child relationship, and it’s a tactical outlook on sewing that doesn’t include any sort of negative expression from the woman. All in all, it was a part of life for the historic time frame, and the woman is committed to seeing to the task — for the sake of her child, but not with any real disgust for the job.