Envision Your Sewing Goals

Envision Your Sewing Goals

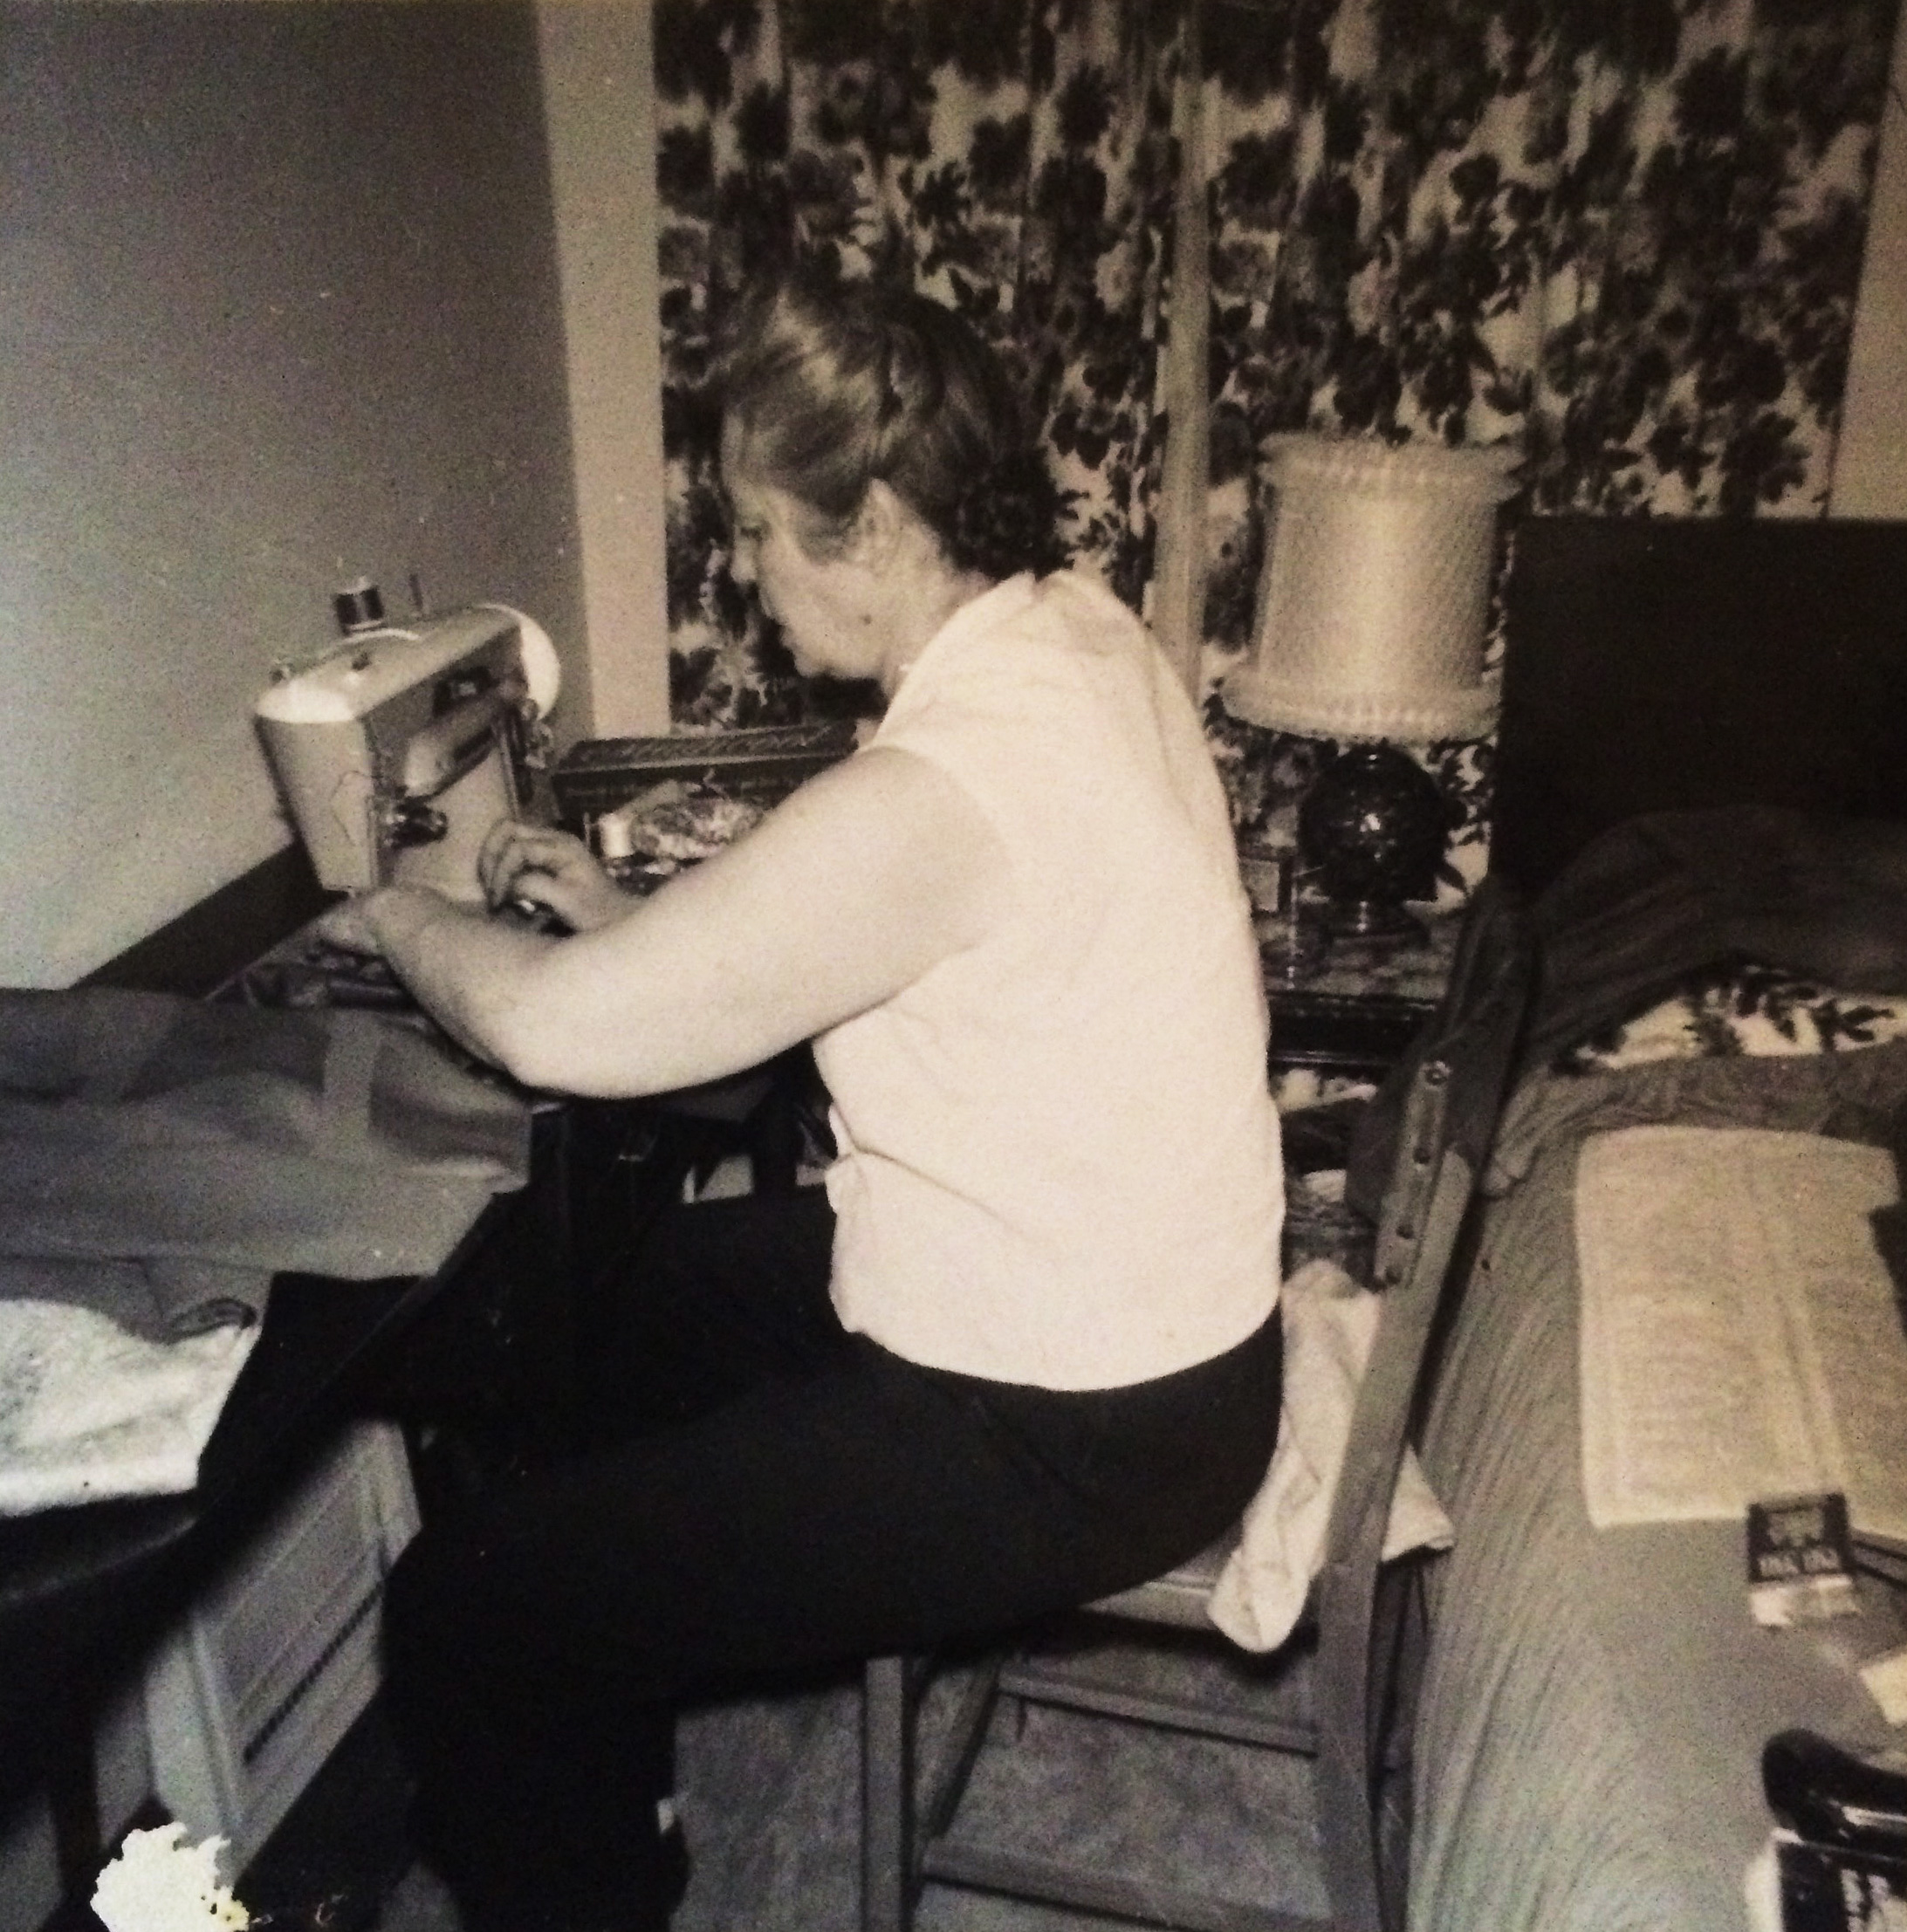
For the first time this year, I made a vision board. If you’re not familiar with the concept, let me explain. A vision board captures the things you want and desire for the upcoming year. They can be serious, silly, fun or anything at all so long as they’re important to you. Making them is fun too! You cut pictures and words from magazines and paste them on your chosen background. You then place the completed vision board somewhere that you can see it daily.

Doing this helps you stay focused on your needs and wants and helps propel your forward.

They Really Work

Here’s a quick story from a friend who put a silly item on her vision board. She loves country music, particularly Keith Urban. While she’s had many cool Urban experiences, including a chance to meet him, she didn’t have his signature. So, one year she decided to put something with his signature on her vision board in hopes that somehow she’d get it in the coming year. She found a picture of a black guitar with his signature online and printed it out.

Later that year, she went to see Keith Urban in concert. As she was entering the venue, she sang for a stranger to enter a contest and win his signature. As a shy person, she’d normally not sing in public. Of the 30,000 people in attendance, my friend won! And it turns out, she won the very guitar she’d put on her vision board – and it was signed to her!

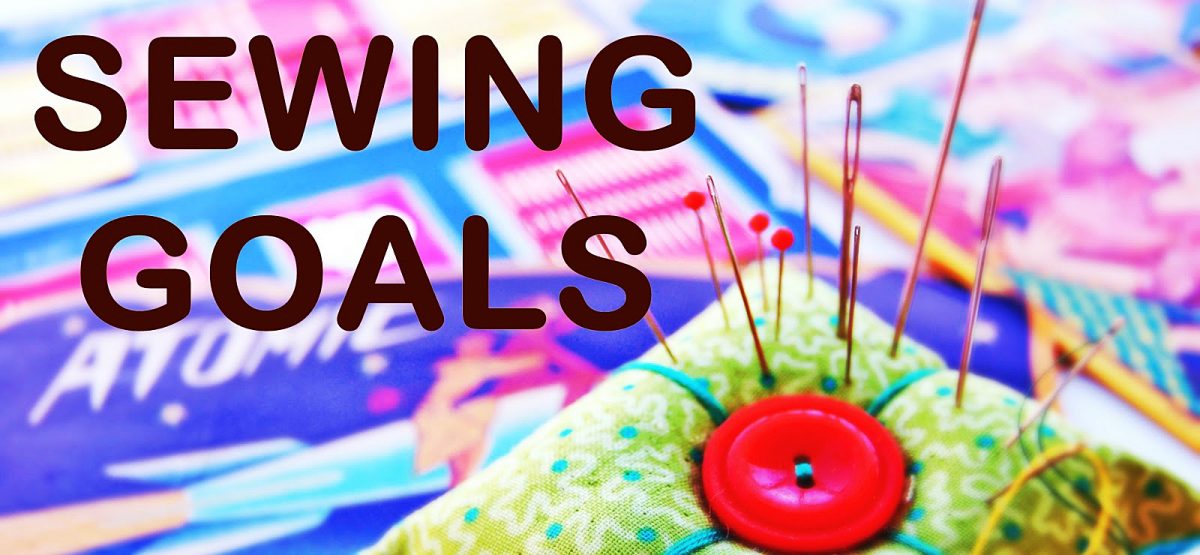
Making a Sewing Vision Board

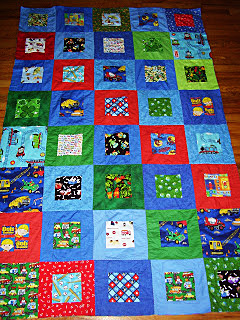
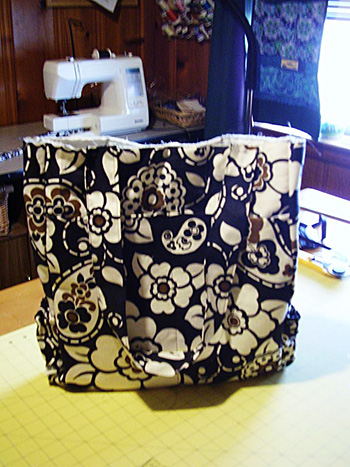
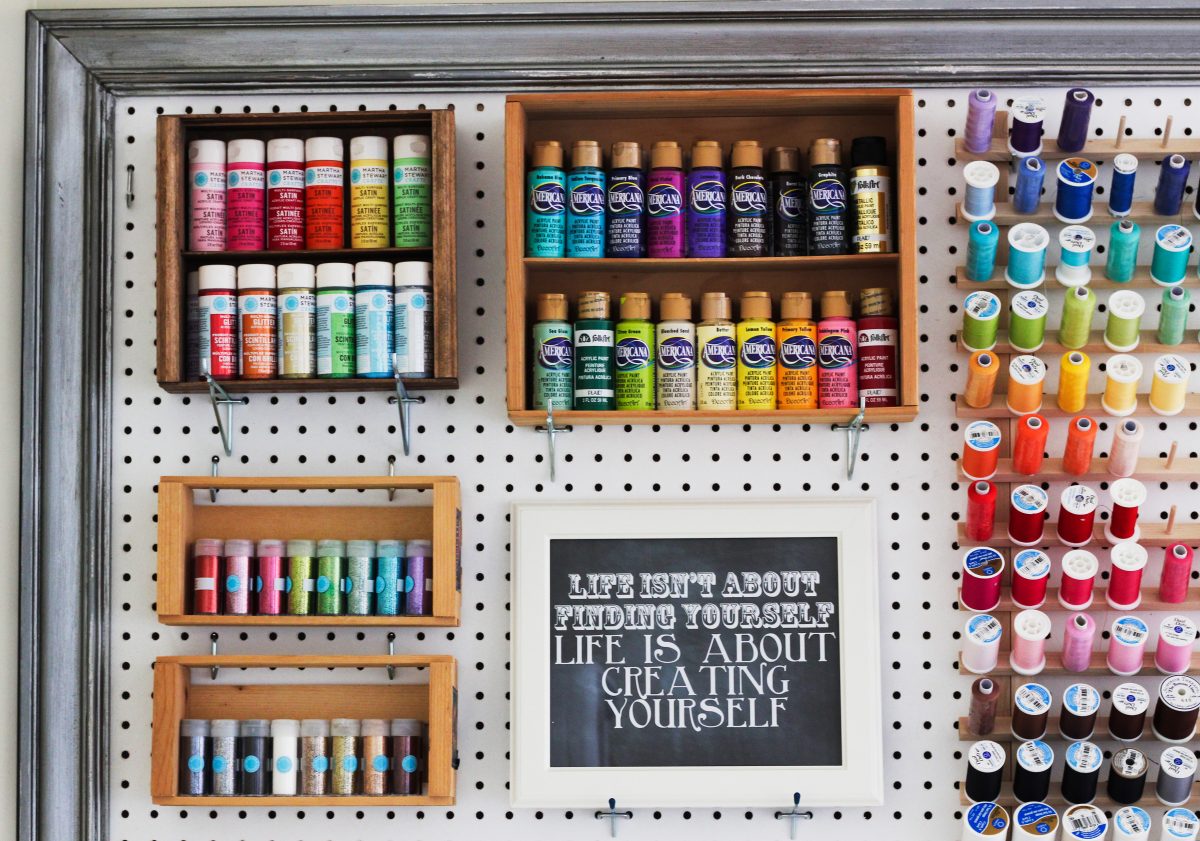
Since it seems vision boards do help manifest goals, even silly ones, I thought it might be fun to make a vision board for sewing goals, wants and needs. Whether it’s a fancy new sewing machine, a certain fabric, completing a particular project or moving your love of sewing from a hobby into a career a vision board may help you get there.

To start, think of all the things you desire with your sewing. Grab your latest sewing related magazines or go buy some and a pair of paper scissors. Find words or pictures that connect with your desires. Even if you’re not sure of the connection, but simply like the way the picture makes you feel, cut that out too. It could be connecting to a subconscious desire.

When you’ve got loads of clippings, have fun dry placing them on your vision board. When you like the layout, glue everything down. Feel free to add to it throughout the year if you come across other items as you peruse new issues of your sewing magazines. Place the completed vision board somewhere you can see it daily. You don’t need to study it in depth, just glance at it and let your subconscious do the rest.

At the end of the year, take a look at your vision board. How many of the items of on it have become reality?

How to See in the Dark

How to See in the Dark

During the course of my career, I’ve had the good fortune to work on quite a few large film productions with some highly recognizable actors and actresses. Film-making is exciting and tedious all at once, both exhilarating and debilitating. It’s not a life choice to venture into lightly – at least not if you require a steady, dependable job and paycheck.

You’ll never work again…

In movie making, and even more so in television, nothing is ever a sure thing. Shows get cancelled or pushed (postponed), people get let go for various, and sometimes odd, political (company) and personal reasons. I, personally, never believe a gig is going to happen until I’m actually there on the first day, filling out the inevitable novel of start paperwork you must complete at the commencement of every single job.

I’ve worked like this for twenty-five years now and I can say only two things for sure. One, explaining to people not in the business, be it your family, friends, or the bank you want a mortgage from, what you do and how you are hired, is never an easy thing. And two, that weird space you enter when you’re between jobs and the phone isn’t ringing and the little voice inside your head whispers you’ll never work again, never gets easier, not really. It doesn’t matter that history has always proven that you will indeed work again; you simply believe, irrationally, that this time is different.

At least that’s how it usually is for me. Yet, at the same time, I can’t imagine doing anything else. I can’t fathom going to the same office every day for thirty years or more and doing the same thing over and over. It’s just not how I’m made. So I take the uncertainty and the freelance roller coaster ride in exchange for getting to do something that, most days, I love.

If you’re thinking of a freelance career in film, television and the theatre, you need to be really honest about whether or not you’re able to live with a heightened amount of insecurity.

I fought, bit, screamed, clawed and scratched my way in. There was no way I was giving up.

Here are a few of the things that I’ve found invaluable and helpful in surviving the freelance life.

1. Tenacity

Be determined. Wholly and truly give it your all. Remain persistent. Things don’t necessarily come easily. I remember a conversation I had long ago with a friend and colleague. We were talking about ‘breaking in’ to the movie business and how we landed our first job on a major film.

“I fought, bit, screamed, clawed and scratched my way in,” my friend said, “There was no way I was giving up.”

2. Resilience

It’s easy to believe in yourself and your talents when other people do. The true feat, though, is to believe in yourself and your abilities when no one else seems to. There will be failures and missteps and things that you wished had turned out differently. That’s all part of the whole thing.

There will, of course, always be that odd, seemingly infinitely lucky individual, who coasts, completely upright, into a successful freelance career with out skinning even one knee. But that’s the exception.

Most of us arrive a bit battered and disheveled with grass stains on our knees and twigs in our hair.

3. Vision

As the extremely successful celebrity stylist (and all around nice guy), Derek Roche has said, Build your own dreams or someone will hire you to build theirs.

 4. Learn how to see in the dark

When the darkness comes (and it will) you have to be able to navigate your way out and through it…

Some of my first theatre jobs were as a backstage dresser during live performances. This involved laundry and maintaining the costumes, as well as, helping the actors get dressed if needed (period things like corsets and garments with multiple back closures) and doing quick changes backstage in the dark.

Many backstage dressers use small bite lights to help them see while performing fast costume changes. I never really did. If you spend enough time in the wings in the dark, you eventually are able to see. I have no idea if this is a scientific fact; I only know that it was true for me. I have no problem finding zipper ends, or a slew of hooks or snaps in the dark.

Darkness, of course, can come in different forms – it can be literal like working backstage or it can be figurative like not being certain what your next move should be or being unable to see the path in front of you. When the darkness comes (and it will) you have to be able to navigate your way out and through it, you have to reach for that zipper and be able to insert one end into the other by feel.

Seeing in the dark is a tricky thing to master. It involves taking all your tenacity, resilience and vision at once and stepping forward, all the while trusting that the ground is indeed beneath your feet – just as it should be.

Sewing Circles for Charity

Sewing Circles for Charity

Many people have items related to charitable donations on their new year’s resolutions list. If you’re one of them, you can use your sewing skills to spend more time with other sewers and achieve your charitable donation goals for the year by having a charity-focused sewing circle. Here’s how to get started.

Get out in your community and find a cause to support.

Pick a charity

Sewing Circles for Charity

Are there local organizations that would appreciate handmade items? Perhaps a shelter would appreciate clothing items or hospital would appreciate baby hats? Animal rescues may appreciate blankets or pet shirts. Get out in your community and find a cause to support! Ask to speak to the director or someone in charge of community relations. Tell them you want to contribute handmade items on a regular basis and see what they can use. Once you find a charitable organization in your community and understand their needs, you can get started planning and promoting your group.

Find a pattern

Once you know what the charity needs, find an easy to make pattern. It should be simple enough for a beginner to make while interesting enough to engage more experienced sewers. Make sure you have numerous copies and bring them with you to each sewing circle so newcomers or anyone who forgot theirs can get a copy without hassle.

Pick a date, time, location

Will this group be in your home? Do you have space for several sewing machines to run simultaneously? If not, you’ll need to find somewhere more suitable. Local libraries, churches or community centers may be able to host your sewing circle. Make a few calls, send a few emails. Most people and organizations rally around good causes so it shouldn’t take long to find a suitable place.

Working with their availability and yours, pick a recurring date for the sewing circle. Once a month is a good frequency. It’s often enough to keep people interested and excited, but not so often as to feel like a burden. Decide what time of day you’d like to meet and get that room booked with your site.

Invite and promote your sewing circle

Facebook and other social media outlets can be a great way to promote your sewing circle. Create a public event and include all the details about the charity as well as meeting time, location, etc. Invite your friends who sew and encourage them to invite others. See if the location hosting your charity sewing circle is willing to promote the event too. Ask the charitable organization if they’re willing to promote it to their members and donors.

Post fliers (with permission) in community centers, craft stores, fabric stores, senior centers, etc. Include an appealing photo or graphic along with the text information to entice people to look at it.

No matter how you promote it, make sure people understand what they need to bring (fabric, sewing machine, etc.) Also, be sure to include contact information as well in case people have questions.

Collect finished projects

As the charity sewing circle meets over the course of several weeks or months, projects will be completed. Collect them and deliver them to the designated charitable organization. Be sure they understand about your sewing circle – they may promote it to their members and donors now that they’ve seen results. Keep doing this on a regular basis and provide any feedback from the charity to group members. This will keep them engaged and motivated to continue donating.

Sewing Bucket List

Sewing Bucket List

Have you made your sewing bucket list yet?

A sewing bucket list is a fun list to make for the New Year, or anytime. I only set one resolution for each New Year, but I invest my list-making enthusiasm into creating a new bucket list of exciting possibilities and things to do each year instead. Here’s my sewing bucket list for this year. Use my categories for your list or just use these to get you thinking of what you want to include on your own sewing bucket list.

52 Project Challenge

This first item could fill a sewing bucket list, as well as help ensure every other item on the list gets checked off. The challenge is to complete a project every week for the year. I have completed this fun challenge several years, but I decided not to do it last year. I missed it, and so I’ll be doing it again this year. Now I recommend you accept this challenge, too; just think how many things we will collectively make if lots of us join in!

Finish UFOs

Are unfinished objects piling up in your project room? I have three quilt tops that need quilting, one of which is an inherited UFO that my husband’s grandmother died before quilting herself. I also have more inherited UFO projects to complete. Hopefully I won’t die anytime soon, but whenever I do, I really do not want to leave any UFOs behind. So I try to stay on top of these, but just now I do have quite a pile to finish before I start too many new projects. What UFOs do you need to complete before another year gets away?

I have quite a pile of UFOs.

I have quite a pile of UFOs.

Use up the Fabric Stash

I decided a couple of years ago to let the fabric live at the store, but I still have too much fabric, including scraps, stashed. I’d really like to use it all up to free up some space and not store so much stash. If I can, I’ll like to complete all my projects using stash fabric and not spend money on fabric when I can avoid it this year. This means I can have fun making scrap quilts and patchwork items. Can you use up or at least halve your fabric stash this year?

Sew wardrobe pieces

Thank you, I made it myself.

Thank you, I made it myself.

Thank you, I made it myself.

For my wardrobe this year, I will like to design several new tops, especially for Spring and Summer, from my husband’s large button downs, which I’ll make over to be more feminine. I’d also like to make a colorful new patchwork maxi skirt for the warm seasons. And I need yoga pants; I’ll like to refashion these from my husband’s large T-shirts. What is your closet lacking? If you haven’t started sewing garments yet, make this the year you do. It makes you feel great to be complimented on your clothes and be able to say, “Thank you, I made it myself.”

Add skills

This goes with the previous bullet point, for me. I’ll like to both increase my pattern-making skills, and work with more patterns. I have collected many more patterns than I have found time to make yet. It is time for me to increase my confidence and skills by tackling more challenging patterns with greater design details. I also want to learn machine embroidery and digitizing. What new skills will most help you? Do you need to learn to make buttonholes or want to learn quilting? Learning these new skills might be the most important entries to add to your sewing bucket list.

Make more quilts

Among the quilt blocks I inherited from my great-great grandmother was one odd square that I want to replicate and build on to create a design I have never seen before. I’ll call it Grandmother’s Garden. I’m also very anxious to start on my first landscape quilt design, which I’ve been thinking about and sketching for a while now. I could make a whole separate sewing bucket list just for quilts I want to make. There are a few traditional patterns that I want to play with as well. But first, I want to make a toddler sized I-Spy quilt for my youngest, to match the twin sized version I designed for his brother. I bet your list of quilts to make is long, too.

A toddler sized I-Spy quilt I want to make for my youngest.

A toddler sized I-Spy quilt I want to make for my youngest.

Christmas in July

Don’t you hate feeling rushed in your Holiday sewing? This year, I want to get a great head start by focusing on Christmas in July. If we do this during both June and July, then we could do craft shows and sell some of our handmade gifts. At the very least, I want to sew quite a few gifts for my giving list, so that I can devote the holidays themselves to festivities and family, rather than risk having any last minute sewing from not being prepared. I’ll like to plan gifts I can handcraft in small batches, and get a Santa’s factory vibe going in my sewing room this Summer, how about you?

Plenty of purses and bags

Santa brought me a beautiful yard of printed duck that I want to turn into a fabulous new tote. I also have been saving a yard of embossed, vegan faux leather for a pretty purse for me. And I need to make myself a new laptop sleeve and a travel case for my ukulele. Purses and bags will be my projects for the 52 project challenge on several different weeks, I bet. I will love to make a new patchwork purse design this year, too. Couldn’t you use a new handbag or two, too?

Purses and bags are my favorite projects to sew, I'll make a few this year.

Purses and bags are my favorite projects to sew, I’ll make a few this year.

Home projects

I need to make new un-paper towels. I won’t buy disposable paper towels or products for my busy kitchen, so we heavily use a lot of kitchen cloth. The unpaper towels that I made have been in use for several years now and are starting to look dingy and worn; replacing these will be one of my first projects for this year. How about sewing for your home, do you need new curtains? FYI, pretty pillowcases are a perfect project for both reducing your fabric stash and also super easy winners for the 52 project challenge on otherwise busy weeks.

New machines

I am perfectly happy with my favorite sewing machine and my mechanical model back-up machine, as well as my serger. But I will sure love to expand my capabilities by adding two new machines. First I want to add a Janome Coverpro coverstitch, and then an embroidery machine, to my lineup. I didn’t think these would be in my budget this year, but Sewing Machines Plus‘ offer of financing and monthly payments has me wondering if I can swing these sooner rather than later. I bet you could do cool stuff with a new machine or two, too; which sweet new baby will you most like to add to your collection?

That’s my sewing bucket list; writing it has me excited about all the fun projects I will make this year. What do you want to sew this year? Will you do the 52 project challenge? Have you made a sewing bucket list of your own yet? If not, I encourage you to start one now.

New Year Resolutions

New Year Resolutions

Where has the time gone? This year is almost over, and has gone by so fast. The last week of the year is my time to regroup, reduce (stuff) and reorganize for the coming year. A fresh start, another chance, a new agenda and personal growth. What a great idea! Moving forward in positive movement to find ways I can inspire people to continue their love of sewing by finding interesting facts and ideas to share. I am EXCITED!!

Take scraps and make a woven rag rug with a wonderful and colorful texture!

Take scraps and make a woven rag rug with a wonderful and colorful texture!

My Plan is the following:

  1. Research textiles and discover ways they are used in various applications in sewing and other art forms. My favorite is mixed media using sewing, quilting, tie dying plain fabric and other ways to create 3D artwork.
  2. Make new curtains for my sewing studio using drapery fabric. Choosing one is the hardest task!
  3. Experiment with different types of sewing feet like the Narrow Hem Foot to make professionally stitched napkins, table cloths and handmade scarves that will make people think you bought them from expensive designers! And some are very expensive!
  4. Use the wide variety of stitches on my machine to create interesting embroidery on quilt squares to piece together to create a scene or story. It is amazing how many things you can do. It may be a great time to upgrade your sewing machine to a designer model next year! Check this website for your choices! Sewingmachinesplus.com is the best place to buy. They offer many great choices!!
  5. Reduce scraps, and pieces of fabric that can be made into a crazy quilt, or used for small projects for a children’s class project. (This is difficult for me because I always think of something I can make from them.
  6. Design fresh ideas for NaturaDomani, my online Etsy Store. I hope to make a difference in the interest of organic fabrics, bamboo, hemp, and other eco-friendly textiles to save trees, water conservation and hazardous working conditions and to preserve beautiful things of Nature.
  7. Find outlets for charitable giving to pay forward Etsy sales and products.
  8. MOST IMPORTANT! Inspire my readers to use your creativity in sewing, and in life, to find happiness in yourself by learning new things and enjoying your achievements. Also, to embrace love and the love of others so that 2017 will become one of your very BEST YEARS!
I find it fun to share my sewing experiences with you as I am building an online presence at Etsy.com. While I sew, I realize that as careful as I stitch, handmade things are never perfect. It’s the challenge and effort that counts.

I find it fun to share my sewing experiences with you as I am building an online presence at Etsy.com. While I sew, I realize that as careful as I stitch, handmade things are never perfect. It’s the challenge and effort that counts.

HAPPY NEW YEAR AND BEST WISHES FOR 2017

Choosing the Right Batting

Choosing the Right Batting

I have definite plans and goals for the new year, and not just the ones that I’ve mentioned in previous posts. I want to take another class. I want take better care of myself. I want to read more. But one thing that I want to do under the sewing umbrella is to finish up the quilt I’ve been working on for a while now. That goal happens to come in steps. Firstly, I need to finish with the patchwork design I have going on (the goal is to have twelve rows of patches) to get this top layer ready for the next two.

The quilt I’ve been working on for a while now.

The quilt I’ve been working on for a while now.

That step, though it’ll take time, is pretty cut and dry. I plan, I pin and I sew.

The steps that follow are the ones that merit consideration beyond those general details — like how I plan to join my quilt sandwich. Do I stitch? Do I tie? Do I spray? Decisions! (Details can be found here).

Hungry? Have a sandwich

Quilt sandwich.

The more immediate topic to debate is what kind of batting I’m going to use for the middle of my quilt sandwich. This will be, by the way, the first time I’ve used batting since I only recently realized that quilts do, in fact, need three layers to fit the official definition, thus the term “quilt sandwich.” Before, I just used the backing and the front, but I want to be more by-the-books for this one! Given that I have little to no experience with batting though, it seemed reasonable to do a bit of research on the matter so that I could make the best decision for me.

Research, I did, and I’ve come to a potential fabric for the job: Cotton.

The fabric of our lives

There are plenty of batting types to choose from.

There are plenty of batting types to choose from.

There are a number of reasons for this choice, and I urge anyone who is going to make a quilt to consider their own purposes and situations when choosing the right batting. While cotton might be a good choice for me, it might not be the best option for another person or another project. There are plenty of batting types to choose from — polyester, wool, blends — and to make the best decision, maybe spend some time looking into the pros and cons of each. You can find details about the possibilities here and here.

So with those other possibilities in mind, why did I choose cotton? There are a number of reasons. For one, it’s cheap. Yes, I know, cheaper isn’t always better, but for a learner on a budget, price can definitely be something worth considering! Remember that this is my first time adding batting, so it would be not-so-good to spend a bigger amount on a batting type just to mess the whole thing up! It’s also worth noting that this quilt will be for personal use, which leads into the reasoning that everything doesn’t have to be top-of-the-line quality like I might strive for if a company name was on the line. It’s for me, it’s my first experience with batting, and I think testing the waters on a smaller money scale is a good idea!

Synthetic but equal

Now, this might make you wonder why I didn’t go with polyester. Simple answer: Itchiness leads to polyester not always being my best friend! This is a personal decision, but the idea is something to keep in mind should you choose to make any kind of sewn product. If you have an allergy or a bad reaction to a certain fabric, keep that in mind so you can steer clear of it!

Choosing the Right Batting

There’s also the issue of loft, or how thick the batting is. Something like wool is high loft, meaning it’s very thick, so a quilt made with wool would be thicker. If you’re a person who gets cold all the time, wool might be your fabric for batting! For me, I want something with a lower loft so that the final product will be thinner. For one thing, I like the size that the first layer of my quilt will be, and I don’t want to shrink it too much by having it cover a thicker middle layer. For another thing, to me, higher loft looks more like a comforter, and I don’t want to go that route with this product.

Cotton is a better choice then, and it’s a fabric that I know is easy to work with on sewing projects. There’s no known itchy detail that I need to worry about, and I can feel comfortable knowing that I’m accustomed to it. I like cotton and — as weird as it might sound — I trust cotton. In addition, the recommended stitching distance for cotton is wider than other fabrics, giving more freedom in that respect.

And all of that, my readers, is a pleasant combination to deal with for my first dive into batting! How about you? Do you have a preferred batting option?

All I Want for Christmas

All I Want for Christmas

There’s not all that much I need these days. Often, I feel as if I have entirely too much stuff. A year and half ago, I bought my apartment in New York City moved from Brooklyn (where I had lived for fifteen) up to Harlem.

There’s not all that much I need these days.

There’s not all that much I need these days.

I had accumulated a lot of stuff in those fifteen years and almost half of it seemed to be sewing related. This wasn’t even counting the storage space I had. Storage spaces are quite common in NYC as the apartments are notoriously small and no one ever seems to have enough room to keep all their stuff.

I literally had more fabric than I could ever, ever, use in my lifetime.

I literally had more fabric than I could ever, ever, use in my lifetime.

It’s not a problem

I decide that instead of moving all of my stuff, I was gong to get rid of some of it and I was going to empty my storage space so that everything I owned actually fit in one 800 square foot apartment.

I managed to get everything I owned to fit in one 800 square foot apartment.

I managed to get everything I owned to fit in one 800 square foot apartment.

It took some doing but I managed to accomplish this task. The biggest challenge was figuring out what to do with all the sewing related things. I really didn’t need fifteen pairs of scissors, four bins of bias tape, an entire box of rick rack and eight foot by ten foot cubicle packed to the ceiling with box after box of fabric.

Good places to donate fabric to are universities or schools with arts’ programs or assisted living homes.

Of course, I kept some things. I do, after all, possess that fabric-hoarding tendency that most tailors and pattern makers do. But I literally had more fabric than I could ever, ever, use in my lifetime – even if all I did for the next thirty years was sit in my apartment and make things. I kept the truly special stuff, the pieces that I might never be able to find (or afford) again. But the bulk of it I donated.

Giving back

Good places to donate fabric to are universities or schools with arts’ programs or assisted living homes. Even some prisons accept fabric donations.

One of the best organizations like this in New York City is Material For the Arts. They accept unneeded items from businesses and individuals, and make the donations available for free to nonprofit organizations with arts programming, government agencies and public schools. If you have a large donation (like an entire SUV full), call ahead to schedule a time to drop off.

Some other places that accept fabric donations are GrowNYC and Quilts of Valor.

The Humane Society and the ASPCA will take linens and clothing for bedding and bathing animals – especially towels.

GrowNYC used to take bags of fabric scraps of any size (that’s where most of the small scraps from Boardwalk Empire ended up) but their website now says they only want large usable pieces.

Quilts for Valor makes quilts for service members and will take most remnants as long as they are clean and free from oil stains & the like.

A few companies that offer take back and reuse options are:

  • Design Tex can provide ship-to information for recycling or reclamation of many of their upholstery, panel and drapery fabrics.
  • The Nike Reuse-A-Shoe Program recycles the rubber, foam and fabric from any brand of used sneakers into padded flooring.
  • The Patagonia Common Threads Garment Recycling Program recycles Polartec fleece, Patagonia organic t-shirts and Capilene Performance Baselayers into new Patagonia clothing.

If you’re doing some clearing out of your fabric stash this season, there are lots of opportunities to send your unwanted textiles somewhere they’ll be wanted. Please donate.

I do have to confess though, that there is one sewing related thing I’m hoping to purchase in the next year: A Juki MF 7923 Coverstitch Machine.

I figure I’ve donated just about enough fabric and other supplies to make room for a new machine.

And so the cycle continues 🙂

Sewing for the Non-Sewer

Sewing for the Non-Sewer

Sewing seems like something that requires loads of skills and creativity. Often, that’s the case, but it doesn’t have to be. In fact, you can dip your toes in the sewing pool without even owning a sewing machine. You will need a needle and thread though, so add those to your shopping list!

Sewing for the Non-Sewer

Start Small

Making a shirt or skirt can be really overwhelming for someone who thinks they can’t sew. Instead of starting with something that big, do something smaller and less complicated with more instant gratification. For example, a fabric credit card holder or wallet. Simply choose a fabric remnant you like (ask the fabric store clerk to show you where those are) and purchase a spool of thread that coordinates with it. And don’t forget the needles!

Credit Card Holder or Wallet

At home, grab a credit card from your existing wallet. Unfold the fabric remnant and place it right side down on your work surface. A kitchen or dining room table works well. With a pencil or machine washable pen, trace the credit card then flip it so that the long side abuts where the trace mark now lies and trace it again. Using a ruler, draw a line around the full tracing to encompass the double size of the credit card about one inch from the trace line. This becomes the line you will cut on.

It may take a few tries to get this right.

If you’ve got fabric scissors, use those. If not, use the sharpest pair you’ve got in the house. Carefully cut around the outer line. Placing the right side of the fabric together, fold the fabric in half along the line where you abutted the two credit cards and iron it flat. This will help you hold and sew it evenly without needing pins.

Cut a length of thread you’re comfortable working with from the spool you purchased. To easily tie a knot on one end, lick your index finger and wrap the thread around it two or three times. Using the opposite hand, roll and slide the thread off your finger and pull the knot tight. It may take a few tries to get this right. Take the other end and thread it through the eye of the needle. It helps to wet the thread to form a point. This can be tricky even for the most skilled sewers, so stick with it if it doesn’t work right away.

Now that you’ve got the needle and thread situated, sew the two short sides of the wallet between the cut edge and the line from when you traced the cards. When you’ve reached the end of the seam, tie down the end by feeding the needle under a stitch and through the loop that creates. Pull it tight. The open long side will become the opening. First, fold down the edge halfway between the trace line and the cut edge. Again, iron flat so you won’t need pins. Sew those edges down making sure to leave the opening accessible and tie.

Finally, turn it right side out and put your credit cards inside. DONE! You just made your first sewing project. You can consider yourself a sewer and move on to machine projects!

The Scraps of Christmas

The Scraps of Christmas

It’s officially Christmas week, guys! The day is just around the corner, and soon we’ll be heading into a less twinkle-lit world. Until then though, there’s still time to revel in the holiday for one more blog post! For this particular one, how about we go with a nice wrap-up idea?

You see, I’ve covered a tree skirt, ornaments, and homemade gifts, but if you chose to go all of those routes, you potentially would have collected a series of Christmas fabrics. Each project could have its own material, so there might be quite the variety. Another decent assumption would be that you didn’t have just enough material for all projects, so you could easily have scraps of Christmas fabric left over from your handmade-Christmas-extravaganza.

The Scraps of Christmas

Sure, you could stash it away for future use, but if you keep every scrap of material you ever come across, you’re treading on fabric-hoarder territory! There’s nothing wrong with keeping the pieces that would reasonably be user-friendly in the future, but I’m talking about the small bits that won’t be much use without other smaller parts to make something happen, or for a small enough project.

So, maybe this post will help keep that fabric stash a little smaller and farther from hoarder territory by answering one simple question: What projects can you do with those small parts of leftover Christmas fabric?

Answer: Plenty, and I plan to take you through a number of those options!

Possibility #1: Make a banner

This is such a simple option, but it can add a classy touch to your Christmas decorations. All you need to do is pick a shape for your fabric, cut the scraps in that shape, make sure those hems are smooth, and link them together—maybe with some ribbon or yarn. If you’re feeling particular, you can make sure that each of those shapes is two-sided by sewing two pieces together—maybe spice things up by using more than one fabric for the cause. With that method, you could have (as an example) a bell-shaped addition to your banner that has Rudolph on one side and Frosty on the other! If you’re good at embroidery, use enough shapes to embroider a message across. You could even do this laundry-line idea if you had the right fabric! The options on this idea alone are numerous!

The options on this idea alone are numerous!

The options on this idea alone are numerous!

Possibility #2: Make fabric garland

This is like the banner, but requires strips of fabric tied instead of differently shaped pieces embellished and sewn. I mean, sure, you could add gems and such, but the draping quality of the fabric is kind of its distinctive factor, which doesn’t leave a whole lot of room for the Merry Christmas message! Still, this is a simple, elegant idea that could add a touch of holiday cheer to your house by hanging from your mantel. And, as is the main idea of the post, it’s a great way to use that extra Christmas fabric you might have once you finish your holiday sewing projects!

This is like the banner, but requires strips of fabric tied instead of differently shaped pieces embellished and sewn.

This is like the banner, but requires strips of fabric tied instead of differently shaped pieces embellished and sewn.

Possibility #3: Make a Christmas tote

While you might not have enough material to make the entire tote in one style (then again, maybe you will!), you could create a patchwork look for a homemade Christmas tote! You can find patterns for totes here, and Sewing Machines Plus offers free patterns for bags as well. Can you imagine a patched-up Christmas tote in this design! I would definitely carry one of those!

I would definitely carry one of those!

I would definitely carry one of those!

Possibility #4: Make fabric bookmarks

Call me a literature nerd, but how awesome would it be to give someone a copy of A Christmas Carol with a hand-sewn bookmark to go along with it? In fact, this could be a thing you do next year — give out holiday classics with hand-sewn bookmarks in Christmas fabrics! These projects are small, and who knows how many you could make in one day? And they require little fabric, which is the theme of this post! Whether it’s to hold your place for your own holiday reading or for small gift-gestures to let someone know you’re thinking of them, these creations could bring a festive touch to a book-and-hot-chocolate December time!

Call me a literature nerd, but how awesome would it be to give someone a copy of A Christmas Carol with a hand-sewn bookmark to go along with it?

Call me a literature nerd, but how awesome would it be to give someone a copy of A Christmas Carol with a hand-sewn bookmark to go along with it?

Possibility #5: Make a keychain

Since childhood, I’ve had an interest in keychains. I don’t know why, but it’s true just the same. So, why not take a bit of that excess material and make a one-of-a-kind keychain? Keyrings don’t have to be expensive, and it’s possible that everything else you’d need you could find around your house—maybe even down to buttons like what you see in the picture. Given the teeny-tiny-ness of keychains, this craft would be a good way to use some of that excess fabric! You can find this possibility (and #5) here!

Given the teeny-tiny-ness of keychains, this craft would be a good way to use some of that excess fabric!

Given the teeny-tiny-ness of keychains, this craft would be a good way to use some of that excess fabric!

So, the moral of the story is that you don’t have to be a Christmas-fabric hoarder after your holiday sewing! There are plenty of avenues to expend some of that scrap material!

We Can Be Heroes

We Can Be Heroes

Growing up, my Mom had one of those metal Singer sewing machines that lived in a cabinet, the kind that folded in on itself where the machine dropped down underneath so that when not in use, the whole shebang was just an unassuming small wooden table.

That’s the machine I learned how to sew on, downstairs in the basement laundry room of my parent’s ranch style house in rural Ohio. Shoved against a wall right next to the furnace closet that, somehow, also contained the laundry shoot, there was barely room for the machine table. When you unfolded the top, it blocked the doorway. Clothes lines stretched across the ceiling of the room and the air space above the sewing machine was most often occupied by my father’s button down dress shirts either waiting to be ironed or just fresh off the board. I would bend over the machine with only its tiny little internal light to see by, trying to keep my stitches straight while the sleeves of my father’s shirts brushed against the top of my head.

Oldie but a goodie

It’s a wonder I ever completed a garment. But somehow I did. I constructed quite a few. Sometimes, I think that those early years of sewing with inadequate lighting next to a furnace room in the basement among men’s dress shirts perfectly prepared me for a career as a film and television tailor. If you can sew on a tiny table wedged into a rack of clothes on the back of a wardrobe truck and still create a well fitting and properly constructed garment while six different people ask you how long its going to take, you are well suited to be a film tailor. Cut out a perfect circle skirt with no pattern in five minutes or less on the tailgate of the same truck, and you will likely be a hero – at least for that day.

Tradition

Growing up, my Mom had one of those metal Singer sewing machines that lived in a cabinet, the kind that folded in on itself where the machine dropped down underneath so that when not in use, the whole shebang was just an unassuming small wooden table.My maternal Grandmother, my Nana, also sewed a lot. She had a whole room allotted for sewing, though it also held a bed and dresser. She sewed in the narrow space between the bed and the wall, only able to push her chair out so far. There are quite a few pictures of her at the machine. She made dresses for my Mom when she was a girl and later, jumpers and pants for me. She had a Singer 401 – the tan and cream model, the kind with the decorative stitch black cams that you insert into the top. The cabinet is long gone, but I still have the machine.

At that time in history, when I was young and my mom was young, the 1940s through the 1970s, sewing machines were common in most households. A lot of those machines were lodged into corners and narrow pathways. People laid their patterns out on wood floors, or the dining room table, or even the bed. Prom dresses and bridal gowns and Sunday bests were created in small, dimly lit spaces across the world by women and girls and boys (yes even boys), all of them heroes.

What about you?

Do you have a young person in your life who has discovered the joy of creation and sewing? If so, perhaps this might be the year to get them their very own machine – if you haven’t yet.

I’ve written before about the wonderful lightweight affordable machines Brother makes like the CS-5055 and the PC-210.

Either of these machines would make an excellent gift for that young dressmaker and tailor in your life. They are the perfect size to jockey into an unused corner with no light and launch the next generation of resilient, adaptable and creative sewers.