Types of Pillow Closures

Types of Pillow Closures

There are several methods of finishing the back, or ends of a pillow, depending on what kind of cover you are making.

There are several methods of finishing the back, or ends of a pillow, depending on what kind of cover you are making.

Sewing your own pillow covers is a quick way to bring a personal touch to your home. There are several methods of finishing the back, or ends of a pillow, depending on what kind of cover you are making. Knowing the best way to close a pillow can mean the difference between a project that looks just okay to a project that looks professionally magnificent.

Envelope closure.

Envelope closure.

1. Envelope Closure

An envelope close looks just like it sounds. Your pillow backing will have two panels of fabric that overlap, leaving an envelope style closure in which you slip your pillow form.

You can also embellish envelope closes with ties and buttons to add interest and whimsy.

You can also embellish envelope closes with ties and buttons to add interest and whimsy.

This style is excellent if you aren’t ready to take on zippers, if you know you will frequently be washing the cover, or you want to use a method that is quick and still looks beautiful. You can also embellish envelope closes with ties and buttons to add interest and whimsy.

Zipper closure.

Zipper closure.

2. Zipper Closure

With a zipper close you can either finish your cover with an invisible zipper or use an exposed zipper. I like to use zippers for pillows that are not standard sizes, like this custom Ghostbuster pillow I made for a friend’s son.


Zippers are especially well suited for large pillows like these floor cushions.

Zippers are especially well suited for large pillows like these floor cushions.

Zippers are especially well suited for large pillows like these floor cushions.

3. Drawstring Closure


Drawstring closures are common on tube pillows. There is nothing tricky about a drawstring close on a pillowcase. If you have made a pair of pajama pants or a tote bag with a drawstring close, you can create a pillowcase that closes the same.

4. Pillowcases for bedding – to add a hidden flap or not?


A pillowcase for bedding classically closes one of two ways. The first is with an open end. If you go this route, make sure to allow for enough room at the end to fully cover the inner pillow form.

A second option is to add a hidden flap on the open end.

A second option is to add a hidden flap on the open end.

A second option is to add a hidden flap on the open end. This flap allows you to tuck the pillow form inside and keep it from showing.

This flap allows you to tuck the pillow form inside and keep it from showing.

This flap allows you to tuck the pillow form inside and keep it from showing.

Do you have a favorite method for pillow case closures? I think my favorite may be drawstring but envelope comes a close second. Tell us yours!

Charlotte Kaufman is a writer and sewist in Mammoth Lakes, California. She specializes in marine and home interiors and continues to fall more and more in love with quilting. You can follow her at charlottekaufman.com.
Costume Shops I Have Known

Costume Shops I Have Known

I’ve worked in a variety of costume and tailor shops over the past twenty-five years – some of them very permanent spaces, others makeshift and temporary. Some of them have been hellholes, some of them heavenly, and most of them somewhere in between.

One of the worst “shops” I’ve worked in actually happened this past summer. I was working on a new period Netflix show that was going to be filming for a few weeks in Savannah, GA. Now, Savannah itself is a very lovely city with a beautiful historical district, a properly chilling Ghost Tour and interesting & welcoming people. Sadly though, the space that I was told was mine to work in was an inner room of a sprawling low industrial type building. There were no windows, the air conditioning vents in the room didn’t work (think Georgia summer humidity), and none of the overhead lighting was functional. The room was essentially a hallway, providing the only path between the front and back of the building.

You Can’t Touch This

Long ago, in Houston, TX, I worked on a VH1 movie about MC Hammer (Yes, we made many pairs of Hammer pants). The Costume Shop was housed in a vault (as in a bank vault). We had so many lights rigged up in the space that I was sure one day we were going to start an electrical fire. That never happened but Tropical Storm Allison did. The Friday when the storm began, we were doing iron on letter transfers on t-shirts and sweatshirts – the kind where you peel off the backs and then stick the letters to the fabric. The Monday after the storm we opened the vault door to find about a foot of water and all the letter backs floating around like some giant pot of alphabet soup.

I spent most of my twenties at The Alley Theatre in Houston, TX. The original Costume Shop there was deep in the basement. As far as underground shops went, it was actually a very nice one with adequate lighting, three huge cutting tables, and lots of floor space. Sadly, that shop didn’t fare so well during Allison as the entire basement floors of the Alley filled with water when some underground bayou retaining walls broke.

All Washed Up

The only real ‘good’ thing about Tropical Storm Allison is that it hit late on a Friday night so most of downtown Houston was empty of people. The Alley was dark that night (meaning no show was scheduled). A few of the actors had been out and decided to stop in to The Alley on their way home. They were the first to discover that something had gone horribly awry in the underground tunnel system of Houston. Water was almost to the top of the steps and ramps that led down to the tunnel and shops. They immediately called the Production Manager who was sound asleep and had no idea yet what was going on. Her response, which since then has been immortalized in a very exclusive, limited run t-shirt, was, “Just put some towels down.”

It took a few years but, after the storm, The Alley built one of the best Costume Shops I’ve seen in my life. My friend Alice, who ran the shop for many years, called it “The Costume Shop in The Sky.” The shop (along with the rest of production) is up on one of the two top floors of the parking garage attached the theatre. There are huge windows and tons of space. It is truly a spectacular thing.

Another exemplary shop is the one at Troublemaker Studios (Robert Rodriguez’s studio) in Austin, TX. Again, it has large windows all along one wall. The windows are especially cool because they are the kind that, although the people inside can see out, folks outside can’t see in (perfect spy conditions).

Boardwalk Empire Refugee Camp

The Boardwalk Empire Shop was in a quanset hut – one of those dome shaped metal buildings – and essentially (no matter how hard we tried) always looked like a refugee camp. It was in the back of the ‘hut’ near a big rolling metal garage door. In an effort to provide sunlight and some sort of energy efficiency, the set construction guys made us wooden frames stretched with plexiglass that we set up in the doorway. We’d raise the rolling garage door to just above our “windows”. I saw lots of beautiful sunsets over the East River from those rickety plexiglass windows.

Brooklyn Blindspot

One of my favorite shops is the one I have now at Blindspot, mainly because of the big windows that look out over a busy Brooklyn intersection. For me, natural light and windows are one of the key things that make a good shop. If I have that, I can usually make the space work. The second thing would be proper electricity/power. I like to be able to plug all the things in at the same time without blowing a breaker.

What is the one essential thing for your dream shop?

Book Promoting for the Crafty Author

Book Promoting for the Crafty Author

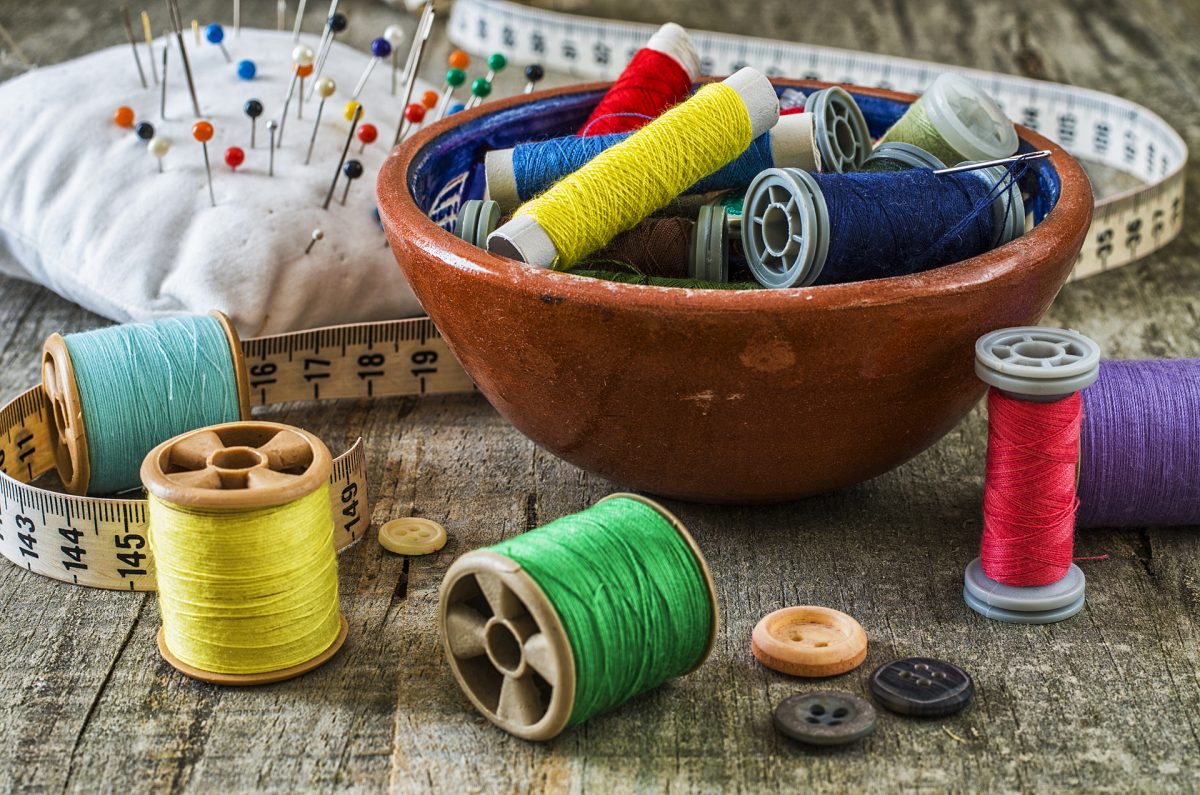
I have a number of creative outlets, guys. I like to sew, quilt, bake, design floral arrangements…

I’ve of fallen in love with the idea of freelance writing.

I’ve of fallen in love with the idea of freelance writing.

But my number one creative outlet is writing. That’s one of the reasons why having this blog opportunity fits so well with my personality and interests. I get to dabble in one category of creative endeavor and learn about it while exercising my number-one creative passion by writing about it. It’s a pretty awesome system, honestly, and I’ve kind of fallen in love with the idea of freelance writing because of it.

What would be awesome though is if I could make a living as an author, which is something that I’ve been putting efforts toward. I’ve been working on and publishing books since at least 2013, and I’ve learned a thing or two about what to do in regards to marketing and such. Not enough to make me a best seller, mind you, but I’ve learned enough to be in better shape than I was when my first book was released in 2013!

I’ve learned enough to be in better shape than I was when my first book was released in 2013!

I’ve learned enough to be in better shape than I was when my first book was released in 2013!

In the Beginning…

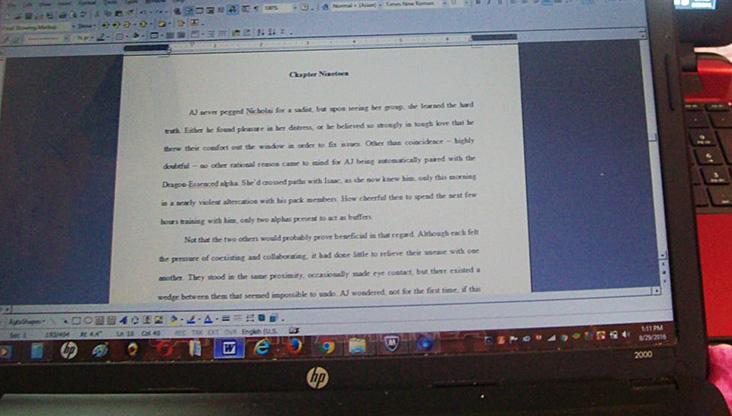
That first book is being re-released by a publisher, and I want to do things right this time around by applying what I know. What I *do* know is that there are steps in marketing that can attract an audience, and giveaways happen to be one of those options. In fact, I recently finished a giveaway on Goodreads for this very copy of one book I wrote. Maybe you’ve heard of it? Jivin’ Tango? Oh well… 🙂

Importance of Planning

I recently finished a giveaway on Goodreads for this very copy of one book I wrote, Jivin' Tango.

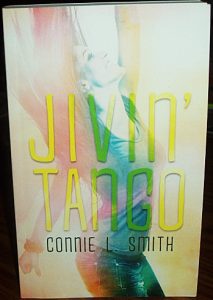
I recently finished a giveaway on Goodreads for this very copy of one book I wrote, Jivin’ Tango.

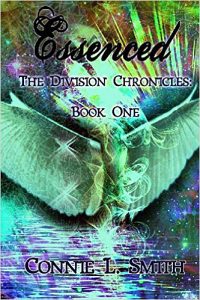
The point—and this is what brings us to the theme of this blog—is that I’ve been trying to think outside of the box for things that I could create for the upcoming book releases that would make for awesome giveaway items. And I think I might actually have come up with some ideas for the process! You see, this upcoming re-released trilogy is a fantasy series that includes essences of a number of mythical creatures—fairies, dragons, vampires, mermaids, werewolves, genies, etc.—and that leaves a whole lot of territory to dive into for the world of sewing and quilting. Why? Because fantasy is a big deal these days, and it isn’t hard to come up with fabric to fit the category!


I figure though that one detail that I should consider is pacing and speed. It would be crazy-awesome to make a crazy-awesome quilt and give it away, but I need to consider other factors. For instance, in order to have these books available for sale next year, there’s more editing I need to go through for each and forms to finish/start filling out, not to mention other why-am-I-an-adult tasks I need to address for life in general. To put that detail plainly, I just might not have the time (or the skill at this point) to make that crazy-awesome quilt by a January release date, which I think is when the first book is scheduled to come out.

Giveaways Galore

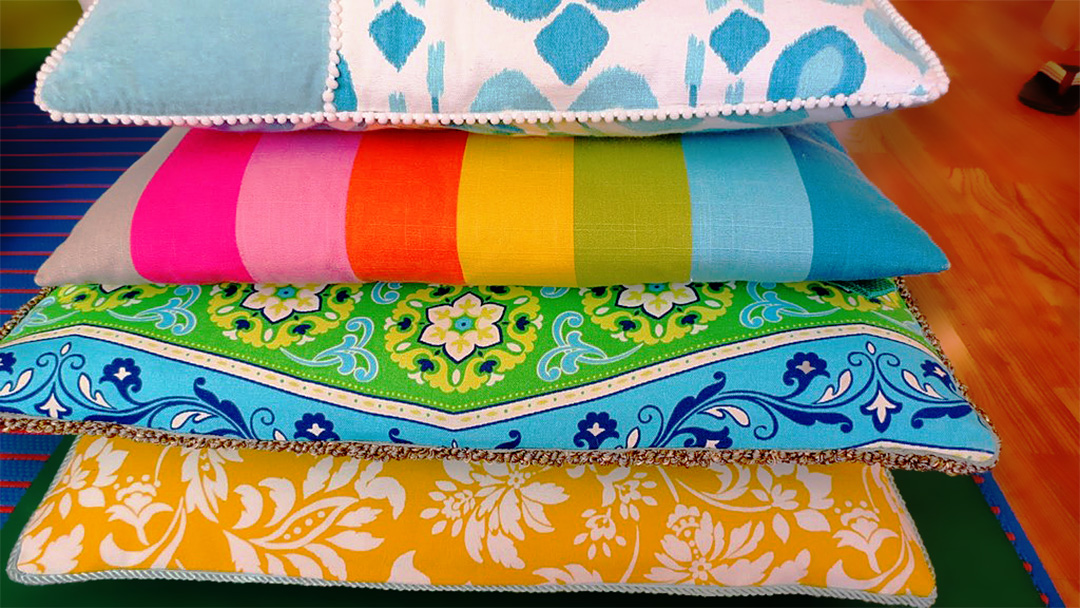
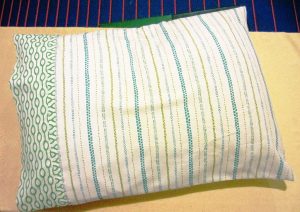
So what are some things I would have time for before that first book’s release? Well, there are the obvious options, like totes and wall hangings that would allow for simple makes (I hope!). I could also make a set of throw pillows, scarves, place mats, table runners, oven mitts, purses, bookmarks… Thank you, Google and sites I found via Google, for the ideas!

Of all of these possibilities, for whatever reason, throw pillows and totes seem like the most intriguing options. So, I’m thinking that these could be my primary targets for the first two book releases. For the third, most delayed option, I’m thinking either a quilt or a wall hanging might suffice. If that’s the case, here’s my schedule:

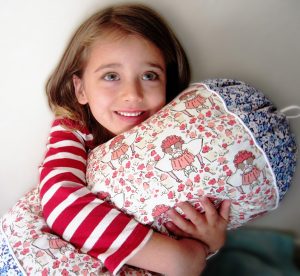
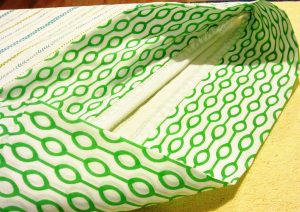
January—Within the Essence (The Division: Book One)—Throw Pillows

February—Through the Ashes (The Division: Book Two)—Tote

March—Beyond the Hope (The Division: Book Three)—Quilt/Wall Hanging

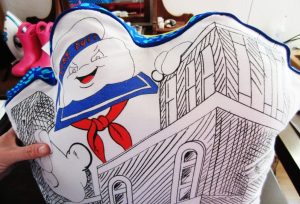
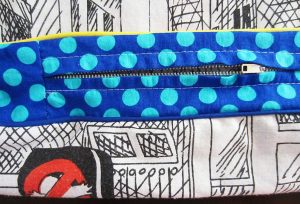
It’s worth noting that I haven’t tried to make a pillow since childhood, and I’ve never done a tote before. With those things in mind, there might be some complications and project switching since I have a limited time frame to work with. If I can’t make one work, something might need to be changed!

Theme is Key

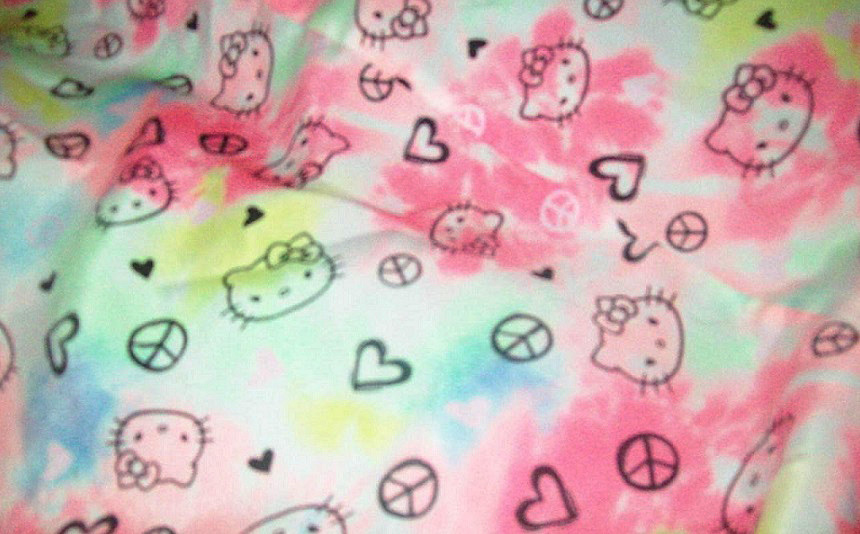
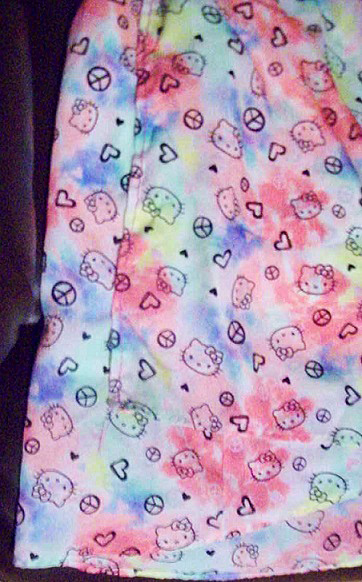
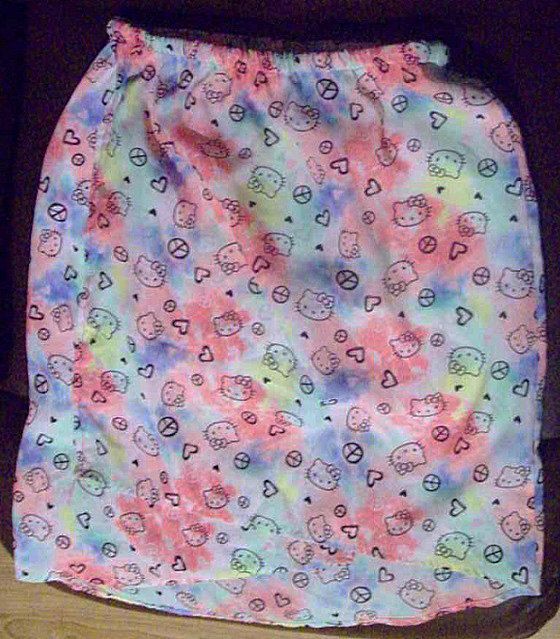
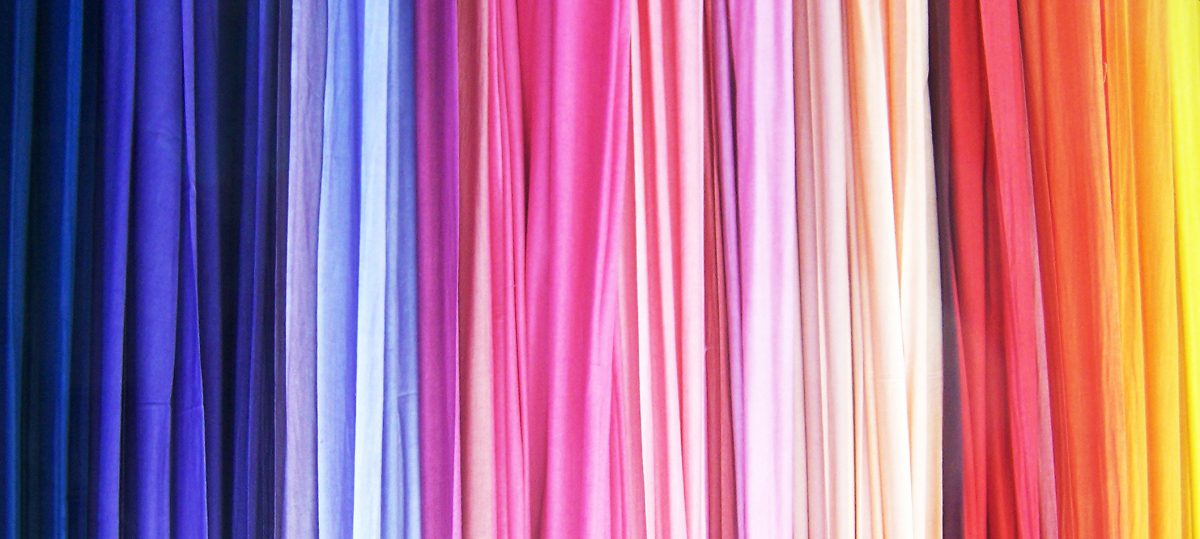
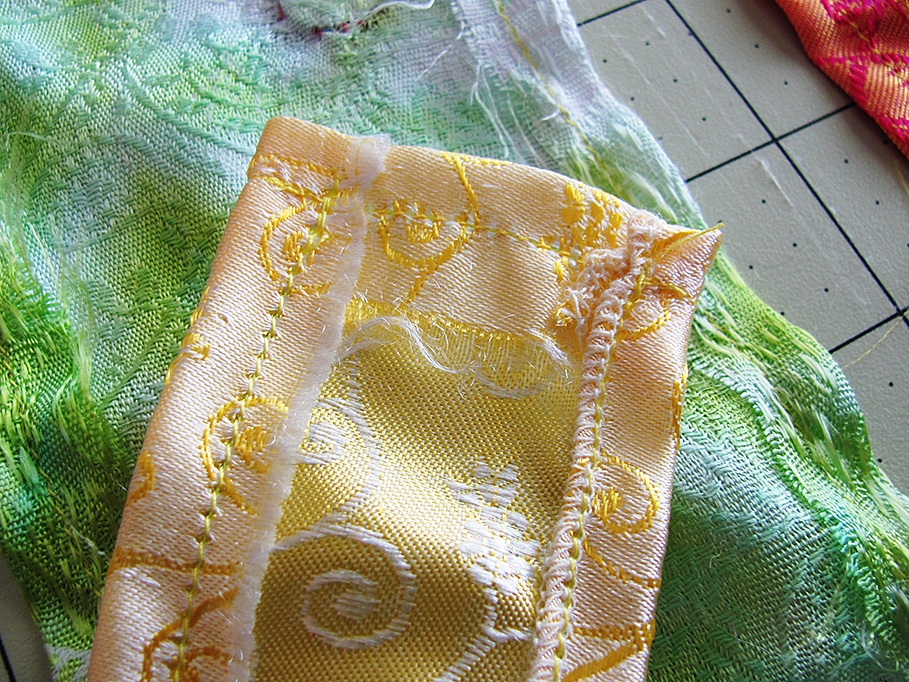
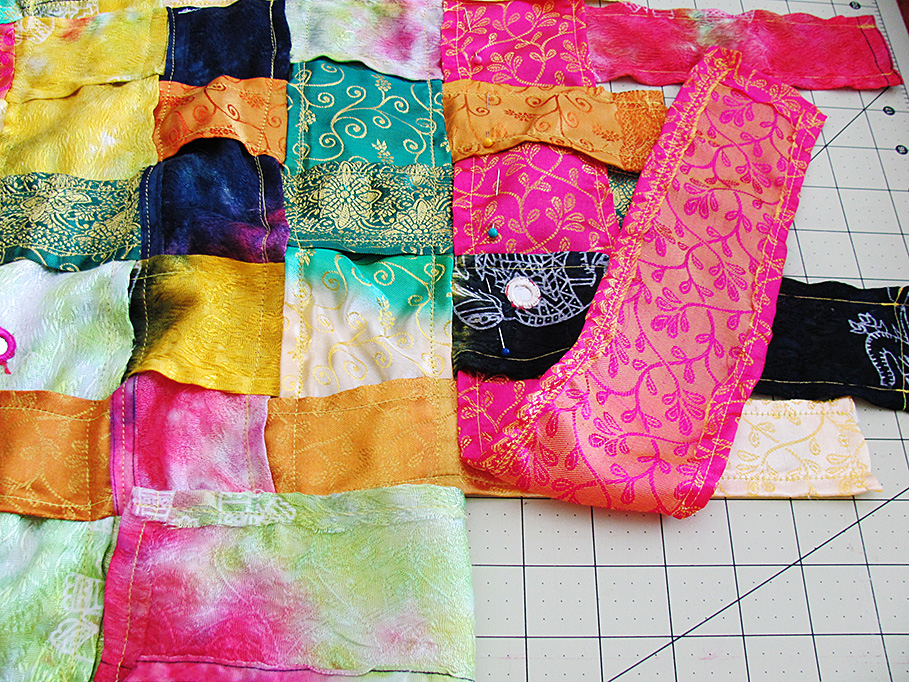
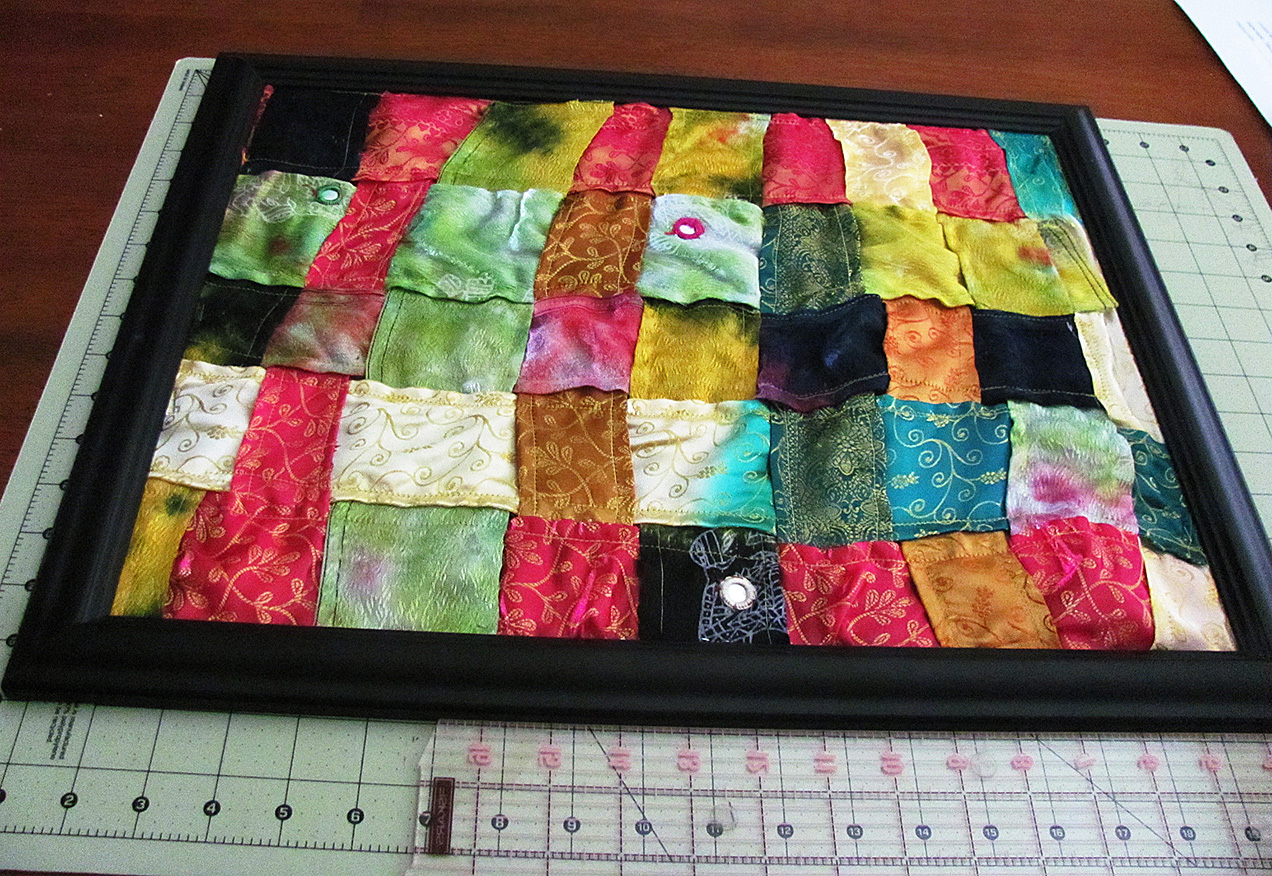
The most connected detail though is to make sure there’s that fantasy link. Otherwise, my theme is gone, and I might as well be sending out paper plate bunnies or something, no matter how impressive the final products are. For that quality, I’m thinking I’ll select three of the mythical creatures that are connected to this trilogy—one for each project. Personally, I’d love to make a quilt out of this material (I love fairies!), and I think throw pillows out of material that’s something like this could be awesome. Beyond the fairy and dragon, I could go with a mermaid concept for the tote, using scaled fabric and charms. The potential problem though would be that, if these were successful, at least two of out three of them I might want to keep!

Honestly, I’ve been looking for ways to blend in these hobbies so that I can have some crossover details, and this feels like a great opportunity! I can improve my sewing and expand my experience in the field while promoting my number-one creative endeavor of writing. How isn’t that a win-win?

I’d be interested in any tips for projects I could do for one of these book releases, if you have a different idea than what I posted! Feedback, guys!

Zentangle Quilting

Zentangle Quilting

Zentangle design flows free like a river of creativity.

Zentangle design flows free like a river of creativity.

Have you heard about the cool art/meditation craze that’s gaining popularity? It’s called Zentangle. The basic concept is using basic shapes in a repeated fashion to create pictures. In doing so, the mind disconnects and enters a meditative state.

Although I enjoy Zentangle and find it fun and relaxing, I also find that my hand cramps holding the necessary pens and pencils for an extended period of time. Instead, I think the same concepts can be used to create gorgeous quilts.

Plain Fabrics

Instead of using fabrics with cool, cute or funky patterns, choose plain fabrics and allow the Zentangle concept of basic shapes in repetition to give your quilt its pattern and character. Instead of a quilt with one pattern repeated throughout, your quilt will be a masterpiece of many patterns that combine to create a unique, gorgeous quilt anyone would be proud to own.

Pick Your Tangles

There are hundreds of Zentangle patterns (tangles) to choose from, with more being created all the time. You can do an image search, or for those of who need a little more instruction try http://tanglepatterns.com/ to find several tangles that appeal to you and that you think would combine well together to make a quilt. Depending on the size of the finished quilt, pick at least seven different tangles. The more tangles you choose, the more interesting your finished quilt will be.

Chart It

You’ve likely got dimensions in mind for your quilt project. To ensure that your Zentangle quilt comes out the right size, draw it out on graph paper first. That will help you know how much fabric you need for each of the different patterns as well as help you know where to stop on each of the patterns to wind up with a rectangular quilt with crisp edges. Plus you get to experience doing a Zentangle drawing.

Templates

Once you’ve gotten this far, and to help you ensure that your quilt comes out as you envision in, create templates for each of the Zentangle shapes (and the varying sizes of them) you plan to use. A manila folder or empty cereal box work well for creating the template shapes.

Cut, Cut, and More Cut

From this point on, the process is pretty much like making any other quilt. Cut out all the tangle shapes and sizes on the appropriate fabrics. If you don’t usually do a dry fit, it may be wise to do so with a Zentangle quilt since they’re more freeform.

Stitch, Quilt, Go

When you’ve got all your tangle pieces cut out and dry fit together, sew them up as you would any other quilt pattern; stopping to check for fit after each pattern section. For the back, depending on the look you’re going for either a solid color or a fabric that combines the colors used in your Zentangle quilt can be used. Complete your Zentangle quilt as you would any other quilt.

A Zentangle quilt may be a bit tougher than other quilts you’ve made, but it also produces a quilt that is more unique and original. Zentangle quilts make great gifts and are sure to be conversation starters in any home.

Have you tried it? Take pictures and share!

The Deconstruction (And Reconstruction) of Hello Kitty

Let’s same I’m thrifty, shall we? I like shopping at the Goodwill, and I’ve been known to make my way over to the clearance section in the clothes department of a non-Goodwill store. It’s a theme that’s pretty easy to spot if you look through my posts from the past. I reuse material, and updating my sewing supplies is something that I found reason to put on my 2017 goals list because I haven’t invested too much into it. I can be a bit of penny-pincher if the situation calls for it, so it’s no real shock that so much of my sewing experience involves reusing and repurposing.

Today, I offer you yet another example of that reusing and repurposing.

The bottom half in particular caught my interest.

The bottom half in particular caught my interest.

You see, I have a niece who had this Hello Kitty dress. Personally, I don’t get the interest in Hello Kitty—I’m more of a Tinker Bell kind of girl—but after the dress ended up getting ripped, my thoughts got to rolling about what could be done with the material that was left over. The bottom half in particular caught my interest. Even if I don’t particularly care for Hello Kitty myself, the material was colorful enough and in good enough shape, if you overlooked the rip, that it seemed a waste to just toss it out. My niece, after all, deserves her Hello Kitty attire!

In the end, the answer seemed simple. If the bottom half of the dress was salvageable, then a skirt was the perfect option! The white material underneath it was still in decently good shape, so I could use that like it’d been used for the dress itself. All I needed to do was plan, cut, figure, and reassemble.

Cutting was relatively easy when it came to the bottom half because I didn’t worry too much about getting straight edges. If I needed straight edges, I could do a touch-up job later. As it turned out, I wouldn’t I have to because the material was designed in a way that there wasn’t one side that specifically needed to be on the top or the bottom. See how Hello Kitty is in two different directions in the earlier picture? I could just use the more raggedy-edged side to fold over the elastic I would eventually use, and no one would see it anyway. The bottom part of the dress could be the actual line that was company-given by design.

The raggedy edges where the tear had been, I felt, could use hemming, so I saw to that. I wasn’t sure if I actually needed both sides to be hemmed, but since I was figuring it out as I went along, it seemed better to be safe than sorry! Once both sides were hemmed, I was ready to pin the Hello Kitty material onto the underlying fabric.

I opted to tack the end of the colored material to the section of Hello Kitty material beneath it.

I opted to tack the end of the colored material to the section of Hello Kitty material beneath it.

So I did! But as I’d already noticed, there was a bit of a design issue that would require an executive decision. You see, this Hello Kitty material was asymmetrical, meaning if I pinned it evenly at the top of the white material, the bottom of the Hello Kitty piece wouldn’t be even. My options then included either hemming the bottom for a symmetric look, or embracing the quirkiness of the not-so-symmetric hem.

In the end, I decided to go with the easier but more distinguishable option of letting the hem be asymmetric. I also made another executive decision to not cut off the extra side-to-side material once the white material had been completely covered. Instead, I opted to tack the end of the colored material to the section of Hello Kitty material beneath it, so the final result would seem more like a wrap-around skirt.

Once that step was finished, the top looked something like this.

Once that step was finished, the top looked something like this.

Once I’d made those decisions, sewn the raggedy edges where the tear had been on the dress, sewed all layers of material at the top, and tacked the material for that wrap-around look, all I had to do was add in the elastic. The process involved a one-section-at-a-time strategy of folding the top portion of material over the elastic, sewing so that the material overlapped the entire width of elastic, then moving to the next section—bit by bit, and at times pushing and pulling the elastic and/or fabric so that the entire top portion of the skirt was encasing that tiny piece of elastic. Once that step was finished, the top looked something like this.

And there you have it!

And there you have it!

And with that step completed, the skirt was done!

And there you have it! A Hello Kitty skirt from the remnants of a Hello Kitty dress! I still have the top portion of the dress that could be used for something, but who knows? Maybe it’ll become a part of a project, and maybe it won’t 🙂

What do you guys think??? Like? Hate? Something in between? Let me know!

The Zen of Making

The Zen of Making

I’ve been a professional tailor and pattern maker for twenty-five years. Some days I love my job. Some days I hate it. Some days everything goes together without mishap. Other days needles break, threads knot, seams bunch, the sewing machine makes crazy bobbin art for no reason, and garments with alteration tags that read, “drop a lining in” hang on the to-do rack. (please see ‘drop a lining’ rant at the end of this post). All of these things sometimes make me forget that I actually really do like to sew, to make things, to create from a pile of fabric a new complete garment.

The hard part about ending up in a career that involves doing something you love is that, every once awhile, you end up hating the very thing that you know you love.

Which is a shame. Thankfully, I always get over it. Sometimes the getting over it as easy as finishing an annoying project and moving on to something new. Occasionally, I need to have a little talk with myself, take a deep breath, and slow down (even if there are three people asking me when I’m going to be done.) I have to block out outside distractions and focus fully on what I am doing. That is when the ‘flow’ happens.

…my alterations motto is: leave no trace.

Currently I’m working on a show that, though it involves endless multiples (lots of stunts so actors usually need four to five of the same outfit plus one for their stunt double), never really sends me to the “I hate sewing” place of darkness.

One of the characters, new to this season, wears high-end clothing that usually requires quite a bit of alteration. I love taking apart a designer dress and figuring out the best way to alter it without anyone being the wiser. As in hiking, my alterations motto is: leave no trace. I can get happily lost in such a project.

Go with the Flow

The same goes for when I’m patterning or building something from scratch. I find that I’m in the flow of making. I forget about everything else going on and just concentrate on the thing I am doing.

Psychologist Mihaly Csikszentmihalyi says that Flow is the secret to happiness — a statement he supports with decades of research. During a 2004 TED talk, he said “When we are involved in (creativity), we feel that we are living more fully than during the rest of life. You forget yourself.”

A study titled, The Neurological Basis of Occupation, found that music, drawing, meditation, reading, arts and crafts, can stimulate the neurogical system and enhance health and well-being. And this study concluded that computer activities; craft activities, quilting, playing games; and reading books were associated with decreased odds of having MCI (mild cognitive impairment).

What this all adds up to is probably what most of us who sew and create already know: making things is good for your psyche and your soul (and your memory!). However you do it, wherever you find your flow is important and necessary to your well being, to you being you.

Drop a Lining In Rant

“Just drop a lining in,” they said, “It’ll be easy. No big deal. Shouldn’t take you that long.”

Anyone who tells you this really doesn’t know much about sewing or patterning. “Dropping a lining in,” is no easy task and certainly not as simple as dropping, well, anything. Unless your garment is a true honest to god couple of rectangles sewn together (and believe me it very likely is not) there isn’t anything ‘just’ about it. To line a jacket, or skirt, or dress, or anything, you really need to make a pattern and it’s going to take more than a couple hours to do it correctly. On Boardwalk Empire, we would regularly end up with vintage dresses literally hanging on by thread with the note, “Drop a lining in!” attached. None of us wanted to do them. We’d shuffle them to the end of the rack until we couldn’t put it off any longer and finally someone would say, “Ok, ok, fine, I’ll do this one if you’ll do that one.”

Cashmere Wall Art

Cashmere Wall Art

Blank Canvas

Cashmere wall art.

Cashmere wall art.

I really dislike drab walls. I’m always looking for cheap, out of the box ways to splash up my walls. I’ve never attempted any type of fabric wall hanging before, so I thought, “Throw caution to the wind and dress up that naked wall!”

I was given some really awesome cashmere materials in vibrant colors. Sadly, the pieces weren’t big enough to make a nice blouse or skirt out of. I’ve been searching for a great creative way to showcase this amazing material. This wall art turned out to be the perfect display piece.

**Tip: Wash all new materials prior to use to avoid shrinkage resulting from later washes.

**ProTip: Iron cut pieces before sewing and in between each step. This helps in the sewing process as well as setting the stitches to lessen unraveling with age. Often the end results tend to look more professional as well.

Level: Beginner

Time to Complete: 1 – 2 hours

Sewn By Machine: 1/4 in. straight stitch

Materials

  • 9 – 16″ W strips, varying lengths
  • 5 – 20″ L strips, varying widths
    • **I made 1″, 2″ and 3″ strips. I didn’t want a basic uniform checkerboard pattern and varying the strip size helped add some uniqueness to the finished design.
  • 1 – 14″ W x 18″ L Canvas Frame
  • 1 – 14″ W x 18″ L Cardboard for back of wall hanging

I measured an extra 1″ on all sides of the frame. I’d rather it be a little big than too small. It can be quickly cut down to fit the frame if too big.

Let’s Get Started

  1. Cut out strips and iron.
  2. Iron the 1/4″ seam on all four sides of the strips. Since this material is 100% cashmere, it doesn’t hold well when pinned, moved quite a lot during sewing. The pins were also falling out the second I moved my material to the sewing machine. I found ironing each seam on a wool heat setting helped secure the seam without using pins.

    Fabric strip seams.

    Fabric strip seams.

  3. Sew around all four sides of all fabric strips using the 1/4″ ironed seam.
  4. Arrange the fabric strips in lines down and across. I arranged them, then put the frame over it to help visualize. It took me several times to find an arrangement I was happy with.
  5. Once you have the strips set up the way you want them, put them under and over each other to create a more defined checkerboard look.
  6. Start sewing the fabric strips together. I pinned the various short strips to the first long strip. It took awhile to sew each individual strip onto the longer one but it paid off in the next step.
  7. Sew on the remaining long strips. Remember to keep the over/under pattern. This step went much easier. Since the smaller strips were already attached to the first and in order, all I had to do was sew around the 4 sides of the long strip. The smaller strips were all sewn on in one, quick easy step.

    Piecing together.

    Piecing together.

  8. Take the fabric piece to the frame. Place on the cardboard back piece. Cut the fabric on all sides about 1/4″ past the cardboard edge.

    Fit to the frame.

    Fit to the frame.

  9. Sew around the piece using the extra 1/4″ seam you just measured out.
  10. Attach fabric artwork to back of the cardboard. I used staples around the edges.
  11. Place into frame. I decided not to use the glass for the frame. I felt the way the fabric flowed without being pinned down by the glass really added some splashy appeal.
  12. Hang on your wall, plop into a chair, sip a cup of tea and enjoy the vibrant new addition to the room!

Stacey’s Stitches

Hi all! I’m Stacey Martinez 🙂
I love to design imaginative custom items for my active, crazy family. Bright colors and beautiful fabrics sing “Stacey, Stitch Me!” Let your imagination inspires you to breathe personality into every stitch!

Please feel free to comment with questions, suggestions, and pictures of your own creations. I can’t wait to see what you come up with!

Nature Tomorrow – NATURA DOMANI

Nature Tomorrow – NATURA DOMANI

I am so happy you stopped by. In my last post, “Nature Babe” I discussed finding different types of fabric to construct some little things for babies. Since then, I have been working on Bamboo Baby Wash Cloths as well as using Organic Cotton products.

I have been working on Bamboo Baby Wash Cloths as well as using Organic Cotton products

Bamboo. It’s Not Just Panda Food

I am always looking for ways I can trim things with lace or ribbon.

I am always looking for ways I can trim things with lace or ribbon.

Can you see and feel the softness? It is tiny baby loop Bamboo. I edged it with an overcast stitch on my machine, so it gives the finished product a spa-quality look rather than serged edges. I prefer sewing a seam right sides together and reversing the fabric for larger articles, then I top-stitch for durability rather than using a serger. Plus, I am always looking for ways I can trim things with lace or ribbon. I should have lived in the Victorian era!

Research shows these products are becoming popular as there are many things that are being made in these environmental friendly fabrics. For instance, the softness of bamboo is exceptional for making burp cloths, diaper inserts, blankets, mattress covers and plush animals. Many companies that sell bamboo have great information on this fabric. According to the Bamboo Clothing website (a clothing line in the UK) there are many good points about using bamboo fabric.

Bamboo Fabric Facts:

  • Good for sensitive skin
  • Antibacterial – bacteria does not live well on the fabric
  • It acts as moisture wicking
  • It is 100% bio-degradable
  • Is the fastest growing plant and yield the same volume as cotton in only 10% of the land
  • Bamboo requires very little water or rain

Did you know bamboo is a species of the grass family?

And Now for Something Completely Different…

Tiny Towels.

Tiny Towels.

Next, I did something quite different. I used Organic Cotton knit and made what I call “Tiny Towels”. These itty-bitty towelettes are 5 x 4 inch wipes perfect for small messes. They could be used for washing baby faces, freshen up wipes or makeup application. I used a few myself and they are a wonderful change from shredding cotton balls or pads – and the great thing is these dry quickly!

Thinking of the Future

The reason I titled this blog post Nature Tomorrow is that while traveling in Italy and on a recent trip to Connecticut, I came to realize that there are just so many different ways to conserve our environment. Unfortunately, I just don’t think enough people are doing everything they can. Our beautiful green Earth is fill with so many beautiful forests, lakes and streams. So much waste and harmful chemicals drain into water from the production of products for our world. My only hope is that there will be Nature Tomorrow for our changing world. NATURA DOMANI… IN ITALIAN.

Back to Baby Basics

Diamond Soaker Thermal.

Diamond Soaker Thermal.

Next, I made a pad that provides extra protection for baby in the crib or just relaxing playing on the floor. It is made from Diamond Soaker Thermal. It is extremely soft as well and has three thin layers for warmth. It is made so that if water drops on it, it stays on top, however, pressure makes it absorb into the top – just not so much on the bottom. Its wicking quality is very good for under layers of clothing. The fabric is definitely water holding but not waterproof. Back in the day, I used a rubberized type of pad with a flannel top to keep the crib sheets and mattress from becoming wet. This is so much softer. I believe it would be good for diaper inserts as well, but I am not ready for a diaper business just yet. Baby steps to start!

I would love to hear your comments about bamboo and organic materials at the bottom of my blog. Ciao, Ciao!!

Picking the Perfect Sewing Notions

Picking the Perfect Sewing Notions

You’ve done it. You’ve got the pattern and the fabric to make a sewing project you’ll love. There’s just one more challenge remaining – picking the notions to compliment it. Whether it’s buttons, zippers, lacey bits or other accent pieces the right notions will give your finished project the final pop it needs to be truly special.

Zippers

It may seem like picking a zipper that matches your material, maybe even an invisible one is the best idea. And in many cases it may be. However, depending on the project and fabric, choosing a zipper that stands out can give your finished project some flair and style. If the fabric has a bright pattern, picking a zipper that matches one of the colors in the pattern can look really great when it’s done.

Buttons

ButtonsButtons can seem like just an easy way to close a shirt or jacket, but they also impact the look of your completed project. A fabric with a simple pattern can sometimes benefits from fancy or flashy buttons while a fabric with a busy pattern may look better with simpler buttons.

Button size also matters. Bigger buttons will draw more attention than smaller ones. If you’re trying to bring focus away from something, say a floppy collar, using big buttons can help. On the other hand, if you want people to see your great shirt or jacket, using smaller buttons will ensure their eyes take in the entire piece.

Lacey Bits or Ribbons

Even if the pattern doesn’t call for them, lacey bits or ribbon strips can add interest to your project. Sometimes cutting apart a larger lace work for specific shapes works really well. You can use these smaller pieces to accent the points of a collar, cuffs of sleeves or pants or the hem of a skirt.

Ribbons can be used in short or long strips to add some color and interest. A long ribbon can go around the edge of a collar or cuffs. Longer ribbon strips also look great as an accent belt around waist lines or as accents on short or pant leg cuffs.

Smaller ribbon bits can be tacked on to the body of the project to create a pattern or letter. You can also use ribbons to create cute bows and strategically place them to add charm to your project.

Other Notions Notions (Ideas)

See what I did there? Haha. But seriously, there’s other cool notions ideas too. Beads or sequins strategically placed can add a bit of sparkle and glitz. Embroidery whether hand- or machine-done adds personalization. And, if you happen to also be a yarn worker, combing your knitting or crocheting skills with your sewing skills creates a totally unique piece. Instead of the fabric collar, you could knit or crochet one. Same with cuffs, waists and hems.

What other notion and accent ideas do you love to use on your projects?

A Few of My Favorite Things

A Few of My Favorite Things

I’m a bit of a dorky geek when it comes to sewing and pattern making (I’m actually probably a dorky geek when it comes to a lot of things). Here are a few of my favorite sewing related things.

The Double Needle

Twin needle in machine.

Twin needle in machine.

One of my favorite sewing related things is the Zwillings Nadel – or, if you prefer, the double needle. (Zwillings nadel is German for double needle.) A double needle is the perfect solution to hemming anything knit (or with any amount of stretch) if you don’t happen to own a machine that can do a cover stitch. I use them all the time to hem t-shirts, ribbed knit shirts, sweatshirts, sweaters, even jeans with an excessive amount of spandex.

Zwillings Nadel.

Zwillings Nadel.

Any domestic machine can use a double needle. How they work is with two top threads and one bottom thread. This creates a zig-zag in the bottom thread that allows for stretch. I often use a double needle and a stretch stitch at the same time. I find the stretch stitch produces a result with minimal puckering.

My trick for hemming most anything, but especially things that require a double needle, is to cut after I sew.

First, mark a nice clear line for your hem on the right side of your garment using wax or some kind of marking pen that will disappear when heat is applied. Press the hem along the line you have marked. Do not trim any excess away. Next, using a double needle, stitch up an inch from your pressed line, or whatever is your desired hem depth. Once you have sewn, trim the excess fabric away. Try to trim as close to your zig zag bobbin line as you can. The ziz zag will keep anything from raveling and fraying if that is a concern though many tightly knit fabrics won’t really fray (Sweaters and some loosely woven ribbed t-shirt knit will of course). I press the hem at this point as well to get rid of any puckering. If the hem is still a bit wavy, try spritzing with water and pressing dry with a press cloth.

Zwillings Nadels

come in varying widths, meaning the two needles can be further or closer together. I keep a variety of widths around. They are also sized like regular needles, 12/80, 14/90, etc.

Bias Tape Makers

Bias tape makers are one of the most brilliant inventions in ‘modern’ sewing. If you don’t own any, buy a set now. They are these cool little devices that you feed a strip of fabric into on one end and get a beautifully uniformly pressed bias tape out the other end. They come in varying sizes – ¼” ½” 3/8”, and on. I use bias to bind necklines and armholes. Pretty much every single slip we made on Boardwalk Empire has a bias bond neck and armhole.

Loop Turner

Ever tried to turn a very thin spaghetti strap? It can seem virtually impossible. Unless, you have this really cool thin metal rod with a hook on one end. Insert the loop turner all the way through your strap and hook the little crochet hook into the seam allowance at the very end of your strap. Then pull gently from the other side, turning the strap inside itself. Once you are able to pull the hook through the other end, you can hand turn the remaining part of the strap.

Wooden Dowel

A simple, 1/8” or ¼” round wooden dowel is very useful for pressing belts, straps, and ties that you are bagging out. Put the dowel inside your strap or tie before you have flipped it so you can press open your seam allowances from the wrong side. This will give you much nicer and crisper finished edge when you turn them right side out.

These simple, inexpensive tools will not only help you achieve cleaner more professional looking results, but will also (I think, anyway) make your sewing life a little easier.

Do you have a simple, favorite tool you think others would benefit from knowing about? Write about in the comments section.