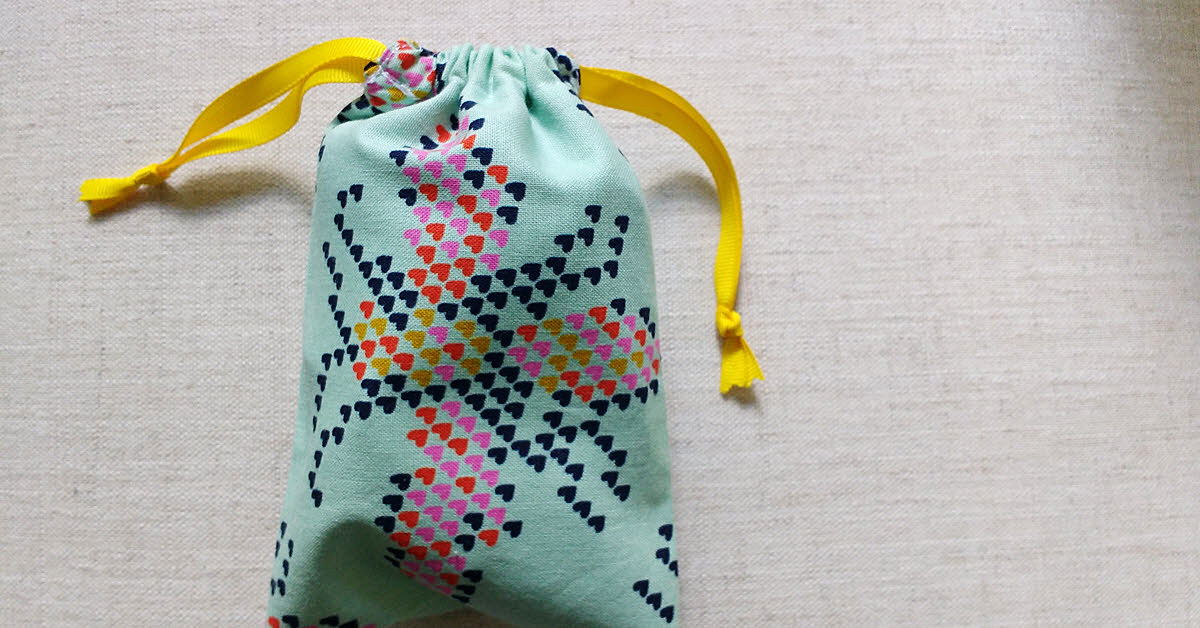
I use fabric drawstring bags to organize everything. My girls have a set I created for them for traveling; the bags hold their socks, underwear, and toys. I used a separate set for my own travels and also have a bag I use to transport my gym shoes in my backpack (so the shoes don’t get the interior of my bag dirty.)
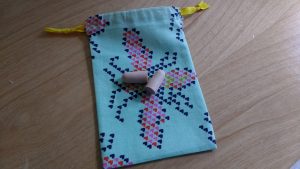
Any time I have a new need, I whip up a bag or some bags for the job. For this project, I wanted a small pouch to hold my ear plugs and eye mask. I’m a writer and I spend a lot of time writing in coffee shops and libraries (yes, sometimes libraries can be loud). And when I travel overnight, I also bring my sleep mask.
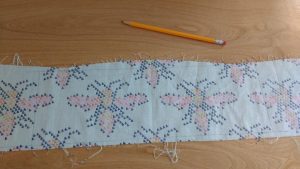
Don’t throw that away!
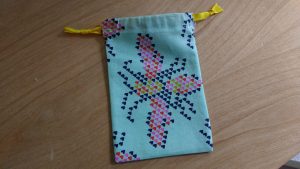
This is a piece of scrap fabric a girlfriend sent to me. “I bet you could use this,” she said. And she was right.
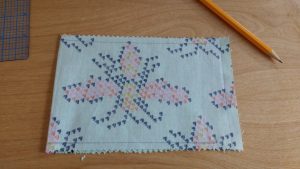
I drew a rectangle 15.5”x 5.5” (centering the pattern.)
I cut out the long sides of the rectangle with pinking shears and regular fabric scissors on the shorter ends.
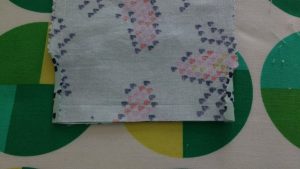
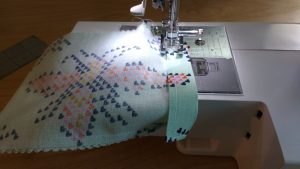
Next, I folded the fabric over, right sides together and drew a ¼” seam on each side. (If you can eyeball this, go ahead). The seam stops on each side 1.75” from the top. Start at the bottom and sew to that spot, back tacking at the end of the seam (on both sides.)
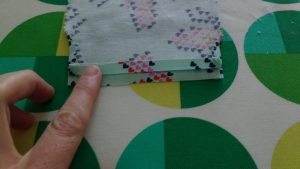
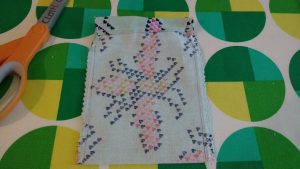
I snipped just a tiny bit on all four sides of the bag and then folded the seams in all four sides. First I finger pressed, then I ironed and starched them down.
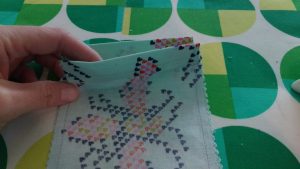
Let’s straighten this out
Next I folded the top of the front and back down ¼” inch and ironed and starched as well.
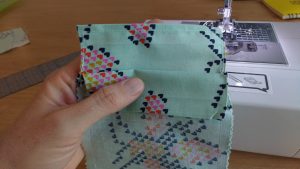
Now I did a supporting seam starting at the side seam and going around the top of the fabric to the other seam. Do this on both sides.
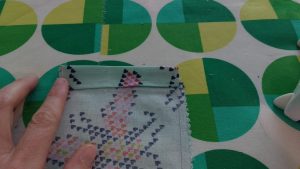
Now fold each top down to meet the top of the sewed side seam. You should see how the drawstring casings will be formed now. Iron and starch each folded side down.
Sew across each side from the side seam across to the other side seam. I used the stitching I did prior as a guide for where to sew. Make sure you don’t catch the other side of the bag while you sew.
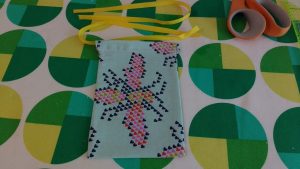
Lovely! Look how nice it looks inside out. Imagine how great it will be when you turn it right sides out! First I zig zag stitch the sides and trim the bottom corners before turning.
Now to tie it all together…
Whoohoo! Give it one more iron and starching to take it to the next level. Then measure out enough ribbon for a double drawstring.
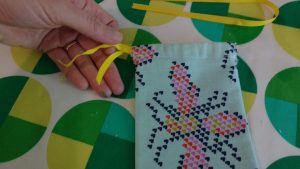
I used a safety pin to feed the ribbon through each side and around.
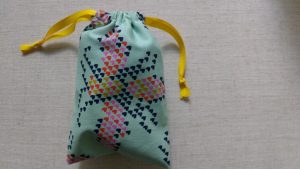
Tie a not on the end of each piece of ribbon, use pinking shears on the end of the ribbon, and you are finished!
This is perfect for slipping in my bag when I’m going out to write.
And my eye mask fits in beautifully too.

