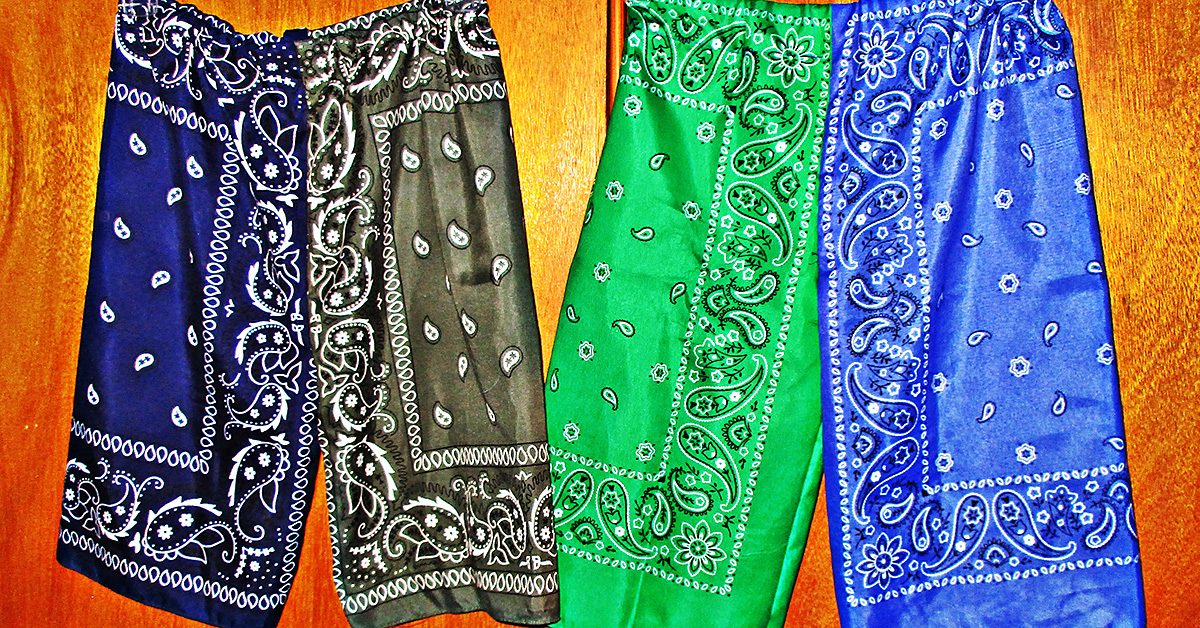
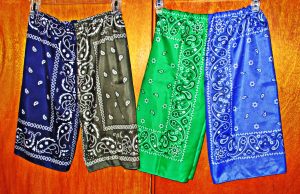
You really can sew easy shorts in ten minutes. I made pairs for two of my boys and a pair for myself in half an hour, and this included stops for elastic fitting and rewinding a bobbin.
For kids, sew easy shorts in 10 minutes using bandanas
Easy bandana shorts are a super quick and simple way to make cute shorts for kids.
I made these with polyester, rather than cotton, bandanas. I am collecting cotton bandanas for another project and I accidentally bought a couple that turned out to be poly.
It occurred to me that these will dry quickly and so make perfect yard shorts for my boys who are in and out of the garden sprinkler this time of year.
I’ve made these from cotton bandanas before and they have been summer favorites for all my children. They wear them so much that the cotton ones don’t last through too many seasons. So it was time for me to whip up a couple more.
You can use bandanas to make shorts to fit most any size child. Or you can make bandana pants for a baby or toddler. Here’s how to make them:
Supplies:
- Two bandanas
- Elastic for waist
- Sewing machine
- Thread
- Scissors
Step one to sew easy shorts: measure
The key measurements you need are the child’s waist and rise. To measure rise, run the measuring tape from the waist, between the legs, to the back waist.
I like to make bandana shorts like jams using the full bandana and not measure inseam or length. If you’d like to hem your child’s pants to a specific length, you are welcome to take the leg measurements. Then you could trim the bandana from the top rather than hemming the legs. That’s what I’d do if I wanted to shorten these.
Sew easy shorts step two: cut
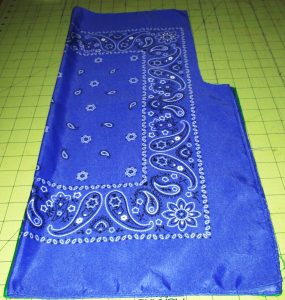
Fold the bandanas in half with the fold running vertically. You are going to cut out a J shaped piece from the top edges. Determine how deep and wide to cut this J shape based on your measurements.
You will want to divide the child’s rise measurement by half and add 1 inch — or up to 2 inches, if you’d like to add more room to grow.
Mark that far down from the top corner edge of the folded bandana. Then mark an inch and half to two inches in from the outside edge. Cut in a J shape between these two points, leaving a J shaped cut-out on the edges of your folded bandanas.
If I wanted to shorten the legs from the bandana lengths, I would cut that many inches off the top, before I measured and cut the J.
Step three: sew legs
Each bandana will make one leg. Fold them right sides together, and sew down the inseams, which are the edges of the bandana beneath the J crotch seam you cut out.
After you sew each leg, turn them right sides out.
Step four: sew crotch seam
With the legs right sides out, align the crotch seams of each leg piece. Make sure the leg seams you already sewed are aligned, as well as the top edges.
Sew this crotch seam with a stretch stitch, for maximum strength.
Step five: sew the waist
Now fold over about an inch at the top of the shorts, toward the inside, and press.
Sew around this seam, leaving a couple inches open, to allow for elastic insertion.
Cut elastic to the child’s waist measurement, attach a large pin to the end of the waist elastic, and thread it through the waist channel.
Then, sew the elastic ends together and top-stitch the waist closed.
Of course, you can hem them if you like, and if you did not shorten them from the top at the beginning.
Personally, I like to let little boys wear them long. The green and blue pair are longer than knee length on my youngest and look cute to me.
Sew easy shorts: ten minute adult yoga shorts
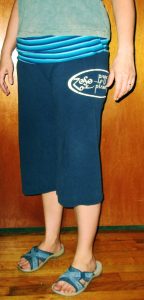
I used the same technique to make myself a ten minute pair of shorts, too, refashioned from a t-shirt. I made legs from the front and back panel of one of my dear’s favorite t-shirts, which he has outgrown.
Sew all the seams on these with a stretch stitch.
For mine, I cut the rise a bit short, and then added a waist section from another shirt.
This did not work out perfectly as a ten minute design, so I won’t go into detail about the waist section. Other than to say that I sewed it right sides together to the top of the shorts, and then folded it over and sewed it down on the inside atop the previous seam.
My mistaken way to do this had to add elastic for the top of this section. I want to make these and yoga pants with a crosswise knit cut short enough that it will not need elastic; the ones I just made have too much bulkiness around my already too bulky middle! I’ll hope to show how to make a yoga pants pattern here soon if I can.
But these worked well enough to wear and to love. My husband particularly loves these shorts; he’s been complimenting me on them all day. He doesn’t mind all the bulkiness around my middle, because he is responsible for it. This is what has come from having “cook dinner” on my don’t do list. He cooks things like rich stews, fried chicken, pizzas, and fat burritos and burgers every week! I’m going to have to take dinner off of my don’t-do list soon, or else I’ll have to make myself a whole new wardrobe!
Ten minute adult legging shorts
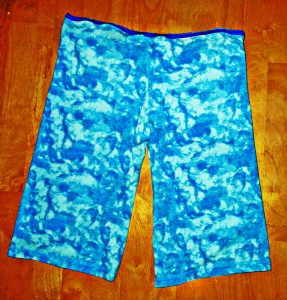
I made another kind of shorts for me in ten minutes, too.
I think of these knee length leggings as undershorts and wear them under casual short dresses.
Make these the same way as the other shorts, using stretchy knit and cutting them smaller for a closer fit.
Rather than adding bulkiness with a waistband channel, stretch a narrow elastic waistband and top stitch it down using a stretch stitch.
The elastic I had is fairly decorative,so I sewed it on the outside in this case. You can use a thicker elastic for the waistband, and sew it on the inside instead, if you prefer.
Make your own shorts
You don’t have to start with bandanas or T-shirts to make shorts.
Make elastic waist shorts to fit anyone by measuring desired length, inseam length, waist and leg circumferences (plus ease) and rise. It is easy to cut shorts to fit anyone’s measurements in just a few short minutes. No pun intended!
I encourage you to both sew easy shorts and to play with bandanas, refashion T-shirts, and have fun with fast fashion ideas like this. Happy sewing!

