I’ve always adored the classic look of plaids during the holidays. And plaid combined with satin is just lovely. We recently moved to a new house and I’ve been doing Christmas on a budget this year. I knew I wanted a plaid Christmas tree skirt but also knew I needed to be frugal. Here’s how I accomplished both.
Fabric first!
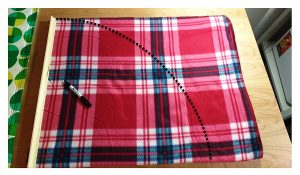
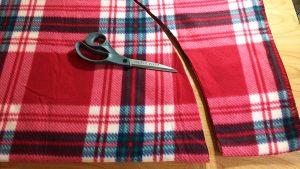
I picked up this plaid fleece throw blanket at K-Mart for $1.99. To create a perfect circle, I folded the blanket into quarters and then measured the shorter height of the rectangle it formed. On this blanket, that was 28″. I, randomly, had a stick that measured exactly 28″. You could do this with a long ruler, or just measure out the length you need on any stick or piece of wood and do the same.
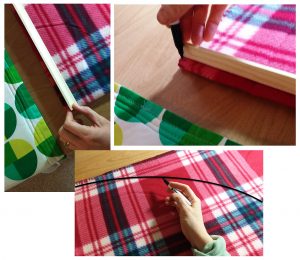
Once you’ve marked the length on both sides of the rectangle, hold the stick at the corner of the folded blanket, and then draw an arc from point to point, moving only the top of the stick.
Making the cut
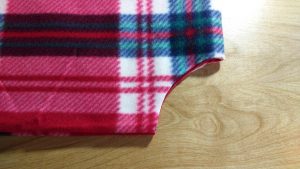
Now cut out that lovely quarter circle. Before you unfold the blanket, cut out the interior circle (the part that will wrap around the trunk of the tree.) To do this, determine your desired circumference, which will allow you to find the diameter, and thus the radius. If you need the formulas, they are: d = C/π and r = D/2
Once you know your radius, do the same thing you did to mark out the larger arc but this time at the corner where the blanket is folded into quarters.
Wash away those wrinkles
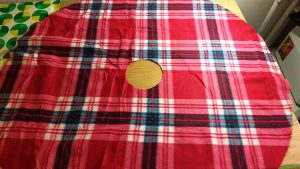
At this point I unfolded everything but the fleece was far too wrinkly. One of the great things about fleece is that it doesn’t fray, so I took the opportunity to wash a few of my daughters’ blankets and threw them, and this tree skirt, into the wash on the cold, delicate cycle. I added white vinegar as fabric softener, and then dried on low. It significantly reduced the wrinkles of the fleece.
Binding it all together
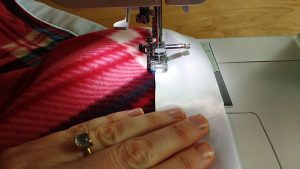
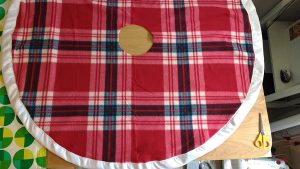
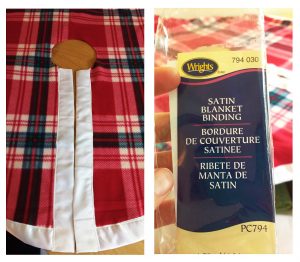
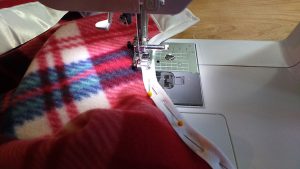
For a tree skirt that is 56″ wide like mine, you will need two packages of satin binding. I used a satin applique stitch and worked my way around the skirt. Pre-packaged satin blanket binding is NOT cut on the bias, so you will need to pay careful attention as you go around the curve of the skirt.
Some skirt tutorials will tell you to cut a line up to the interior circle before you add binding; I like to cut my line afterwards.
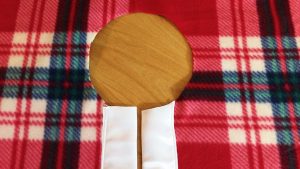
Looking at the fabric, I followed the lines of the plaid to cut a straight line from the outside of the skirt to the inside and then used more of the satin binding to trim each edge.
Welcome to the inner circle
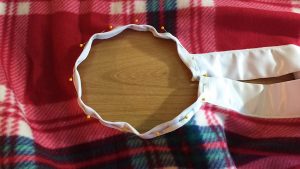
When it comes time to bind the interior circle, do yourself a huge favor and switch to binding that is cut on the bias. When fabric is cut on the bias it is much easier to curve it, which makes binding circles, especially interior circles tremendously easier.
Here I switched to prepackaged white bias binding and though pinning is not my favorite, thing, for this project I pinned everything carefully in place.
Pro tip: think ahead before you pin and place your pins in the direction that you sew. This will it easier to pull them out as you go around the circle.
Tie it off
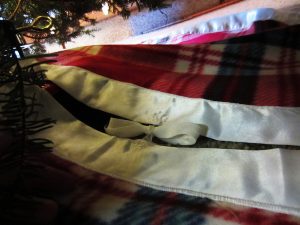
Lastly, don’t forget the ties! I used four pieces of the binding tape that I used on the interior circle to create ties, two at the top of the circle, and two 12 inches down the cut edges.
Here is my tree before the plaid tree skirt.
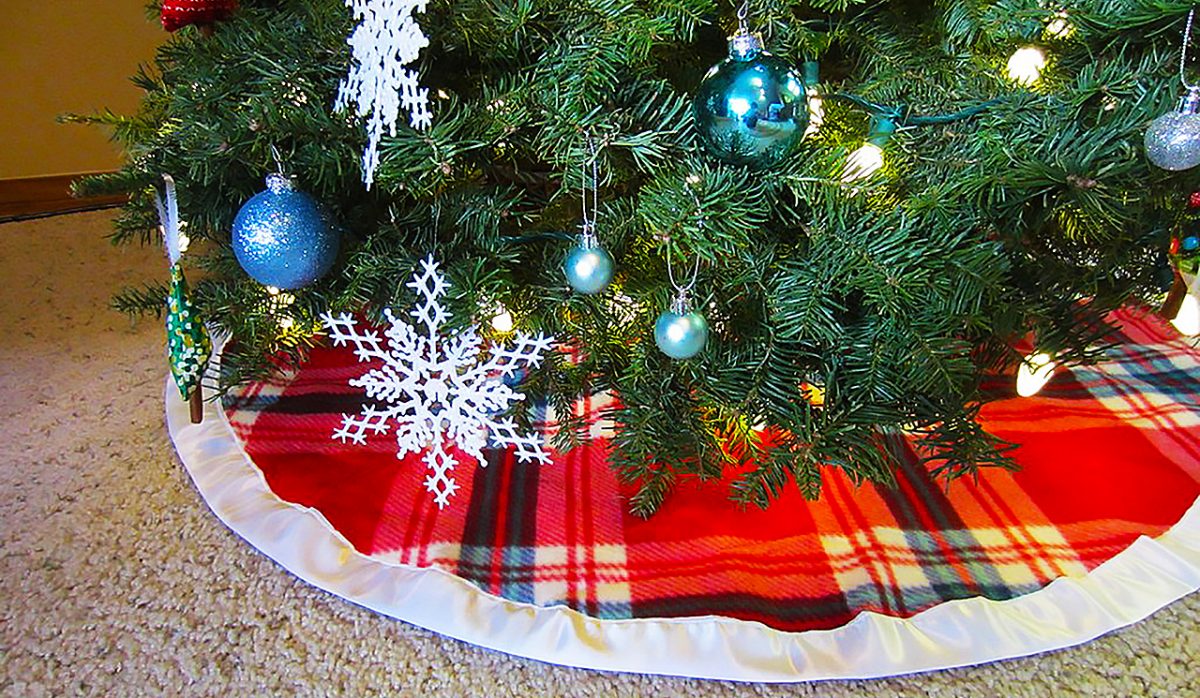
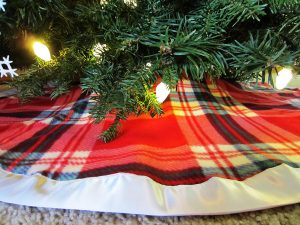
And voilà, the finished product!
The combo of fleece, plaid, and satin just warms my heart.
What are you DIYing this holiday season? Let us know and happy sewing!

