How to Sew Valentines: 33 Project Ideas to Show Your Loved Ones How Much You Care

How to Sew Valentines: 33 Project Ideas to Show Your Loved Ones How Much You Care

Sew valentines this year

I challenge you to sew valentines this year to show your love.

I challenge you to sew valentines this year to show your love.

I challenge you to sew valentines this year to show your love. Anyone can buy trinkets, but making something with love infuses more meaning into even simple gifts. Heartfelt gifts don’t need to be elaborate to mean a great deal.

From simple sewn hearts to labor of love quilts, the web is full of fun ideas that you could use to sew valentines this year. You can make a little something for every person you love. And there is nothing wrong with sharing a little love with people you just like, too. From your sweetheart to your grandma to your neighbor or teacher, everyone who you bless with a handmade gift will appreciate that you spent time making something just for them.

Sew valentines: my simple ideas

I’ll start by sharing three simple ideas of my own that I’m using this year to sew valentines for my family and friends, including an easy way to add a homemade touch to candy I’ll pick up at the store.

Felt or fleece hearts

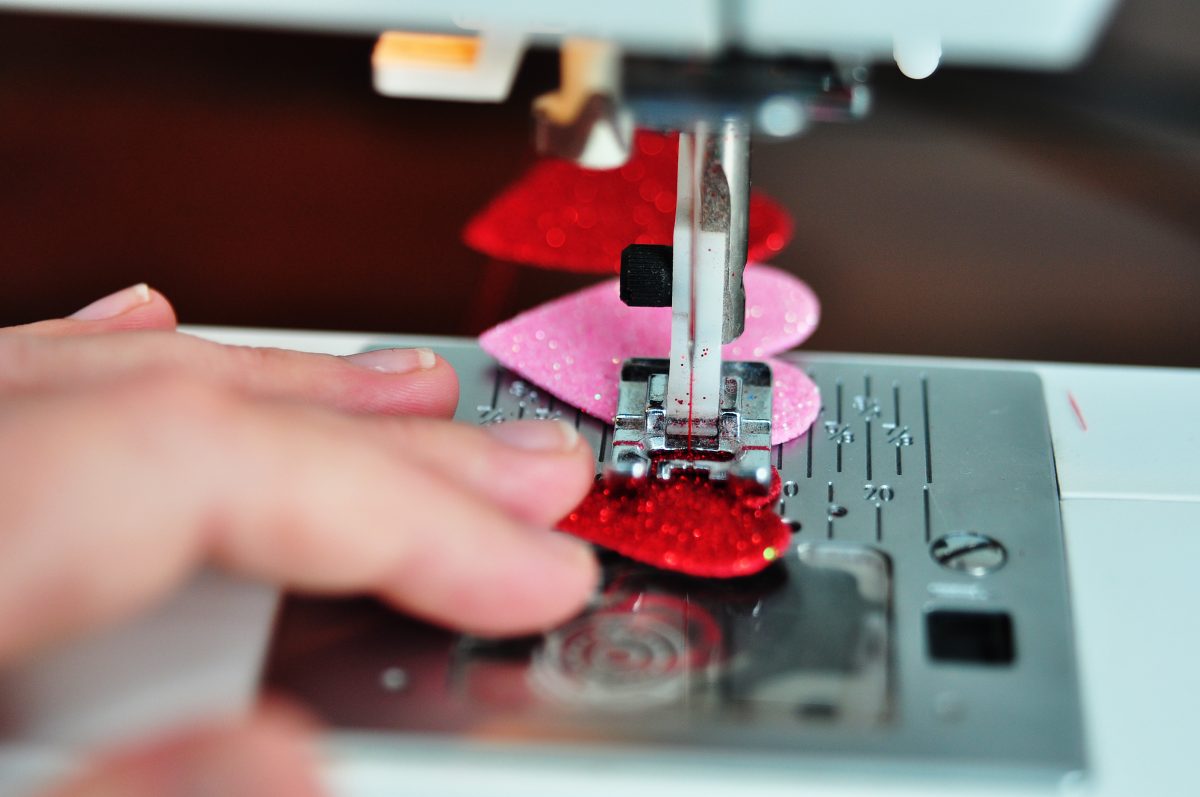
These couldn’t be simpler to make. Just draw a heart pattern on paper, cut out, and pin to two layers of fleece or felt. Cut these out, then sew them with right sides together, leaving an opening for turning. Stuff, and then sew the opening closed. I’m stuffing them with dried lavender flowers to make simple sachets for my friends. I once made a pair of these and filled them with baking soda to stuff in my gym shoes, and this worked well to eliminate odor. You could also use lentils and make a set of heart bean bags for a game for your kids.

You could also use lentils & make a set of heart bean bags for a game for your kids.

You could also use lentils & make a set of heart bean bags for a game for your kids.

Valentine novelty fabric pillowcases

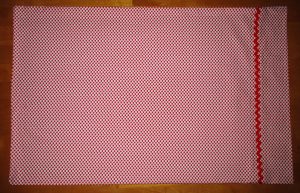
There is nothing easier to make from a yard of cute fabric than a pillowcase. To make one, hem across one long side. Then fold the fabric widthwise, with right sides together, and sew or serge the other two sides. Turn right side out. That’s it! Of course, you can dress these up with decorative trim. But choose a cute enough fabric and there’s no need to dress it up further.

Attach trim after hemming, before sewing together.

Attach trim after hemming, before sewing together.

Simple gift bags

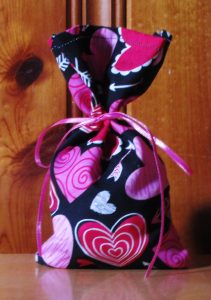
Use the pillowcase instructions above in miniature form to create simple gift bags to fill with chocolates or other candy from the store. Or for children, include dollar store trinkets such as small toys. Tie with a ribbon. You could amend the directions slightly to make drawstring bags instead.

Use the pillowcase instructions above in miniature form to create simple gift bags.

Use the pillowcase instructions above in miniature form to create simple gift bags.

I’ll also be making some projects that I have collected from all over the web. Follow these links to find the perfect projects to sew valentines for everyone that you love:

Sew valentines: more easy ideas

I might make one for myself!

I might make one for myself!

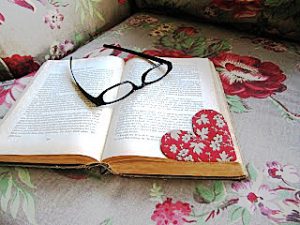
  • Fabric Heart Bookmarks: Here is another project so easy that you can whip up several in mere minutes. This is the kind of sweet gift that most anyone could use. I might make one for myself!
  • Felt Heart Ornament and Garland: I plan to make a couple of these ornaments to share as gifts, and the garland for my house.
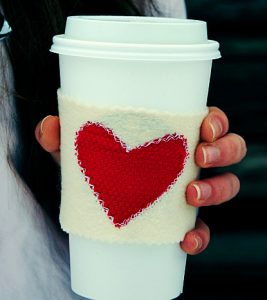
  • Warm Heart Coffee Cozy: Here is another simple idea that makes a nice gift for most anyone.
Warm heart coffee cozy.

Warm heart coffee cozy.

Sew valentines: cards

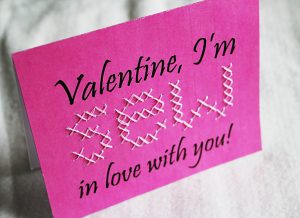
Here’s how to incorporate your love for sewing by hand while making paper cards.

Here’s how to incorporate your love for sewing by hand while making paper cards.

Sew valentines: a game and a toy

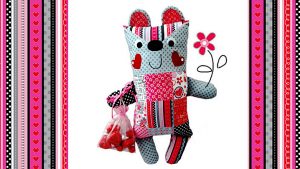
There are lots of ideas for softies to sew, but none are as cute as this sweetie.

There are lots of ideas for softies to sew, but none are as cute as this sweetie.

Sew valentines: bags and purses

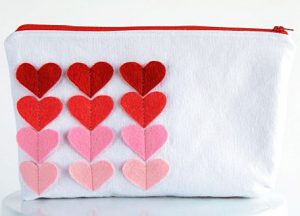
This change purse includes a key ring.

This change purse includes a key ring.

Sew valentines: pillows

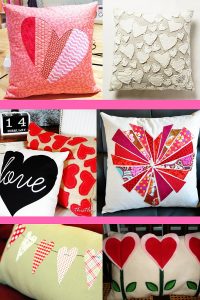
This pattern features reverse appliqué.

This pattern features reverse appliqué.

Sew valentines: quilts

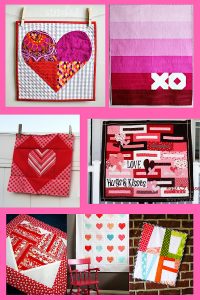
Valentine quilt roundup.

Valentine quilt roundup.

Whichever projects you choose, I hope you have a happy Valentine’s Day!

Sewing for All Seasons

One of the things I love best about sewing as opposed to some of my other creative ventures is that I can do it any time of year. In the fall and winter, I can make blankets, jackets and other warm items. During the spring and summer months, I can make cute skirts and dresses and flowy decorative items. The different material weights and textures means it’s never too hot or too cold to sew! Here are some of my favorite projects for each season.

Sewing for All Seasons

Sewing for All Seasons

Winter

When it’s cold outside, there’s nothing better than lighting a fire and sewing something with warm, cuddly fabric.

Flannel Blanket

I absolutely adore flannel. It’s always warm and gets softer with each washing. This cozy blanket is easy to do and can be made in any size you like. We’re big on throw blankets in this house, so that’s what I did. Because flannel is available in so many colors and patterns, it’s easy to find something that will match your home and your personal style.

Dinosaur Hoodie

The challenge with winter is that kids are stuck inside. This sewing project will keep you warm and provide them with hours of imaginative play. Can you say “roooarrrr!”? Your kids will love playing dinosaur with this hoodie. Make a couple of the neighbor kids too and have a dino party!

Spring

Spring is a time of renewal. The weather warms up and life starts to return to the great outdoors. It’s still a bit cool to go out and enjoy it without a light cover up and there can be days on end of rain keeping you indoors. That’s where these sewing projects come in!

Napkins

Spring is often a time when we entertain more. We can open the windows and doors and guests can flow in and out without tracking snow, ice and dirt. Depending on the occasion, setting a pretty table can be part of the deal as hostess. Check out these colorful napkins. They’re perfect for spring and summer and a conversation starter too!

Picnic Blanket

It might be a bit cool yet to have a picnic, but it’s never too early to plan for one. This adorable picnic blanket is a great spring sewing project. While you’re inside working on it watching birds and other life return to your yard, you can daydream about that first picnic of the year. Won’t it be great with this new blanket?

Summer

Summer is all about hot days, trips to the beach and keeping cool. You may not be spending too much time with your sewing machine, but that’s okay. These quick projects won’t get you overheated – instead they’ll help you keep cool once they’re done.

Towel Wrap

I don’t know about you, but I’m not a fan of getting out of the pool or ocean having to struggle with my towel. This fabulous towel wrap means I can keep my hands free for a drink and a book while still staying dry. Even better – it upcycles towels that might otherwise get tossed.

Wine Bag

To go with that lovely picnic blanket you made during the spring, you need a wine bag to tote your bottle for that elegant picnic. You could also use it as a wine gift bag if you need to bring a gift to a house party. It works up quickly and can be made for any style you can imagine.

Fall

I love fall! The changing leaves, the crisp air and the smell. It’s somehow romantic in a way. While I’m going to spend as much time outdoors as I can, there are some great fall sewing projects for those dreary fall days when I can’t get out.

Pillow

I love this! Making this pillow means I can bring some of the fall colors inside while using up some of my scrap stash. Don’t have all the colors? No problem! Remnants are cheap and easy to find in every color and pattern you’ll need.

Coasters

As much as I love fall, I dislike rings on the coffee and end tables as strongly. These adorable leaf coasters solve the problem while bringing all my favorite fall colors into the décor. I personally went for more realistic fabric colors, but you can do whatever you like.

What are some of your favorite seasonal sewing projects?

Country Kitchen Mug Rug

DIY – Country Kitchen Mug Rug

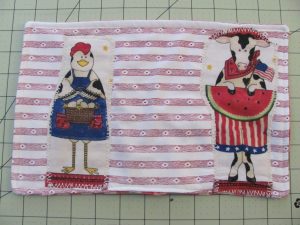
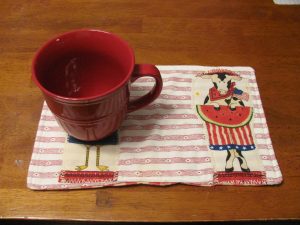
Country Kitchen Mug Rug.

Country Kitchen Mug Rug.

Mug rugs are extremely popular in the sewing world. They are usually fairly easy to sew and are generally easy to customize. Mug rugs make quick, easy, fabulous personalized gifts. I made a bunch of them personalized to the tastes and colors of each individual for friends and family. It wasn’t long before the requests for a second for work or for a child or friend of theirs came in. I absolutely love designing these. They don’t take long to make and I get to play with all sorts of fabric designs. They’re a wonderful project to add personality and flare to.

“Okay,” you say, “this sounds wonderful, fabulous, awesome. But what in the world is a mug rug?”

What is a Mug Rug? A Mug Rug is a cross between a full size place mat and a coaster. Smaller than a place mat, there is usually just enough room for a coffee or tea mug and a snack. They work perfectly for that breakfast coffee or an afternoon snack of tea and cookies. Typically the front side is the focus of designs and decals. The back is usually just one piece of decent fabric. The back fabric can match the colors or design on the front or can be completely different. If spills occur, just flip it over and finish your cup before tossing it in the dirty laundry.

Country Kitchen Mug Rug

Level: Beginner

Time to Complete: In an Hour

Sewn by: Machine-1/4 in. straight stitch except where indicated

**Tip** Wash all new materials prior to use to avoid shrinkage when you wash it later on.

**Tip** Iron cut pieces before sewing and in between each step. This helps in the sewing process and the end results will look more professional.

Country Kitchen Mug Rug.

Country Kitchen Mug Rug.

Materials:

  • 2 – 12″ L x 8″ W  Front/Back
  • 1 – 12″ L x 8″ W Cotton Batting
  • 2 –   7″ L x 2 1/2″ W Farm Animals

**Tip** I used material in my massive fabric collection. I always get new ideas every time I dig into my stash. It’s a great way to dream up new projects.

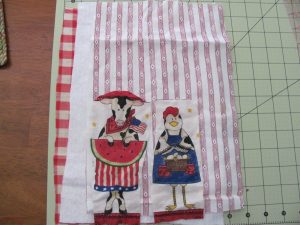
  1. Cut out fabric.
  2. Place front piece and batting together, right sides out.
  3. Pin farm animals to front and batting pieces and sew with 1/8 in. seam allowance. Any stitch is fine. I like to get creative and use the more decorative stitches when attaching smaller pieces to the overall product. I used a basic zig zag stitch.

    Panel of common stitches.

    Panel of common stitches.

  4. **Tip** I’ve been experimenting with decorative stitches I’ve never used. My Singer Advance has tons of decorative stitches. The owner’s manual describes the use of each stitch. I’ve also gone online to research stitches and to see how and for what projects others used them. Pay attention to the manual for any adjustments to stitch length or tension. Some stitches require adjustment changes. And, don’t forget to change settings back to auto when moving back to a straight stitch.  
  5. I used a basic zig zag stitch.
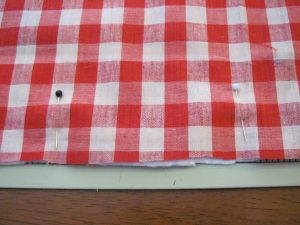
  6. Place front and back right sides together. Make sure to mark a 3 in. to 4 in. opening to pull the fabric right side out. I place pins vertical instead of horizontal pins at the opening so I know where to stop.

    Mark area to be left open.

    Mark area to be left open.

  7.  At this stage the cotton batting should be on the outside. We need it inside when we pull the fabric right side out.
  8. Sew with 1/4 in. seam allowance, leaving the open space.
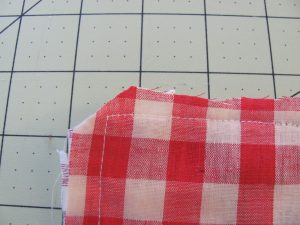
  9. Cut corners. Turn fabric right side out. Shape mug rug and push out       corners.
  10. ** Tip** Cutting a small amount off the corners before turning material right side out allows for better-shaped corners when turned right side out. I use a pencil to shape the corners.

    Cut corners close to stitching.

    Cut corners close to stitching.

  11. Iron. Ironing at this stage is important to flatten material and inside seams before top stitching.
  12. Top stitch with 1/8 in. allowance around entire front side to give it a finished look as well as hold down your seams on the inside. Also make sure to stitch over the opening used to pull the fabric right side out. Iron.
  13. Viola! Finished!

Time to celebrate. Take a well-deserved break, make some coffee or tea, sit back and ENJOY!

Coffee break!

Coffee break!

I hope you enjoyed this project. If you have any questions or comments, please share! Any ideas, shortcuts, or other contributions are welcome.

I would love receiving picture posts showcasing your Country Kitchen Mug Rug creations 🙂

You are more than welcome to suggest project ideas. What would you like to see and learn? Let’s journey together!