The Dos and Don’ts of Sewing: Cinderella Style

The Dos and Don’ts of Sewing: Cinderella Style

One of the most classic Disney movies is Cinderella, the 1950’s cartoon version of the popular fairy tale. In this story, we see Cinderella go from being a young girl who loses her mother and has to live with an unloving step-family to a woman who’s optimistic enough to take a chance by going to a fancy ball and catching the prince’s eye.

Every detail about this story line isn’t perfect—if she’s Prince Charming’s love, why can’t he recognize her without this shoe business?—but it’s still a staple for a lot of people in regard to movies they adored as children.

For a person who grows to appreciate sewing, the film can have another level of intrigue because sewing is a part of the story. Before the Fairy Godmother comes by to provide Cinderella her glittering, beautiful gown, she goes through the process of planning her own dress, which will be constructed from tools and materials within her home. The actual dressmaking happens at the hands of a team of friendly rodents once they realize Cinderella is too busy to finish the project herself, and the musical scene connected to their sewing is one of the most recognizable ones from Disney.Disney4
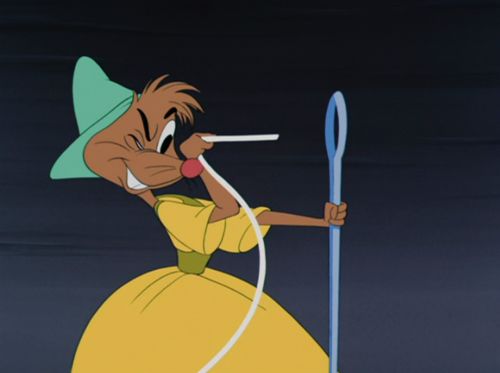
Beyond those aspects of familiarity and youth, there’s unique sewing advice happening within that dressmaking scene that you could apply to sewing endeavors. All it takes is a little consideration and a bit of imagination to find those gems of guidance within the lighthearted scenes of sewing.

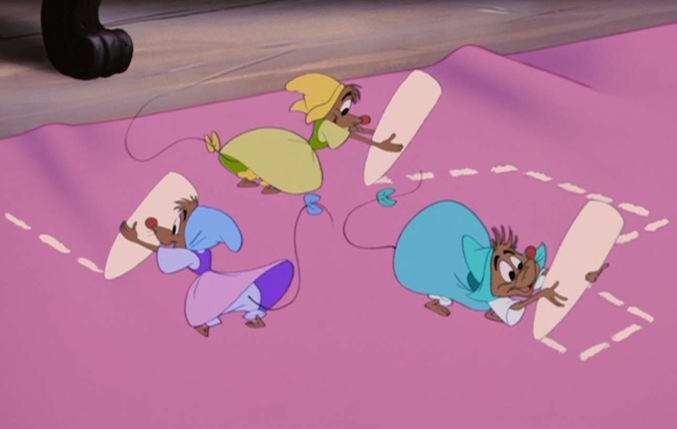
For instance, these mice have applicable tools at their disposal to see this dress come to life. There’s no machine in sight, but you do see other sewing essentials, like needle, thread, scissors, and chalk, all of which can at least be representations of things that are useful for sewing. The chalk, as an example, can be replaced by soluble pencils to trace your cutting lines, and like the bulky chalk the mice are using, you can wash out the remnants later. With that strategy, you’re making sure you’re sewing in a more precise way without forever damaging the fabric. Good strategy, mice!Disney5
As the dress is being assembled through pulley systems and such, the mice have a dress form setup to keep the fabric in its most natural wearing position. This detail cannot be overstated if you’re going to sew clothing like Cinderella’s dress because it makes you able to see the dress as it should be rather than bunching it up or expanding it unnaturally on a flat surface. You can tell how the dress will look, and you could prevent a time or two of accidentally sewing your dress sides together in the wrong places. Like the mice, make sure you have that form for these purposes!Disney3
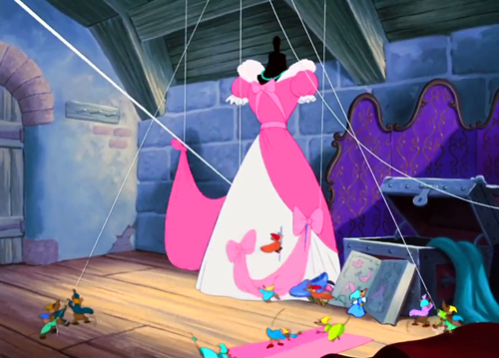
Unfortunately, though, the mice didn’t quite get everything right, and it makes sense to note those things as well. For example, you probably want to use a better method of organizing your supplies than a simple wicker basket that you can dive into. Even if you’re just tossing all of your supplies into a container like this and reaching in to gather what you need, if your organization is lacking, you could end up getting a sewing needle or straight pin in your hand. For the mice, this is particularly bad since the needle is about as tall as they are, but even for human-sized sewing fans, a straight pin in the hand can hurt!Disney2
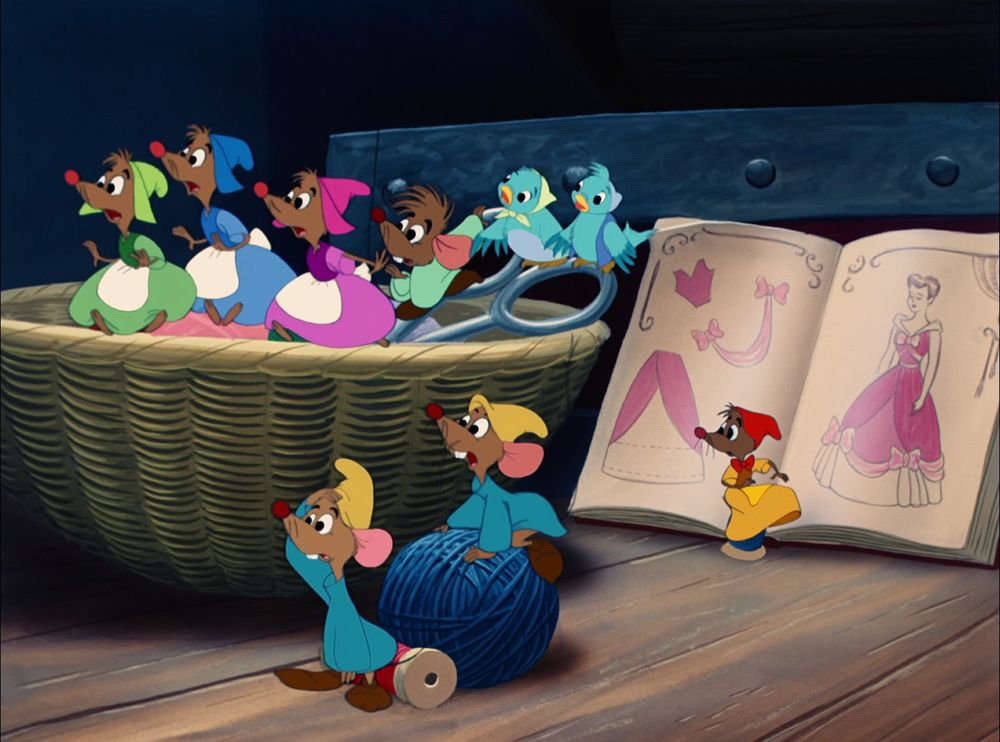
For this reason, you should consider organizing your sewing utensils better than our Cinderella mice friends! Use different containers for different items, have shelves to display them, use chest drawers to keep them stored… Whatever your strategy, do yourself the favor of not piling everything into one area that’s dooming you to minor injury!

One more detail the mice get wrong is how simple they make assembling this dress seem. Sure, they employ pulleys that you probably won’t work with, but let’s be honest. Cinderella simply points out a picture in a book that she wants her dress to look like and gives very basic instructions about what needs to be done, and the mice infer all of the in-between information even though there are no measurements listed at all in the book.Disney
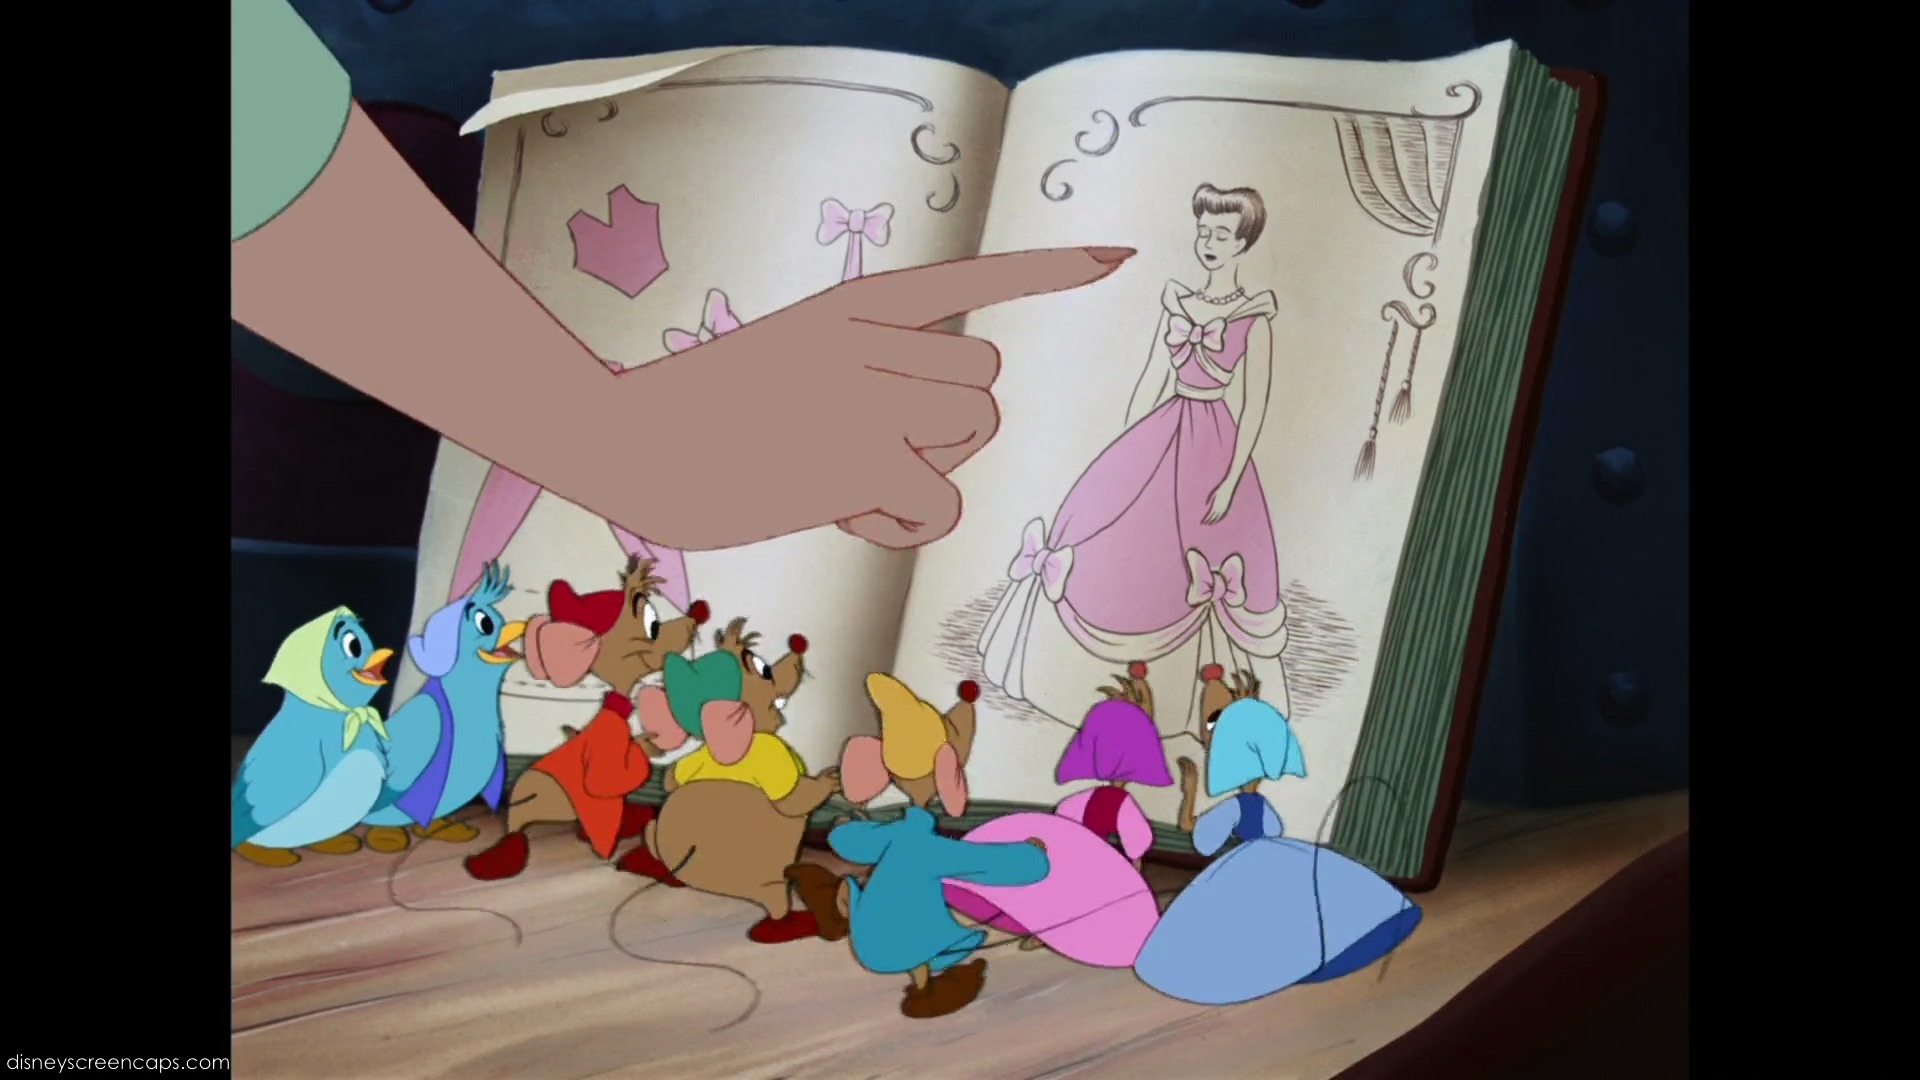
Fortunately for the mice, the foundation of this dress is already assembled since Cinderella is intending to alter something that she already has—another good tip from the mice: use what’s around you!—but if you take this at face value, the process is too simple. Without having measurements, at least, you could be setting yourself up to fail.Disney6
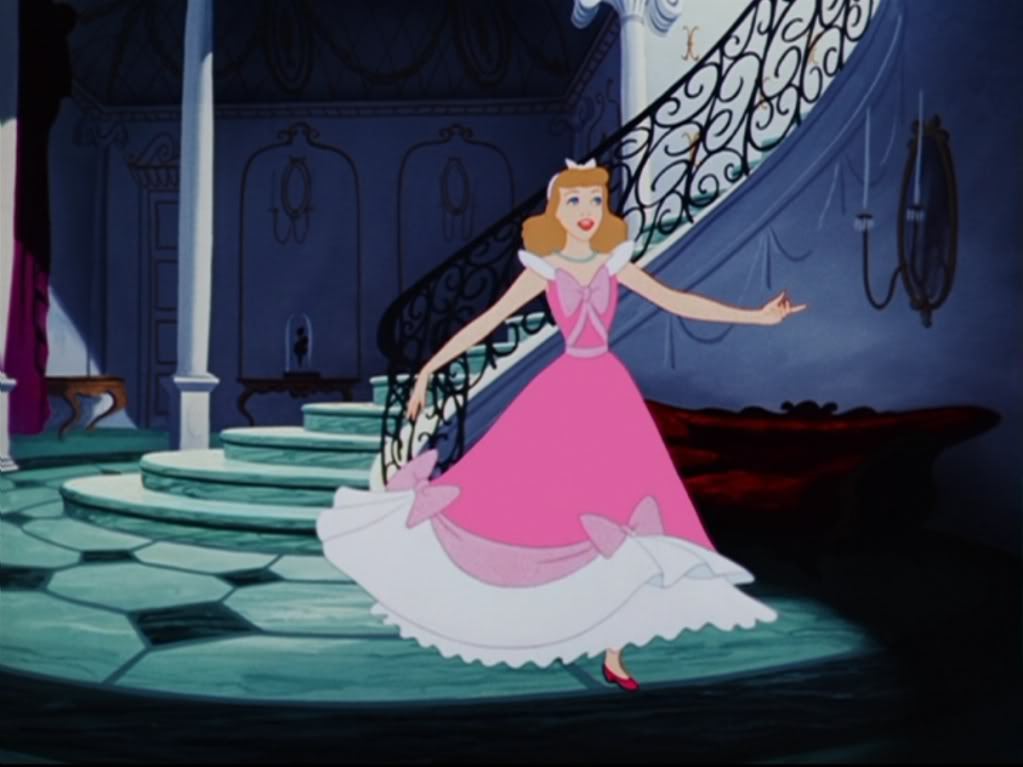
So rather than just picking a picture, use a pattern or at least take the measurements of the person who’s supposed to wear the finished product. Remember, after all, that the dress Cinderella intends to alter is her mother’s—not hers. There could’ve easily needed to be some redefining done to make it fit Cinderella just right, and the mice take a risk by not being more specific. On this, don’t be like the mice! Be measure-specific!

In the end, while the mice got some things very right and some things pretty wrong, it’s a catchy scene with an upbeat song that embraces sewing in a youthful manner. So, embrace the mice’s optimism, apply their useful techniques, and learn from what they did wrong.


Reference for all photos
Disney, W. (Producer), & Geronimi, C., Jackson, W., & Luske, H. (Directors). (1950). Cinderella [Motion Picture]. United States: Walt Disney Company.

Leftover Fabric: The Toss Across Edition

I think I’ve mentioned before that I have quite a bit of fabric leftover from the top layer of my quilt, right? Well, I do, and it’s interesting to come up with practical, usable projects that could give that fabric a purpose. This week, I did exactly that, and I’m going to share the idea that was a two-fold win for me: Using a little bit of fabric and creating something that I had a genuine reason for making.

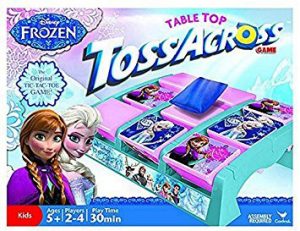
Frozen Toss Across set , and it comes with simple blue throwing bags.

Frozen Toss Across set , and it comes with simple blue throwing bags.

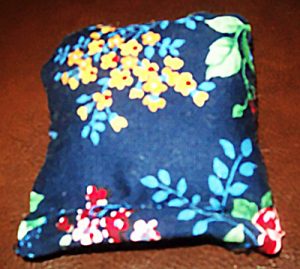
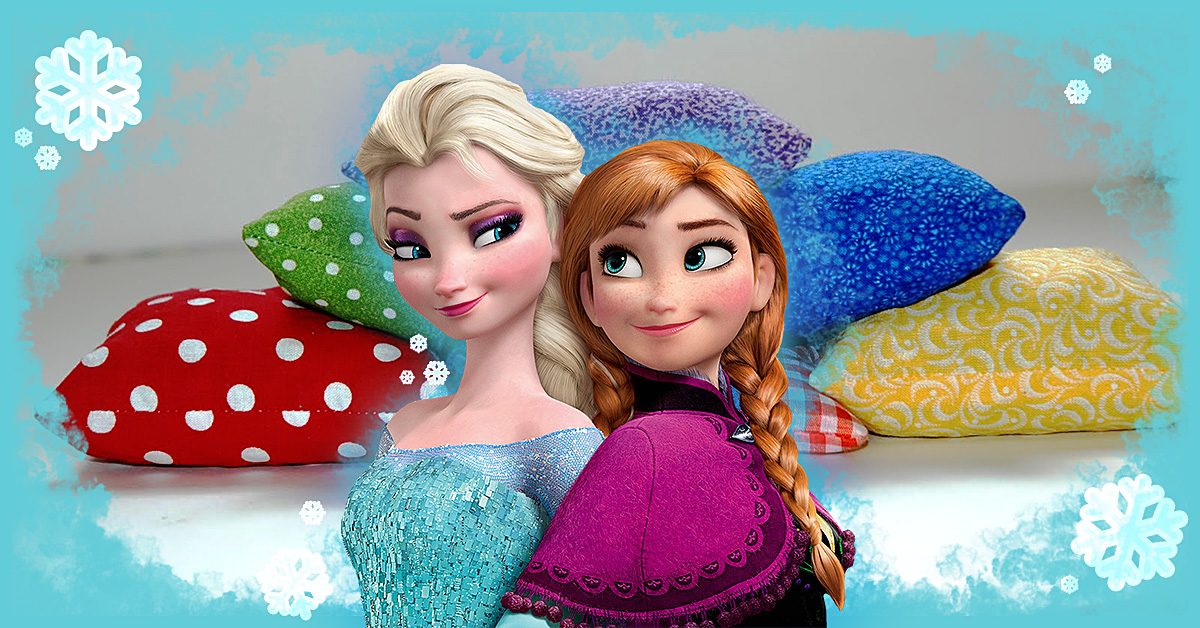
So, my niece has this Frozen Toss Across set , and it comes with simple blue throwing bags. The idea is to tic-tac-toe with Anna or Elsa (whichever character you are) to win, but the thing is that we currently only have three throwing bags out of the original set that we can use. What that boils down to is that the two of us would play the game one toss at a time, and we’d have to keep going over to the board to retrieve the bags for the next round. Sure, it’s doable, but it isn’t as convenient as only having to go bag-retrieving every third toss or so!

Get resourceful

Yesterday, it occurred to me that I have small pieces of material and fewer throwing bags than we used to have. Why not use some of that fabric to make new throwing bags?

It’s a simple idea, and the process was fairly to-the-point. All I needed beyond the sewing essentials of fabric, needles, thread, and pins was something to fill up the bag, which I honestly had to think on for a while — maybe until I was ready to fill the throwing bag. I thought about trying small rocks, but I was sewing at night. Since I didn’t want to wait until morning to finish my trial sewing bag or go rock hunting at night, I needed another option. At some point, it dawned on me that I have blue sand that could work, but you might find something just as fitting for the purpose around your house. Just think a little outside of the box, and the fillings might take shape!

Time to begin

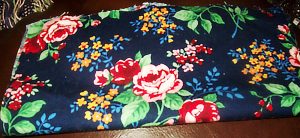
I took one of the pieces of fabric & folded it in half since the fabric size was nearly ideal to make two separate throwing bags.

I took one of the pieces of fabric & folded it in half since the fabric size was nearly ideal to make two separate throwing bags.

Now that we have the list of supplies, it’s time to get into how all of them came together into a Toss Across throwing bag. First, I took one of the pieces of fabric and folded it in half since the fabric size was nearly ideal to make two separate throwing bags. These bags needed to be small enough to flip spaces on the board, after all! Once I cut the fabric in half, I again cut it in the opposite direction so that what started as one piece of material was now four individual pieces — two for each throwing bag.

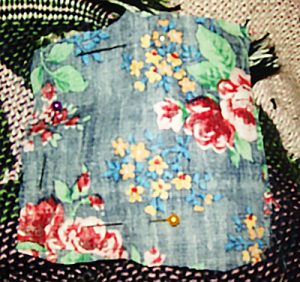
Luckily, these are small products, so I only needed about three pins to hold them!

Luckily, these are small products, so I only needed about three pins to hold them!

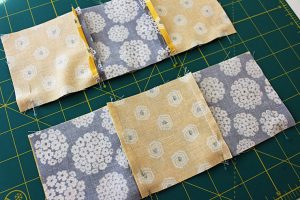
Then it was time to pin them. Luckily, these are small products, so I only needed about three pins to hold them! I took two pieces of the fabric and placed them together so that their printed sides were facing one another and pinned them on three sides to hold them steady. Note: This is also a good time to trim off any excess fabric on the ends if they’re terribly uneven with one another, though these seams will be inside the bag anyway. You don’t have to be too careful to make things perfect!

From there, it was time to sew, which was a pretty straightforward process! Three sides needed to be closed up completely, but I needed to keep that fourth side open to fill the sewing bag before I closed it as well. I simply sewed one side, then the next, and then the next. Then, it was time to flip the bag so that the printed fabric was now on the outside and add in what I decided would be blue sand to fill it. Again though, you can try a different tactic to fill the throwing bag — sand, beads, etc.

You can try a different tactics to fill the throwing bag — sand, beads, etc.

You can try a different tactics to fill the throwing bag — sand, beads, etc.

Be sure though while you’re filling the throwing bag that you don’t fill it too full. It’s important that it’s weighty enough to be able to turn one of the Toss Across spaces, but if it’s too full, you might have a hard time sewing that final side together. As it happens, I ended up towing the line, so for future projects, I might use a little less filling!

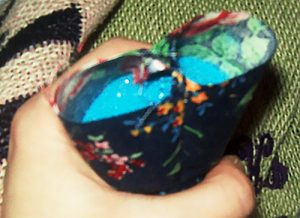
Once I’d finished with the filling, I sewed that final line together. I did this by folding the edges inward, kind of like I was wrapping a present, then folded the line downward to pin it in place. After that, I just had to sew what I’d pinned and cut the thread.

I did this by folding the edges inward, kind of like I was wrapping a present, then folded the line downward to pin it in place.

I did this by folding the edges inward, kind of like I was wrapping a present, then folded the line downward to pin it in place.

I have plenty of fabric to keep making these, but already with this one bag, I’ve evened up the throwing bag numbers so we can play two rounds at a time!

Pressing: Side or Open?

Pressing: Side or Open?

Once upon a time, I had an extended conversation (argument?) with a friend as we — as adults — threw all of our cards on the table in regard to the matter of who had it worse: Pluto or Goofy.

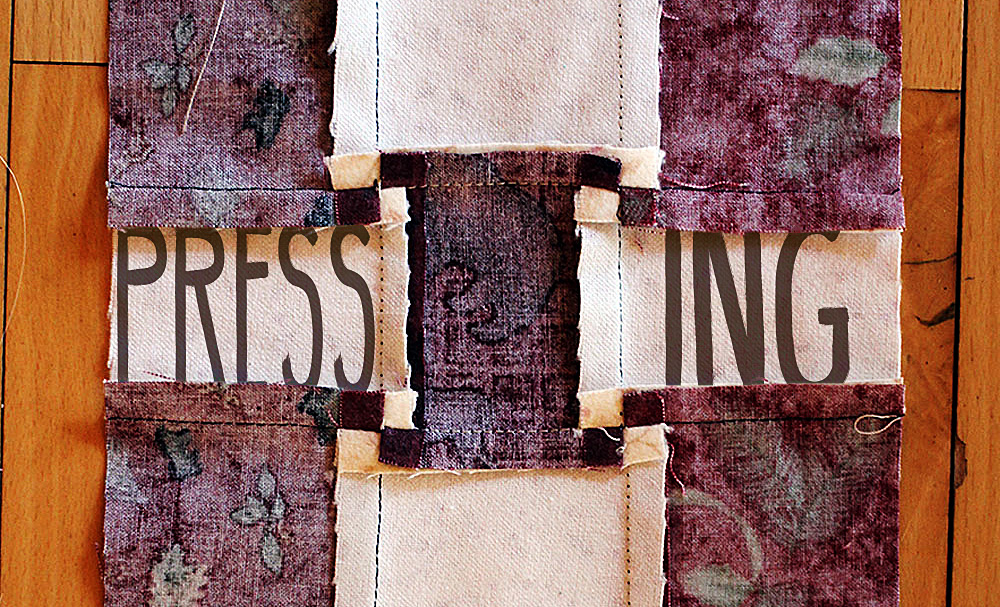
The point of referencing this conversation is that sometimes some of the smallest details can be points of major debate, and that idea is as true in the sewing world as it is for preferred cartoon characters. For instance, pressing your seams while sewing is a common thing, but there are two methods that are seemingly at odds among seam-pressers: side pressing and open pressing. It’s a small detail, but both sides have very real support! Don’t believe me? Do some Googling!

Some of the smallest details can be points of major debate.

Some of the smallest details can be points of major debate.

I’m not sure I personally lean too heavily in either direction, so let’s go through them and see if we can come up with a winning method! The competition will be based on a point-gained system, and it will include the understood sewing project of a quilt for reference. Sound good? Then let’s go!

Let us begin

How about we start with the to-the-side method?

How about we start with the to-the-side method?

How about we start with the to-the-side method? One advantage would be that it’s easier to push the material to a single side for ironing than to force the pieces apart and iron openly. That’s something that, to me, a general consideration of the matter would support. You don’t have to hold both pieces of fabric in separate places like you might with the open method, so one point for side pressing!

Another benefit would be that, as a certain source pointed out, open pressing would logically weaken your product. With that technique, you would have an easier time seeing your stitches after the pressing because there isn’t that barrier of fabric to snuggly nestle them. Stitches are more protected with material covering them, and with the effort you put into your quilt, simple things to keep it intact are good! So, two points for the to-the-side notion!

One nice aspect about pressing to the sides is once you start pinning it's much simpler than pinning fabric pressed in the open fashion.

One nice aspect about pressing to the sides is once you start pinning it’s much simpler than pinning fabric pressed in the open fashion.

One other aspect about pressing to the sides is that, should you need to pin things following the pressing, doing so is much simpler than if you attempt it once it’s been pressed in the open fashion. Since I’ve been known to take a straight pin to the finger anyway, this advantage seems very tempting! Side pressing 3, open pressing 0!

Let’s open up

The open method isn’t altogether a bad idea.

The open method isn’t altogether a bad idea.

But, then again, the open method isn’t altogether a bad idea. For one thing, you don’t have to concern yourself with what direction you’re pressing your material. There’s no need to go back and see how you pressed a nearby seam because you can just assume it was open, like the rest. The uniformity is already there without having to come up with a pattern. Point one for the open strategy, then!

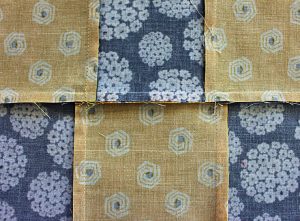
Another detail worth mentioning about this open approach is that you might find that you have a less lumpy final product. Again, this is logical. If you press your material to the right, then on the right, you have both sides of the seam and the fabric it’s laying against. That situation makes for three layers of fabric on the right for every pressed seam (not including batting and backing) while the left side — the one you pressed away from — would only have one. And that’s not counting places where your seams would overlap with other seams. Now, of course, the open approach doesn’t make everything equal across the quilt as not every piece of overlying material would have a seam pressed behind it. Still, for the areas where those seams would be present, having two pieces of material on one side and two on the other would be a more balanced situation and could lead to a smoother quilt (though as one source pointed out, “smooth” might not be your goal). So, one more point for this method!

The open approach doesn’t make everything equal across the quilt as not every piece of overlying material would have a seam pressed behind it.

The open approach doesn’t make everything equal across the quilt as not every piece of overlying material would have a seam pressed behind it.

An additional benefit of open pressing is that it’s more convenient when dealing with different colors of fabric, particularly if you’re pairing a dark one with a light one. If you press them to the side, there’s the chance that you’ll end up seeing darker fabric through a lighter one if you don’t plan and choose the correct side to press to. If you’re pressing them openly though, each color could be behind its own pattern, potentially hiding your dark fabric behind the same type of dark fabric. Seeing as how noticing a different pattern through the top of your quilt might not be aesthetically pleasing, I think the open method gets one more point in this contest!

And the winner is…

That makes the score three-to-three. So, what’s the tiebreaker?

Preference! I can toss all kinds of facts and details at you, but in the end, your quilt is, in fact, yours! Work with what makes you feel the most comfortable for these aspects. For some people, habit might lead the way. For others, it might be a logical deduction of what seems best. In the end though, there’s not an across-the-board right or wrong answer to this dilemma. Either/or, sometimes this one and sometimes that one… Sewing is a world of opportunity, and this small factor is one of the many to choose from!