How to Hang a Quilt

How to Hang a Quilt

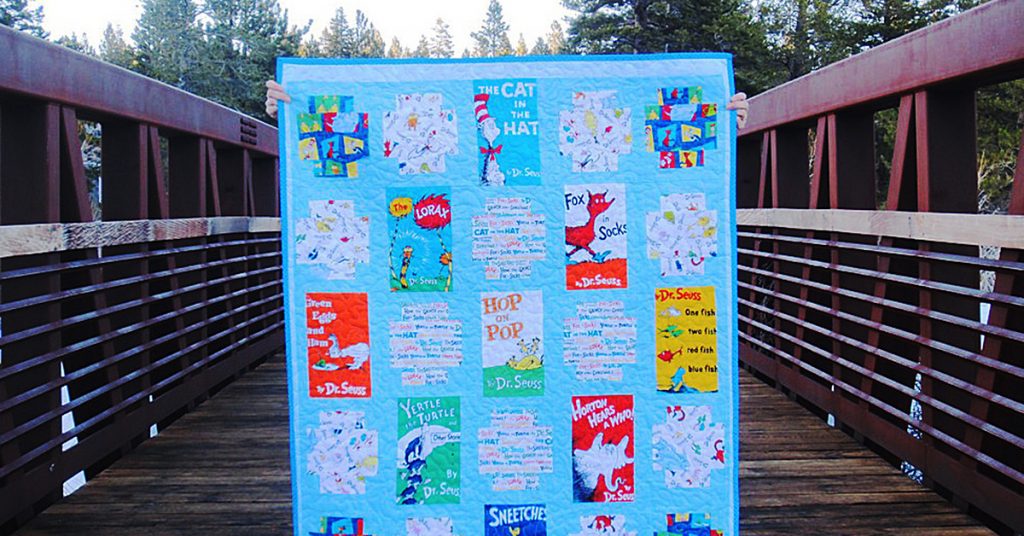
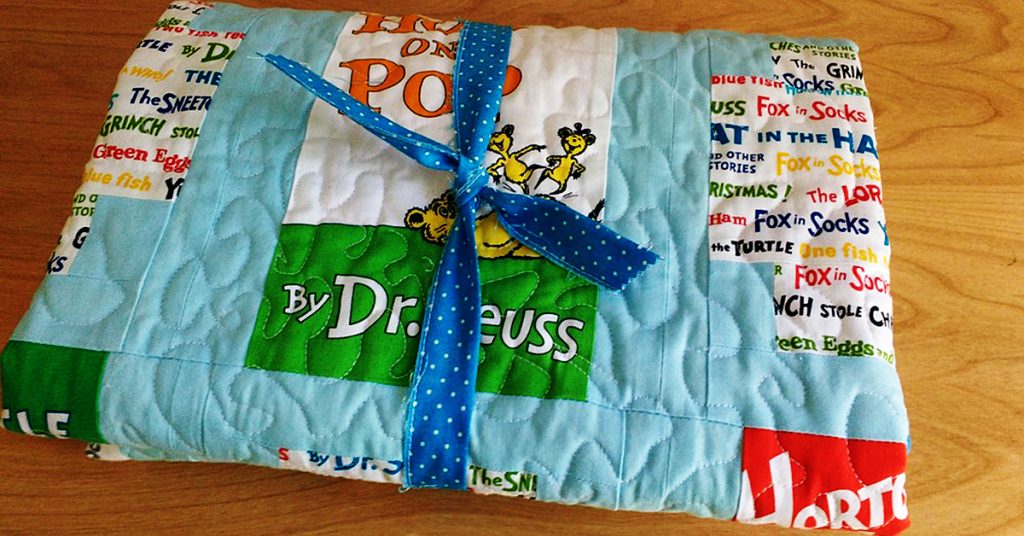
I recently wrote about this Dr. Seuss Quilt I made to donate to our local elementary school’s annual gala. Most of my donations have been made online so I hadn’t thought in advance about hanging or displaying the quilt at an event.


Dr. Seuss Quilt

Dr. Seuss Quilt

I poked around the internet and looked at the best way to consider hanging a quilt after it had been made. Many showed how to sew triangle pouches or hanging sheaths during the process of adding on the back of the quilt but not many talked about what to do after the fact. Here is what I decided on.

Let’s get started

There were still a few strips of my binding fabric on hand because I always tend to make too much.

There were still a few strips of my binding fabric on hand because I always tend to make too much.

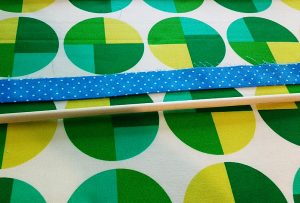
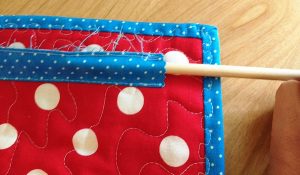
I headed to our local hardware store and bought a small dowel. I was pretty sure that if I doubled over the binding strip, the dowel would slip in perfectly to the tube I created.

I was pretty sure that if I doubled over the binding strip, the dowel would slip in perfectly to the tube I created.

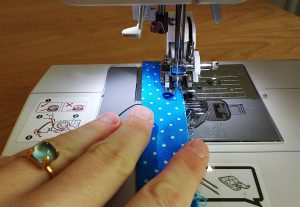
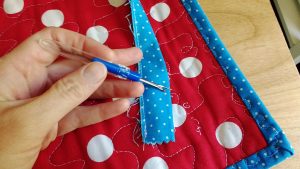
I sewed the top of the tube in advance of sewing it onto the quilt.

I sewed the top of the tube in advance of sewing it onto the quilt.

OK, easy part is over…

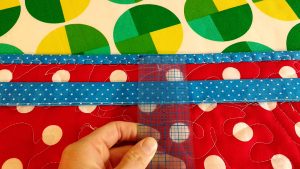
This part was the trickiest. I really didn’t want a super visible stitch on the quilt’s front so I measured front and back to align the fabric tube as perfectly as I could with a main seam on the front.

This part was the trickiest.

This part was the trickiest.

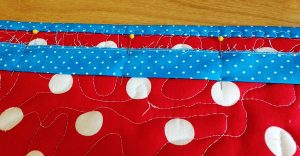
I pinned it and double checked on the front to see if I had gotten it right.

I pinned it and double checked on the front to see if I had gotten it right.

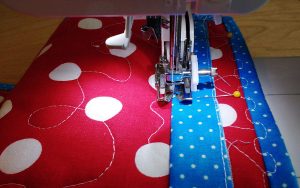
Then I used a basting stitch and sewed the bottom of the tube to the back of the quilt.

Then I used a basting stitch & sewed the bottom of the tube to the back of the quilt.

Nicely done

Moment of truth! And I nailed it almost perfectly. The seam is pretty invisible on the front.

The seam is pretty invisible on the front.

The seam is pretty invisible on the front.

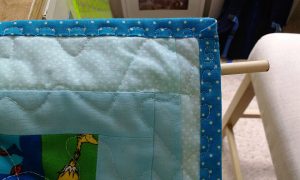
Next up I slid the dowel into the fabric tube and voilà, it fit in just right.

Next up I slid the dowel into the fabric tube & voilà, it fit in just right.

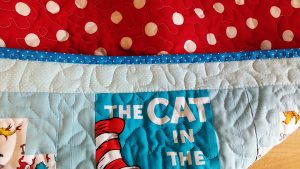
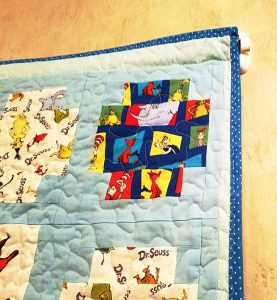
Here’s how it looked from the front.

Here’s how it looked from the front.

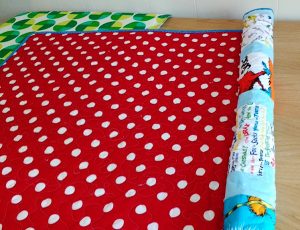
With the dowel in place, I could roll the quilt for easy transportation.

With the dowel in place, I could roll the quilt for easy transportation.

Showtime

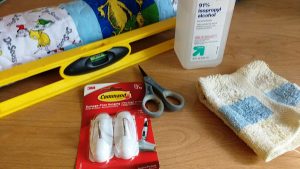
I contacted the hotel where the event would be happening and went in advance to see where exactly I could hang the quilt. The management let me know I could use Command Hooks on the wall so I brought the hooks, some rubbing alcohol and a cloth wipe (to clean where I’d be placing the hooks), a level to make sure I hung them evenly, the quilt, and some scissors to trim any stray threads.

I contacted the hotel where the event would be happening & went in advance to see where exactly I could hang the quilt.

The hooks needed an hour after being hung to attain their full strength so I brought the quilt back home until the actual event.

The hooks needed an hour after being hung to attain their full strength so I brought the quilt back home until the actual event.

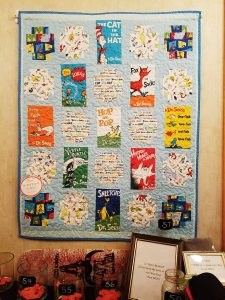
And here is the finished product hanging at the gala that night. Lovely, no?

Here is the finished product hanging at the gala that night.

After the gala I brought the quilt back home to remove the fabric tube on the back. The basting stitch I had used made it quick work to take off.

The basting stitch I had used made it quick work to take off.

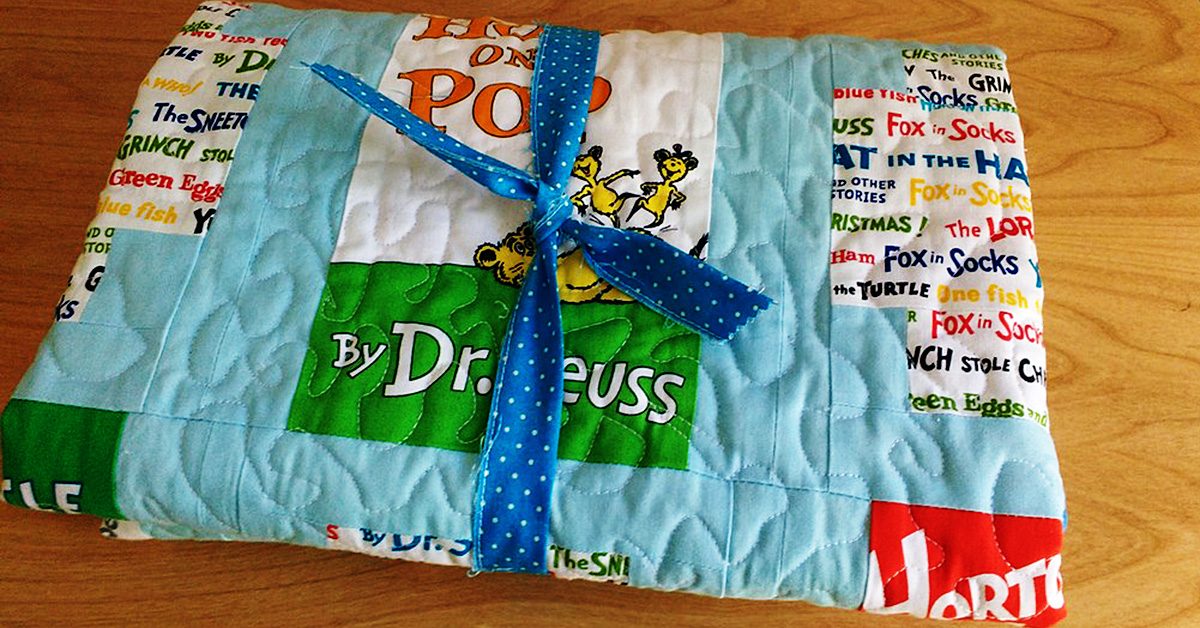
I then recycled the tube of fabric and used to wrap up the quilt for gifting.

How to Hang a Quilt

Have you ever donated something you’ve sewn to benefit an organization you cared about? Let us know in comments!

———————————————————————————–
Charlotte Kaufman is a writer and sewist in Mammoth Lakes, California. She specializes in marine and home interiors and continues to fall more and more in love with quilting. You can follow her at charlottekaufman.com.
Sewing Circles for Charity

Sewing Circles for Charity

Many people have items related to charitable donations on their new year’s resolutions list. If you’re one of them, you can use your sewing skills to spend more time with other sewers and achieve your charitable donation goals for the year by having a charity-focused sewing circle. Here’s how to get started.

Get out in your community and find a cause to support.

Pick a charity

Sewing Circles for Charity

Are there local organizations that would appreciate handmade items? Perhaps a shelter would appreciate clothing items or hospital would appreciate baby hats? Animal rescues may appreciate blankets or pet shirts. Get out in your community and find a cause to support! Ask to speak to the director or someone in charge of community relations. Tell them you want to contribute handmade items on a regular basis and see what they can use. Once you find a charitable organization in your community and understand their needs, you can get started planning and promoting your group.

Find a pattern

Once you know what the charity needs, find an easy to make pattern. It should be simple enough for a beginner to make while interesting enough to engage more experienced sewers. Make sure you have numerous copies and bring them with you to each sewing circle so newcomers or anyone who forgot theirs can get a copy without hassle.

Pick a date, time, location

Will this group be in your home? Do you have space for several sewing machines to run simultaneously? If not, you’ll need to find somewhere more suitable. Local libraries, churches or community centers may be able to host your sewing circle. Make a few calls, send a few emails. Most people and organizations rally around good causes so it shouldn’t take long to find a suitable place.

Working with their availability and yours, pick a recurring date for the sewing circle. Once a month is a good frequency. It’s often enough to keep people interested and excited, but not so often as to feel like a burden. Decide what time of day you’d like to meet and get that room booked with your site.

Invite and promote your sewing circle

Facebook and other social media outlets can be a great way to promote your sewing circle. Create a public event and include all the details about the charity as well as meeting time, location, etc. Invite your friends who sew and encourage them to invite others. See if the location hosting your charity sewing circle is willing to promote the event too. Ask the charitable organization if they’re willing to promote it to their members and donors.

Post fliers (with permission) in community centers, craft stores, fabric stores, senior centers, etc. Include an appealing photo or graphic along with the text information to entice people to look at it.

No matter how you promote it, make sure people understand what they need to bring (fabric, sewing machine, etc.) Also, be sure to include contact information as well in case people have questions.

Collect finished projects

As the charity sewing circle meets over the course of several weeks or months, projects will be completed. Collect them and deliver them to the designated charitable organization. Be sure they understand about your sewing circle – they may promote it to their members and donors now that they’ve seen results. Keep doing this on a regular basis and provide any feedback from the charity to group members. This will keep them engaged and motivated to continue donating.