The Dos and Don’ts of Sewing: Cinderella Style

The Dos and Don’ts of Sewing: Cinderella Style

One of the most classic Disney movies is Cinderella, the 1950’s cartoon version of the popular fairy tale. In this story, we see Cinderella go from being a young girl who loses her mother and has to live with an unloving step-family to a woman who’s optimistic enough to take a chance by going to a fancy ball and catching the prince’s eye.

Every detail about this story line isn’t perfect—if she’s Prince Charming’s love, why can’t he recognize her without this shoe business?—but it’s still a staple for a lot of people in regard to movies they adored as children.

For a person who grows to appreciate sewing, the film can have another level of intrigue because sewing is a part of the story. Before the Fairy Godmother comes by to provide Cinderella her glittering, beautiful gown, she goes through the process of planning her own dress, which will be constructed from tools and materials within her home. The actual dressmaking happens at the hands of a team of friendly rodents once they realize Cinderella is too busy to finish the project herself, and the musical scene connected to their sewing is one of the most recognizable ones from Disney.Disney4
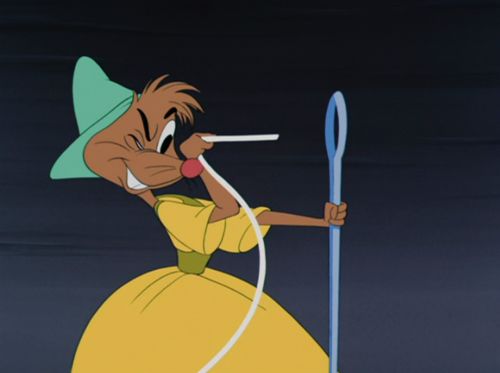
Beyond those aspects of familiarity and youth, there’s unique sewing advice happening within that dressmaking scene that you could apply to sewing endeavors. All it takes is a little consideration and a bit of imagination to find those gems of guidance within the lighthearted scenes of sewing.

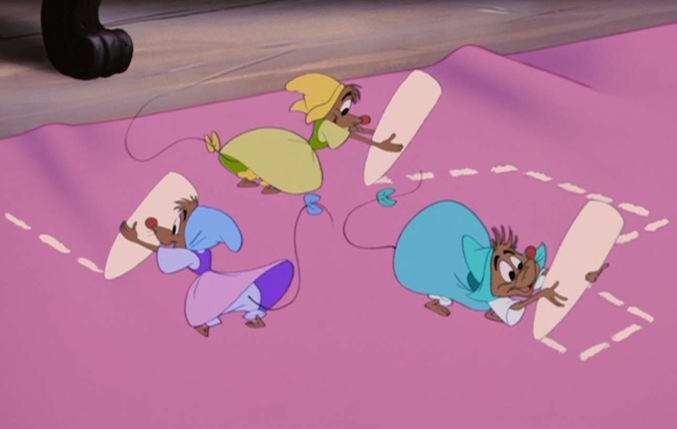
For instance, these mice have applicable tools at their disposal to see this dress come to life. There’s no machine in sight, but you do see other sewing essentials, like needle, thread, scissors, and chalk, all of which can at least be representations of things that are useful for sewing. The chalk, as an example, can be replaced by soluble pencils to trace your cutting lines, and like the bulky chalk the mice are using, you can wash out the remnants later. With that strategy, you’re making sure you’re sewing in a more precise way without forever damaging the fabric. Good strategy, mice!Disney5
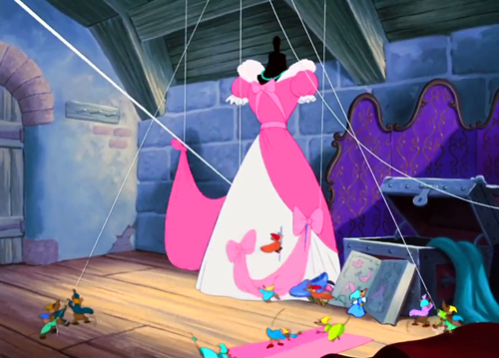
As the dress is being assembled through pulley systems and such, the mice have a dress form setup to keep the fabric in its most natural wearing position. This detail cannot be overstated if you’re going to sew clothing like Cinderella’s dress because it makes you able to see the dress as it should be rather than bunching it up or expanding it unnaturally on a flat surface. You can tell how the dress will look, and you could prevent a time or two of accidentally sewing your dress sides together in the wrong places. Like the mice, make sure you have that form for these purposes!Disney3
Unfortunately, though, the mice didn’t quite get everything right, and it makes sense to note those things as well. For example, you probably want to use a better method of organizing your supplies than a simple wicker basket that you can dive into. Even if you’re just tossing all of your supplies into a container like this and reaching in to gather what you need, if your organization is lacking, you could end up getting a sewing needle or straight pin in your hand. For the mice, this is particularly bad since the needle is about as tall as they are, but even for human-sized sewing fans, a straight pin in the hand can hurt!Disney2
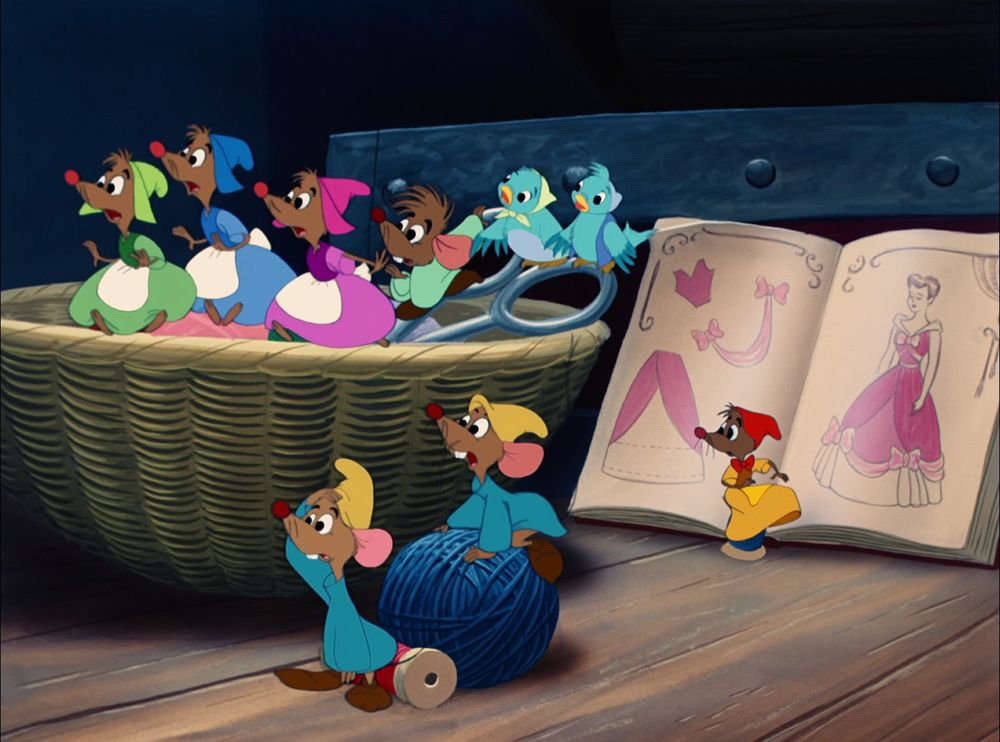
For this reason, you should consider organizing your sewing utensils better than our Cinderella mice friends! Use different containers for different items, have shelves to display them, use chest drawers to keep them stored… Whatever your strategy, do yourself the favor of not piling everything into one area that’s dooming you to minor injury!

One more detail the mice get wrong is how simple they make assembling this dress seem. Sure, they employ pulleys that you probably won’t work with, but let’s be honest. Cinderella simply points out a picture in a book that she wants her dress to look like and gives very basic instructions about what needs to be done, and the mice infer all of the in-between information even though there are no measurements listed at all in the book.Disney
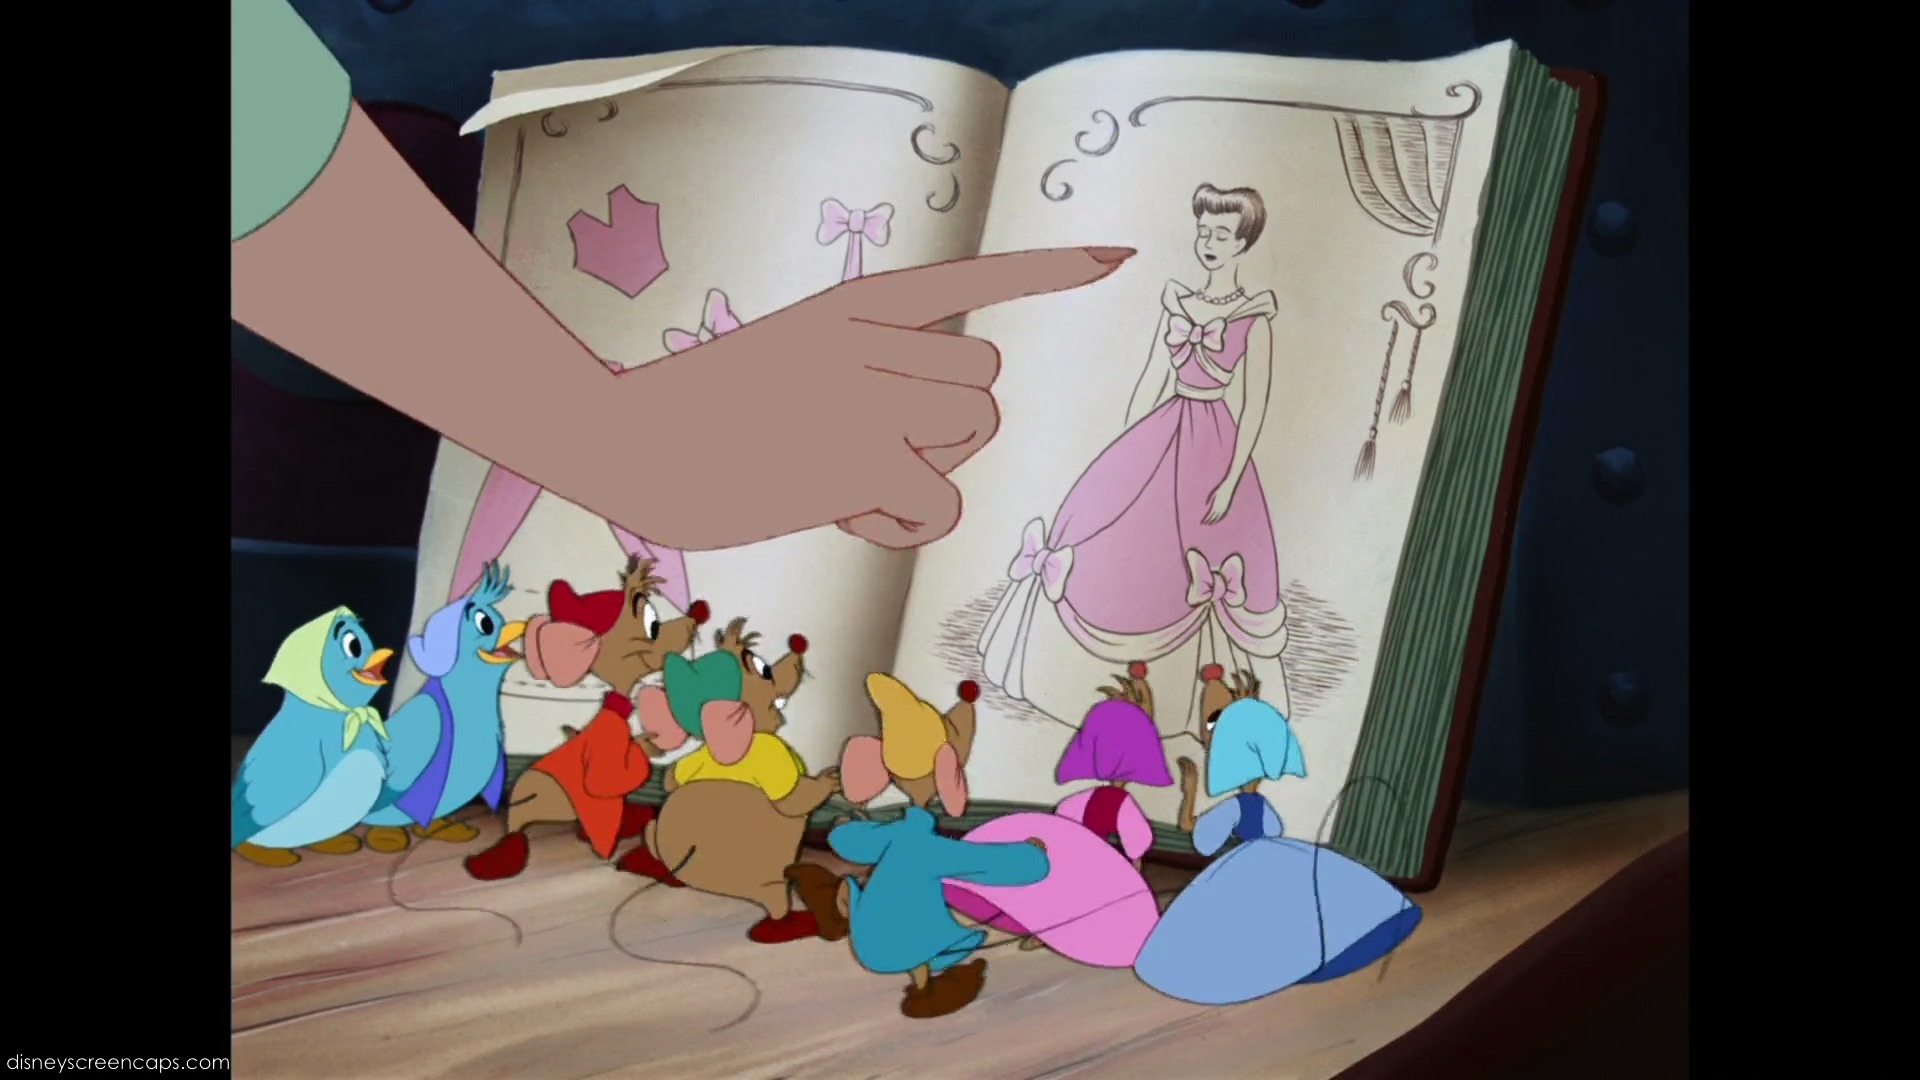
Fortunately for the mice, the foundation of this dress is already assembled since Cinderella is intending to alter something that she already has—another good tip from the mice: use what’s around you!—but if you take this at face value, the process is too simple. Without having measurements, at least, you could be setting yourself up to fail.Disney6
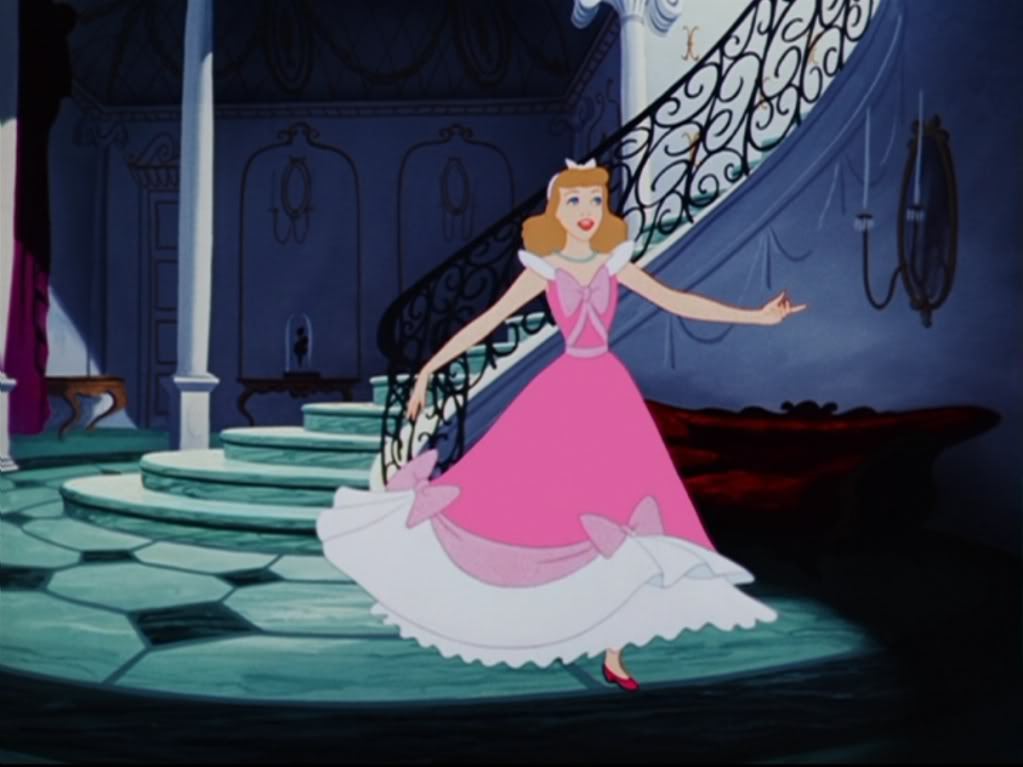
So rather than just picking a picture, use a pattern or at least take the measurements of the person who’s supposed to wear the finished product. Remember, after all, that the dress Cinderella intends to alter is her mother’s—not hers. There could’ve easily needed to be some redefining done to make it fit Cinderella just right, and the mice take a risk by not being more specific. On this, don’t be like the mice! Be measure-specific!

In the end, while the mice got some things very right and some things pretty wrong, it’s a catchy scene with an upbeat song that embraces sewing in a youthful manner. So, embrace the mice’s optimism, apply their useful techniques, and learn from what they did wrong.


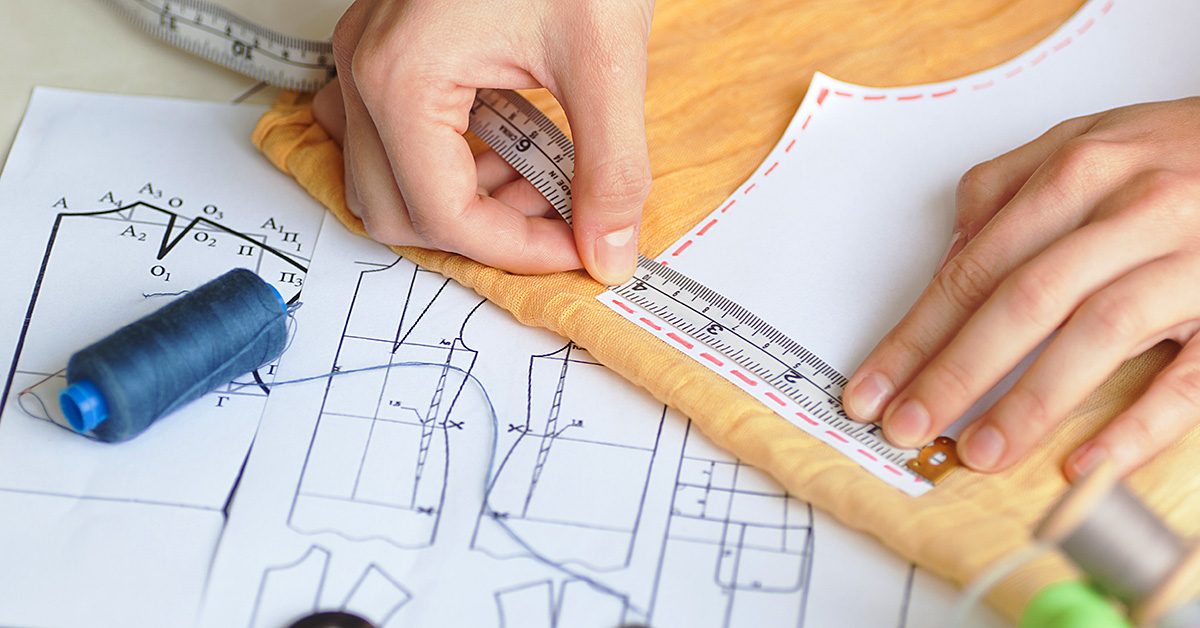
Reference for all photos
Disney, W. (Producer), & Geronimi, C., Jackson, W., & Luske, H. (Directors). (1950). Cinderella [Motion Picture]. United States: Walt Disney Company.
Flat Patterning: Nothing to Fear

Flat Patterning: Nothing to Fear

I spent part of last week flat patterning a period vest and coat for a ten year old actor for a new Amazon series based on the book Dangerous Book For Boys by Conn and Hal Iggulden.

Let’s get technical

Flat patterning is one of my most favorite things to do. It’s very mathematical & systematic.

Flat patterning is one of my most favorite things to do. It’s very mathematical & systematic.

Flat patterning is one of my most favorite things to do. It’s very mathematical and systematic. I find it strangely soothing. Many people are intimidated by flat patterning and don’t think it’s something they would ever be able to do themselves. But, the thing about flat patterning is, if you’re good at following directions, anyone can do it.

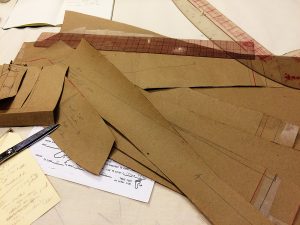
Have you ever seen the opening sequence for the movie Tailor of Panama? In it, you see a hand drawing in chalk on a piece of fabric. The hand presumably belongs to the tailor who appears to be free handing the outline of a suit jacket front. Now, that’s something you probably won’t be able to do until you’ve drafted some thousands of suit jacket fronts but, flat patterning onto a piece of brown paper by following the instructions in a flat patterning system book is something you can do.

Take a look – it’s in a book

Every person who starts out flat patterning is following someone else’s directions on how to do so.

Every person who starts out flat patterning is following someone else’s directions on how to do so.

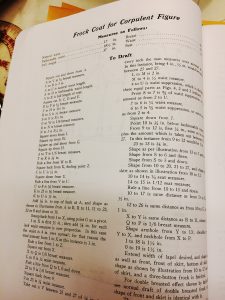
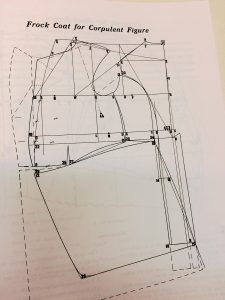
Every person who starts out flat patterning is following someone else’s directions on how to do so. If you take a flat patterning class you’ll work from whatever book the instructor likes. A flat patterning book provides step by step instructions for drawing specific pieces of clothing – things like draw a line equal to back neck to waist and square off from both ends (a and b).

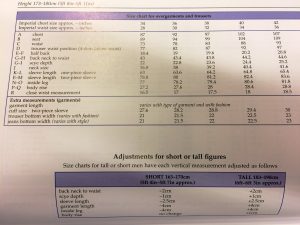
What this means is you need to know the measurement from the neck to the waist of the person you’re drafting for. You can also use standardized measurement charts (which is how commercial patterns are made). Most flat patterning books include such charts, or you can do a search online for them. The instructions for drawing the pattern will continue with the labeling of points by letters using measurements. Directions will say things like: connect e and f with a curved line or mark a point 3/8″ from g and square out.

The right pattern book for the right job

Each flat patterning will produce slightly different results as they are each based on a system developed by the author. Some systems factor in more ease than others, depending on what period the clothing is. For instance, a book on flat patterning a man’s suit jacket from the 1880s will produce a garment different than one written for patterning contemporary men’s suit jackets.

You can also use standardized measurement charts (which is how commercial patterns are made).

You can also use standardized measurement charts (which is how commercial patterns are made).

So, how do you know which book to work from? It honestly doesn’t matter all that much when you’re first starting out. But as you get more comfortable with it, you can try different books to see what end results you like better.

One of my most favorite patterning books is Dress Design: Draping and Flat Patterning Method by Hillhouse and Mansfield. The book, written in 1948, gives instructions for a variety of really cool 1940s dresses and suits. It’s not always useful if I’m making something that isn’t a 1940s garment but it’s a wonderful book to study and try out different techniques.

Some other excellent patterning books that are used often in colleges are Norma R. Hollin’s Pattern Making by the Flat Pattern Method and Designing Apparel through the Flat Pattern by Rolfo, Kopp, Gross, and Zelin.

I also like Metric Pattern Cutting books by Winifred Aldrich, though these do require being able to convert your measurements into the metric system. Some pattern makers believe that the metric system allows for increased accuracy when patterning.

Pattern Making by Tomoko Nakamichi is a creative non-traditional approach to patterning and gives instructions for unique geometric Japanese garments.

Tools

A few other tools that are handy to have when you’re flat patterning are a clear see-through ruler, a curved ruler, & an L-shaped ruler.

A few other tools that are handy to have when you’re flat patterning are a clear see-through ruler, a curved ruler, & an L-shaped ruler.

A few other tools that are handy to have when you’re flat patterning are a clear see-through ruler, a curved ruler, and an L-shaped ruler.

Most pattern makers use a regular old pencil to draft the initial pattern. If they need to go back and make corrections, they’ll often use a red or blue pencil so they’ll know which line is the new line. I, personally, am a fan of the red pencil for corrections as it’s easier to see than a blue one.

If you’ve been wanting to try your hand at flat patterning but didn’t know where to start now’s the time to get yourself a book and start learning! If you don’t want to purchase a book (some of them can be quite expensive), check out your local library. You can, also, of course find used pattern books on Ebay – just don’t get too caught up in auction frenzy and pay too much.

Happy patterning!

Picking the Right Sundress Pattern

Picking the Right Sundress Pattern

Picking the Right Sundress Pattern

The hot weather means flowing, loose clothes that keep you cool while flattering your body. For me, it also means it’s time to sew! Sundresses are some of my favorite things to make. I’ve lost count of how many I’ve made over the years – most of them I still wear! The key to success with making a sundress is choosing the right pattern. The right sundress pattern will flatter your body.

Think About What You Want to Accentuate

We all have things about our bodies we like…and things we don’t. Start by thinking about the things you like about your body. Great legs? Go with a shorter length dress. Love your flat stomach? Make sure the dress is fitted at the waist. Adore your curves? Don’t be afraid to show them off with some well-placed darts. Keep all of these things in mind as you search for your sundress pattern. It’s easy to get pulled into a pattern that looks great on the package or model, but by keeping in mind what flatters YOUR body, you’ll be able to set aside any that won’t work.

Figure Out What You Want to Cover Up

Now, think about those parts of your body you want to cover up. Tummy not as flat as it used to be? Try an empire waist to accentuate other curves and avoid the cling around your stomach. Wish you were a little less curvy? Try something loose and flowy with material to match. Wish your legs were longer or skinnier? Go with a long sundress.

Pro tip: If you don’t like your arms, add a sheer shawl to the ensemble. Some patterns even come with the shawl included.

Match Your Skill Level

Picking the Right Sundress Pattern

When you’ve determined the style of sundress you want to make based on your body and what you like and dislike about it, look at patterns that match your sewing skill level. You’ll find that using these three factors it’s easy to narrow down your sundress pattern options to a manageable number. Then, pick the one you like best and hit the fabric aisles!

Every sundress I’ve made from a pattern chosen this way is one I still wear. Sundresses where I picked the pattern simply because I liked it and didn’t think about my body or my abilities were worn once, at best, and discarded. No one wants to see that happen after the effort of making a sundress. Instead, make a sundress you’ll love to wear using these simple steps to pick your pattern.

Grain Line? What Grain Line?

Grain Line? What Grain Line?

Last week, I spent a couple days making six silk dresses for a freelance client. I did the work at home, in my fifth floor walkup apartment in New York City. I only mention this because the dresses were made from silk charmeuse and I don’t, interestingly enough, have a proper cutting table at home. This really isn’t so much interesting as it is unfortunate and slightly annoying. Because, as anyone who has ever cut silk charmeuse knows, it’s a slippery sliding thing.

I cut the first dress out on the floor. Not ideal but it does work, as long as you use enough weights to keep it from shifting around. I usually cut things on the double with the fabric folded, selvedge edge to selvedge edge, which is how most consumer patterns instruct you to cut. Silk charmeuse can be a bit woodgy (yes, that’s a technical term) but the weave tends to be tight enough that you can confidently cut on the fold.

Some fabrics with an especially loose weave where it’s hard to keep the lengthwise grain line (and cross grain) straight are best cut in a single layer.

Shall we

Grain Line? What Grain Line?

To begin cutting, I tear a straight cross grain so I have a right angle to work from. Almost all fabric can be torn in this way. The cross grain of a fabric is made from the yarns woven over and under the lengthwise fabric grain at a 90 degree angle. The over under weaving provides less tension so crosswise grains have a tiny bit more stretch than the lengthwise grain. They normally run around a person’s body.

The lengthwise grain is the one that runs parallel to the selvedge edge and is the grain marked by the arrow on every pattern piece.

After tearing the the cross grain so I have a straight line, I fold my fabric in half right sides together, selvedge to selvedge. Once I have the fabric relatively flat and smooth on my cutting surface, I place a long metal ruler about an inch or two from my torn crosswise edge. I use a metal ruler because they’re heavy enough to act like a weight.

I line up the edge of the ruler perpendicular to the selvedge edge and across the full width of both layers of fabric. Then I make sure that the edge of the fabric that extends past the ruler is even. I do this to ensure that my cross grain is lined up correctly and not sloping down or up in relation to the selvedge.

I cut the next five dresses out on my old wood dining room table. It has leaves that fold up to make it almost six feet wide. At about 39” high, my cutting tables at work are higher than a standard dining room table. This height means I don’t have to bend so far over a table when cutting and, ultimately saves my back from hurting. If you don’t spend entire days cutting out garments, a dining room table usually works just as well.

You can also buy one of the cool folding style cutting tables available.

Grain line

So, what about grain line? Do you need to always pay attention to it?

That depends. At Boardwalk Empire, we would sometimes jest (when we didn’t have enough fabric and had to get creative with our cutting layouts), “Grain lines are for suckers.”

What we really meant, though, was “As long as you know what you’re doing, you can manipulate and vary the placement of your pattern pieces.”

If you happen to have a striped fabric, playing with the grain line can be fun. Thomas Pink, who makes high end men’s dress shirts will sometimes cut one side of the front on the lengthwise grain and the other on the cross for a quirky asymmetrical look.

Striped fabrics will also naturally chevron at the side seams if you match them up correctly when cutting and sewing.

You can also turn collars, cuff pieces, and/or pockets of striped fabrics on a different grain to add an interesting design effect.

All of these things are most easily done with a fabric that doesn’t have a lot of give, like a tightly woven cotton.

Measure up

If you’re interested in getting a little creative with your next project, you may want to invest in a quilter’s ruler. These rulers have 45 and 30-degree angles marked which is helpful when adjusting grain lines.

If you’re matching stripes or other patterns, you’ll find it much easier to cut in a single layer so you see everything clearly.

This may seem obvious, but if you’re experimenting, it’s always good practice to test things out first. If you have plenty of fabric, you can use some of it to do a little practice run. If not, you can use muslin or something similar to try out your idea. If you’re using a striped fabric, you can mark lines on your muslin before cutting to show you how everything will line up.

Bias

Bias is the diagonal angle across your fabric. The bias grain has quite a bit of stretch. A dress that clings to the body closely without having multiple seams is very likely cut on the bias. When you’re making a bias garment, especially a dress or slip, you’ll want to let the bias hang out for a while if possible as it will stretch out. You’ll notice that the bottom edge of your pieces will end up uneven if you do this, which is exactly what you want. You’ll need to remark your hemline after you’ve put together the garment.

I usually stay stitch my arm and neck holes, then pin my cut pieces on a form and, if time permits, let them hang over night. It’s also beneficial to then pin the seams together while they are hanging on a form to help alleviate any puckering.

Once you have a good understanding of grain lines, there’s no reason why you can’t try different things. Get creative (just remember that bias does stretch a lot more than something on the straight so you may need to stabilize with a lightweight fusible interfacing).