Have you joined the adult coloring mania that is sweeping the nation (possibly the whole world?) You know what I mean right, the movement of grownups using coloring books to Zen out, get calm, and relax? I for one am fully into doing more coloring and less stressing in life.
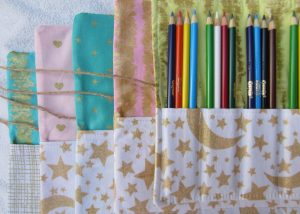
If you want to join the movement, but need a place to store your coloring utensils, then here is a quick DIY for a colored pencil or marker or pen roll.
Supplies
1. Fabric for back of pencil roll
2. Fabric for front of pencil roll
3. Thin batting (for in between the front and back fabric)
4. Fabric for front panel
5. Interfacing (for front panel)
6. Twine
7. A pretty bead
Pick your fabric
The amount fabric you’ll need for supplies 1-4 depends on how big you are making your roll. I wanted to include a good assortment of colored pencils (or markers, pens, etc) in mine. Here are the measurements I used (seams are ¼”).
1. Fabric for back of pencil roll: 15.5″ x 9″
2. Fabric for front of pencil roll: 15.5″ x 9″
3. Thin batting piece: cut slightly larger than front/back pieces
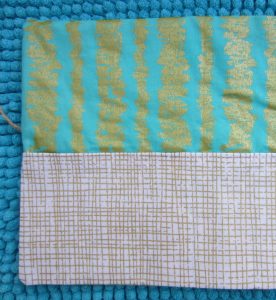
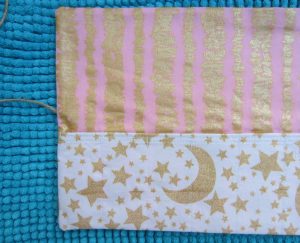
4. Fabric for front panel: 15.5″ x 4.75″
5. Interfacing (for front panel): 15.5″ x 4.75″
Iron out the details
I ironed the interfacing to the back of the smaller front panel of fabric and then folded the top of the fabric over ¼” and then again ¼”, pressed, and then finished the seam. This is the top of the fabric where the pencils will slip in and out of the roll.
Pins and sandwiches
Then I pinned the smaller front piece to the larger front fabric piece, marked out 1 ¾” spaces and sewed up the front of the smaller panel, back tacking at the top of each line, until I had nine sections.
Next I sandwiched all the parts in this order:
1. Batting
2. Top, front fabric piece (right side up)
3. Back panel piece (wrong side up)
I pinned the layers together and then inserted the twine into the bundle, placing it so it would extend out on the side where the front panel fabric joined the main front panel. I sewed around leaving a section at the top for turning.
Pro Tip: heavily stitch back and forth over the twine so it is not easily pulled out.
The final stretch
Trim your corners and trim off excess fabric, then turn your piece and use your finger or a seam ripper (with the lid on) to massage out the corners so they pop nicely. Then topstitch. Don’t forget to topstitch!
Plan ahead and cut out a lot of a fabric because when your friends see these, they are going to want some.
Lastly, slip a bead on the long end of the twine and tie a knot on the end so the bead can’t slip off.
Enjoy and happy coloring!


