Easy, Easier, Easiest Ways to Sew Baby Blankets

Easy, Easier, and Easiest Ways to Sew Baby Blankets

My favorite ways to sew baby blankets

Every baby needs blankets and these make wonderful gifts. There are lots of ways to sew baby blankets, but after making dozens over the years, both for my own babies and for gifts, I have settled on three basic ways that I prefer to make them. These three types of blankets are each useful in their own way, and any new parent will appreciate any one or all of these styles.

Baby quilts are easy to make!

If you ever wanted to get into quilting, a baby quilt is a great place to start. Because baby quilts are small, you won’t have to wrestle with these on a regular sewing machine, as you might for a larger quilt. Start with a simple pattern which uses just squares or rectangles if this will be your first quilt.
Easy,Easier,and Easiest Ways to Sew Baby Blankets

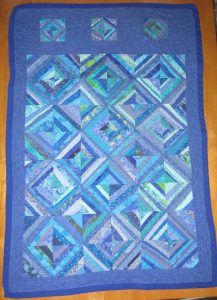
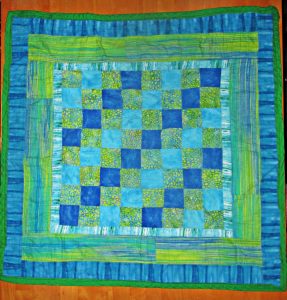
This tiny baby quilt is wrinkled to high heaven because baby outgrew it years ago and I pulled it from a box to show you!

You can choose a quilt with many small pieces if you have plenty of time to finish the quilt before baby’s arrival. I made this blue strip pieced crib quilt while I was waiting for my youngest baby’s birth. This quilt is 100% easy, but it is not the speediest of quilt projects.

Easy, Easier, and Easiest Ways to Sew Baby Blankets

See link for tutorial for this quilt.

Bigger blocks make quicker quilts

If you’d like to make a baby quilt in a hurry, choose a design with fewer and larger blocks.  For a great example of a quick and easy baby quilt, check out Jera Brandvig’s Log Cabin baby quilt at Quilting in the Rain. Her project includes instructions for quilting as-you-go, and this is a particularly speedy method of quilt construction.

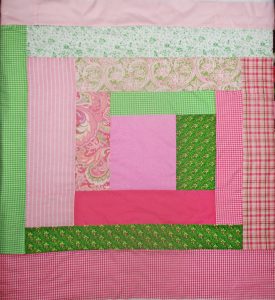
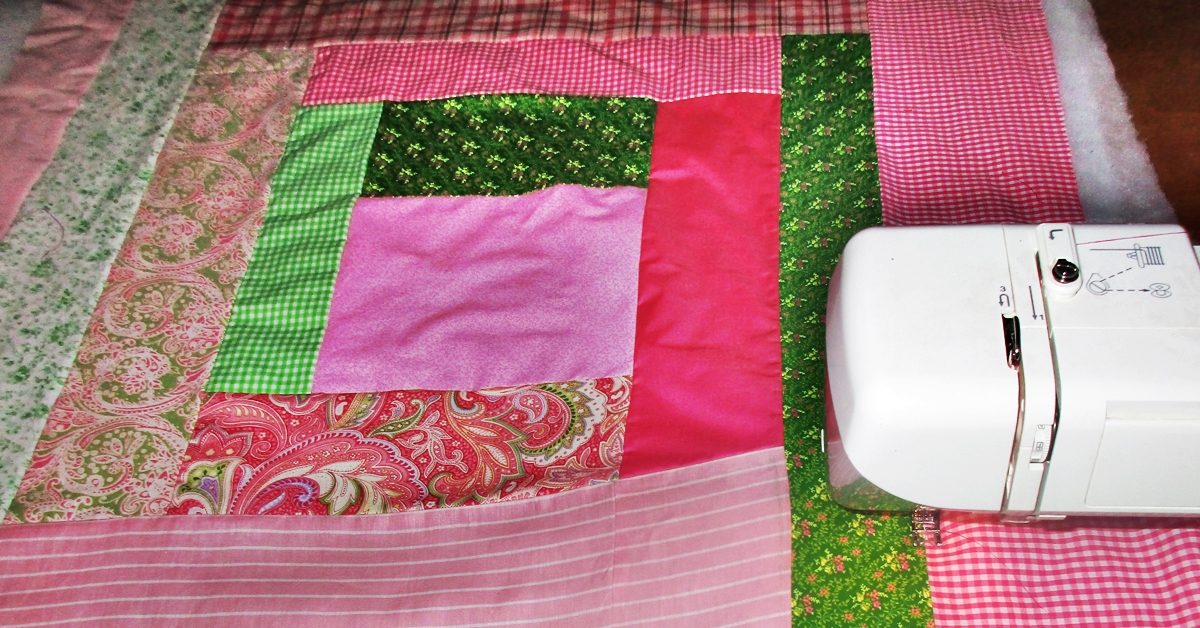
I used Jera’s idea for making one large log cabin rectangle to piece a baby quilt top this morning in about an hour. I didn’t use the quilt as-you-go method on this, however; I’m quilting it all at once using free motion quilting.

This one will be an oversized baby quilt with a super soft flannel backing. The larger size means she won’t outgrow it as fast and can enjoy it into childhood, too.
baby log cabin 1

With large pieces and no precise cutting or corners, this large baby quilt top came together really quickly.

Here’s more from me on making quick quilts. Baby quilts are easy, and if you want to make one, you should. Please don’t be afraid of making quilts, it’s fun!

Easy, Easier, and Easiest Ways to Sew Baby Blankets

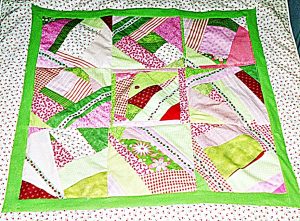
Crazy patchwork in large blocks makes an easy baby quilt, too.

An even easier way to sew baby blankets

If you don’t have the time or trouble to spare for making a baby quilt, you can sew a soft and sweet reversible baby blanket in a fraction of the time it would take to make even a simple quilt.

Easy, Easier, Easiest Ways to Sew Baby Blankets

To do this, you need two same sized pieces of fabric. One yard square is a nice size, or you can make it larger, perhaps to fit a crib mattress (27″ x 52″, plus a few inches on all sides to hang over the sides). You will want at least one of these to be a soft flannel. I prefer to use flannel for both sides, but they are nice when made with quilter’s cotton on one side and flannel on the other, too.

Feel free to applique or embroider the front of one of the fabrics before assembly. This looks really sweet in the bottom corner.

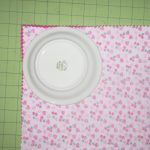
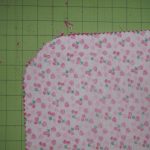
Cut the two fabrics to match and place them right sides together.  Then, using a dessert plate or saucer as a guide, curve the corners.

Easy, Easier, Easiest Ways to Sew Baby Blankets Easy, Easier, Easiest Ways to Sew Baby Blankets

Sew the two pieces together all the way around, except for an opening to turn. Turn right sides out and press. Then set your machine to make a wide, short zigzag stitch. I set mine with to a width of 5.0 and a length of 0.5. Zigzag around the edges of the blanket, about 1/8” from the edge. Be patient; stitching like this takes a lot longer than straight stitching does, so it will take quite a few minutes to go all the way around.

Or use binding instead

Another easy way to make this kind of double sided blanket is to layer the two fabrics wrong sides together and use bias binding all around to join them together.

I give these reversible blankets to every baby I know. Their mothers have often told me that these wind up being baby’s favorite blanket. My own boys liked these double sided flannel blankets so much that I made them to fit their beds.

Using a serger is the quickest and easiest way to sew baby blankets

Parents of babies who like to be swaddled will need lots of single layer receiving blankets. These are also nice to have in warmer weather and for on-the-go. I always kept at least one in the diaper bag and one in the car. They couldn’t be easier to make and take less than ten minutes, including cutting and pressing time.
Easiest Baby Blanket

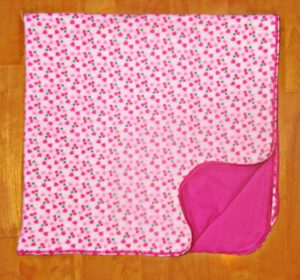
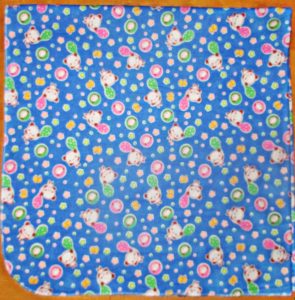
Folded in fourths here to show the corner curve. These will fold down really small to fit in your diaper bag or even the glove box.

Simply cut one piece of flannel to your desired size (one yard square is my favorite size), curve the corners, and serge all around. I set my serger to its narrowest width overlock stitch.

If you are not comfortable serging around curves, then skip the curving of the corners. To do this, just serge four straight sides, burying the end of each chain under the beginning of the stitches on the next side. Then use a tapestry needle to bury the last thread chain under your previous serging.

If you don’t have a serger yet, this is one of many reasons you will want one. Here’s my recommendation for which one to buy.

It’s easy to sew baby blankets

You can sew a quick baby quilt, a soft double-sided blanket, and a single-layer receiving blanket (or several) all in the same day. These little projects are so satisfying that I bet, like me, you’ll want to sew some for every baby you know.

Happy sewing!

Picasso Products for Sewing

Picasso Products for Sewing

Sewing can be a precise art of measurements and strategies. But at times, it’s kind of fun to loosen the standards and try for something less typical—and the results can be quirky and intriguing! This is what I like to refer to as Picasso Sewing. The title is a bit misleading since there’s structure and definition to Picasso’s works, but the idea of odd elements that don’t necessarily fit together is a fair representation of what you could create if you try for a more lenient method of making your next sewing project.

For example, a Picasso throw pillow, which I recently did!

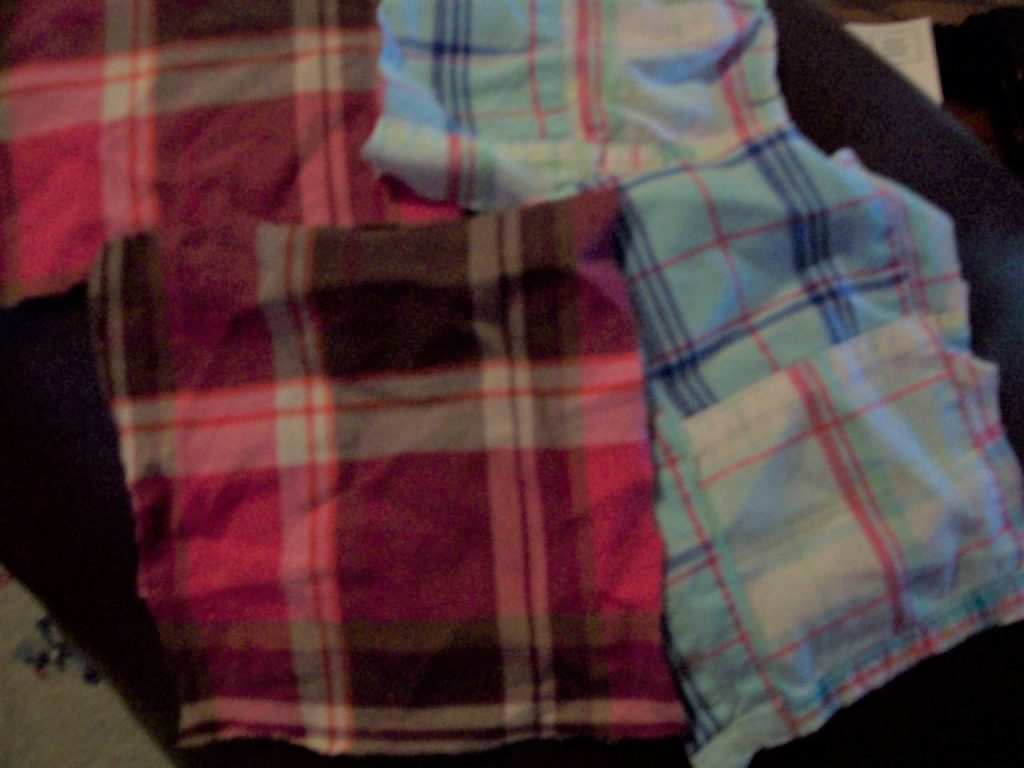
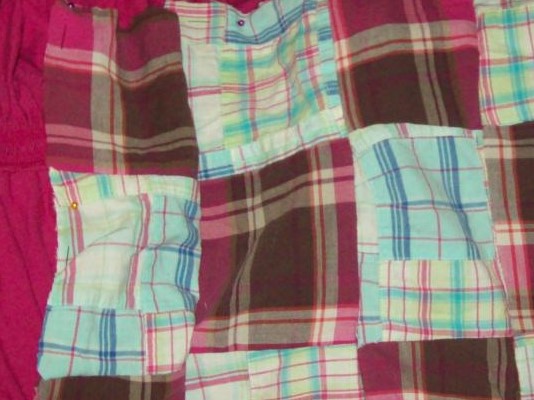
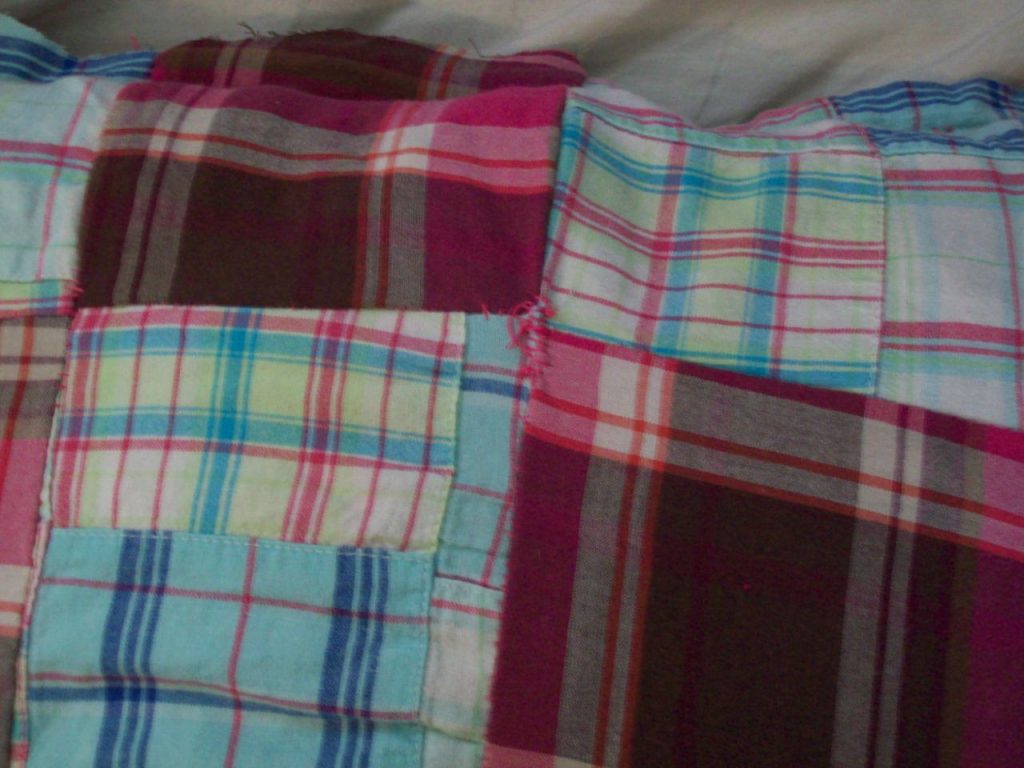
First, I chose fabrics that fit together without matching in the most conventional sense—two patterns that are both based on geometric shapes and lines of color.

Picture 1

The primary colors stand out from one another, but the blue fabric includes a similar pink shade to what’s on the pink. The most distinctive difference between these two fabrics though could be the pieced-together look of the blue fabric. Whereas the pink blocks are solid pieces, the blue ones were already a patchwork design since multiple geometric shapes form the overall design. The fabric choices essentially match in a shared pink color and a general foundation in geometry, but they’re different enough to create a mismatched look.

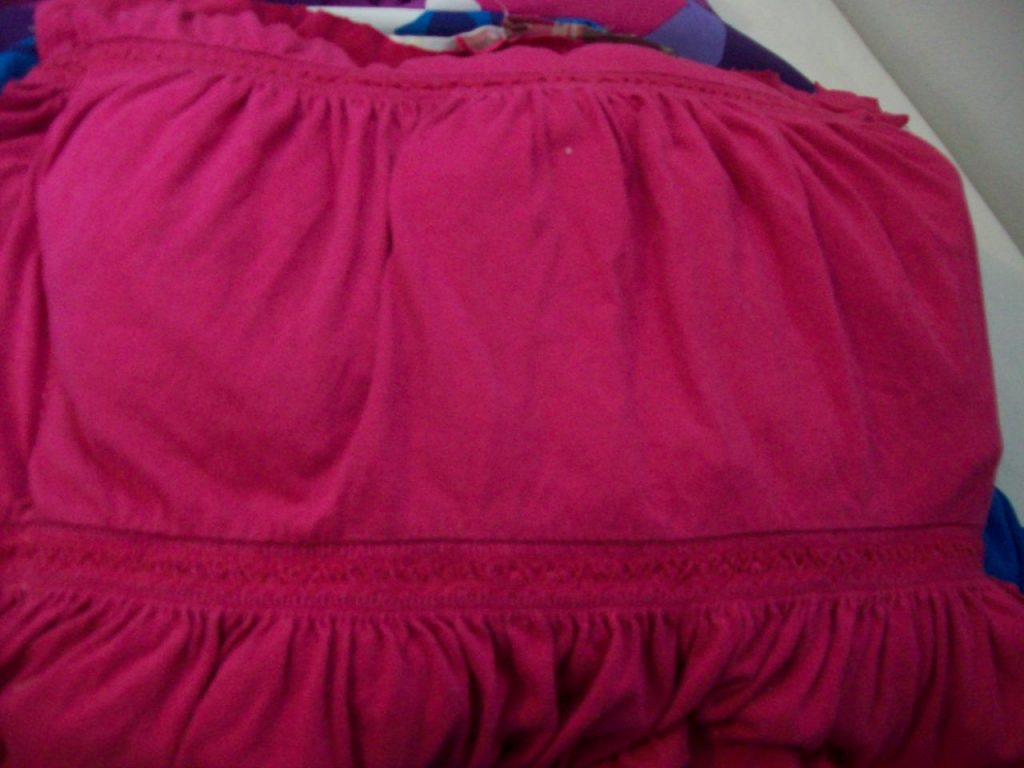
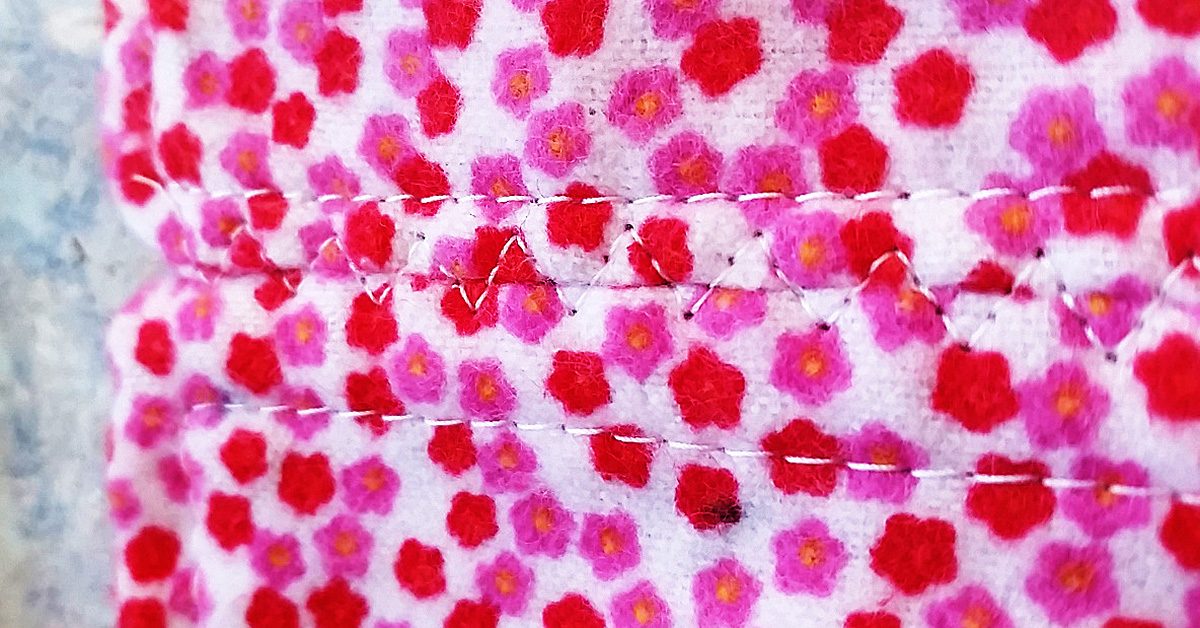
For the backing, I chose a different pink fabric that comes with elastic-esque lines of fabric.

Picture 2That elastic quality made this fabric a gamble since I didn’t know how the bunched areas would work when the front and back were sewn together, but remember that I was taking risks with this one!

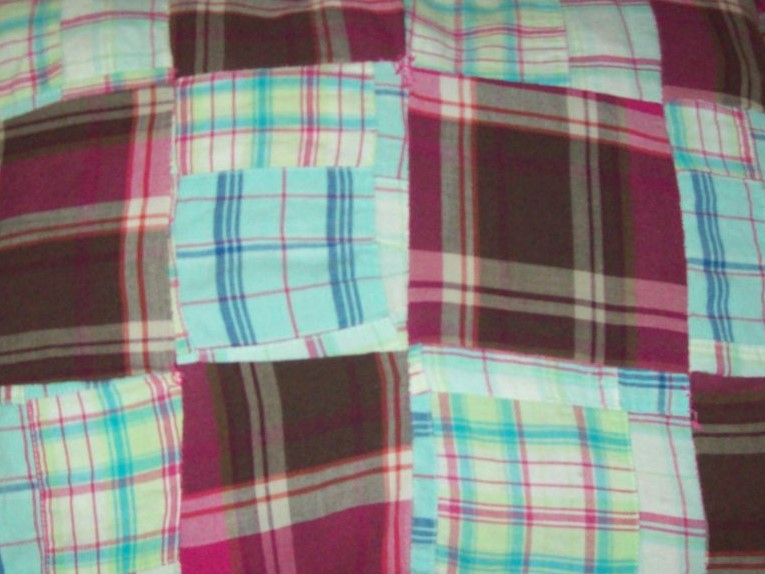
Once I had my out-of-the-fox fabric selected, it was time to start piecing together the front part of my pillow. I chose to go with a patchwork design, but I was lenient with how I put the patches together—and even how I cut them. Basically, I cut out a piece of one fabric, then cut other fabric shapes that were similar, but not necessarily exact, in size. Once I had pieces that looked (to my eye) sensible for a patchwork project—an estimation of approximately 2-3 inches in either direction—I decided on the pattern those pieces would take and started sewing the blocks together.

This is another step where basic sewing strategy was put on a shelf to create something more Picasso than an average throw pillow. I didn’t pin the individual blocks together, and I tugged them so that they fit alongside their neighboring pieces essentially on whims. I just tried to get a good amount of space for each block of fabric, and I didn’t worry too much about making everything exact and organized.

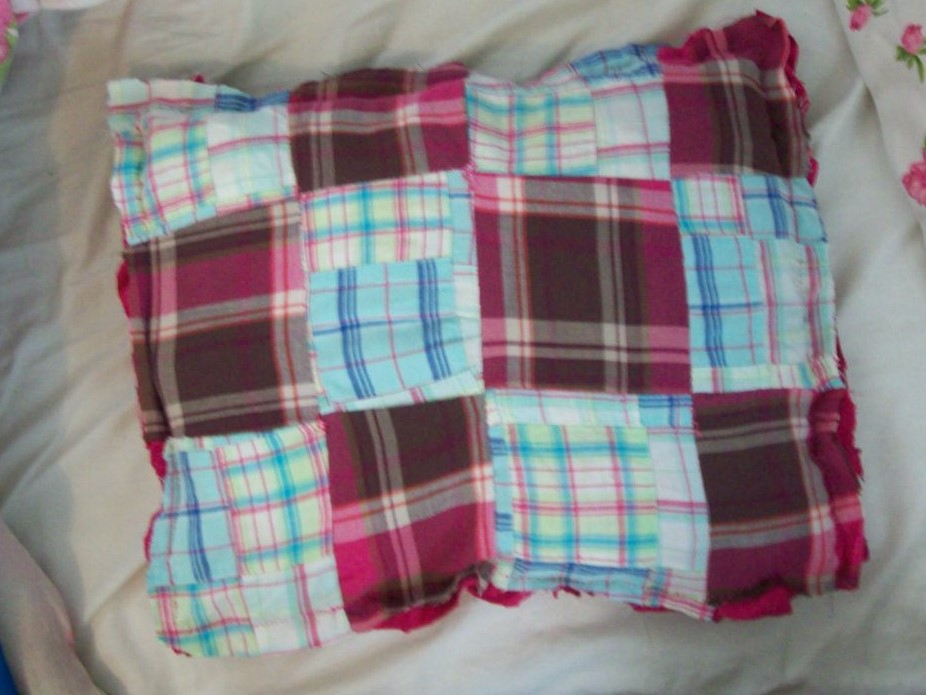
The result was an interesting setup where the blocks were tilted and varied in size, and I love it!Picture 3

I did give a bit more thought to piecing the lines of blocks together by using a handful of straight pins, but the messy appearance still exists in this pillow!

I ended up adding a fourth row of blocks to get the pillow a little bigger (I seriously eye-balled and compared fabric blocks to get every measurement here), but after that, it was time to apply the backing. To do that, I was again unorganized in my methodology. I laid the top layer of the throw pillow on the backing material, then pinched the backing fabric enough to where there would be extra space between the layers for filling.

I only used less than a dozen straight pins to keep the layers of fabric in place as I sewed far enough from the edges of the top layer’s fabric to allow excess material on all sides.Picture 4Next, I sewed along all of those sides until there was one patch of open space left to insert the filling, then finished sewing the rest once the filling was inside. Since I had the elastic element to consider for the backing, at times, I had to allow bumps between stitches to make up for the excess fabric for all of this sewing detail.

After that, I’d intended to shred the edges to make this a raggedy throw pillow, but once I cut off the larger portions of the backing fabric, I found I already liked the raggedy look that the unclean edges brought to the product. So rather than rocking the boat by shredding the ends, I just cut off pieces that *needed* trimming—like excess thread or very shredded parts of the fabric.

There are two details about my process that I’ll mention in addition to this basic strategy. The first is what I used for filling. This is a creation that’s not intended to look or be sophisticated, so I used a series of old shirts to stuff into the pillow. If you’re going for something that’s more concerned with comfort, you might want to try for a more standard filling.

The other detail is that this process, since it ends with a ragged final product, can be forgiving for mistakes because it’s understood to look a little worn. For me, that came in handy because I didn’t leave enough fabric to completely link the patches in at least one spot, causing a gap. Since it’s okay for this pillow to look imperfect, I was able to sew up that spot without worrying that the thread would be seen, then add that thread-repair-look at a couple of other spots that didn’t need it.Picture 5The result seemed like a structural decision to bring that ragged quality to life rather an error in strategy.

The final product is a pillow that’s Picasso-like in its leaning and varied-sized blocks, and so very raggedy with its frayed ends and fake repairs. Had I gone strictly by the books, I might not have come up with something so imperfect looking—and I really would be missing out because I adore this pillow! Picture 6The moral of the story? Don’t be afraid to bring a little imprecision and a lot of Picasso to your sewing to create unique products! Sure, strategy is great, but loosening the guidelines in sewing can be awesome, too!

Repurposing Flannel Baby Wipes to A Snuggle Blanket

Repurposing Flannel Baby Wipes to A Snuggle Blanket

Hello there! I’ve been playing with something I would like to share with you.

Stitch the right sides together on all 4 sides, leaving a small space open on the last side.

Stitch the right sides together on all 4 sides, leaving a small space open on the last side.

Let me warn you, it is rather novel, as I haven’t seen this done before in sewing blogs or other instructions, but it works pretty well I think.

Recently, I several kinds of small baby wipes made from soft, warm flannel. Rather than 1 layer of flannel, and just a simple serger stitch, I designed them to be thicker and have no fraying edges when washed. Each square is approximately 9″ x 9″ finished as below.

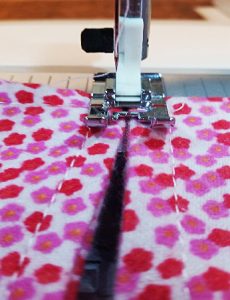
So, I used 2 pieces of the fabric, and I stitched the right sides together on all four sides, leaving a small space open on the last side to place my hand inside and pull the fabric’s right sides to the outside. What? (I heard you thinking there!)

Think of throwing a pillow case in the dryer with the inside seams showing. When dried in the dryer and smelling like Snuggle, you put your arms inside, find both far corners of the pillow case, and pull them forward to you drawing the right sides of the pillowcase to the outside or the top side. So then, I carefully ironed the edges down so I could put top-stitching about one-quarter inch from the edge of the wipe. Finished product soft, bright, cuddly wipe.

BUT WAIT! There’s more

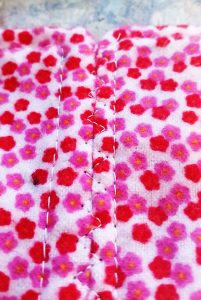
This shows how the seam was done, & it is sturdy like seam made in the traditional way.

This shows how the seam was done, & it is sturdy like seam made in the traditional way.

I thought why can’t I repurpose these cloths into something larger. It’s a small baby print, and with soft flannel on both sides, I brainstormed about how I can piece the two squares together without having to take the stitching apart of one side of each square to join them. That would involve doing all the squares accordingly, and would destroy my top-stitching.

This shows how the seam was done, and it is sturdy like seam made in the traditional way. This finished end to end seam reminds me of flat feld seams as used in my Pojagi pieces, although not quite. It also could be an alternate seam method for quilts without using a backing. A piece of batting could be added to each square to give a more padded feel to this alternate way of quilting, (like rag quilts but no raw edges or fringe.)

I hope you enjoyed my blog today, and I hope to see you again soon. I always welcome your experiences in sewing. After all, what would we do if we didn’t sew?

Take care for now.

Sewing for All Seasons

One of the things I love best about sewing as opposed to some of my other creative ventures is that I can do it any time of year. In the fall and winter, I can make blankets, jackets and other warm items. During the spring and summer months, I can make cute skirts and dresses and flowy decorative items. The different material weights and textures means it’s never too hot or too cold to sew! Here are some of my favorite projects for each season.

Sewing for All Seasons

Sewing for All Seasons

Winter

When it’s cold outside, there’s nothing better than lighting a fire and sewing something with warm, cuddly fabric.

Flannel Blanket

I absolutely adore flannel. It’s always warm and gets softer with each washing. This cozy blanket is easy to do and can be made in any size you like. We’re big on throw blankets in this house, so that’s what I did. Because flannel is available in so many colors and patterns, it’s easy to find something that will match your home and your personal style.

Dinosaur Hoodie

The challenge with winter is that kids are stuck inside. This sewing project will keep you warm and provide them with hours of imaginative play. Can you say “roooarrrr!”? Your kids will love playing dinosaur with this hoodie. Make a couple of the neighbor kids too and have a dino party!

Spring

Spring is a time of renewal. The weather warms up and life starts to return to the great outdoors. It’s still a bit cool to go out and enjoy it without a light cover up and there can be days on end of rain keeping you indoors. That’s where these sewing projects come in!

Napkins

Spring is often a time when we entertain more. We can open the windows and doors and guests can flow in and out without tracking snow, ice and dirt. Depending on the occasion, setting a pretty table can be part of the deal as hostess. Check out these colorful napkins. They’re perfect for spring and summer and a conversation starter too!

Picnic Blanket

It might be a bit cool yet to have a picnic, but it’s never too early to plan for one. This adorable picnic blanket is a great spring sewing project. While you’re inside working on it watching birds and other life return to your yard, you can daydream about that first picnic of the year. Won’t it be great with this new blanket?

Summer

Summer is all about hot days, trips to the beach and keeping cool. You may not be spending too much time with your sewing machine, but that’s okay. These quick projects won’t get you overheated – instead they’ll help you keep cool once they’re done.

Towel Wrap

I don’t know about you, but I’m not a fan of getting out of the pool or ocean having to struggle with my towel. This fabulous towel wrap means I can keep my hands free for a drink and a book while still staying dry. Even better – it upcycles towels that might otherwise get tossed.

Wine Bag

To go with that lovely picnic blanket you made during the spring, you need a wine bag to tote your bottle for that elegant picnic. You could also use it as a wine gift bag if you need to bring a gift to a house party. It works up quickly and can be made for any style you can imagine.

Fall

I love fall! The changing leaves, the crisp air and the smell. It’s somehow romantic in a way. While I’m going to spend as much time outdoors as I can, there are some great fall sewing projects for those dreary fall days when I can’t get out.

Pillow

I love this! Making this pillow means I can bring some of the fall colors inside while using up some of my scrap stash. Don’t have all the colors? No problem! Remnants are cheap and easy to find in every color and pattern you’ll need.

Coasters

As much as I love fall, I dislike rings on the coffee and end tables as strongly. These adorable leaf coasters solve the problem while bringing all my favorite fall colors into the décor. I personally went for more realistic fabric colors, but you can do whatever you like.

What are some of your favorite seasonal sewing projects?